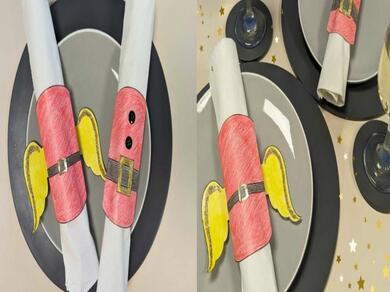
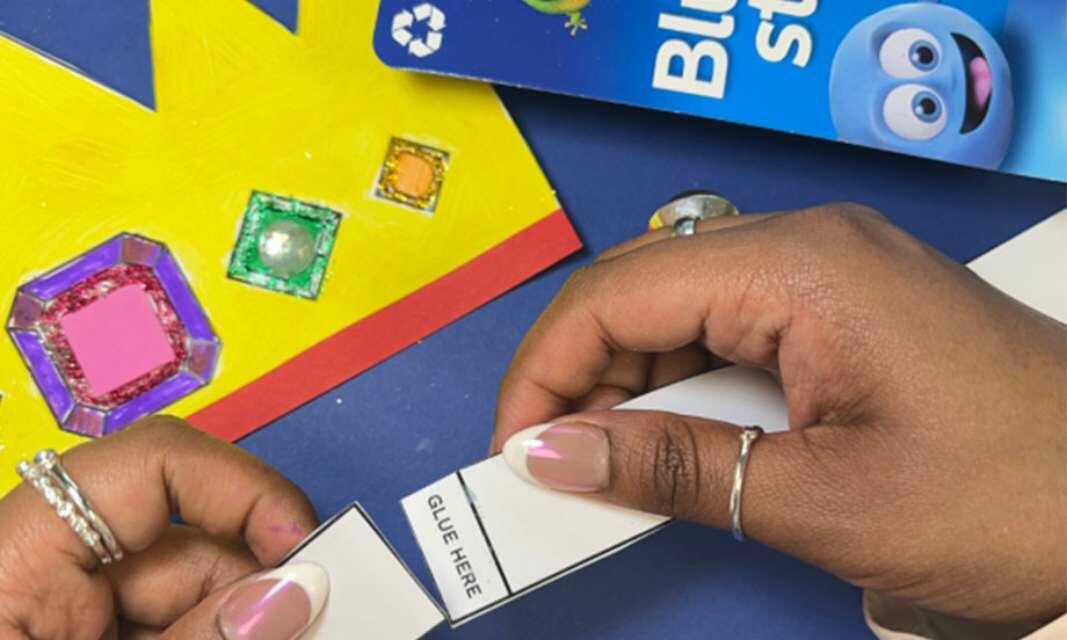
How to make your own Christmas napkin rings
'Tis the season to transform your dinner table with festive, handmade decorations. This year, save your pennies on shop-bought decor like name tags and napkin holders and instead, learn to make your own Christmas napkin rings that'll 'wow' your guests.
Our DIY Xmas napkin rings are super easy to create in just six steps and offer a personal touch that'll have your friends and family feeling extra special this season.
Choose to create a Santa or Mrs Claus DIY serviette ring - or both! - and have a seat with your favourite jolly couple in red this Christmas.
Instructions

3 simple things to make with lolly sticks

4 brown paper wrapping ideas for Christmas and birthdays
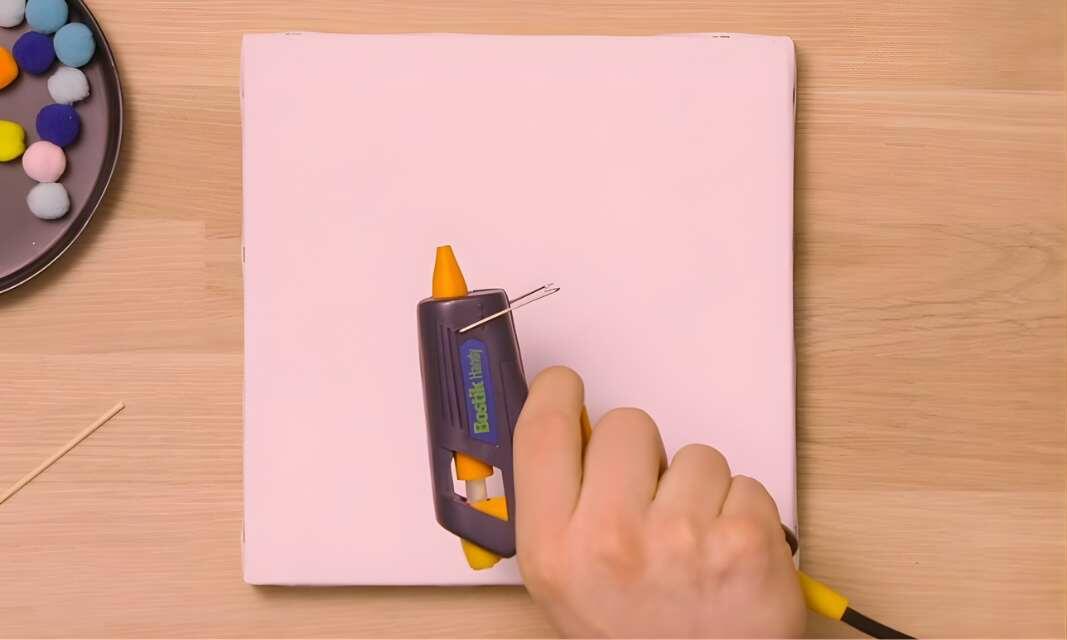
6 simple hot glue gun crafts to do at home

6 steps to create a DIY flower candle holder

How to make a 3D snowman out of paper
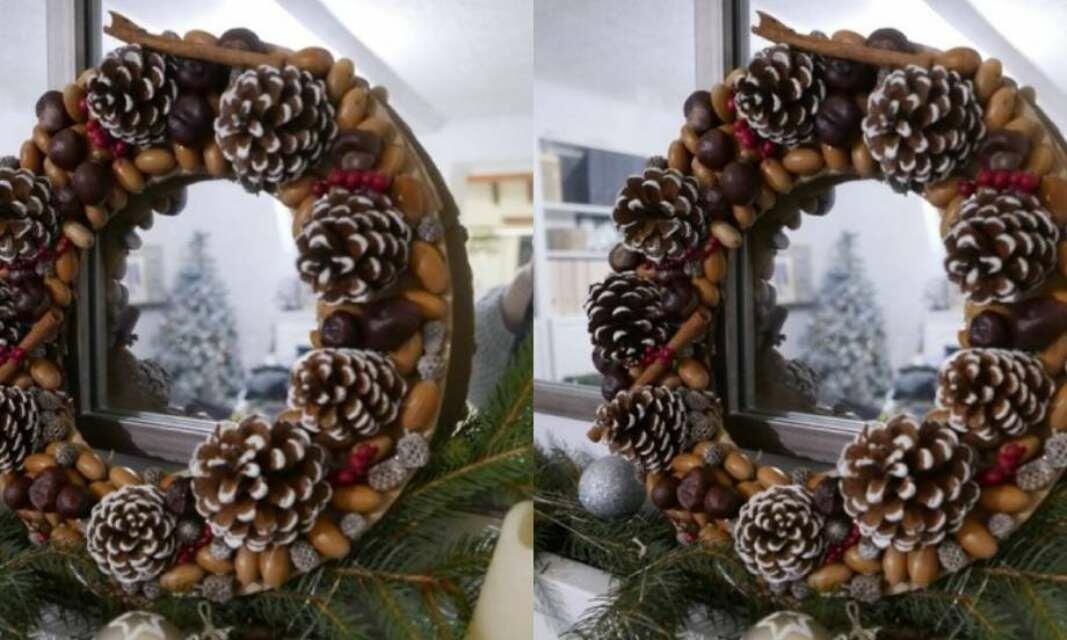
How to make a Christmas wreath at home

How to make your own pendant light

How to make your own sparklers
Make a Father's Day crown craft in 6 simple steps with our printable crown template
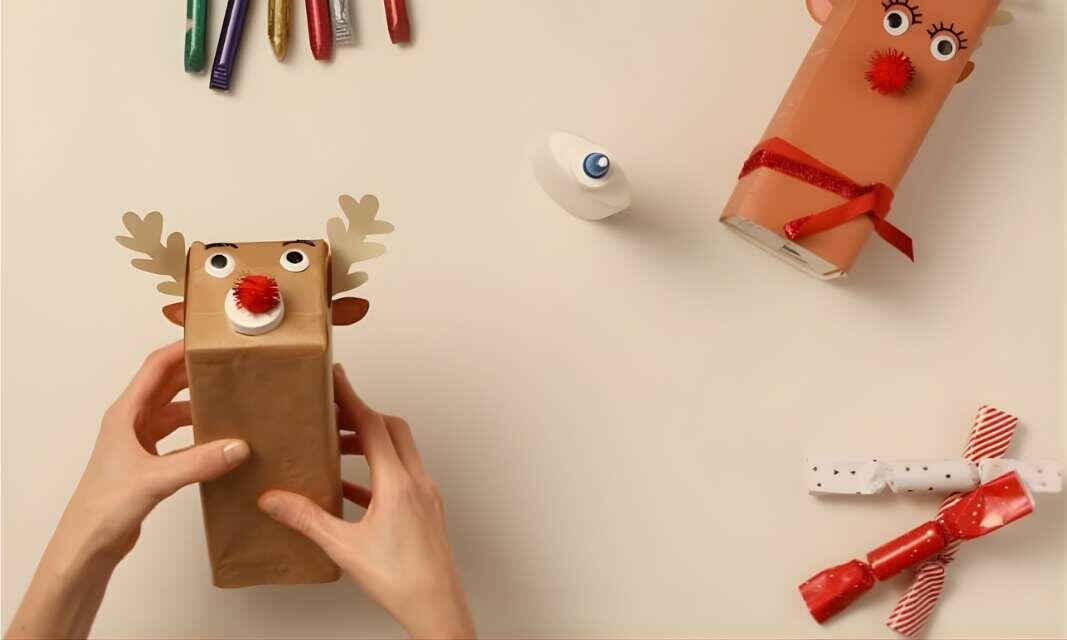
DIY Christmas reindeer using old cartons
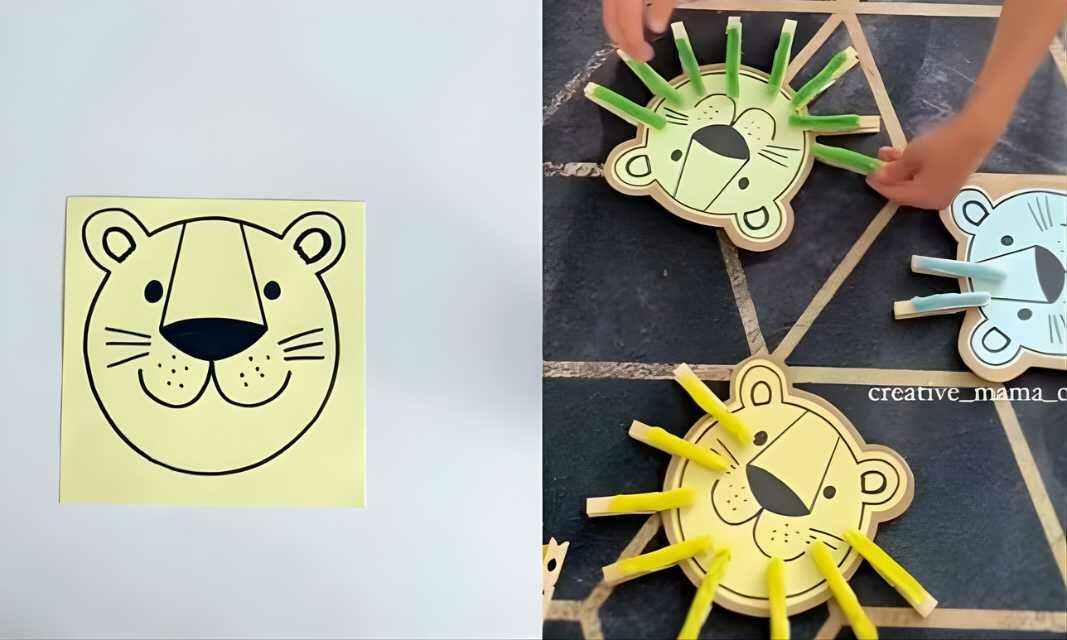
Easy lion craft activity with counting practice for kids

Everything you need to know: Glu Dots

How to build your own DIY cardboard dollhouse

How to create a mood board in 5 simple steps
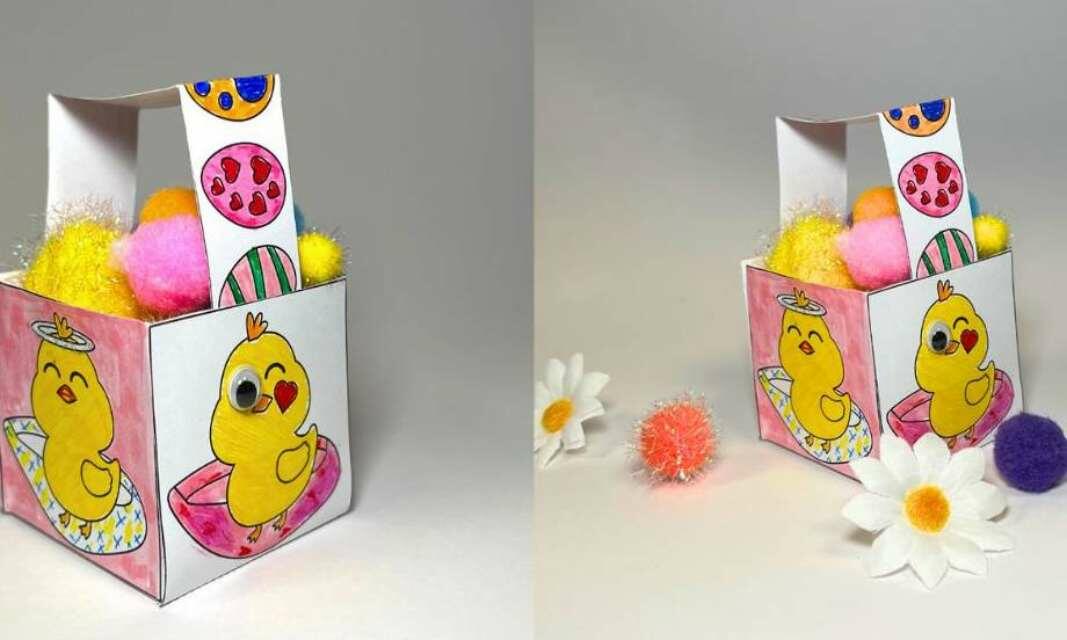
How to create a paper Easter basket
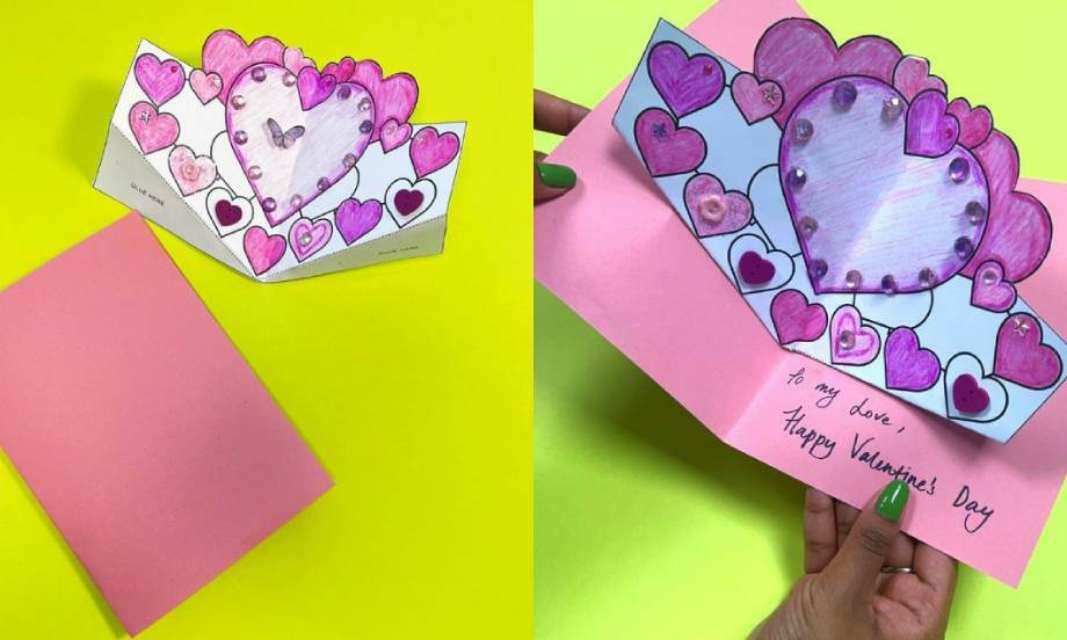
How to create a DIY Valentine's Day card
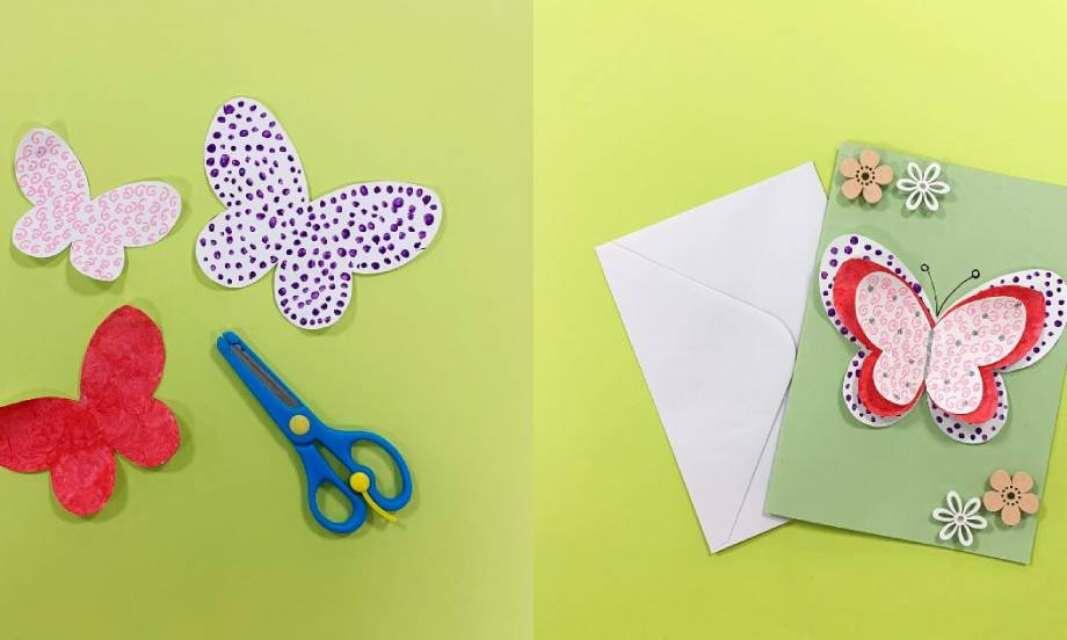
How to create a handmade Mother's Day card using our printable butterfly template
4 super easy children's craft ideas to do at home
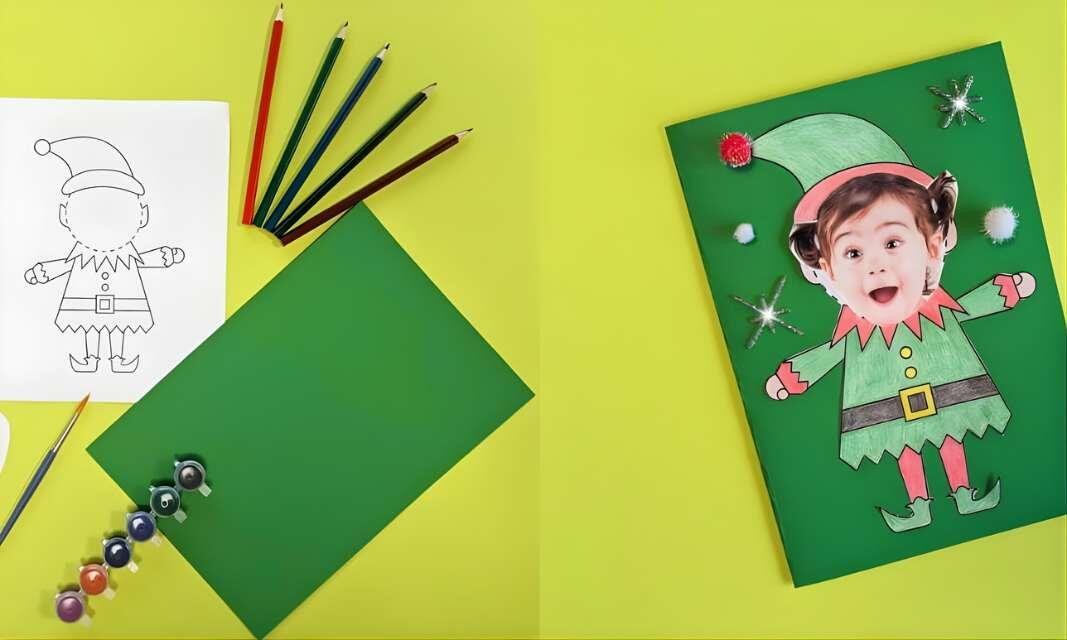
6 steps to make a handmade elf card using our printable template

How to make animal pencil pot holders
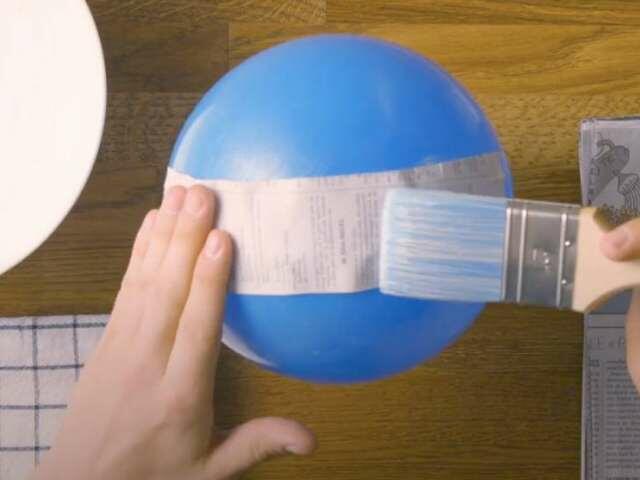
How to make paper maché with Bostik PVA glue

How to make slime using PVA glue
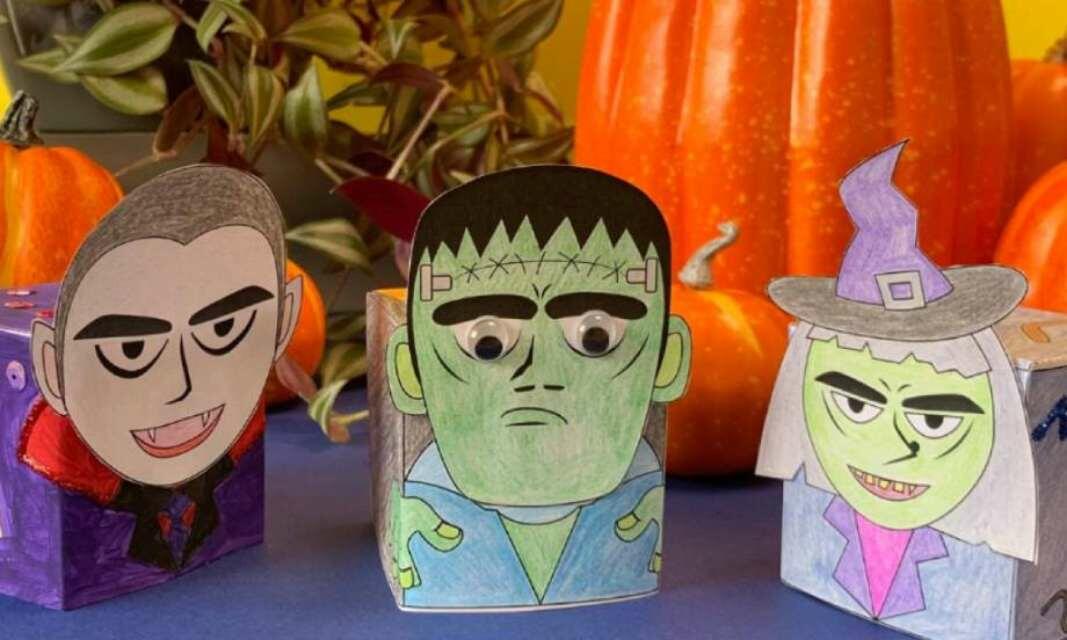
Make your own Halloween monsters using our printable template