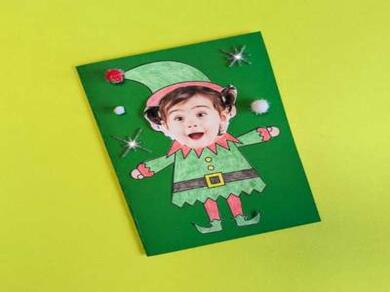
6 steps to make a handmade elf card using our printable template
Looking for a Christmas elf craft to get stuck into? Christmas is a time for giving, so surprise your loved ones with a handmade elf card and share your thanks in a unique and personalised way.
Using our elf craft template, you can 'elf yourself' into Santa's little helper, perfect for getting the little ones into the festive spirit whilst keeping them busy during the half term holidays.
Follow our guide and create a DIY elf card in six simple steps…
Instructions
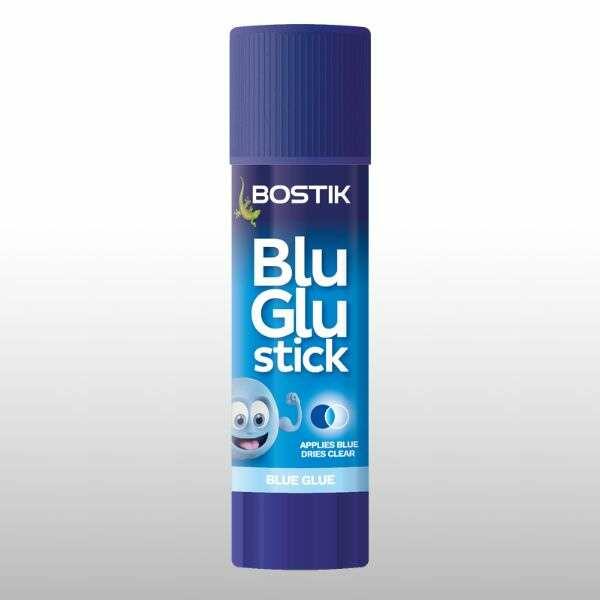
BLU GLU STICK
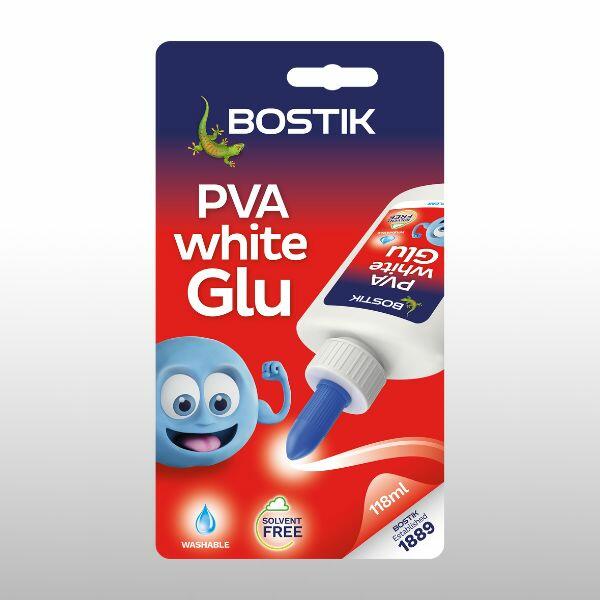
PVA WHITE GLU
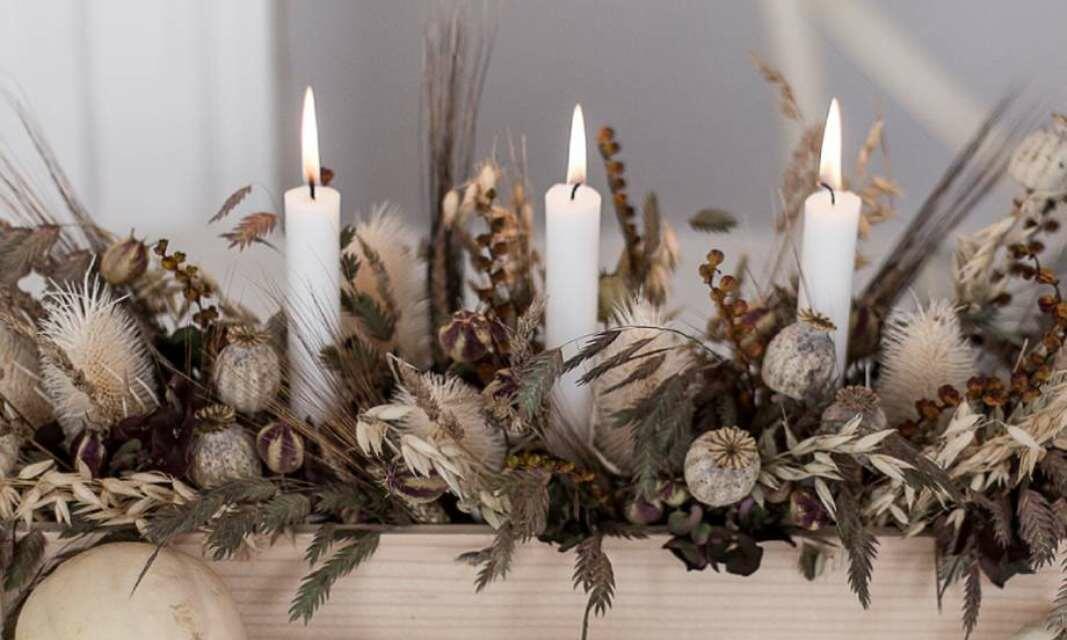
6 steps to create a DIY flower candle holder
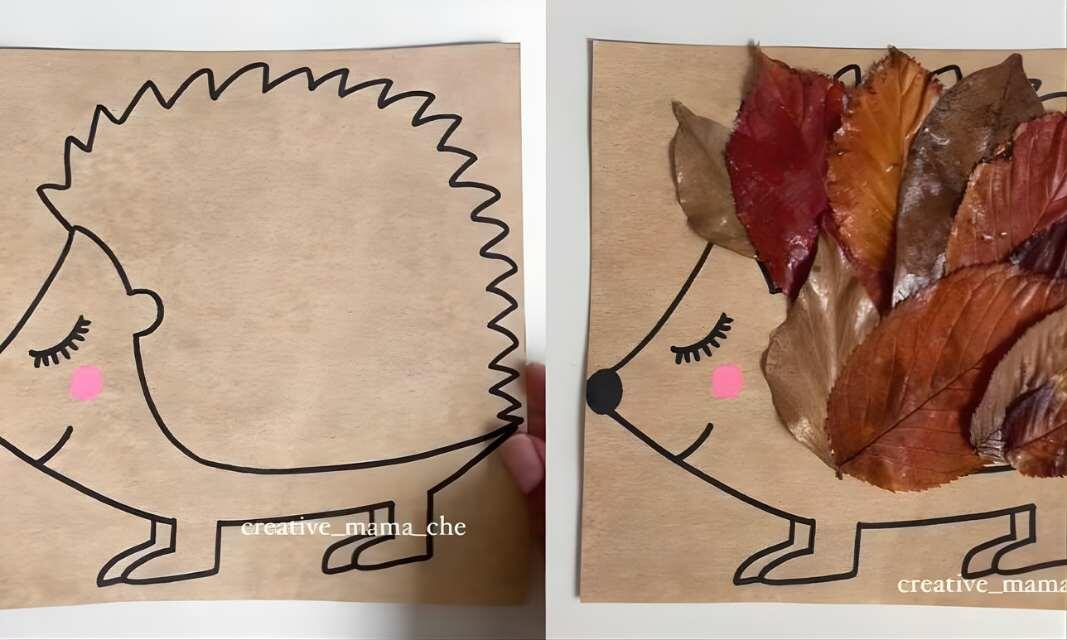
How to create a squirrel and hedgehog leaf craft
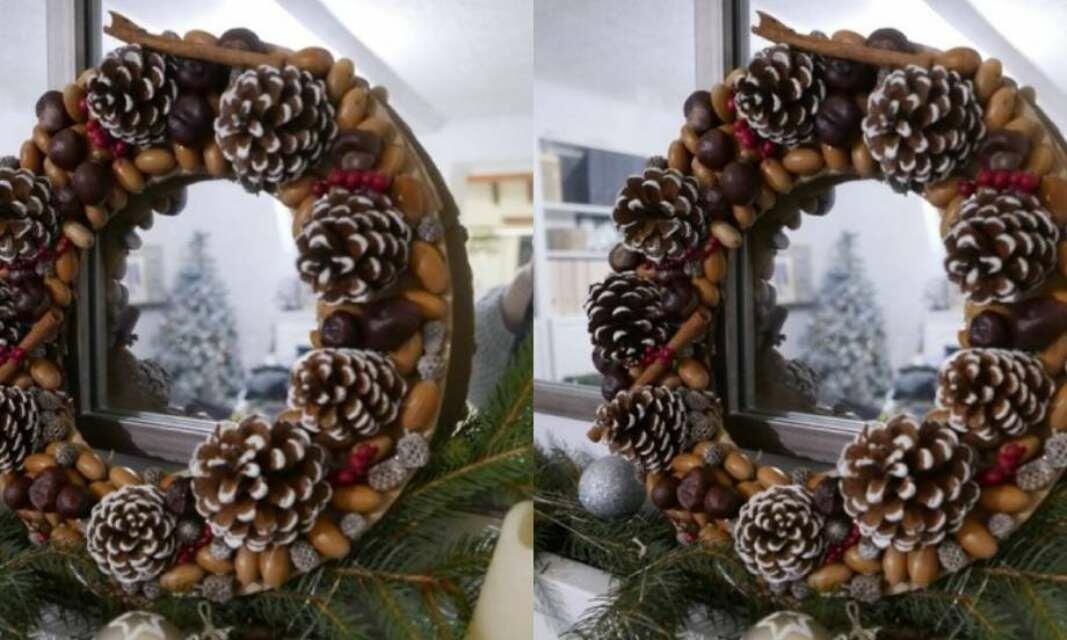
How to make a Christmas wreath at home

How to make your own advent calendar
4 super easy children's craft ideas to do at home

4 brown paper wrapping ideas for Christmas and birthdays

3 simple things to make with lolly sticks
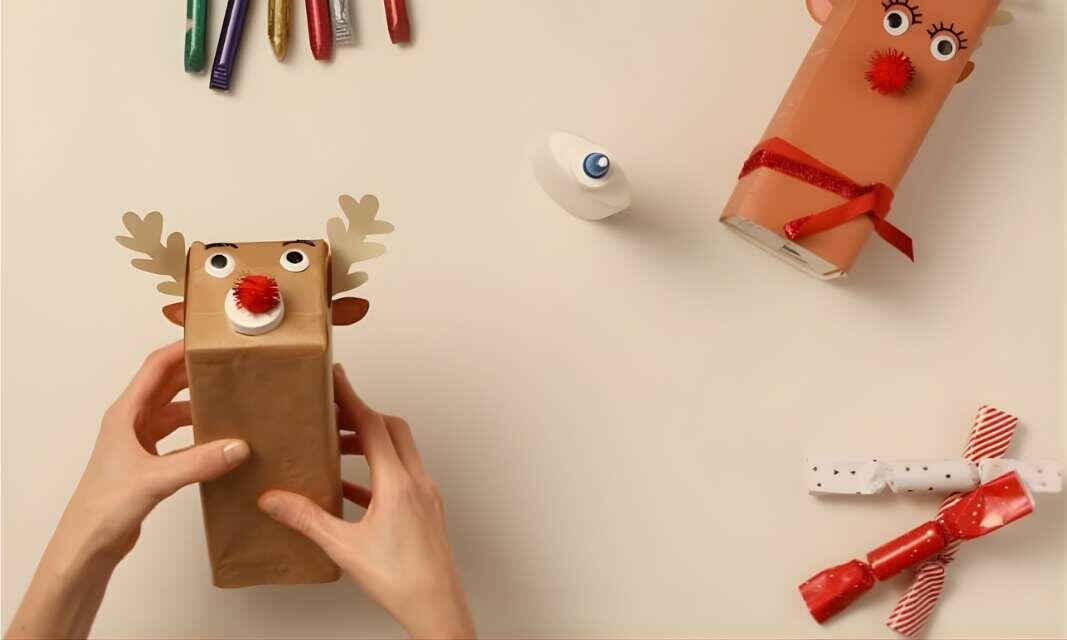
DIY Christmas reindeer using old cartons

How to make animal pencil pot holders
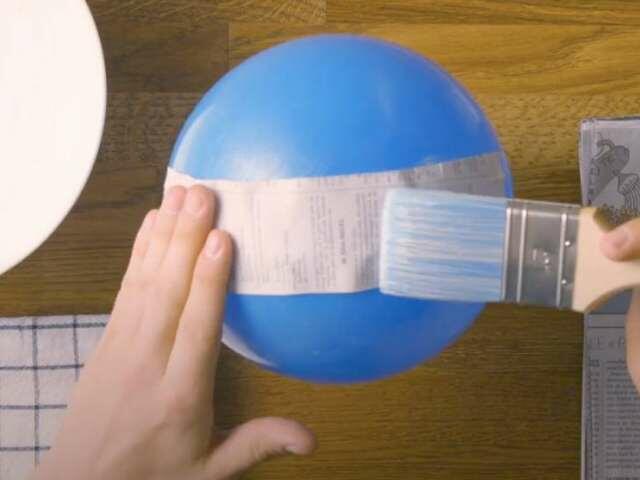
How to make paper maché with Bostik PVA glue

How to make slime using PVA glue
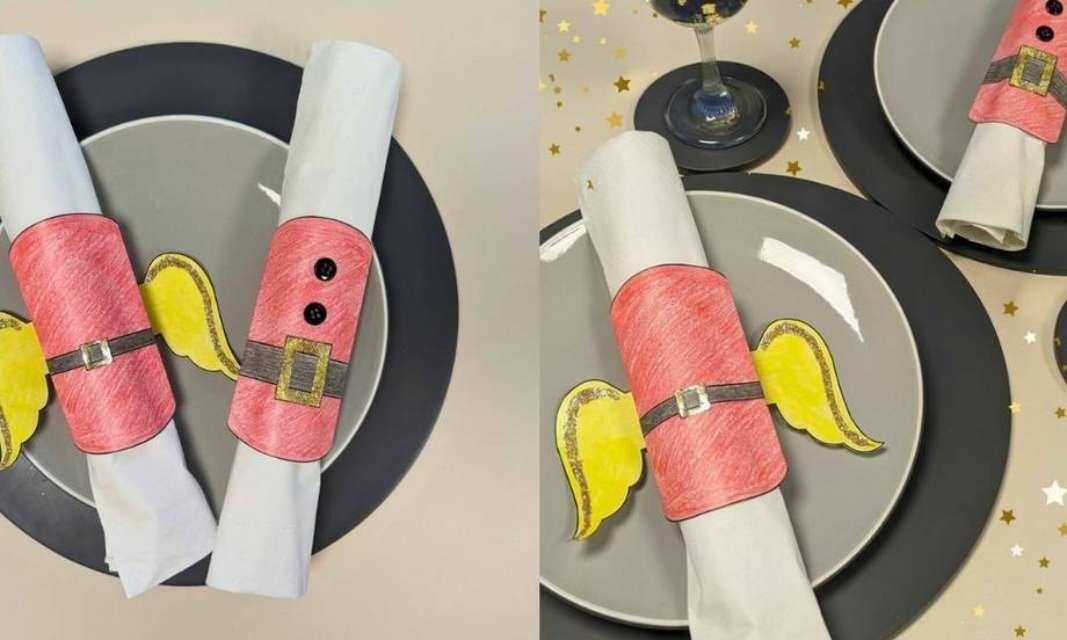
How to make your own Christmas napkin rings
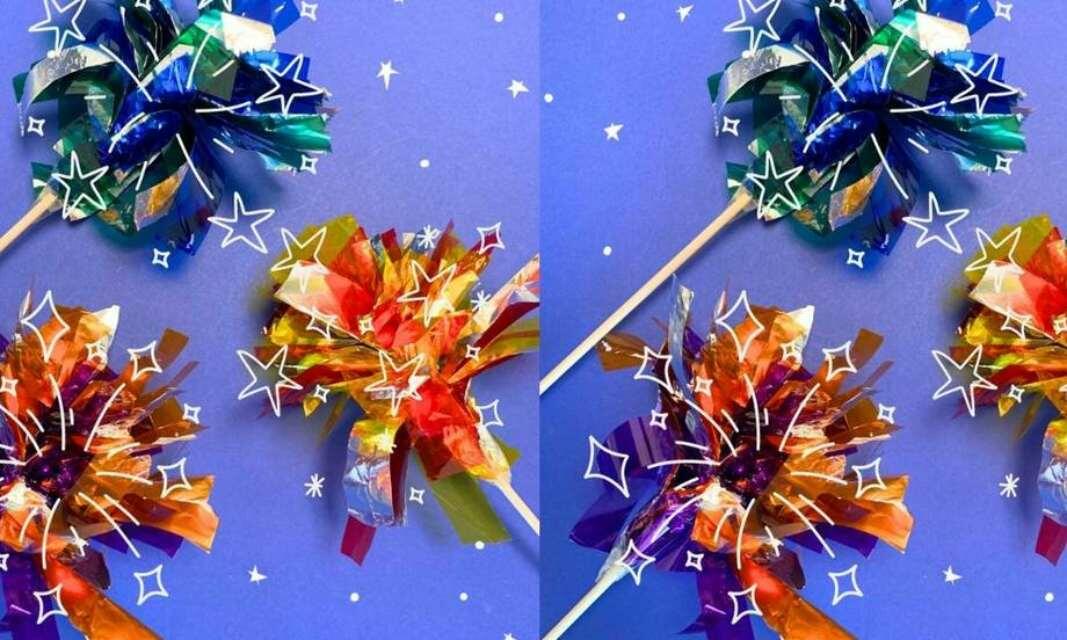
How to make your own sparklers
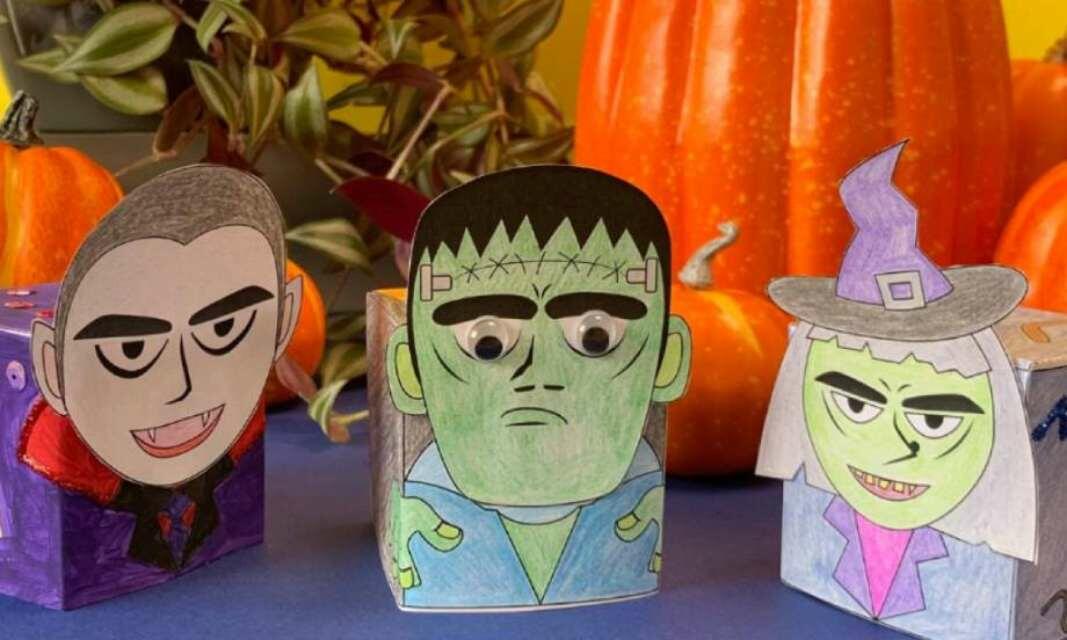
Make your own Halloween monsters using our printable template