How to make a Christmas wreath at home
Are you feeling festive? There's nothing better to get you in the Christmas spirit than putting baubles on your tree, wrapping a garland round your stairs, or hanging up your Christmas wreath. This year, why not choose to make your own wreath with festive foliage collected from your winter walks and get the whole family involved!
Our step-by-step guide reuses old cardboard boxes that are in abundance during the festive period to create a homemade Christmas wreath that can sit pretty on your front door, cabinets, or fireplace. Discover how to create your own wreath in just 4 simple steps.

Instructions

How to create a DIY cake stand or homemade vase

How to create a DIY sun mirror
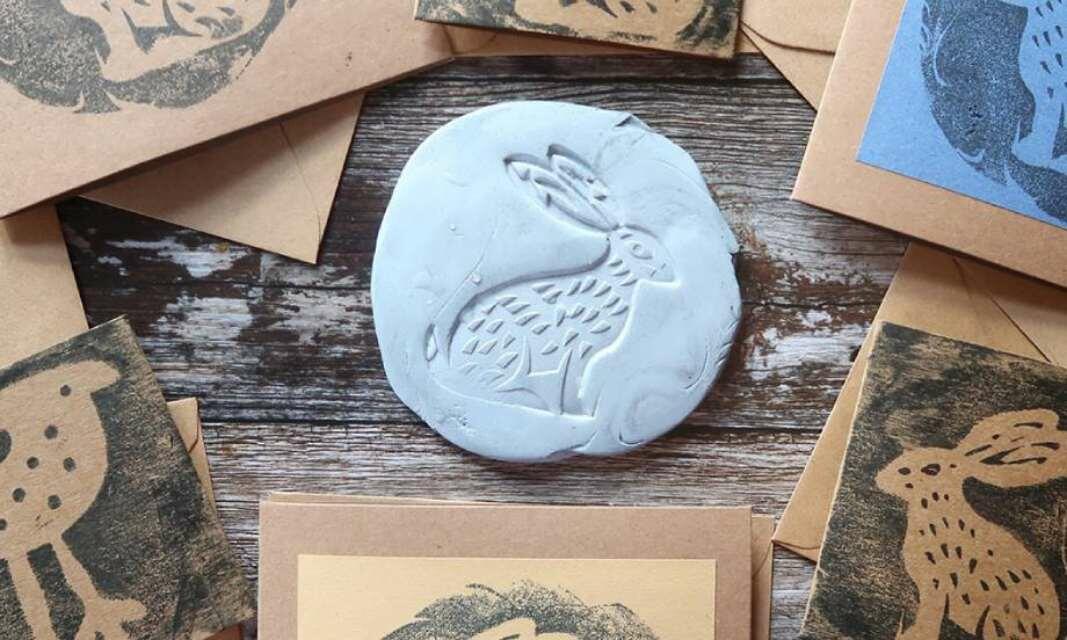
How to create reverse prints using Blu Tack®
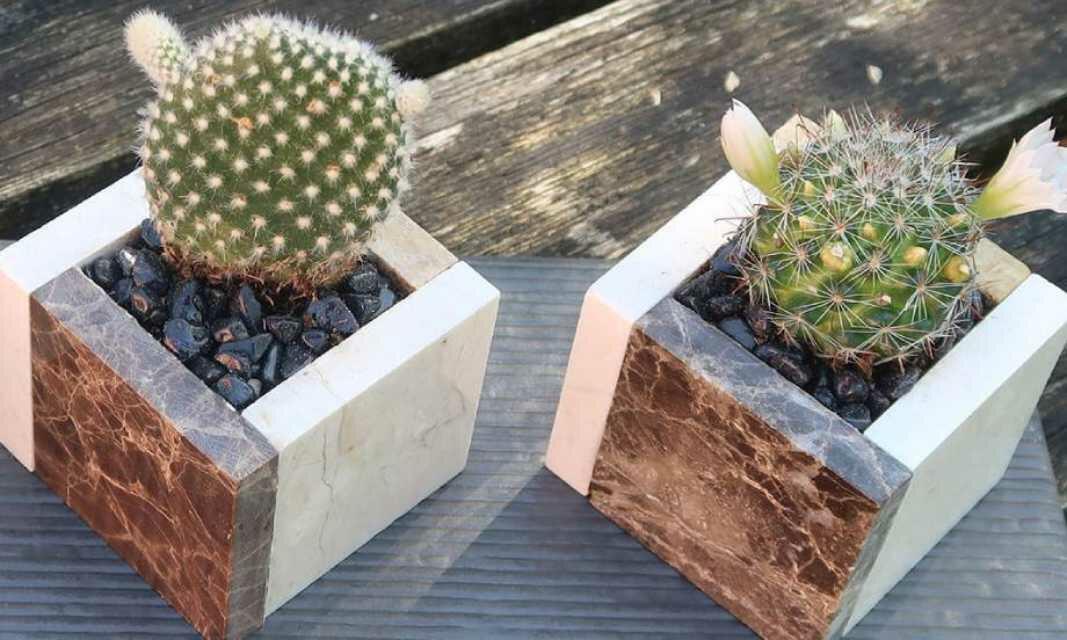
How to create your own DIY ceramic plant pots

How to make a DIY plant frame

How to make your own advent calendar

How to make your own pendant light

6 steps to create a DIY flower candle holder
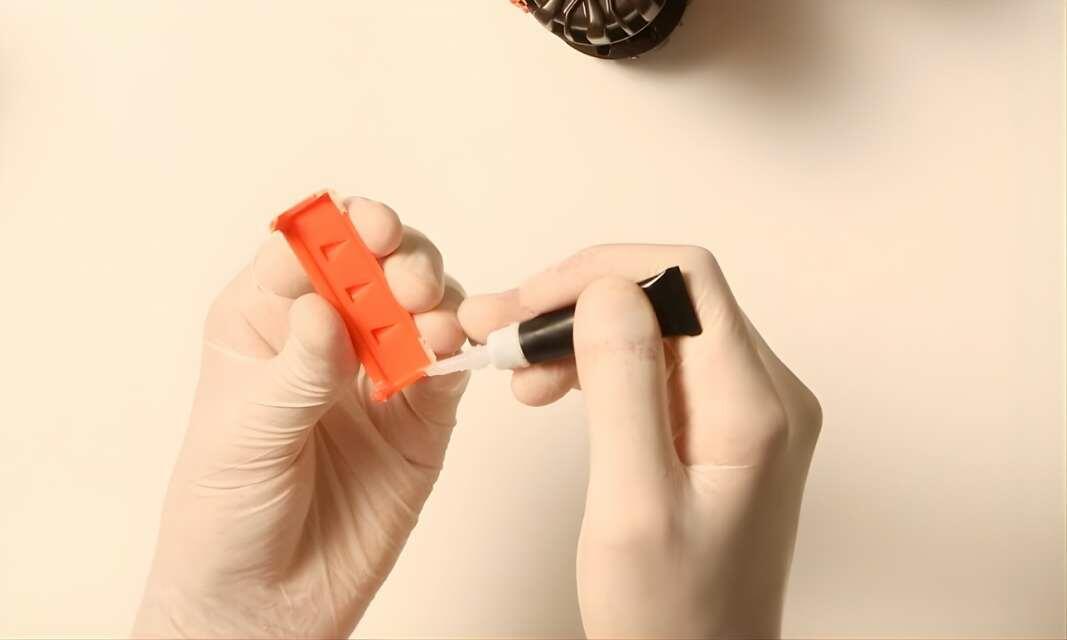
Everything you need to know: Super Glue
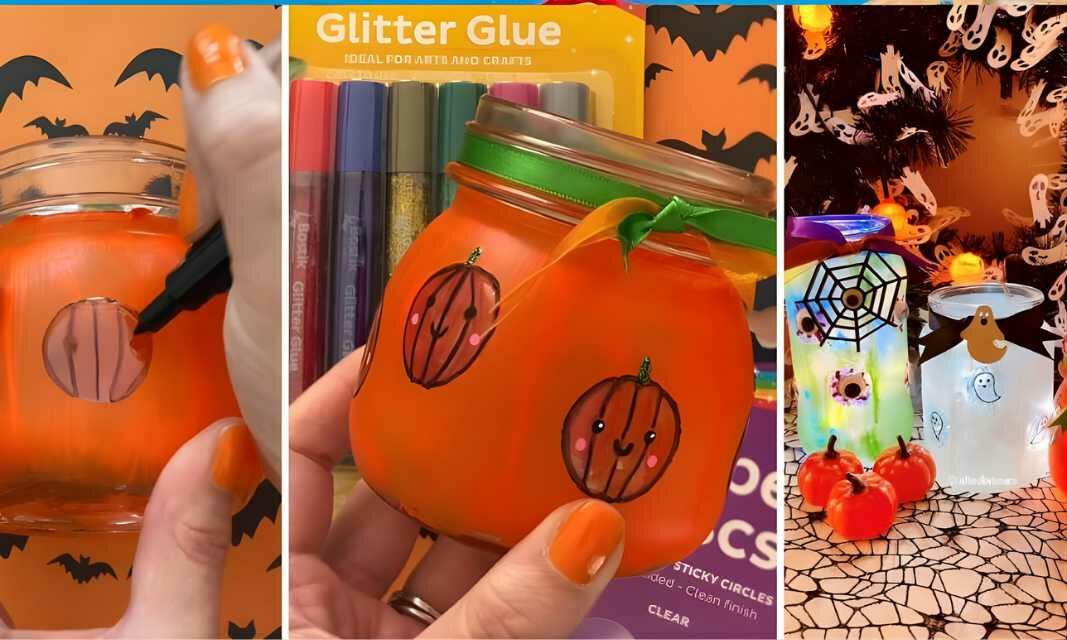
How to create DIY Halloween jar lanterns
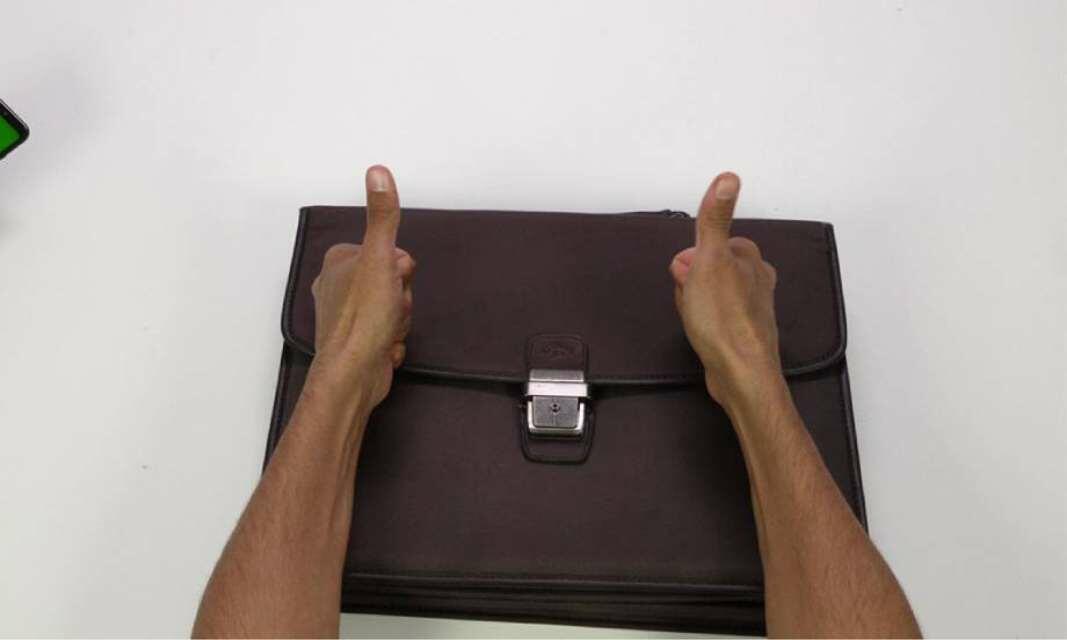
How to easily repair a fabric or leather bag clasp with super glue
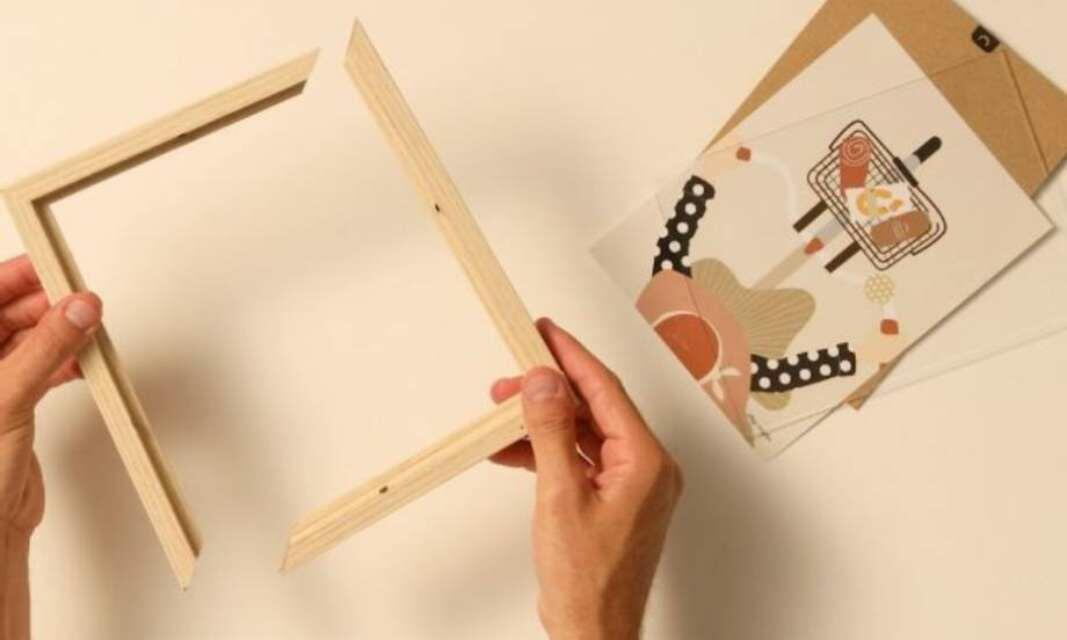
How to fix a broken picture frame with glue
How to fix broken hard plastic items

How to fix ripped jeans with fabric glue and a decorative patch
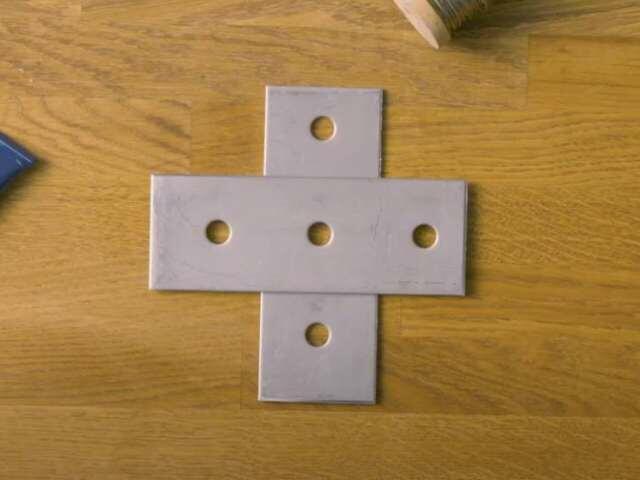
How to glue metal to metal

How to make a 3D snowman out of paper
How to read hazard icons on glues

How to remove fabric glue from clothes

How to remove super glue from clothes
How to remove super glue from skin

How to repair a broken ceramic vase
How to repair a broken glass
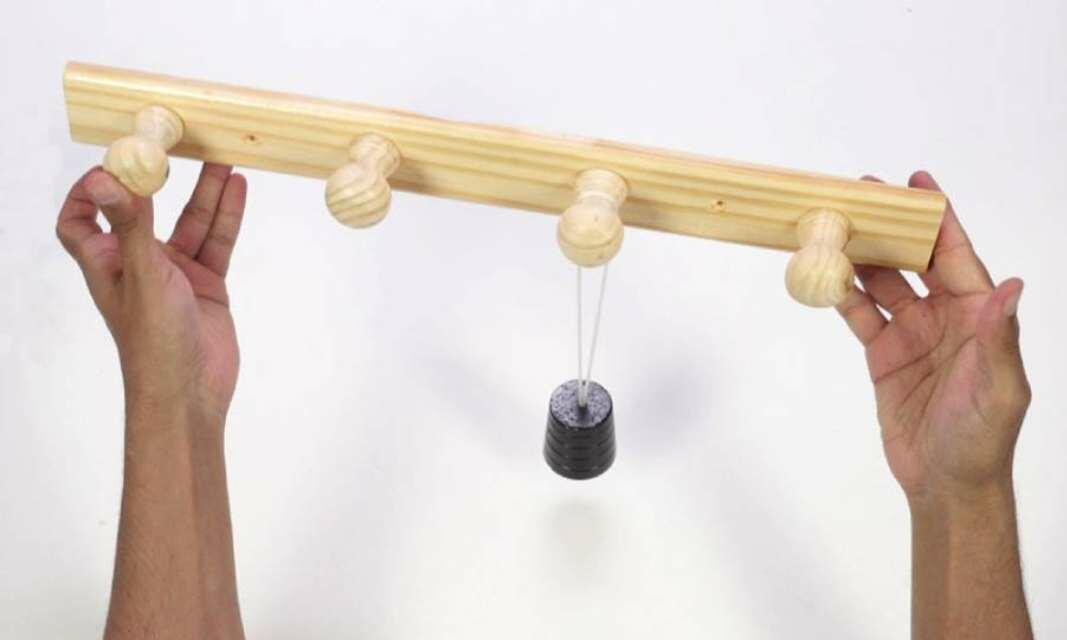
How to repair a broken wooden coat rack
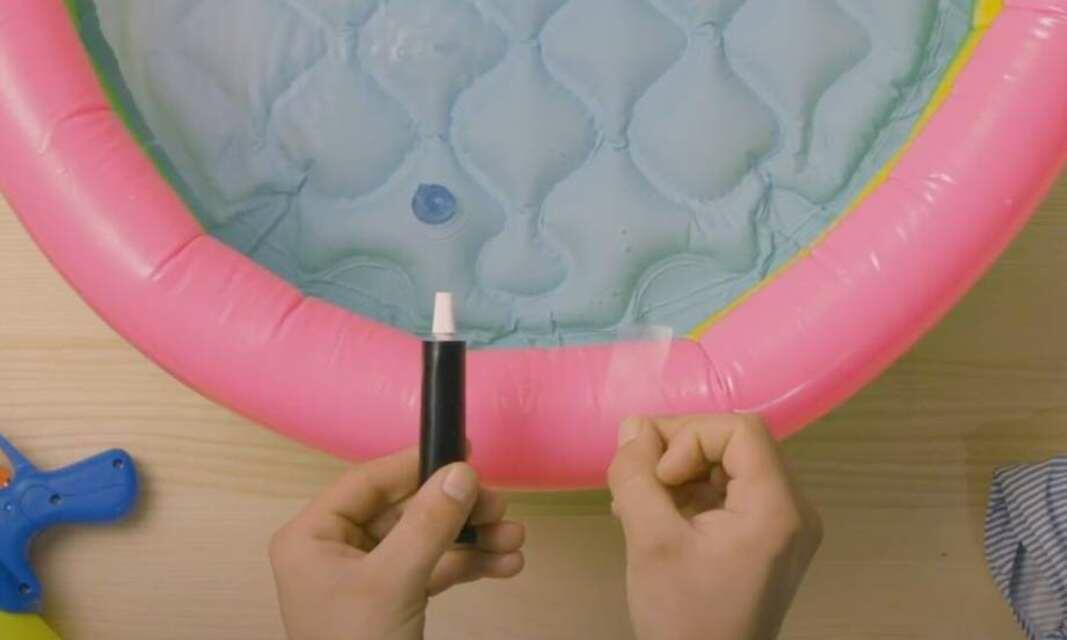
How to repair a child's paddling pool using plastic glue
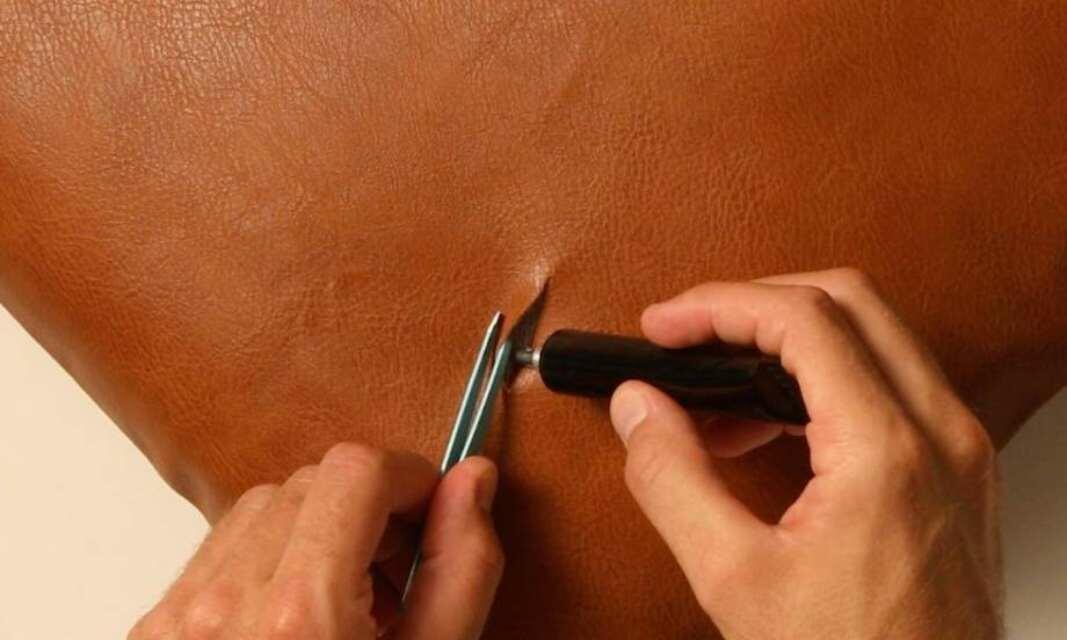
How to repair a leather sofa cushion
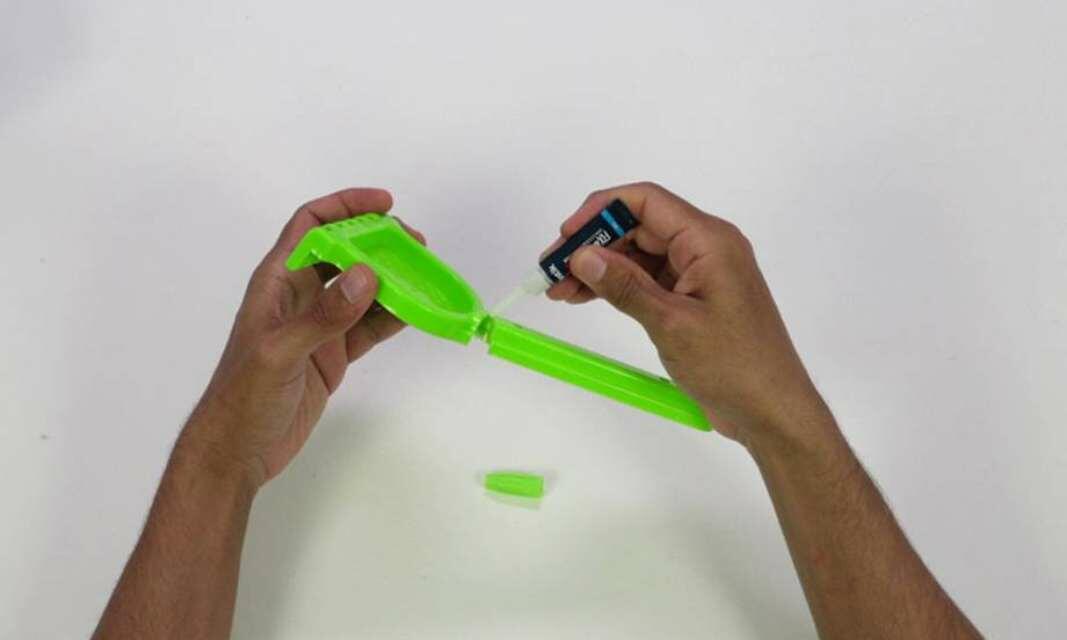
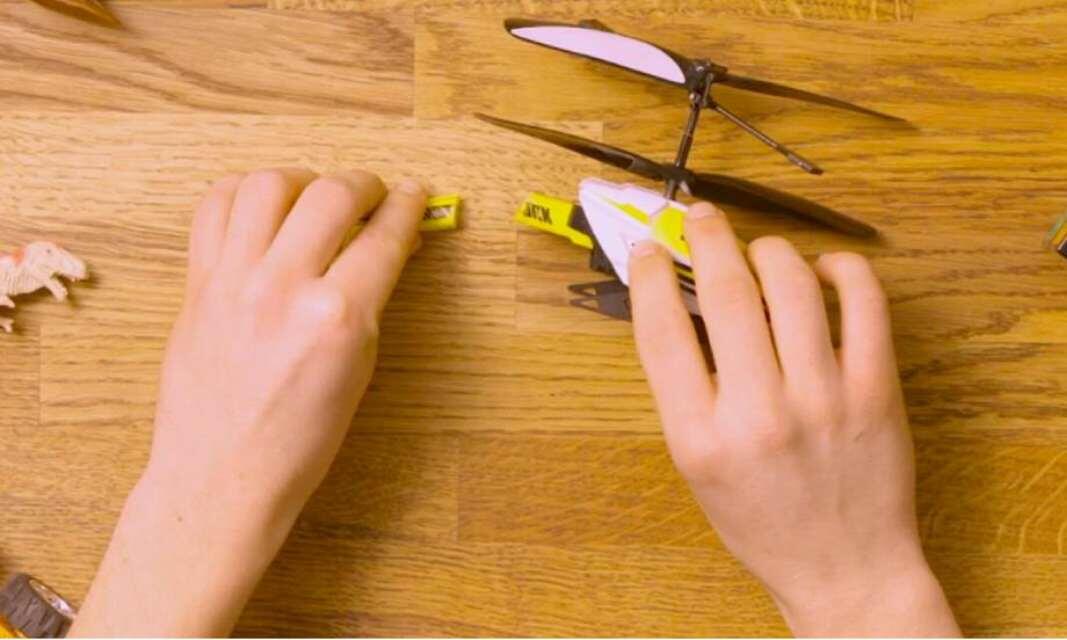
How to repair a plastic toy
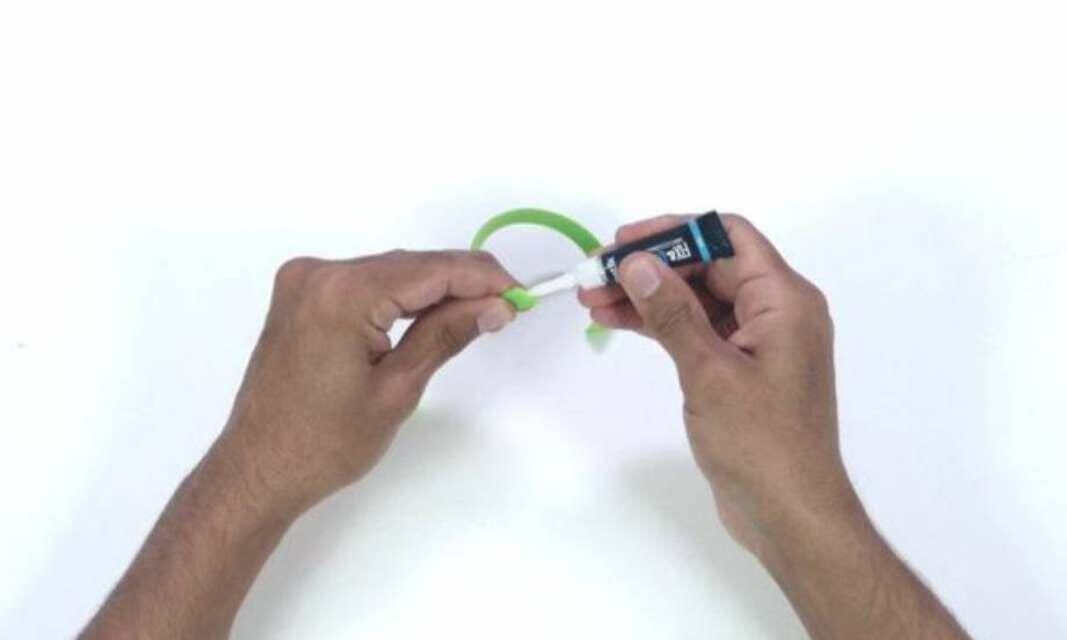
How to repair a rubber bracelet

How to repair broken headphones
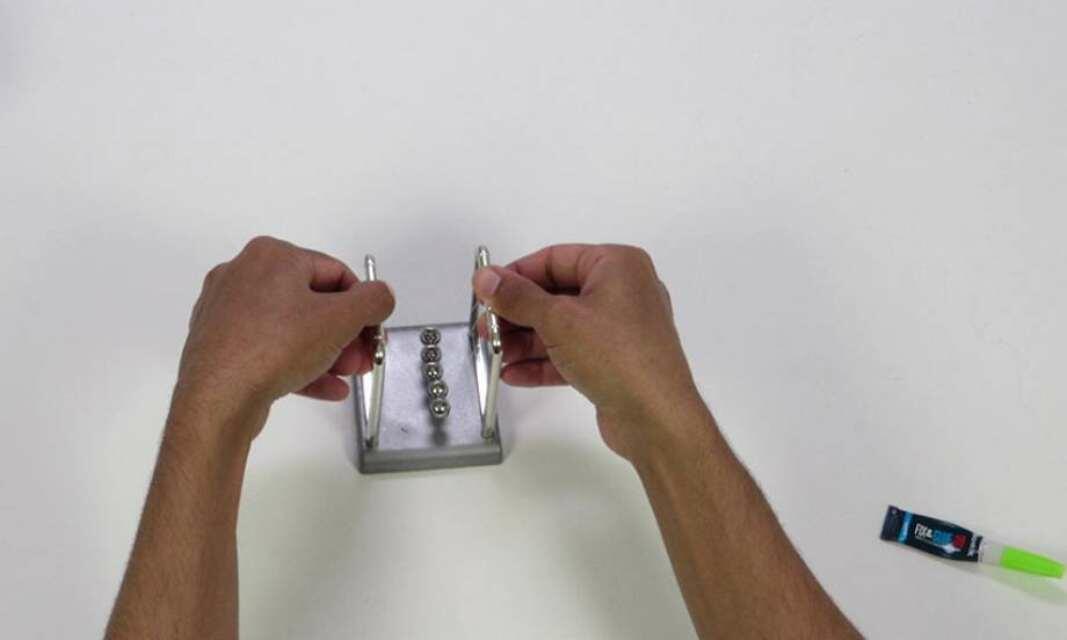
How to repair metal objects using super glue
How to repair the sole of your shoe