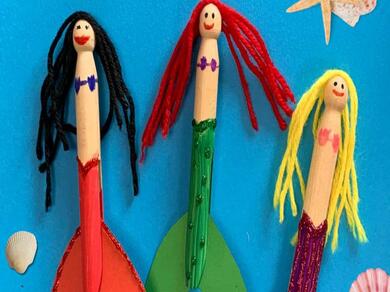
Easy mermaid craft using wooden clothes pegs
Fancy a dip? Go under the sea in this easy mermaid craft tutorial and join us in celebrating the remake of Disney's The Little Mermaid, hitting the big screens.
By upcycling wooden clothes pegs, you can quickly transform this everyday household item into a magical sea creature. Make your DIY mermaids swim in a sea of blue paper and add shells and sea jewels to really set the scene.
Plus, our crafts using wooden clothes pegs are super simple for all the family to enjoy. So, grab your glue and get 'swimming'!
Instructions
BLU TACK®
PVA WHITE GLU
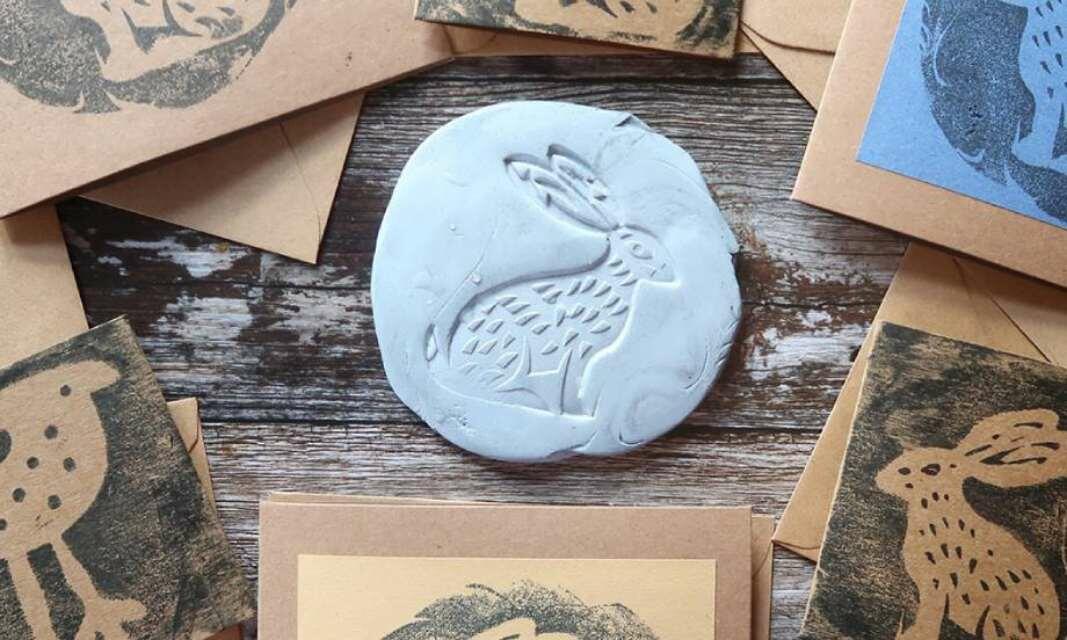
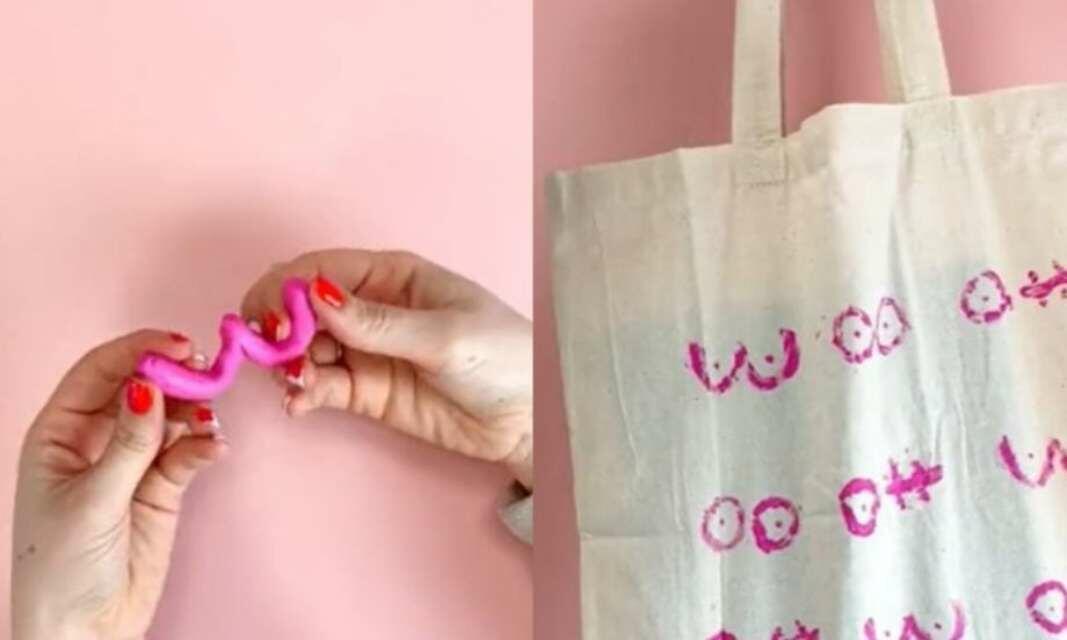
How to create reverse prints using Blu Tack®

3 simple things to make with lolly sticks
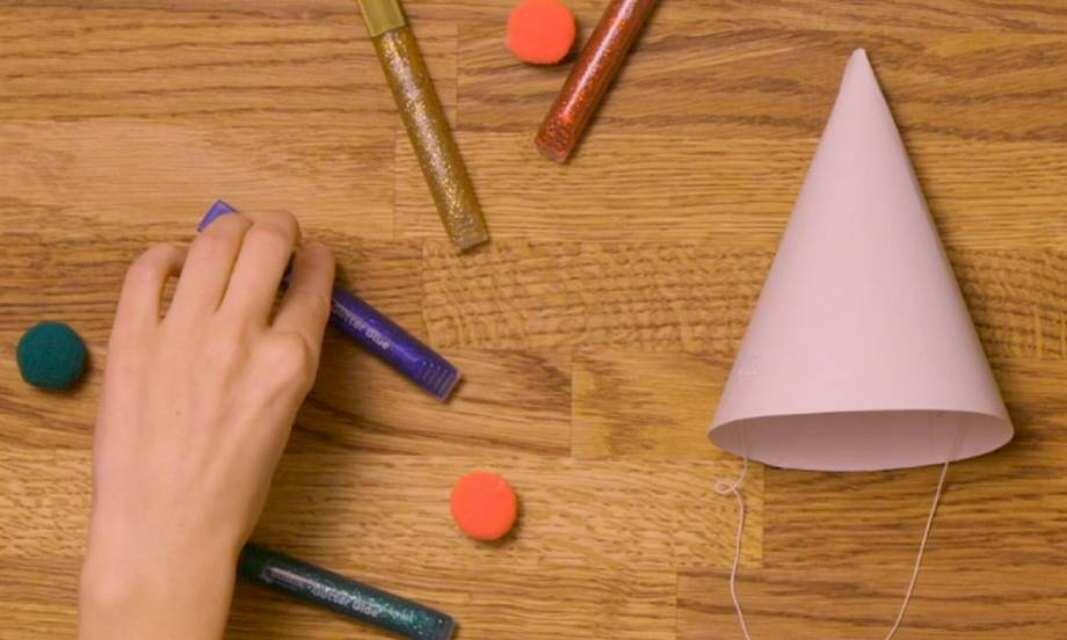
6 easy glitter glue craft ideas
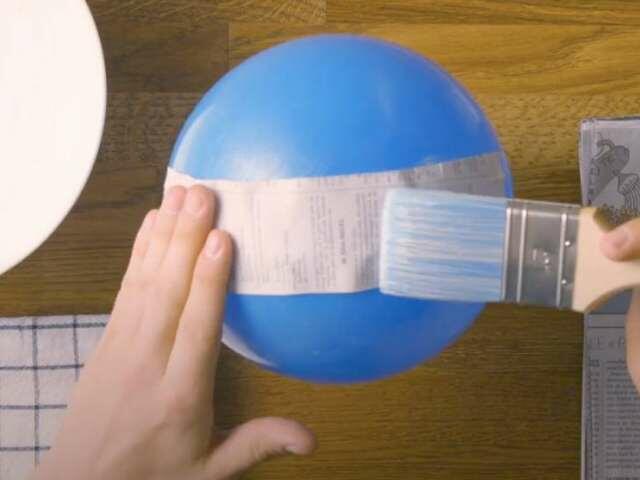
How to make paper maché with Bostik PVA glue
4 super easy children's craft ideas to do at home
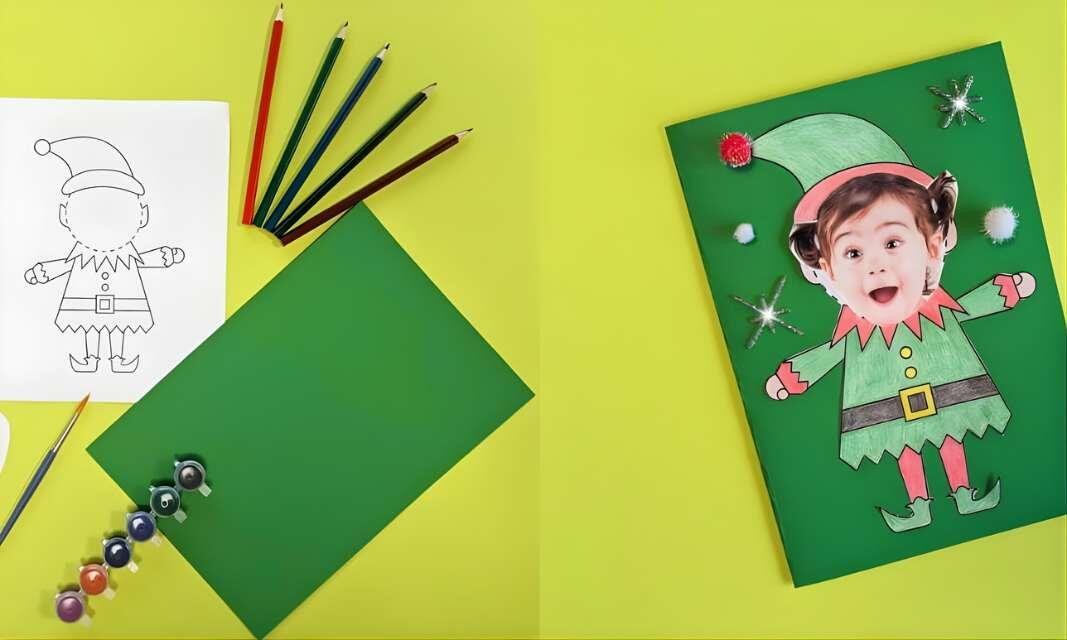
6 steps to make a handmade elf card using our printable template
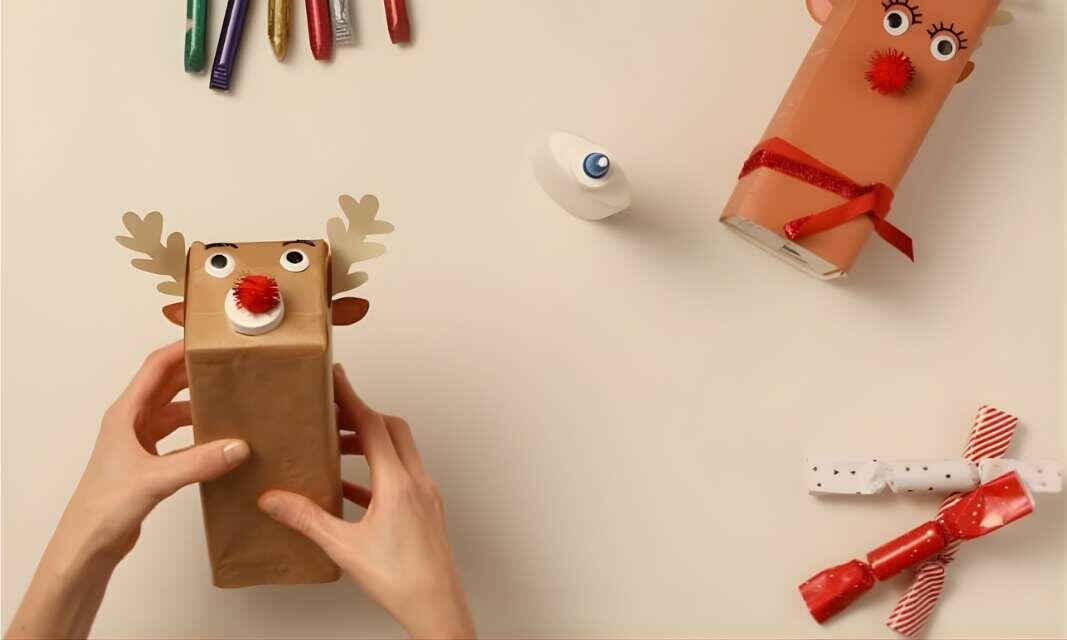
DIY Christmas reindeer using old cartons
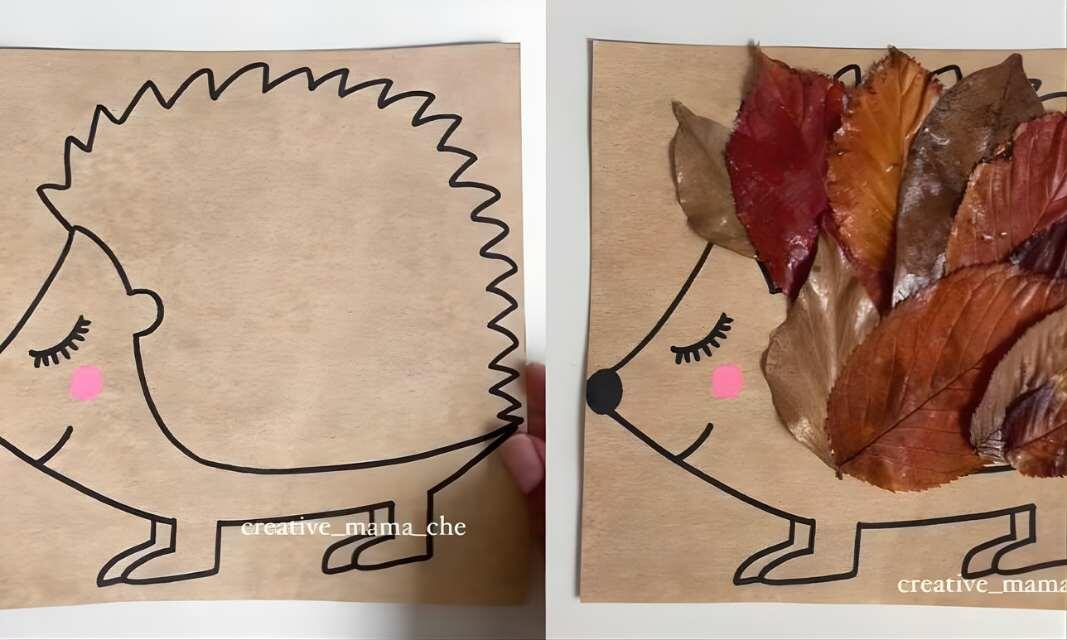
How to create a squirrel and hedgehog leaf craft
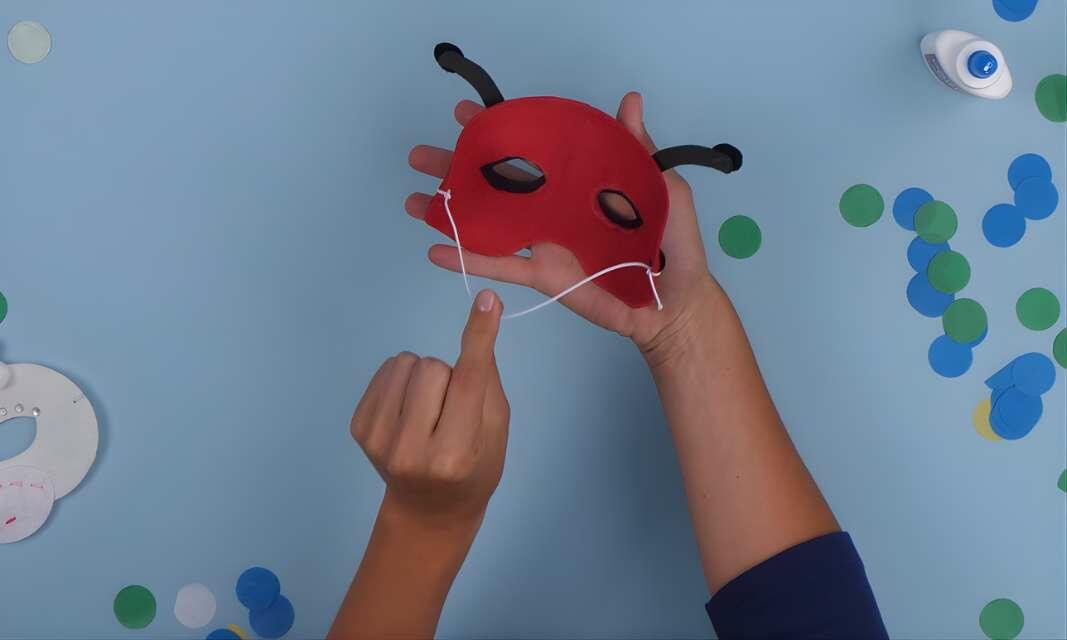
How to make a DIY animal mask

How to make animal pencil pot holders
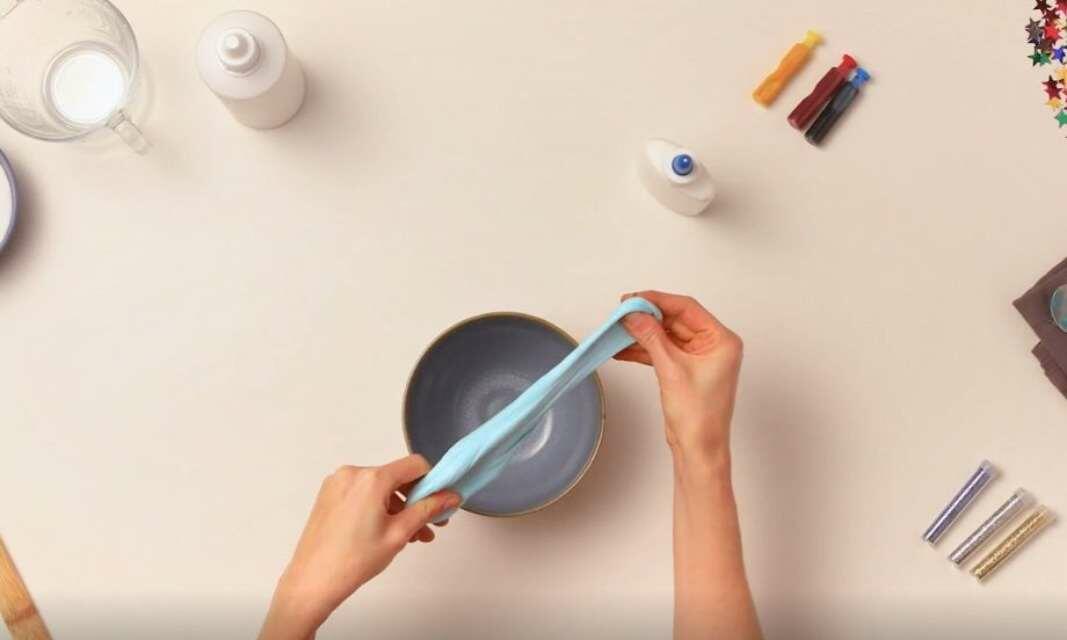
How to make slime using PVA glue
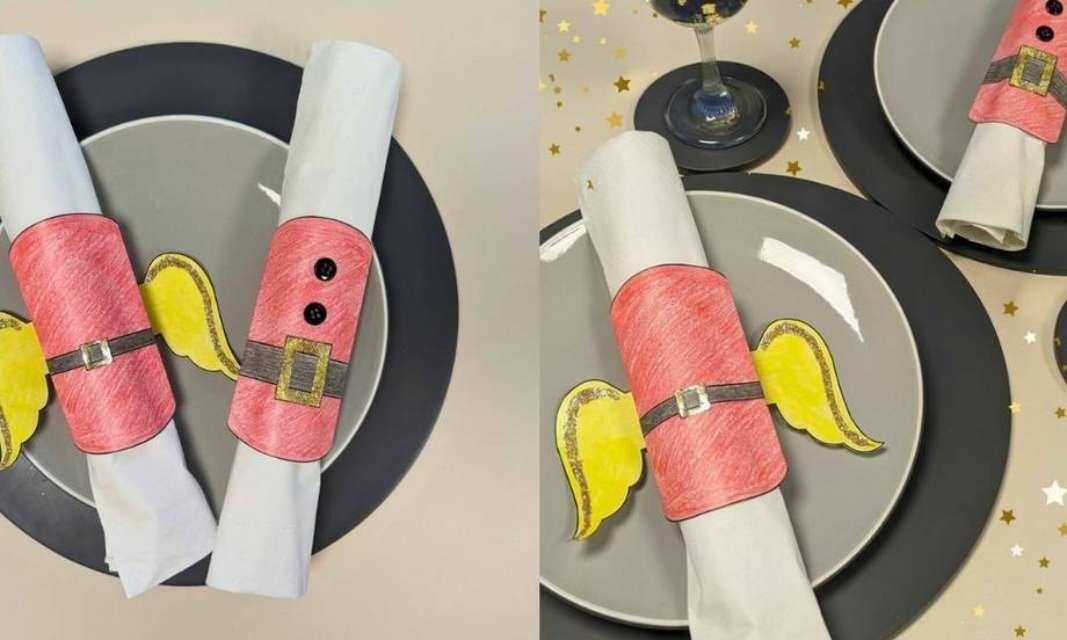
How to make your own Christmas napkin rings
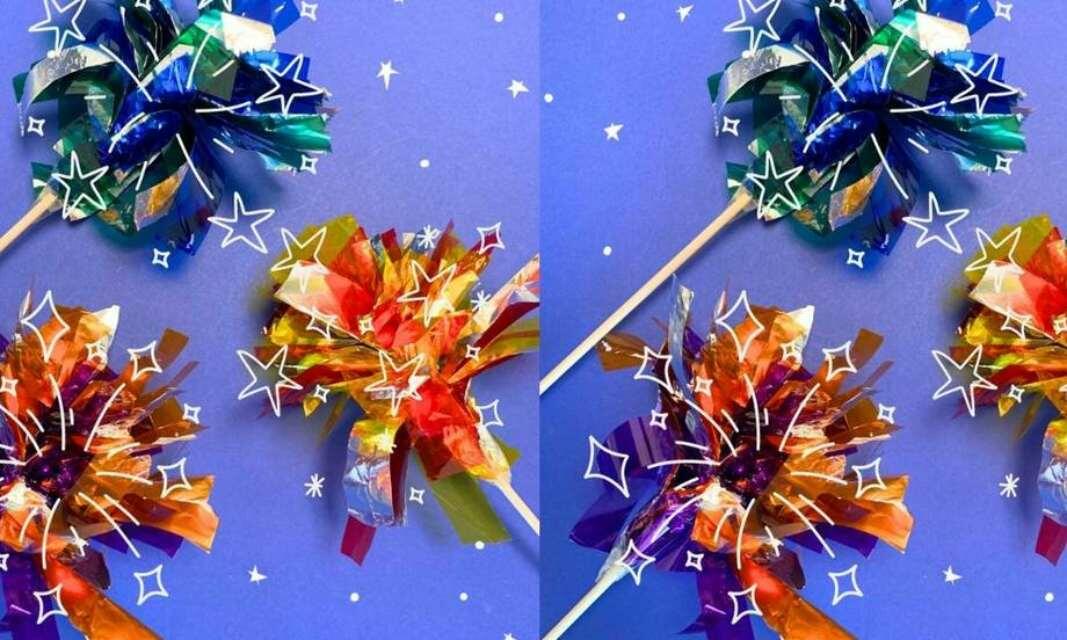
How to make your own sparklers
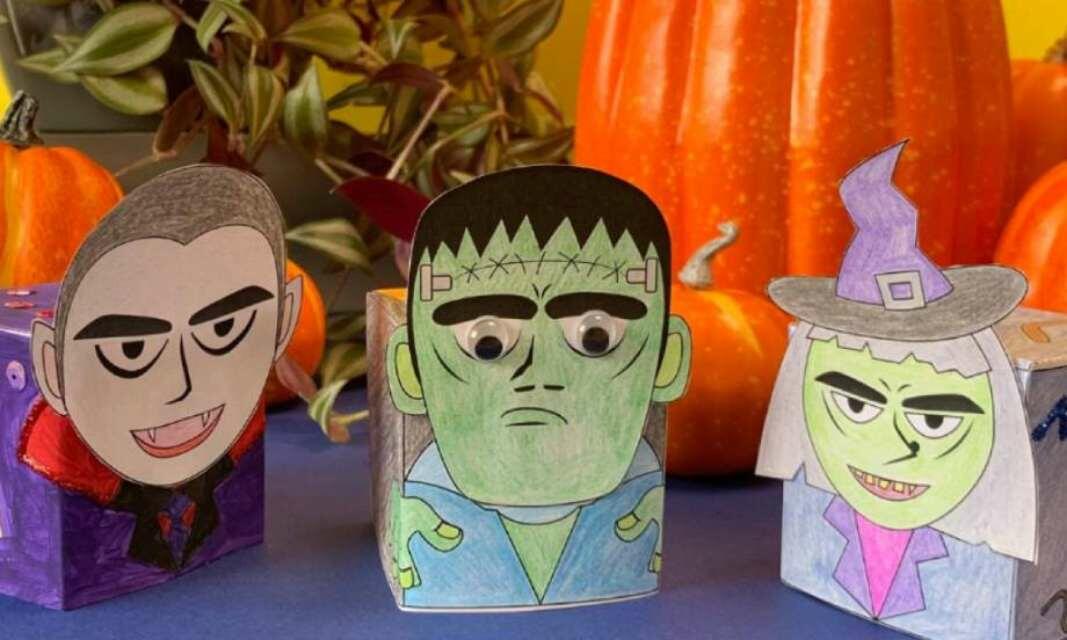
Make your own Halloween monsters using our printable template
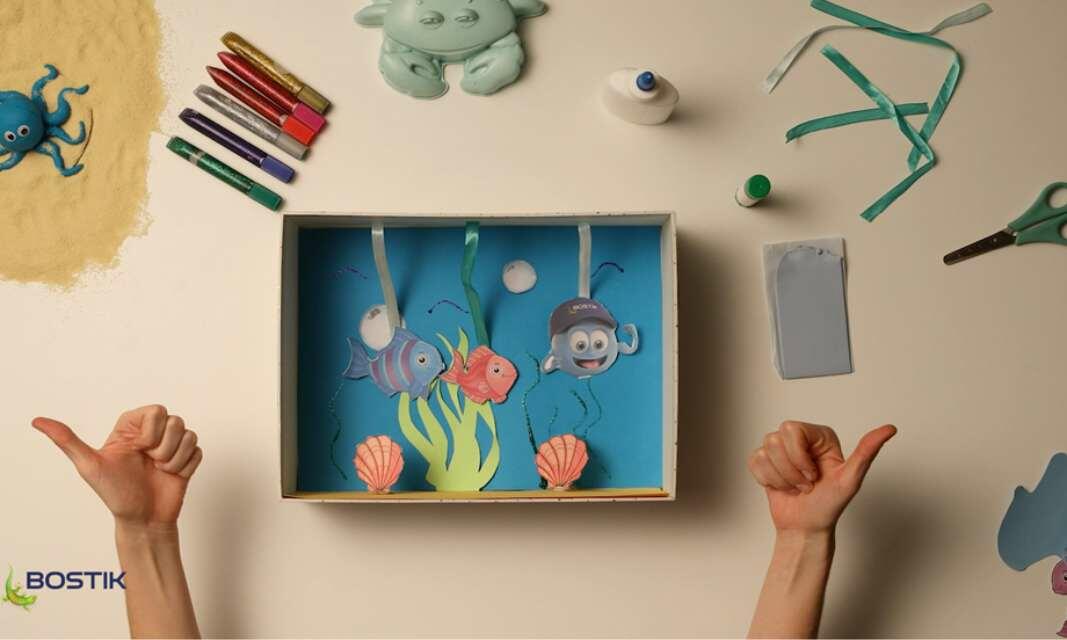
Simple shoebox aquarium craft
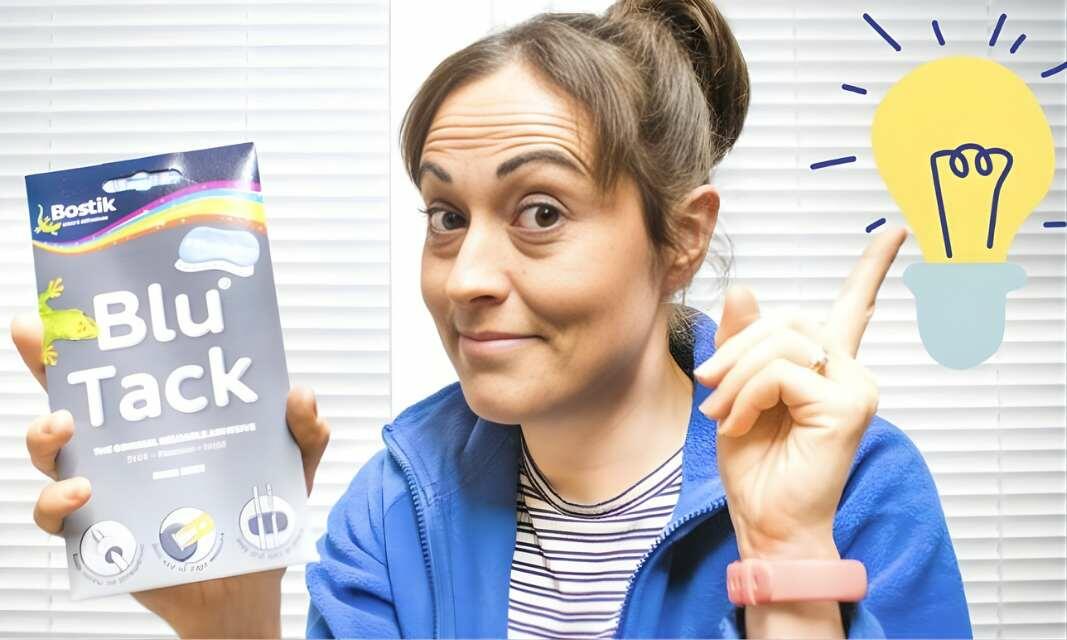
18 DIY #BluHacks using Blu Tack® Grey
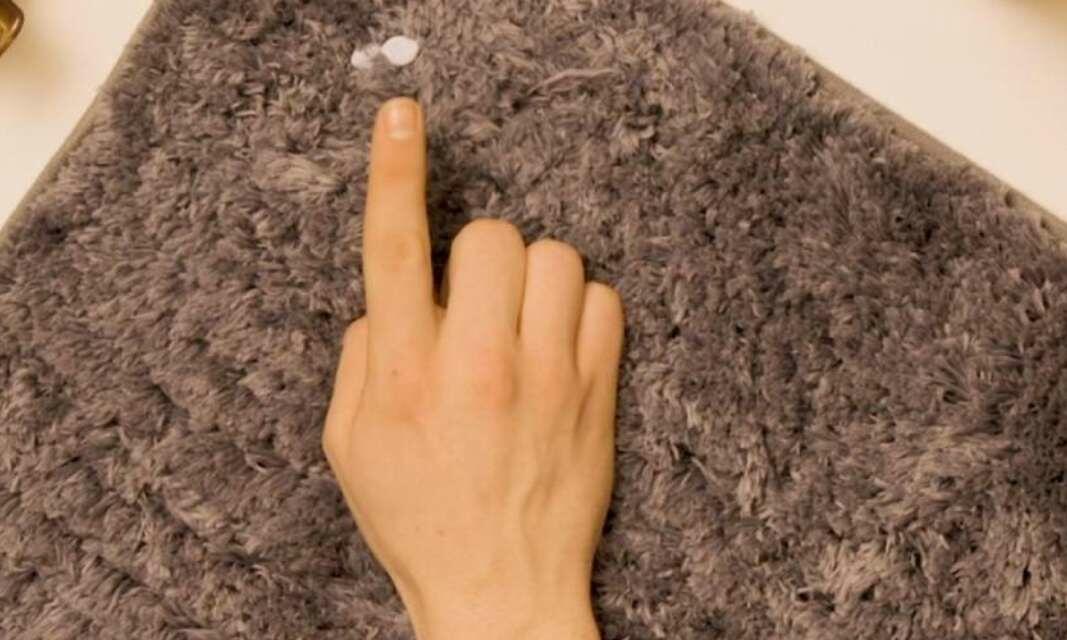
How to remove Blu Tack® from carpet
How to remove Blu Tack® stains from a wall