How to make paper maché with Bostik PVA glue
Paper maché is simple and fun to make and can be used in many arts and crafts projects. In a hectic and fast-paced world, spending a little time getting crafty can provide some welcome relaxation. It allows us to pause and get lost in the moment and learn a new skill to express your creative side.
Paper maché is super easy to make using Bostik PVA Glue. Plus, it's a brilliantly versatile medium – there are so many things you can make from paper maché including an artistic sculpture or a homemade trinket dish to gift to friends and family.
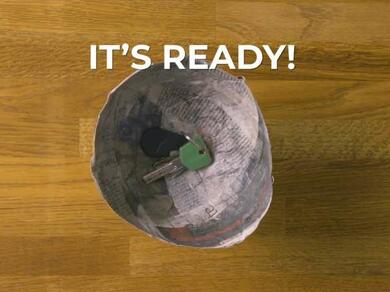
In this tutorial, we will show you how to make a paper maché bowl using a balloon. This DIY paper maché bowl is great for storing items such as keys, jewellery or any other small household items.
Why Bostik PVA Glue?
Bostik PVA Glue is a multipurpose, solvent-free white glue that turns clear when it dries. It’s the perfect go-to glue for arts and crafts projects for both adults and kids; such as card-making, scrapbooks, model-making and school projects. Plus, it sticks lots of materials, including paper, card, wood and fabric.
Our PVA Glue comes in an easy-to-use bottle with a resealable cap, and it’s specially formulated to be washable, so accidents are easy to clear up.
Everything you’ll need to make paper maché
In order to create a paper maché bowl at home, you will need the following products:
Essential:
- Bostik PVA Glue
- Old newspapers
- Water
- A mixing bowl
- Large mixing spoon
- Petroleum jelly
- Your choice of mould, for example a plastic bowl
- Scissors
- Materials to decorate your finished piece
Tip: Before we get into the tutorial, remember to open and use your glue on a protected work surface and ensure that anything you plan to glue is clean, dry and dust free.
Make your own paper maché with this simple step-by-step guide
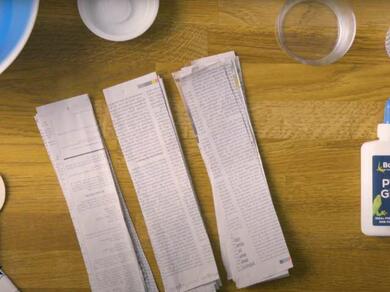
Step 1: Rip your paper
First things first, you need to tear up a good supply of old newspapers. Your strips of newspaper should be 2-3 inches (5-7 cm) long and 3-5 inches (7-13 cm) wide.
Step 2: Create your paste
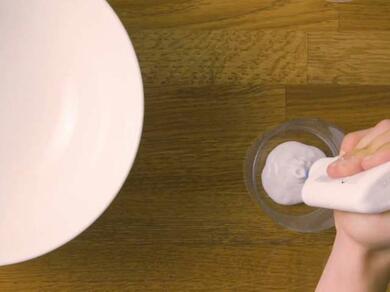
Once your newspaper strips are prepared, you need to mix 2 parts of Bostik PVA Glue to 1 part water in your mixing bowl. To open your PVA Glue, twist the blue part of the nozzle anti-clockwise, then gently squeeze the bottle so the glue starts pouring out.
Stir the PVA glue and water together until you get a paste-like consistency.
Remember: After using your PVA Glue, turn the nozzle clockwise to stop the glue drying out and wipe the nozzle with a clean cloth.
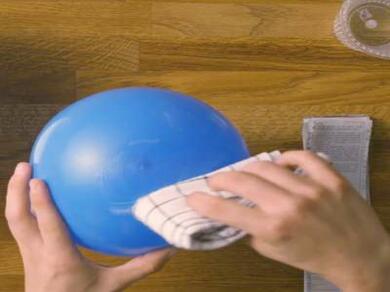
Step 3: Grease your mould
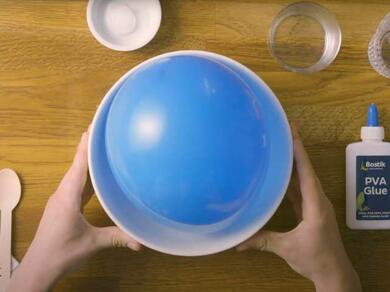
Select your item depending on what you are trying to create from the paper maché - your item is your mould. For example, in order to create a paper maché bowl we are using a balloon but a plastic bowl would also work - the choice is yours.
Grease your mould with petroleum jelly so that it will be easy to remove at the end of your project.
Step 4: Apply paste to your strips
Dip a strip of newspaper into the paste so that it is fully covered.
Tip: If you're struggling to apply the paste or find it gets too messy, lay some old newspaper on your table to protect the surface. Then, dip a large paint brush into your paste mix and paint the newspaper strip on the table being careful to not apply too much paste.
Once the strip of newspaper is fully covered, hold the strip above the mixing bowl and running it between two fingers to remove any excess paste.
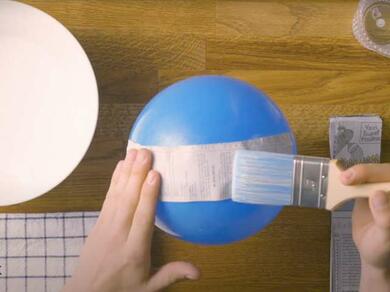
Step 5: Stick to your mould
Apply the covered strip to your mould and then repeat, starting in the centre of your object and gradually fanning out.
Continue layering strips to cover the whole mould, overlapping them and laying them in different directions. Then allow your piece to dry completely.
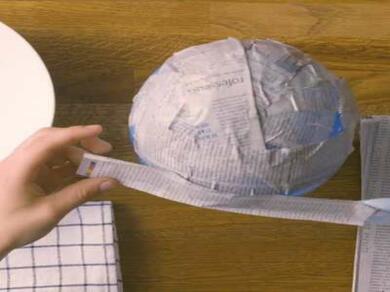
Step 6: Leave to dry and then repeat
Once your first layer of newspaper has dried on your mould, repeat steps 4 and 5 several more times to build up the layers. This will give your finished item strength and will better withstand the test of time.
Step 7: Tidy up your creation
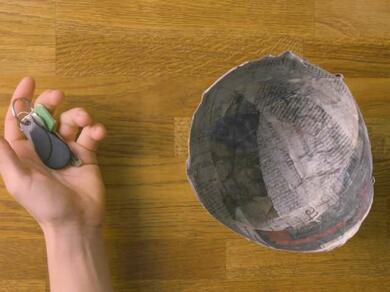
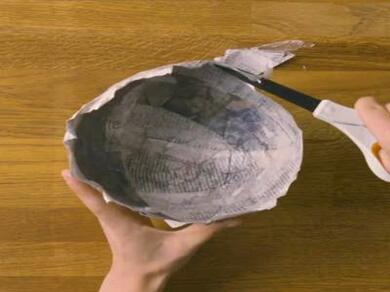
Once the final layer of newspaper strips has dried, ease your paper maché off your mould. If you've used a balloon, you can carefully pop the balloon so that it deflates. Remove the deflated balloon and your DIY paper maché bowl will stand intact.
Where required, trim the edges of your paper maché creation to tidy everything up.
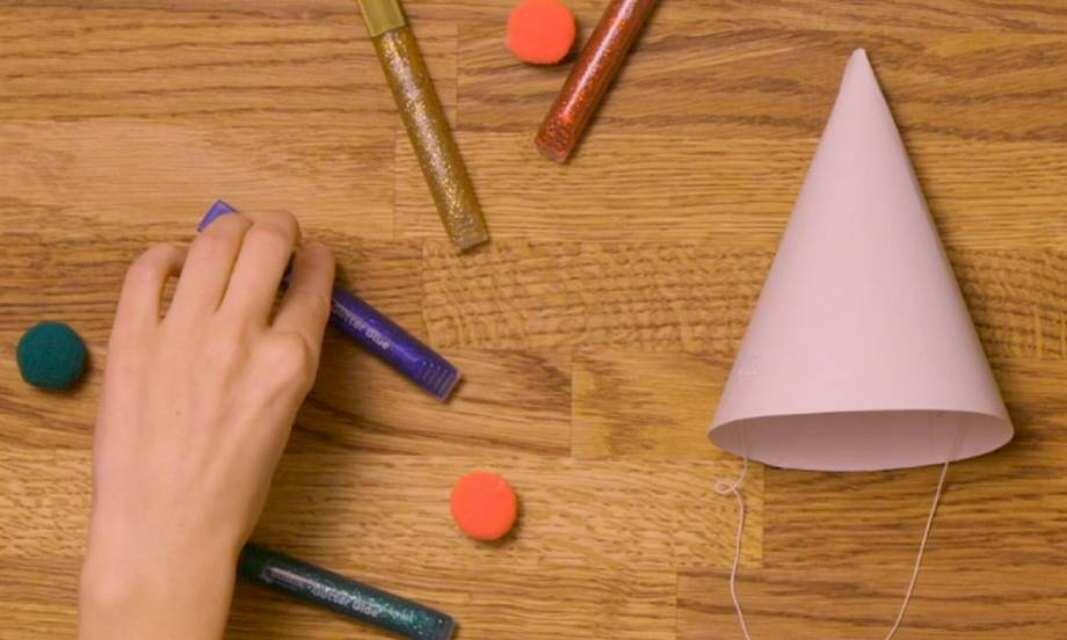
Step 8: Decorate
The final step is to decorate your new paper maché bowl. You can use paint or pens for a pop of colour or add stickers, gems or Bostik Glitter Glue to bring that sparkle - let your imagination run free.
And that's it! You've now learnt how to make paper maché with PVA Glue. For more craft inspiration and ideas, take a look at our full list of #CraftWithBostik tutorials.
PVA WHITE GLU
6 easy glitter glue craft ideas
How to fix broken hard plastic items
How to glue metal to metal
How to use a glue gun for the first time

3 simple things to make with lolly sticks
4 super easy children's craft ideas to do at home
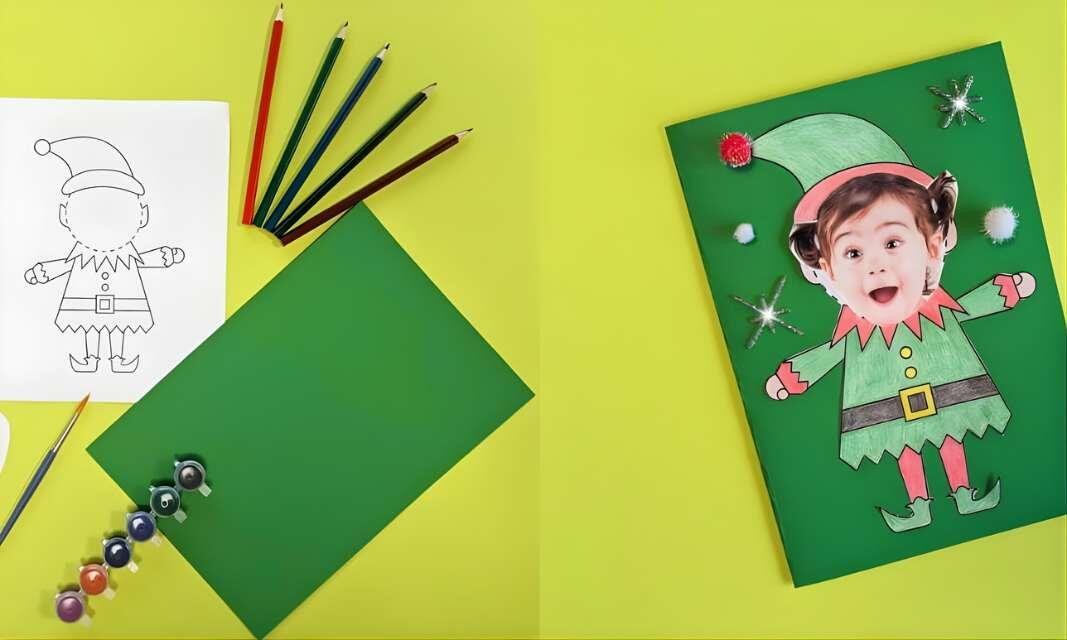
6 steps to make a handmade elf card using our printable template
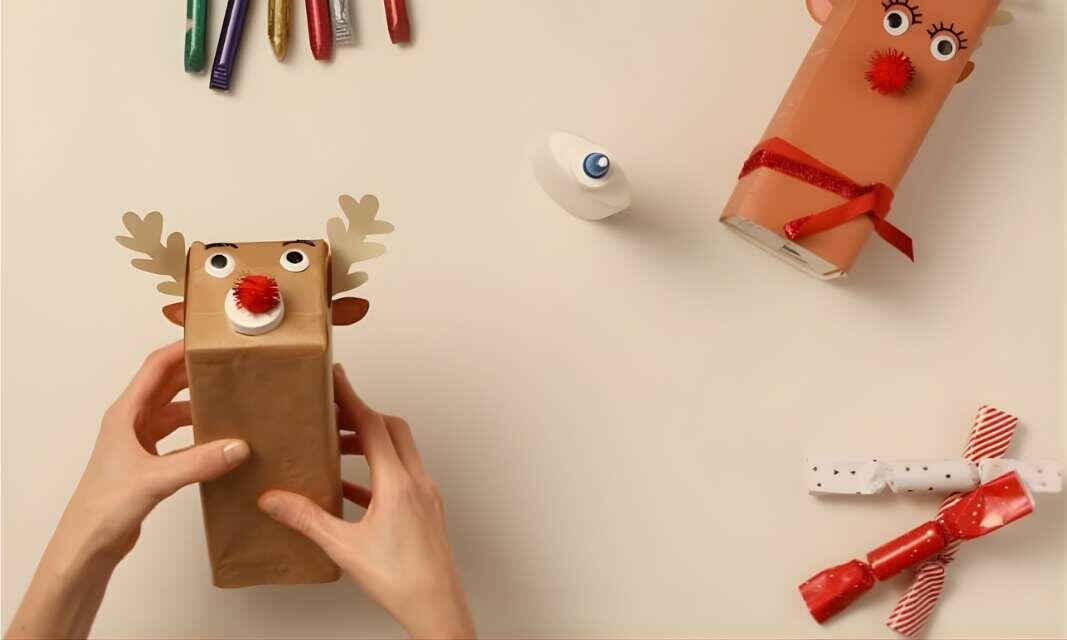
DIY Christmas reindeer using old cartons

How to make animal pencil pot holders
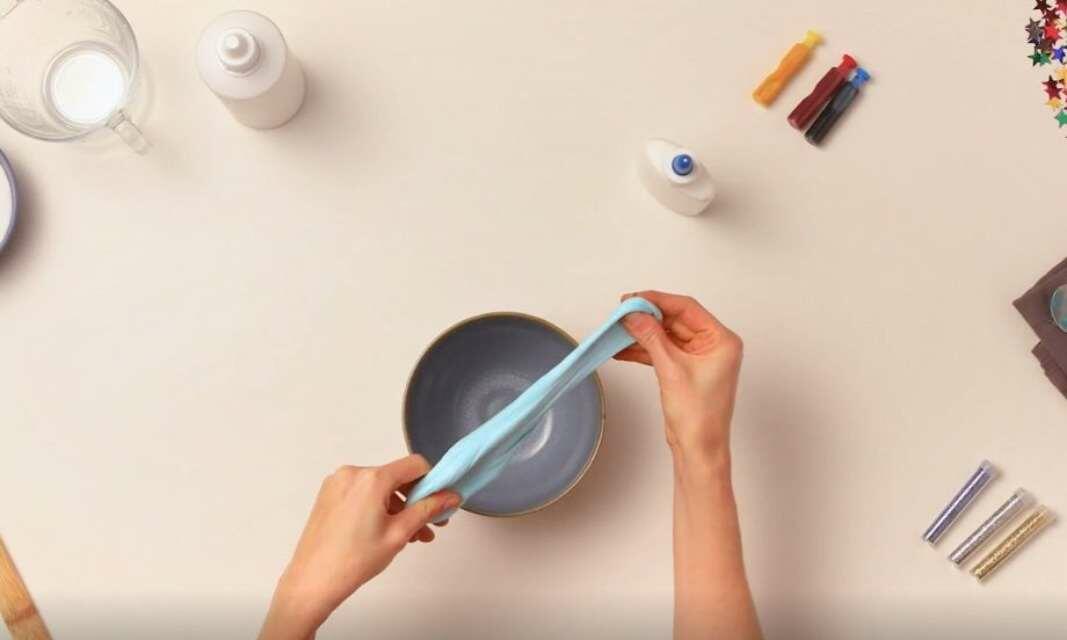
How to make slime using PVA glue
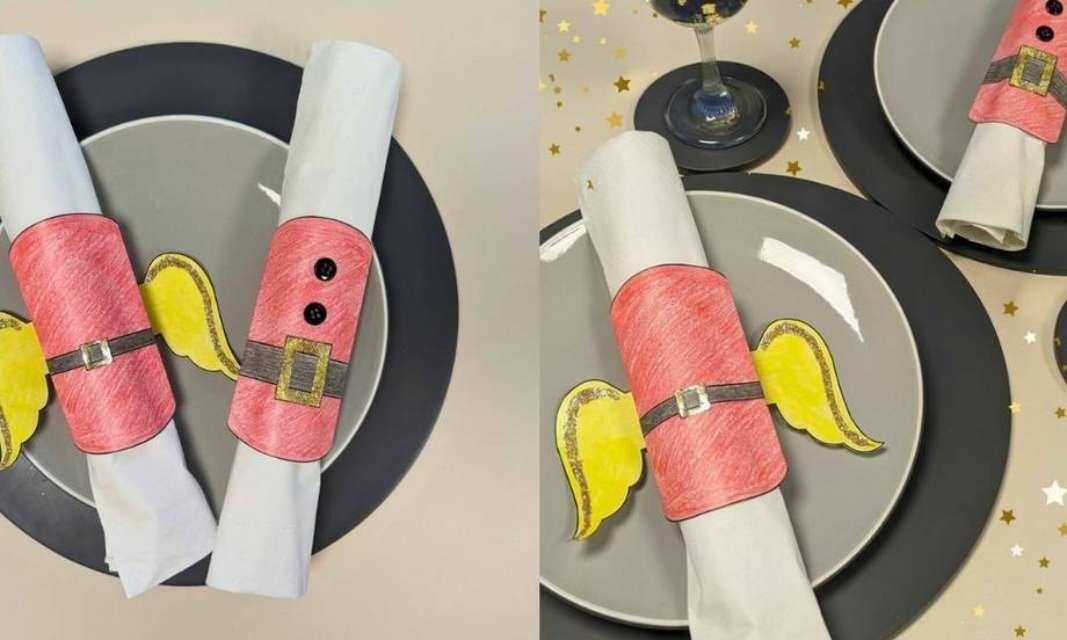
How to make your own Christmas napkin rings
How to make your own sparklers
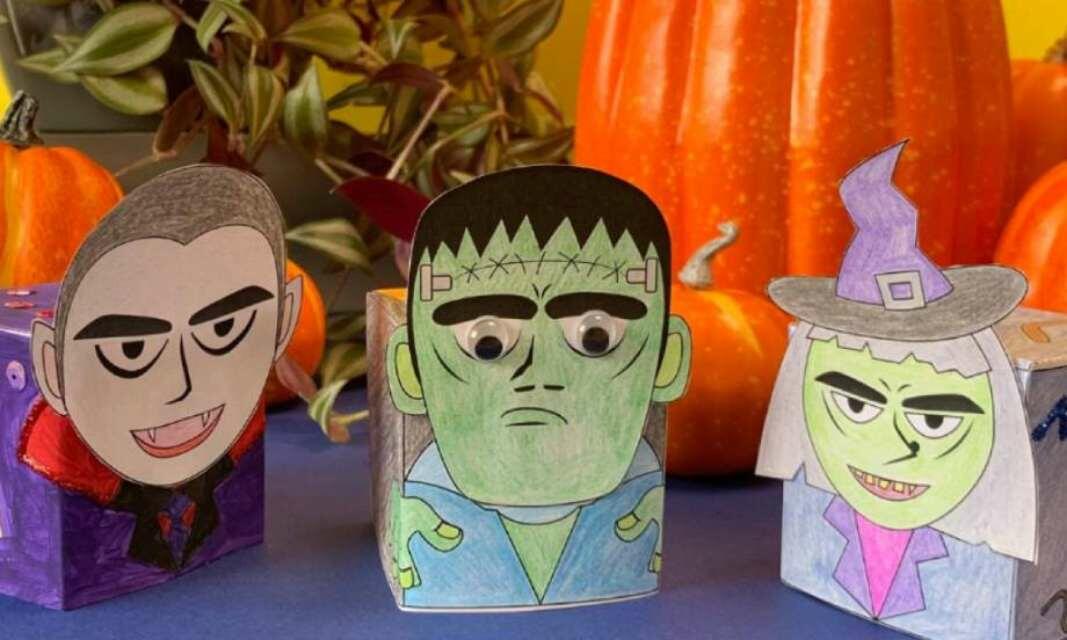
Make your own Halloween monsters using our printable template