Everything you need to know: Glu Dots
Bostik’s sticky glue dots are a fantastic, easy-to-use solution for fixing and mounting items in the home, office, and school. They are incredibly versatile, providing a strong, instant bond to almost anything, including paper, wood, plastic, foam, metal, walls, glass and painted surfaces. So if you’re wondering, ‘Can you use glue dots on walls?’, the simple answer is yes.
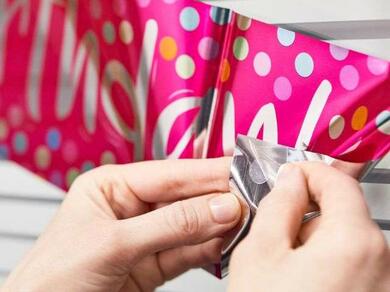
These clear, self adhesive dots are recommended for use in arts and crafts such as scrapbooking and DIY projects, but can also be used in gift wrapping, for putting up party decorations or balloons and much more.
Discover everything you need to know about Bostik Glu Dots including what are glue dots, how to use glue dots and the different types available.
What are glue dots?
Bostik Glu Dots are clear, double-sided sticky dots, also commonly known as glue spots and adhesive dots. They offer a no-mess, peel and stick solution to simplify projects and are UKCA and CE approved so are perfect for children.
Our dots are also non-yellowing and acid and lignin-free, meaning they are the perfect glue dots for photos to create memorable scrapbooks, albums and collages, without causing any staining.
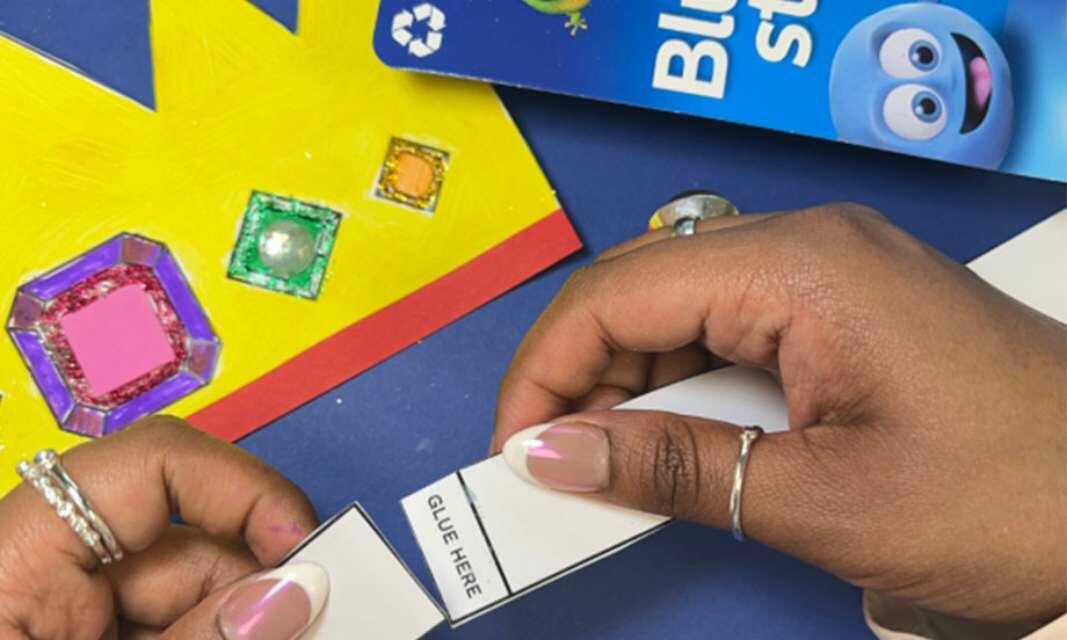
Each individual dot has a diameter of around 1cm offering precise and accurate placing of small items such as beads, sequins, rhinestones, wiggly eyes and many other craft embellishments.
Two types available: Removable glue dots or extra strong glue dots
We have two types of Glu Dots available to suit every task:
- Bostik Removable Glu Dots are circles of clear, removable glue which can be stuck onto a surface and easily peeled away and repositioned to a new destination - our reusable sticky dot
- Bostik Extra Strong Glu Dots are circles of clear, strong glue which offer a permanent, instant bond when stuck down - no drying time required
Both types of glue dots are also available in two sizes: 64 Glu Dots on perforated sheets or 200 Glu Dots on an easy-to-tear roll.
How to apply Glu Dots on sheets
Regardless of whether you’re using an Extra Strong or Removable Dot, if you’re applying your glue spot from a sheet, the application is the same.
Step 1: Prepare your surfaces
Before applying your Bostik Glu Dot, remember that all adhesives need a clean and dry surface for the glue to work at its best. Clean all surfaces so they are free from dirt, dust and grease.
Tacky's tip: For best results the surfaces and surroundings should be pleasantly warm.
Step 2: Take out your dots
Take out a sheet of dots from the cardboard wallet, fold and then tear off along the perforations, removing as many dots as you require.
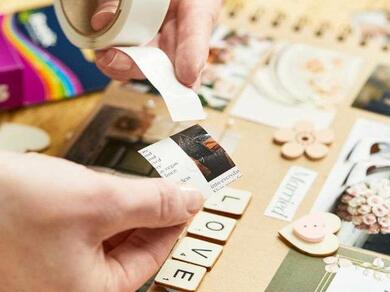
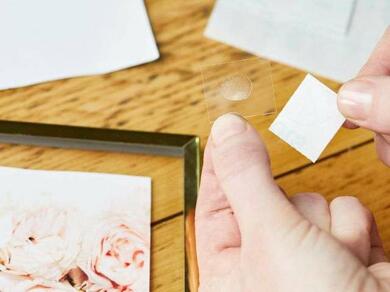
Step 3: Remove the backing
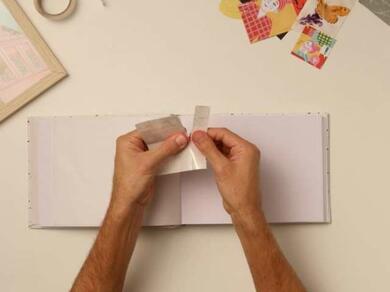
Peel off the printed release paper to reveal your Glu Dot on the clear backing.
Step 4: Press into place
Press the Glu Dot firmly onto the back of your craft item or surface, in this example, a photo, to ensure it has adhered to your chosen surface.
Then, slowly and carefully, peel off the second clear backing and you can then bond this to the other surface, the scrapbook.
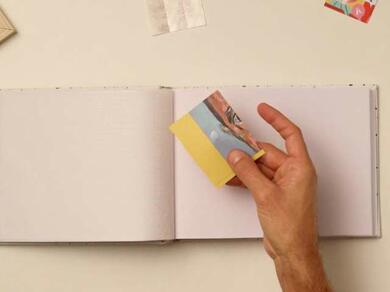
Step 5: Repeat the process
Repeat steps 3 & 4 until you have stuck all of your photos into your scrapbook and you’ve achieved your desired look.
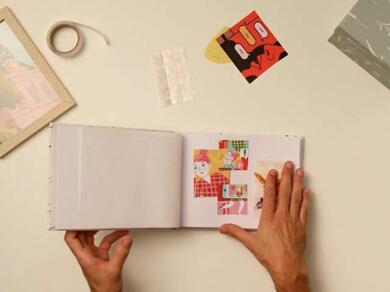
Step 6: Unhappy with your positioning?
If you’ve used Removable Glu Dots, it’s super easy to change the layout of your design.
Slowly and carefully peel your craft item away from the surface and the dot will become unstuck. Then, reposition and press into a new place. Ta-da!
How to apply Glu Dots on a roll
Again, regardless of whether you’re using an Extra Strong or Removable Dot, if you’re applying your glue spot from a roll, the application is the same.
Step 1: Prepare your surfaces
Before applying your Bostik Glu Dot, remember that all adhesives need a clean and dry surface for the glue to work at its best. Clean all surfaces so they are free from dirt, dust and grease.
Tacky's tip: For best results the surfaces and surroundings should be pleasantly warm.
Step 2: Take out your dots
Take out your roll of dots from the cardboard packaging. Unravel the roll slightly to expose the first sticky dot.
Tacky's tip: Be careful not to touch the glue dot during the unravelling process as it might make it less sticky.
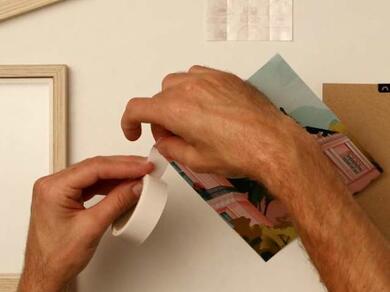
Step 3: Attach Glu Dot from the roll
Stick your item directly onto the glue dot on the roll. As you peel your item away, the dot will come away too and you can then prepare to stick it in place.
For large items such as sticking an A5 photograph into a frame, add one glue dot per corner of the photo. This will help to ensure all edges are neatly stuck in place on the back of the photo frame.
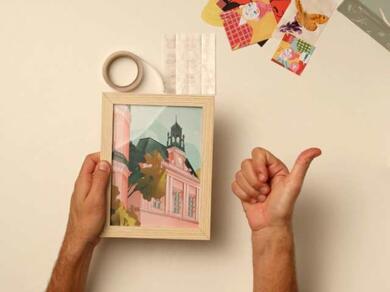
Step 4: Press in place
Pick up the photo and place it into the photo frame, and press gently on each of the corners to ensure a secure bond.
Step 5: Reposition your item
Not happy with the finished look? No problem. With Removable Glu Dots, you can lift out your photo and simply press it in another frame.
Need to remove a sticky dot?
For both Removable and Extra Strong Glu Dots, carefully and very slowly peel away the dot in order to remove it – it’s that simple. We recommend using a rolling motion with the side of your finger as the most effective removal technique.
If your glue dot is struggling to lift off, we recommend dabbing another dot to help pull it from the surface.
For full cleaning information, please refer to the Technical Data Sheets provided.
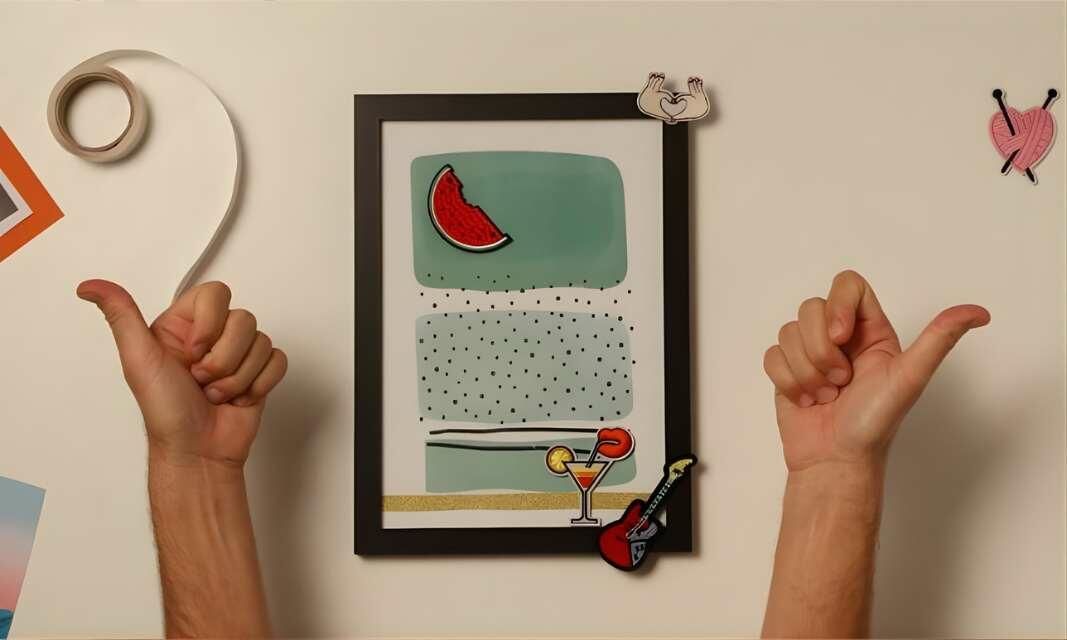
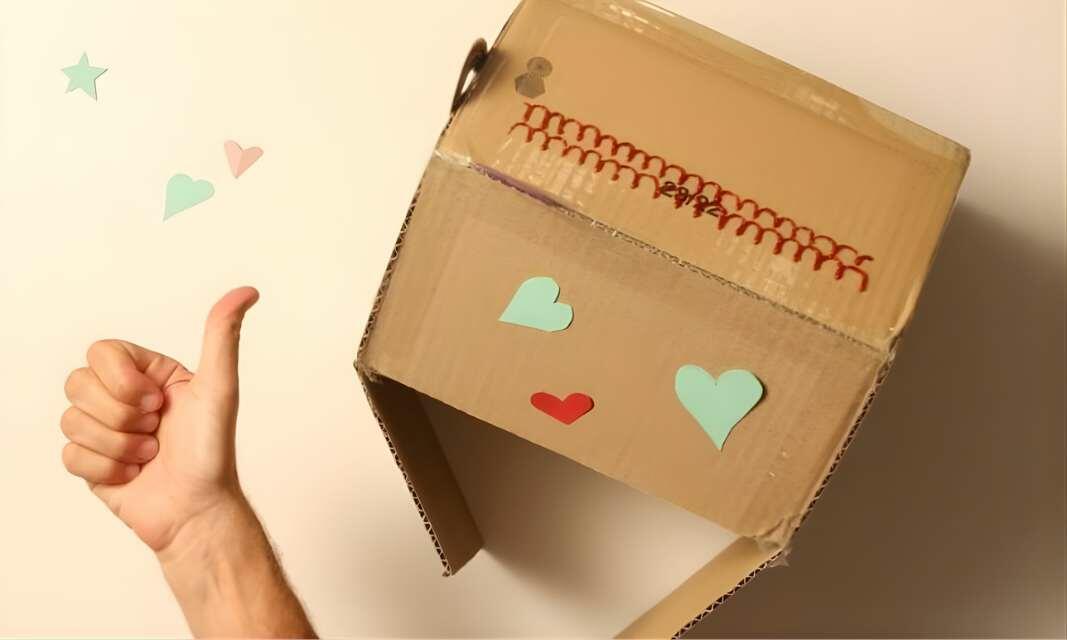
More inspiration
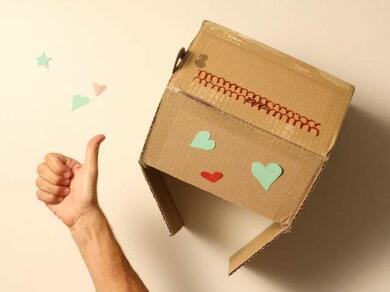
The uses for Bostik Glu Dots are practically infinite. Browse our top tips on using Glu Dots within easy craft ideas, or how to use them when making a DIY cardboard dollhouse or DIY mood board.
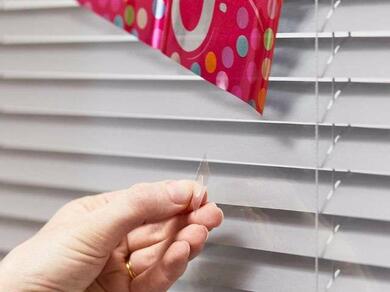
Alternatively, if you know you want to use glue dots for balloons at your next gathering, or to stick a new poster to your wall, you can shop Bostik Glu Dots online or in-store at your nearest stockist, today.
Need a different glue?
Bostik offers a wide range of stationery and craft adhesives, so no matter how complicated your next craft project may be, there's a stationery glue at hand to help.
Plus, if you're looking for some craft inspiration, you can browse our blog and filter #CraftWithBostik for all Bostik arts and crafts ideas.
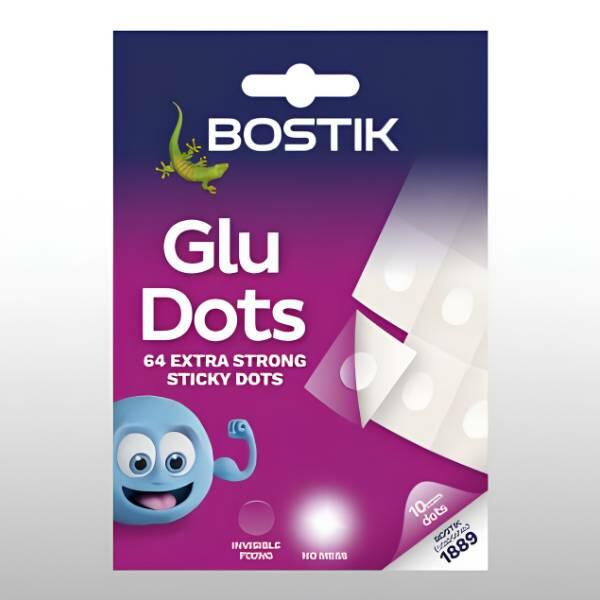
EXTRA STRONG GLU DOTS
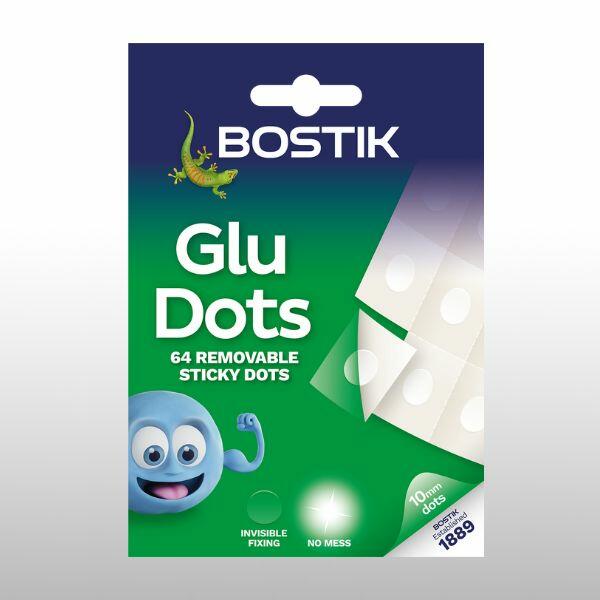
REMOVABLE GLU DOTS

3 simple things to make with lolly sticks
4 super easy children's craft ideas to do at home
How to build your own DIY cardboard dollhouse

How to create a mood board in 5 simple steps
Make a Father's Day crown craft in 6 simple steps with our printable crown template
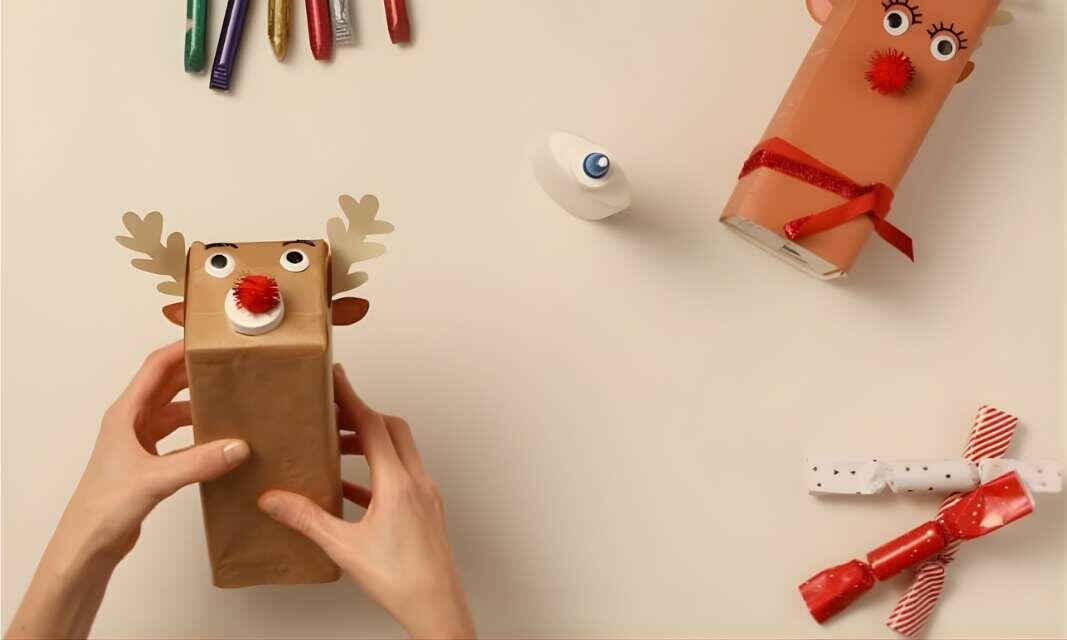
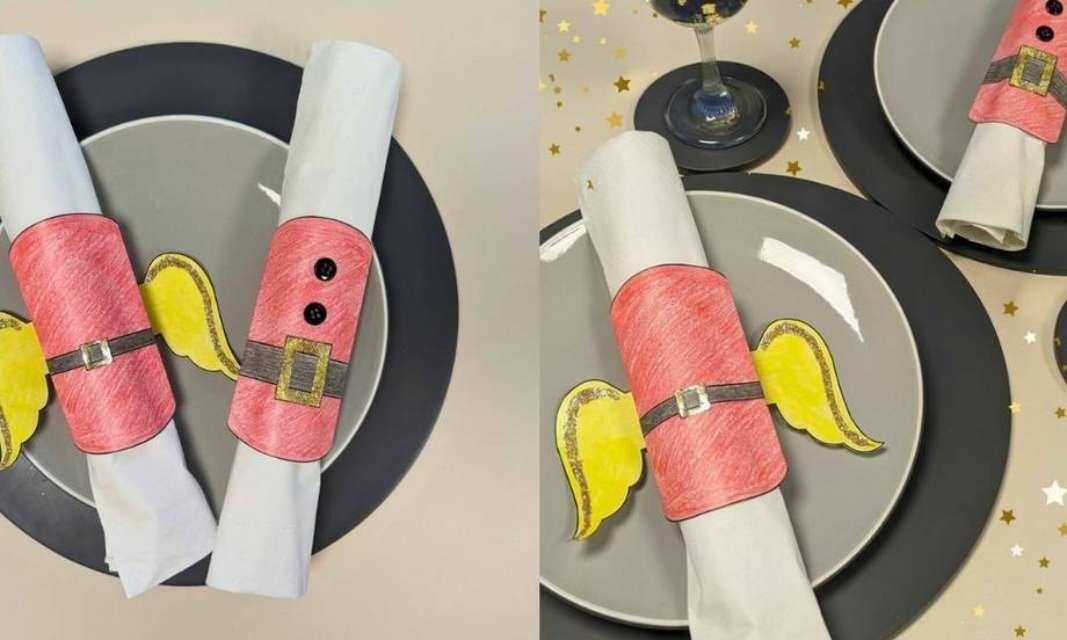
DIY Christmas reindeer using old cartons
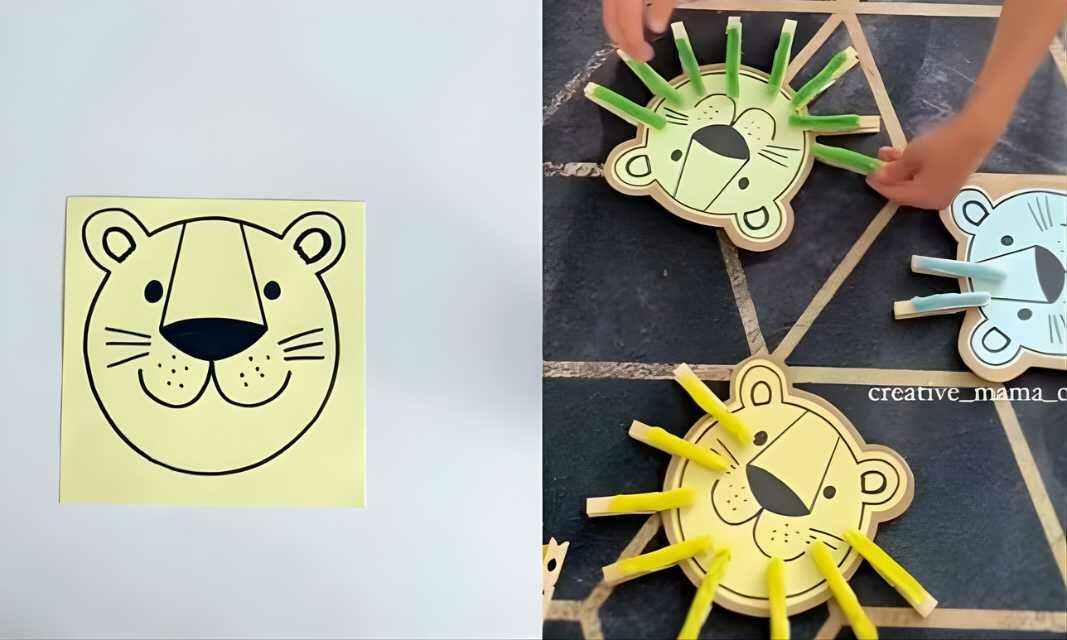
Easy lion craft activity with counting practice for kids
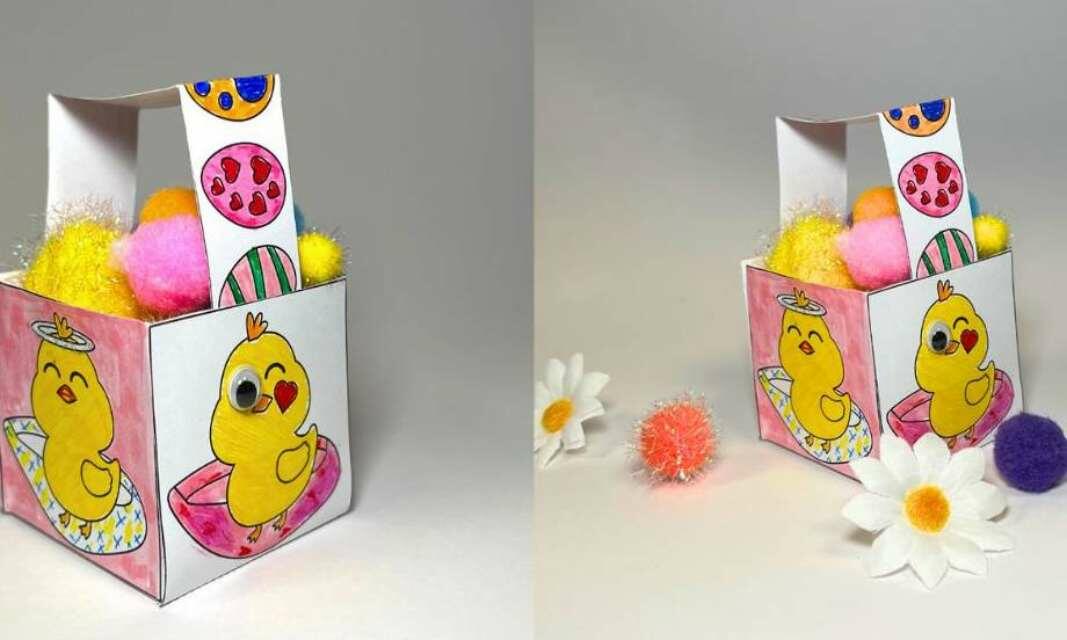
How to create a paper Easter basket