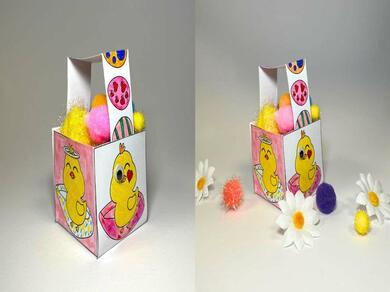
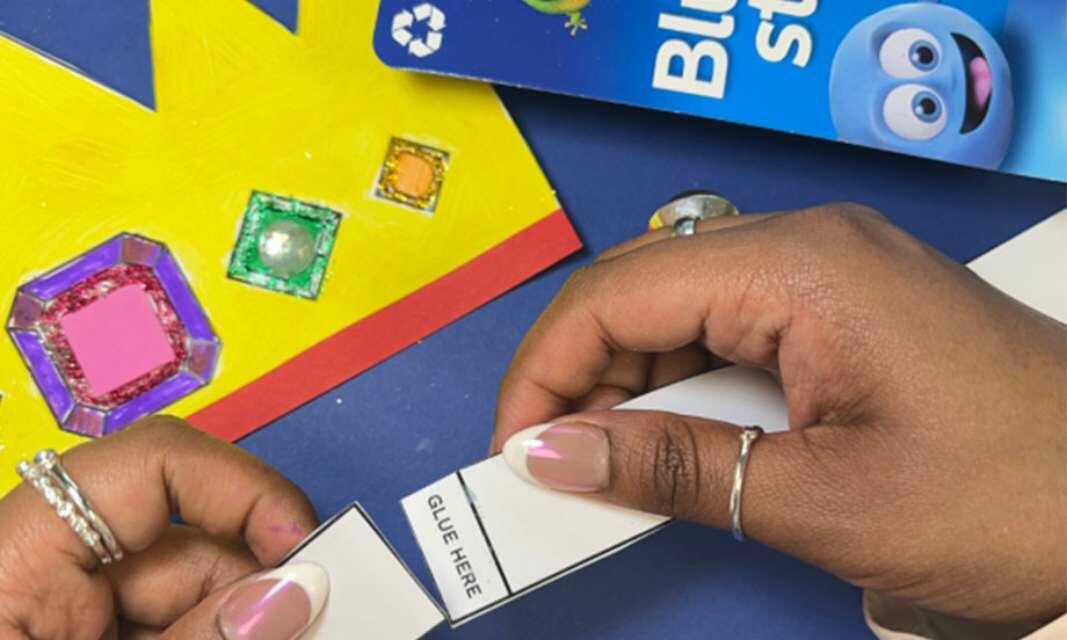
How to create a paper Easter basket
Easter weekend is the perfect time to hop over to the craft table, and we've made entertaining the little ones even easier with this Easter craft tutorial.
Follow our super simple, step-by-step guide to create a paper Easter basket, ideal for carrying chocolate eggs whilst out hunting, or for use as a snuggly den for fluffy chicks.
Pick up your pens and pencils, grab hold of your glitter glue and download our FREE printable Easter basket template to kickstart your weekend of crafting.
What you will need
- Coloured pens and pencils
- Tissue paper
- Paints and paintbrushes
- Scissors
- OPTIONAL: Craft embellishments
Instructions
Step 1: Print the Easter basket craft template
Print the Easter basket craft template onto white card or paper.
You may want to have a couple spare in case of mistakes.
Step 2: Colour in the template
Colour in the Easter basket template as desired using pens, pencils, paints, Glitter Glu or similar. We also recommend personalising each of the chicks with googly eyes, sequins or stickers!
Tip
Remember to stay within the lines and to shade carefully so there aren't any white gaps. Use Extra Strong Glu Dots to add craft embellishments or Foam Pads to create 3D effects.
Important
Step 3 includes using scissors. Please ensure children are supervised when using scissors and if necessary, an adult should complete the cutting on behalf of a child.
Step 3: Cut out the basket and handle
Next, carefully cut out the paper Easter basket and handle from the template.
Step 4: Fold the basket & glue together
Then, fold each square to form your basket shape and fold the 'glue here' tabs along the dotted lines.
Apply Blu Glu stick to the 'glue here' tabs and stick to the adjoining basket edge. Repeat this step until all the tabs are attached to form a box - your paper Easter basket is now taking shape!
Step 5: Attach the handle to the basket
Finally, fold your handle along the dotted line and then apply Blu Glu Stick to each end. Attach to the inside of your box to finish your paper Easter basket.
Step 6: You're done!
Ta-da! You've now created a paper Easter basket using our handy template. We recommend leaving the basket for a few minutes to ensure it is completely dry before using.
Tip
Once the Easter basket has dried, add ripped tissue paper to create your 'nest'. Then, use it to carry your chocolate eggs when you're out and about Easter egg hunting or as a home for fluffy spring chicks!
Related products
Popular tutorials
6 steps to make a Father’s Day crown craft using our printable crown template
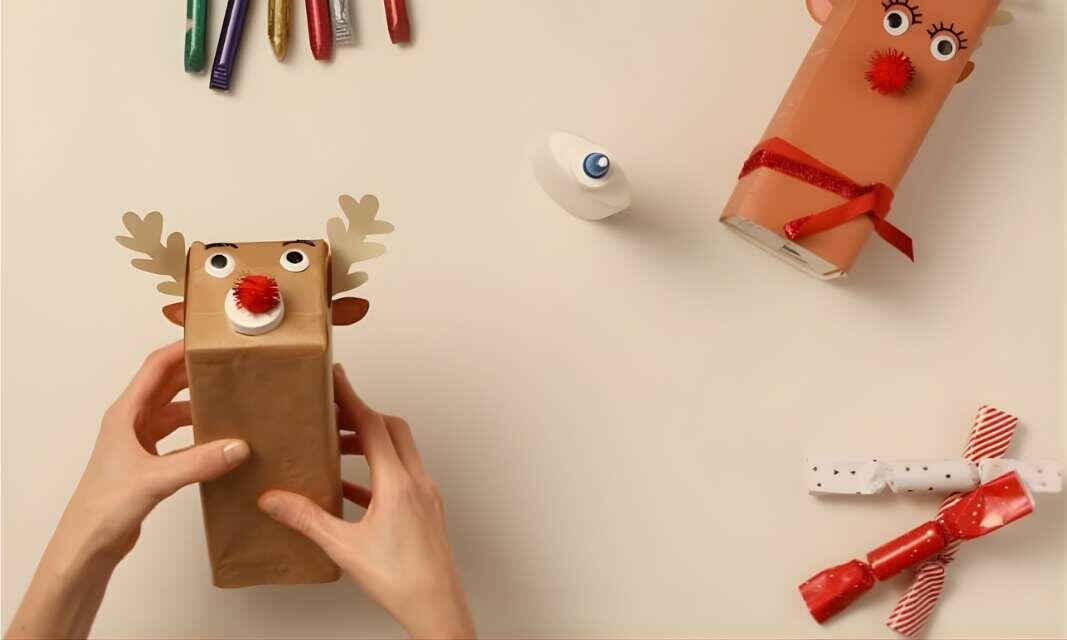
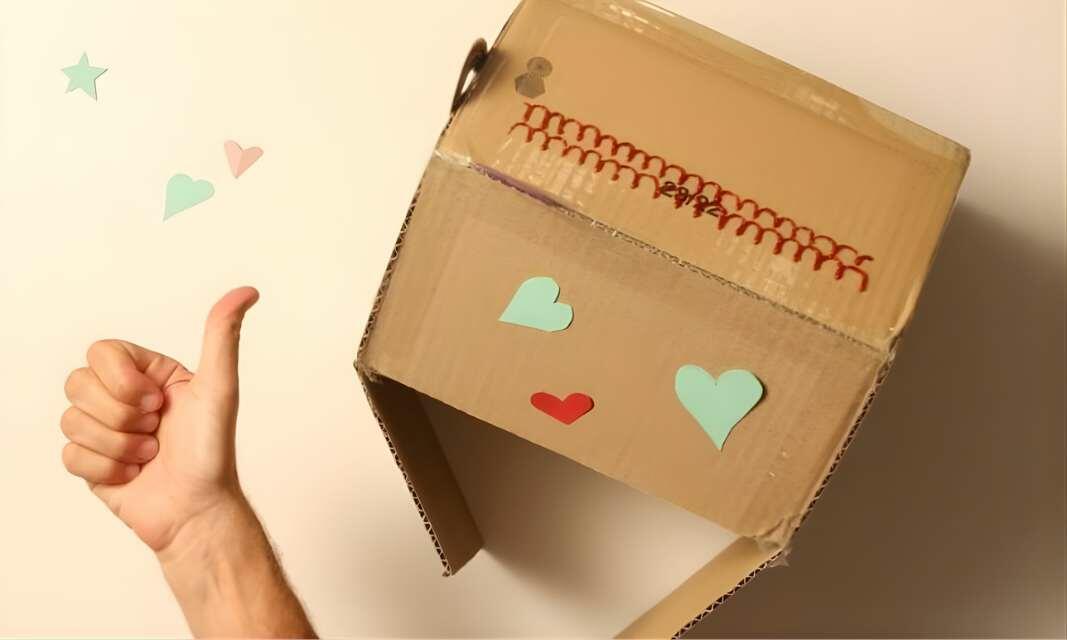
DIY Christmas reindeer using old cartons
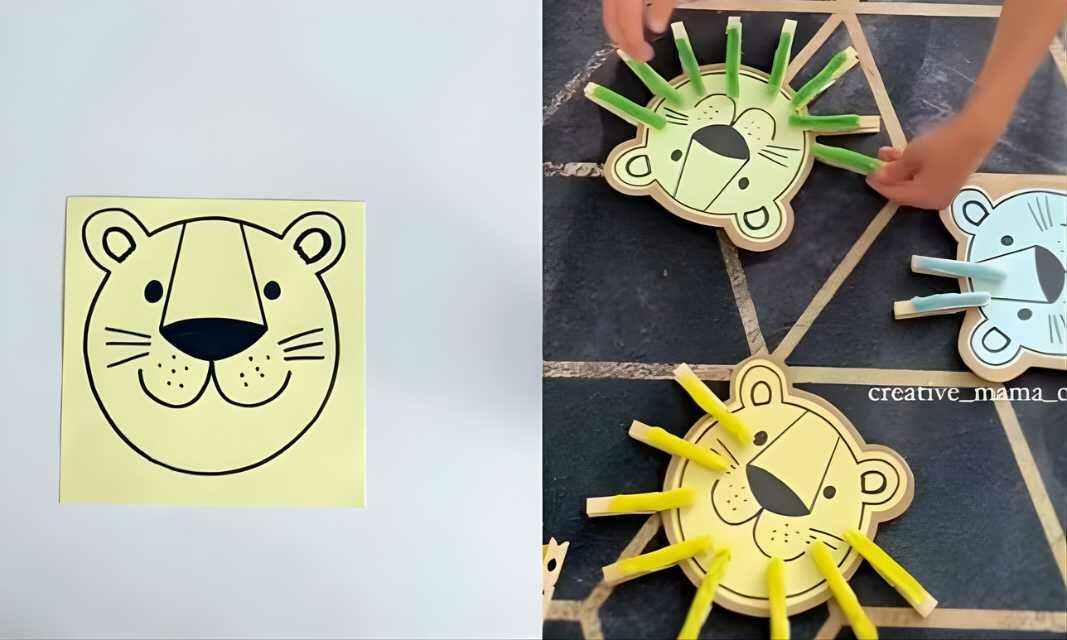
Easy lion craft activity with counting practice for kids
Everything you need to know: Glu Dots
How to build your own DIY cardboard dollhouse
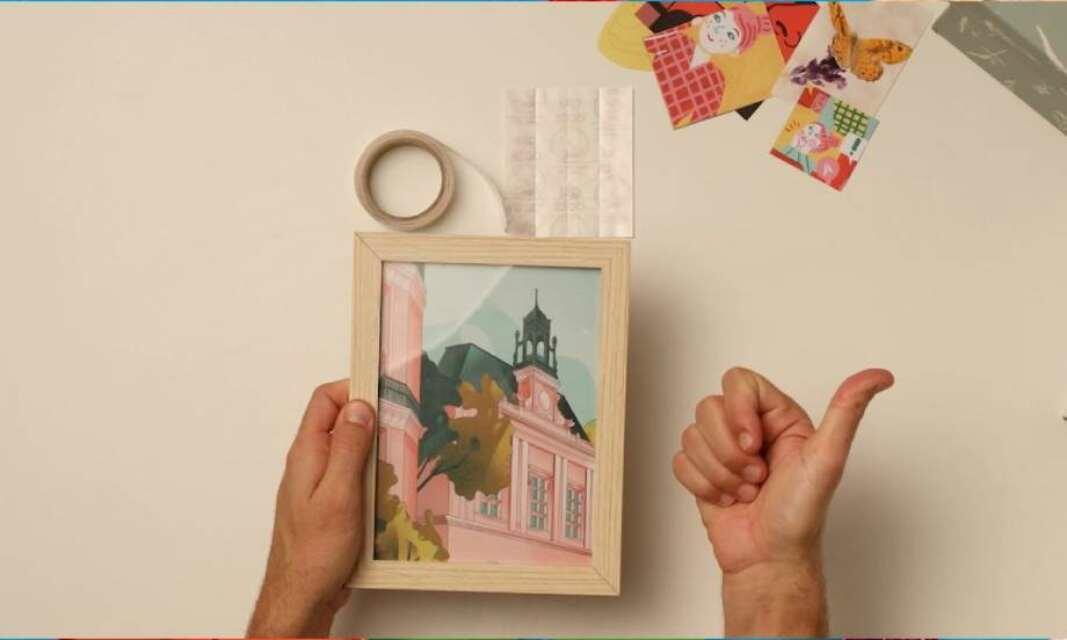
How to create a mood board in 5 simple steps
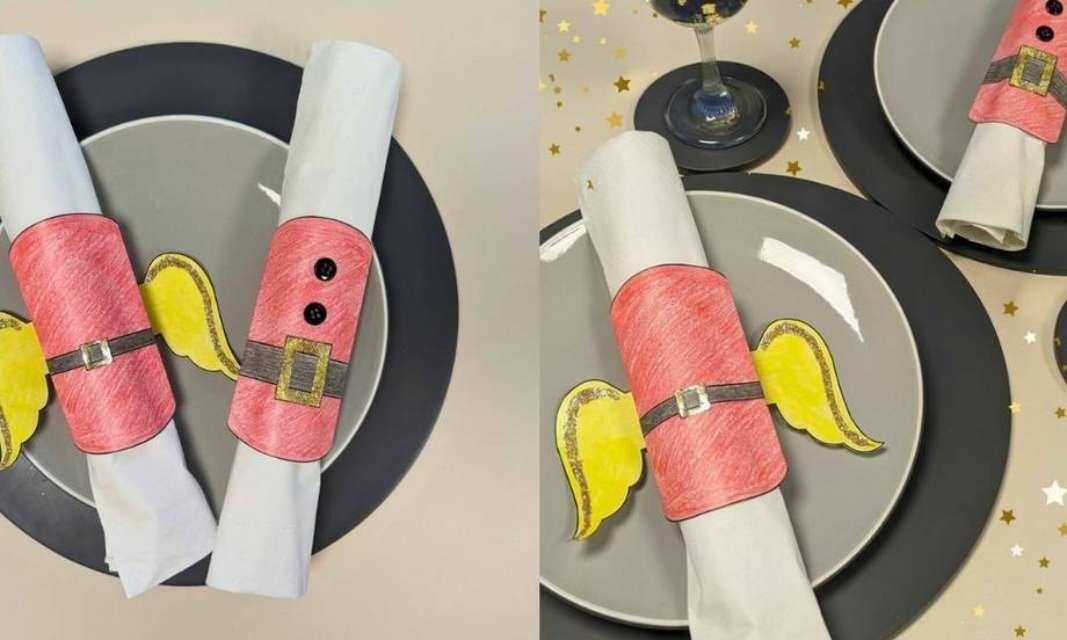
How to make your own Christmas napkin rings
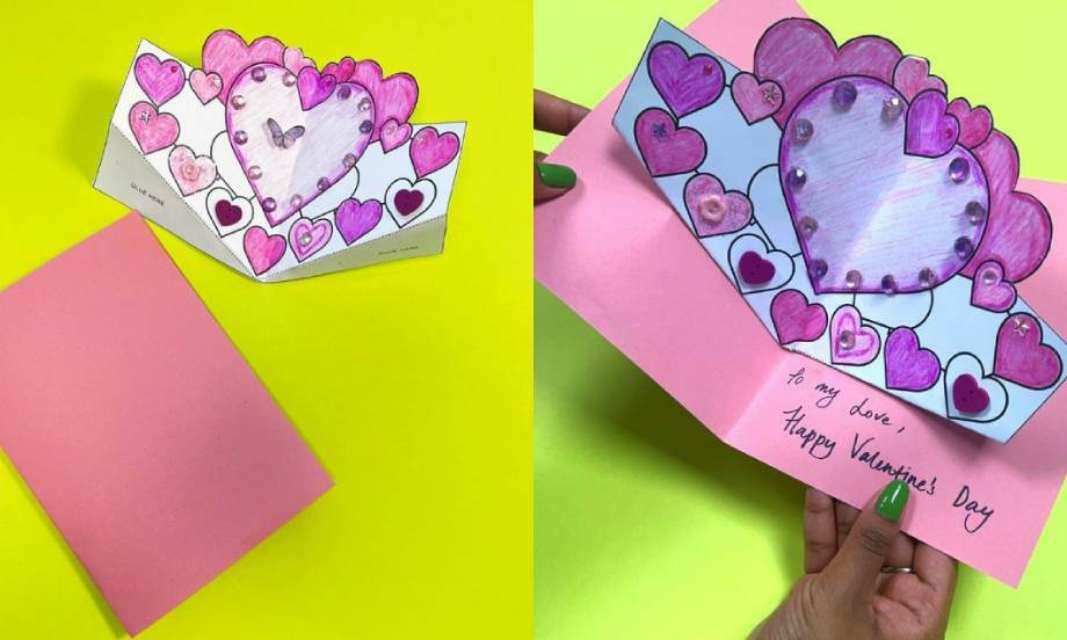
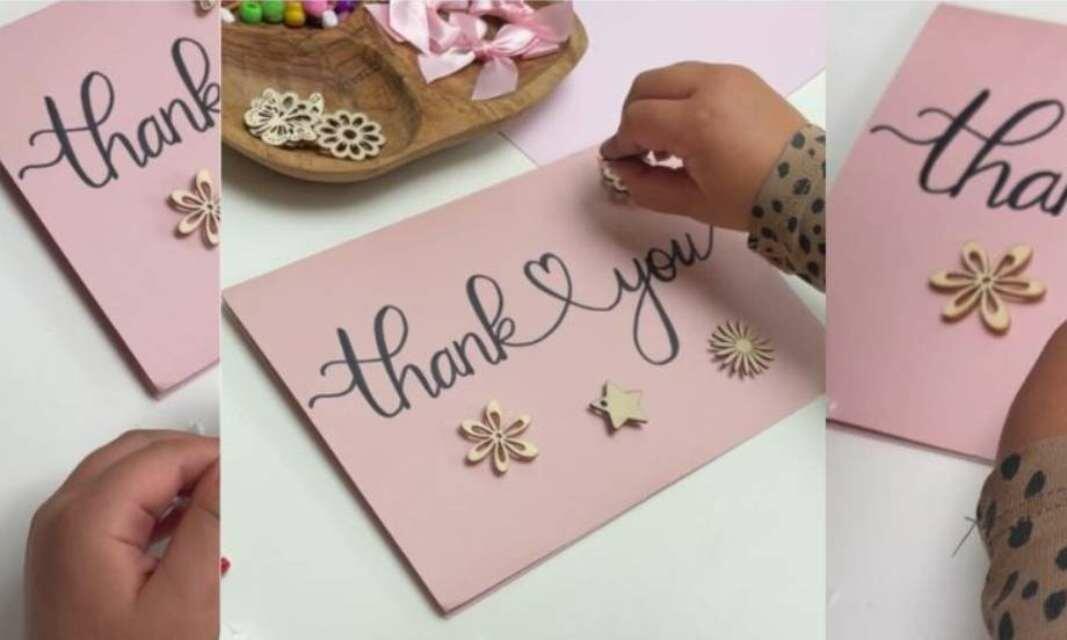
How to create a DIY Valentine's Day card
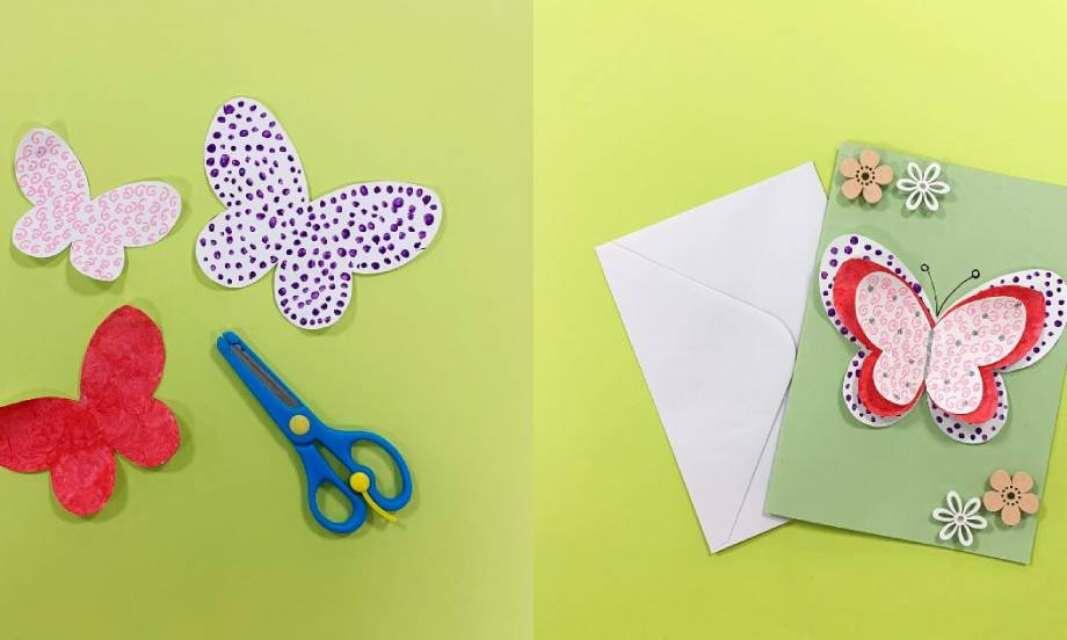
How to create a handmade Mother's Day card using our printable butterfly template
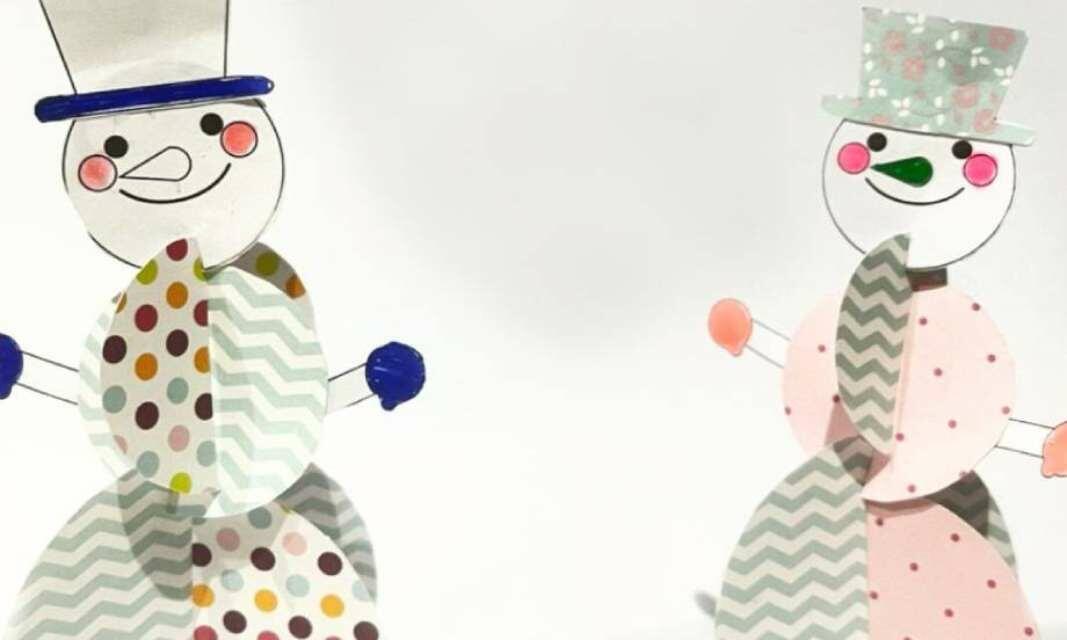
How to make a 3D snowman out of paper