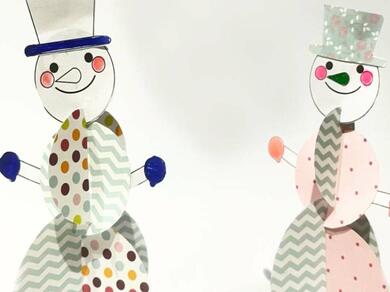
How to make a 3D snowman out of paper
Building a snowman is a fun, go-to activity to entertain the little ones during the winter months in the UK. Not only does it keep children amused for a while, it is often an exciting sign to all that Christmas is on its way.
However, with the snow comes the cold which isn't always to the whole family's taste. Whether you and your children love playing in the snow or not, you can always appreciate the beauty and fun it can bring with a simple, DIY paper snowman - from the comfort of your home!
Discover our guide for how to make a 3D snowman out of paper using our FREE snowman template.
Instructions

BLU GLU STICK
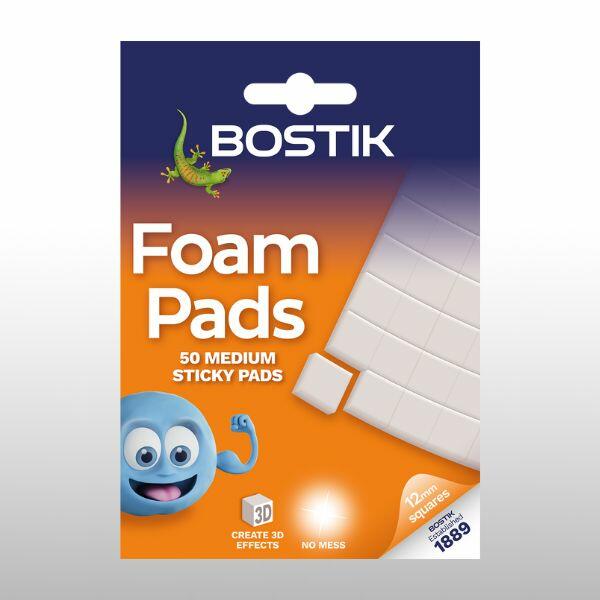
FOAM PADS
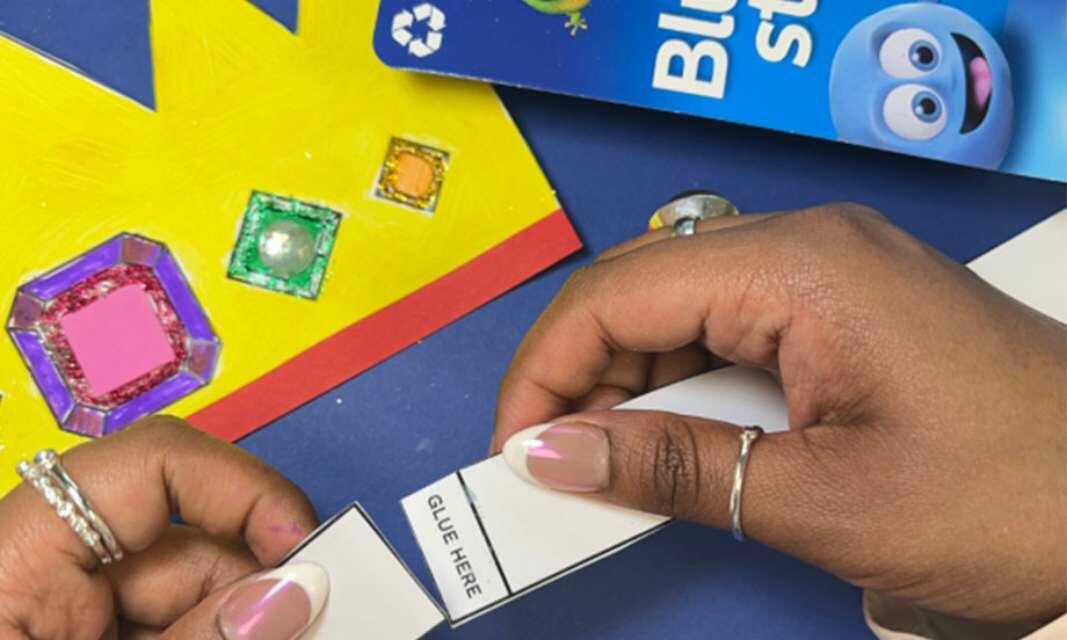
Make a Father's Day crown craft in 6 simple steps with our printable crown template
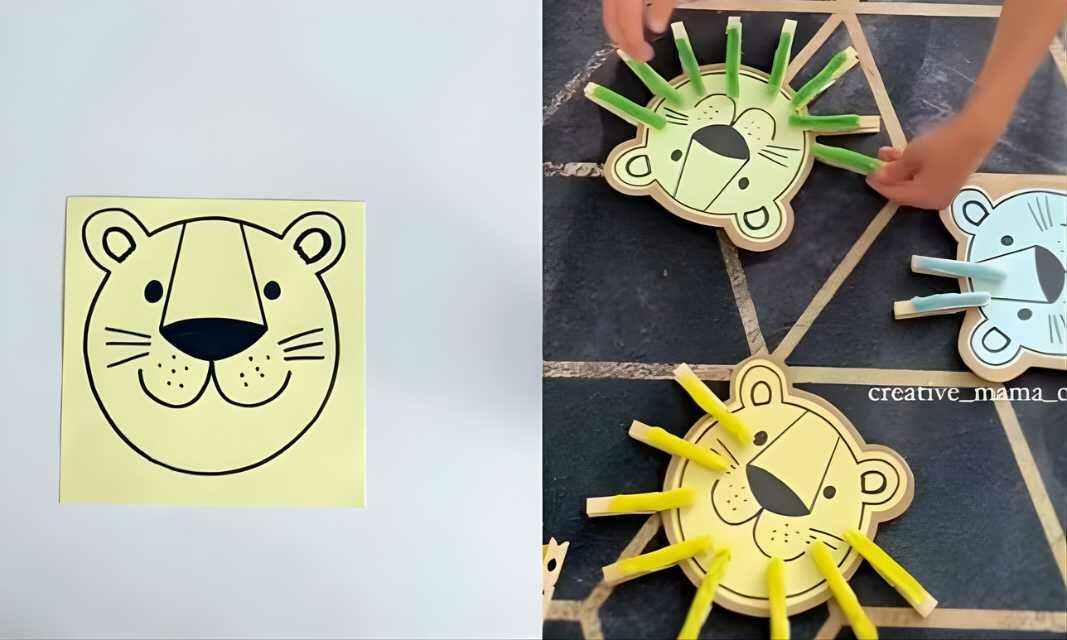
Easy lion craft activity with counting practice for kids

How to build your own DIY cardboard dollhouse
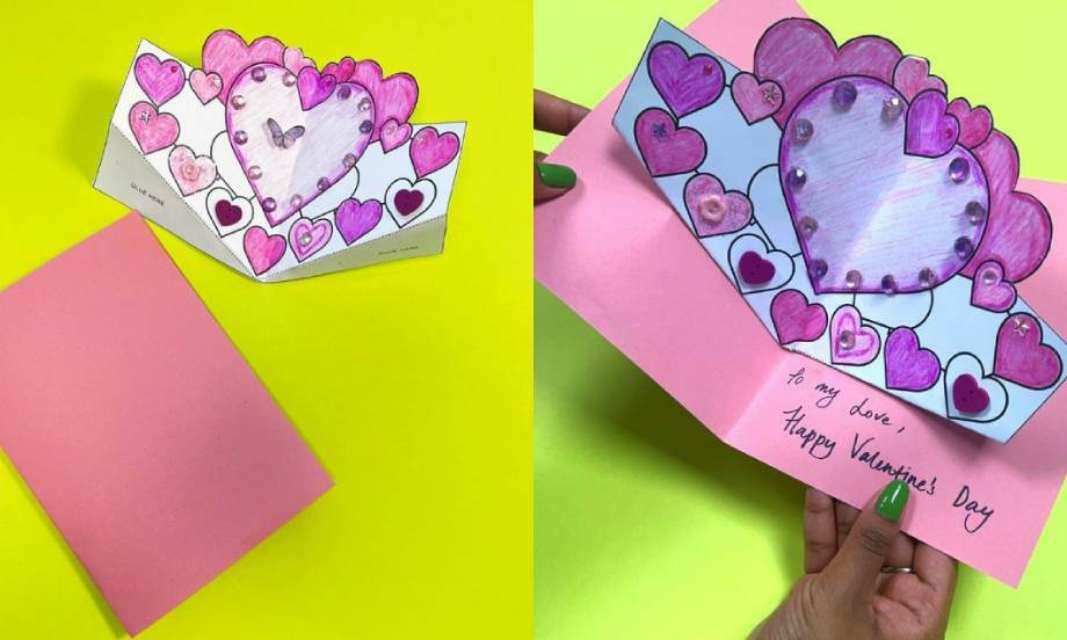
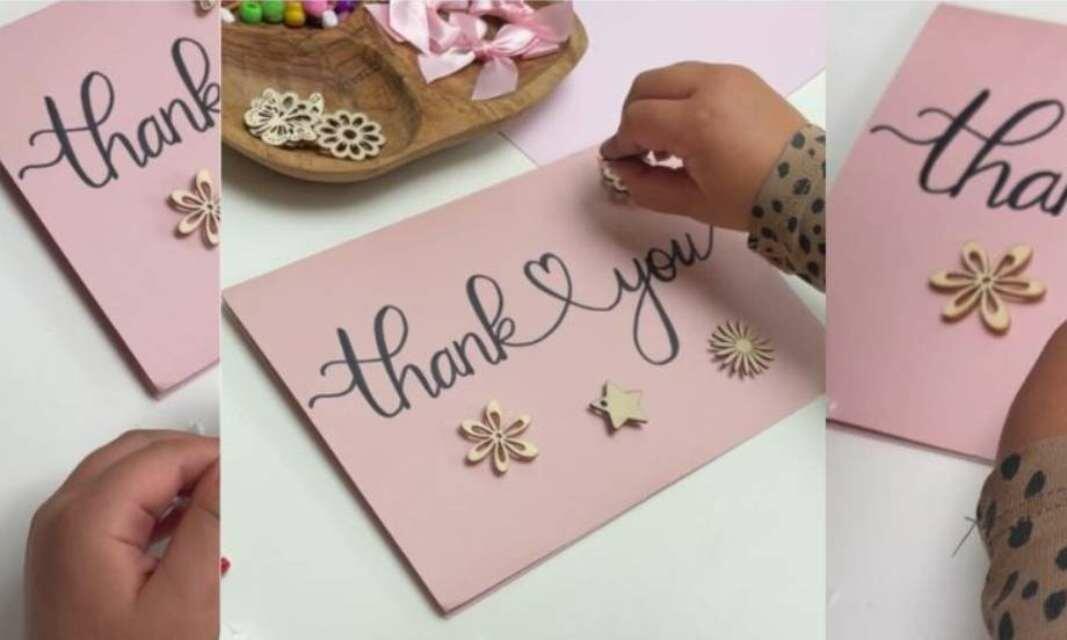
How to create a DIY Valentine's Day card
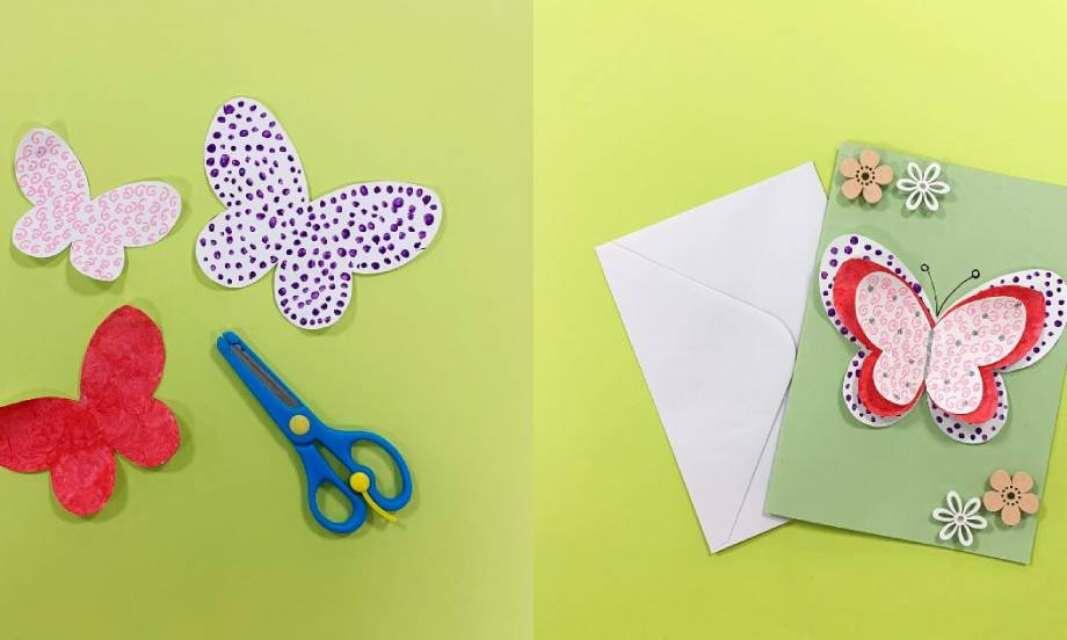
How to create a handmade Mother's Day card using our printable butterfly template

How to create a mood board in 5 simple steps
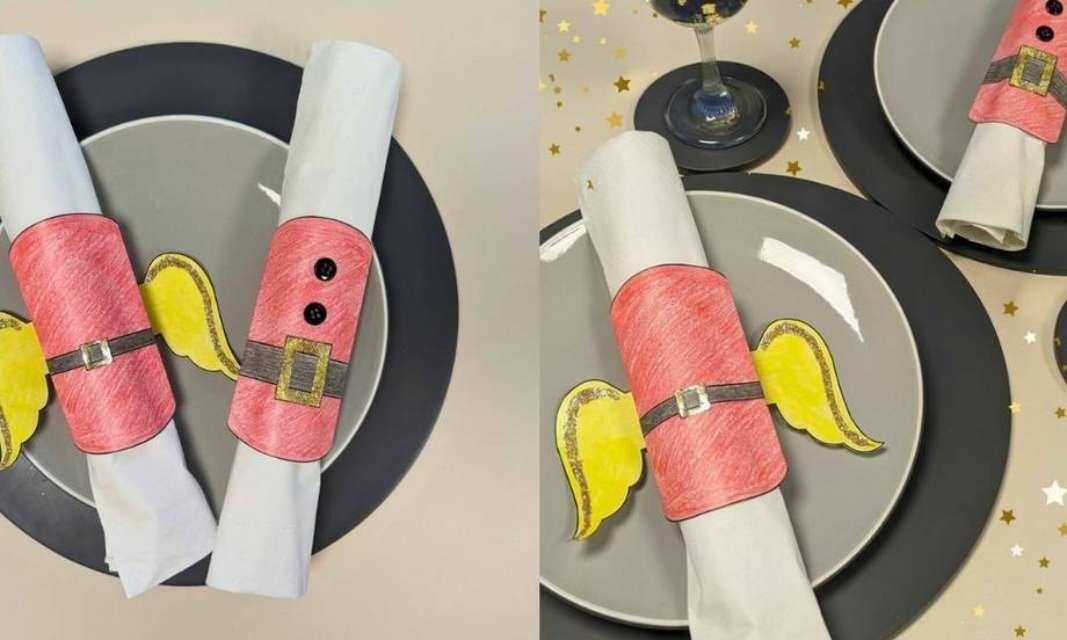
How to make your own Christmas napkin rings
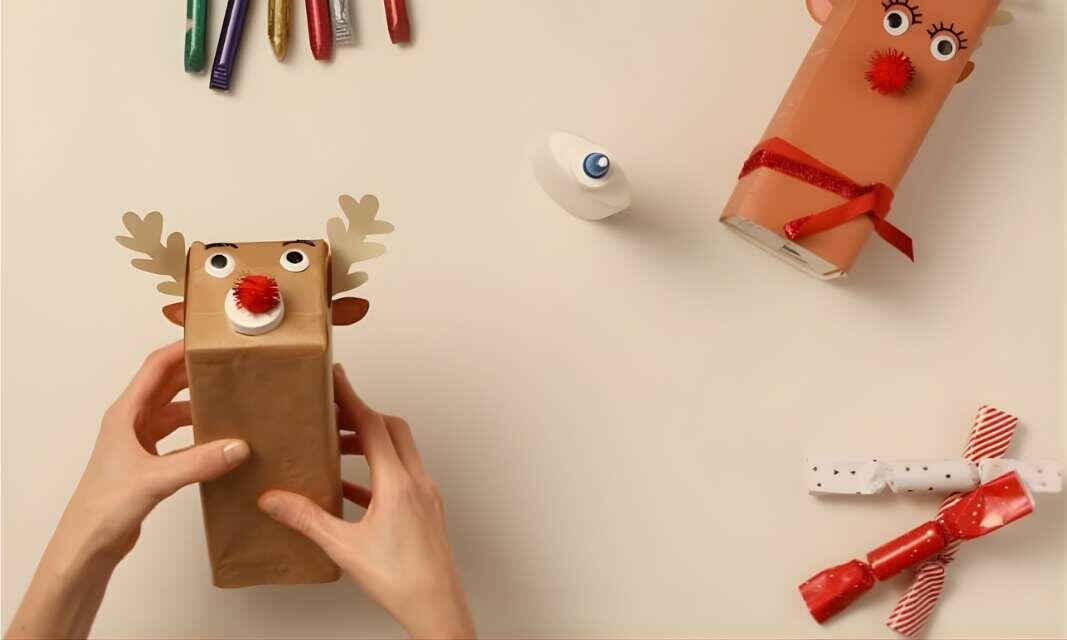
DIY Christmas reindeer using old cartons
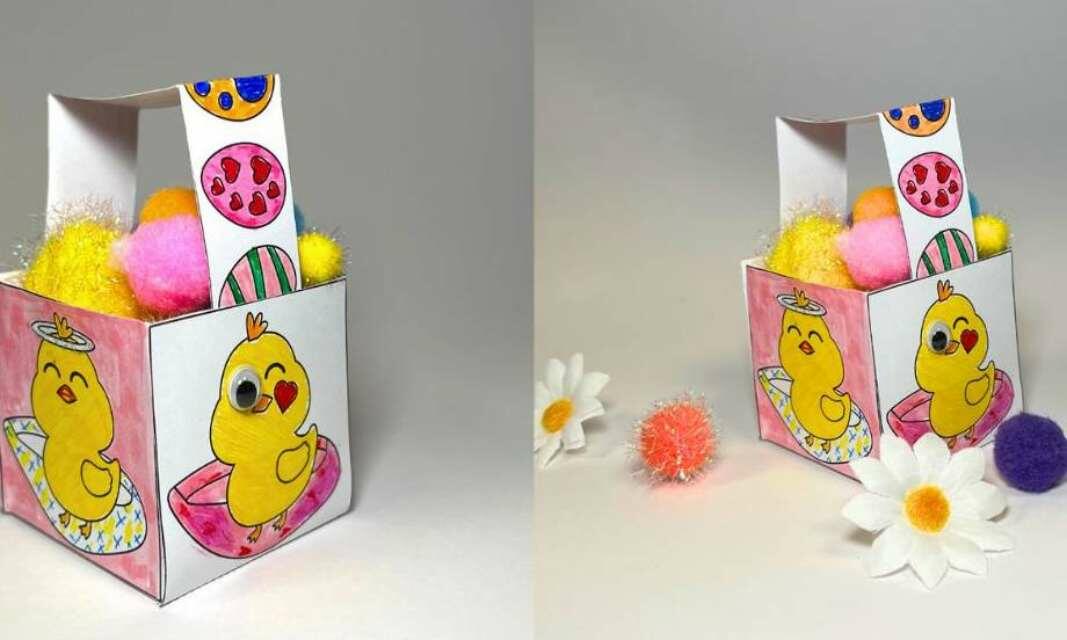
How to create a paper Easter basket