Make a Father's Day crown craft in 6 simple steps with our printable crown template
Treat your dad like a king this Father's Day with our super simple and fun crown craft activity. Using our FREE printable crown template, you can turn an ordinary piece of white paper into a fantastic, royal piece of headwear that he won't want to take off.
Designed with younger crafters in mind, our children's crown template keeps the steps simple so everyone can join in the fun. With the help of our sticky solutions, you can go to town adding gems, sequins, and bright, bold colours to show your dad how much you appreciate him and everything he does for you.
Our Father's Day crown template also offers a more creative way of saying thanks compared to the traditional Father's Day card. It's great for entertaining older children who might want to think outside of the box. One of our favourite crown templates to print at home, it works on both paper and card. Ready to get started? Let's get crown making!

Instructions
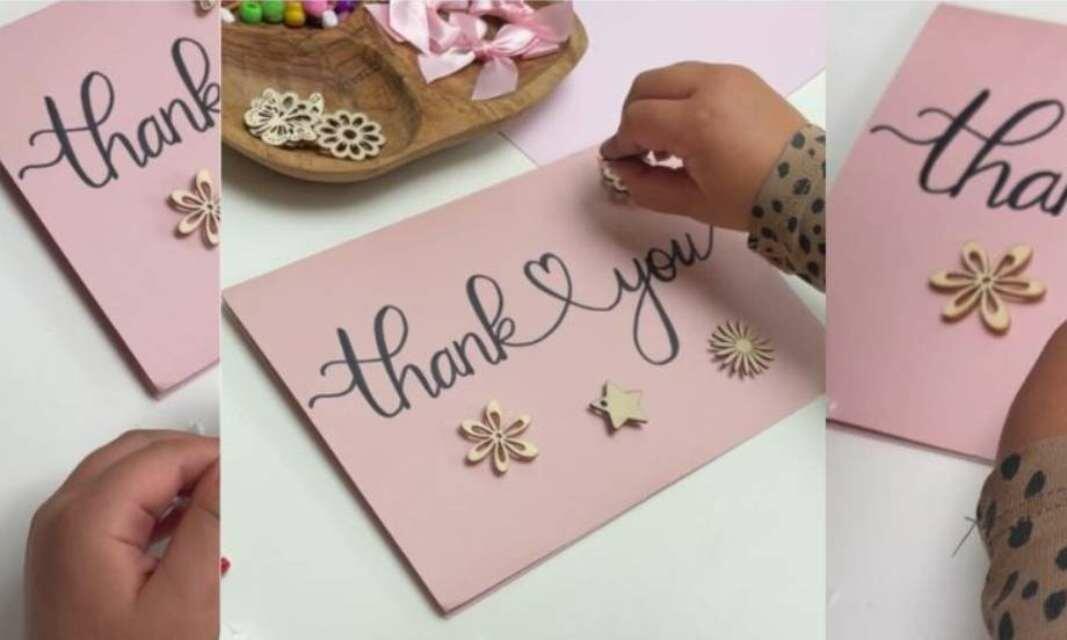
How to make a handmade 3D card craft with Foam Pads
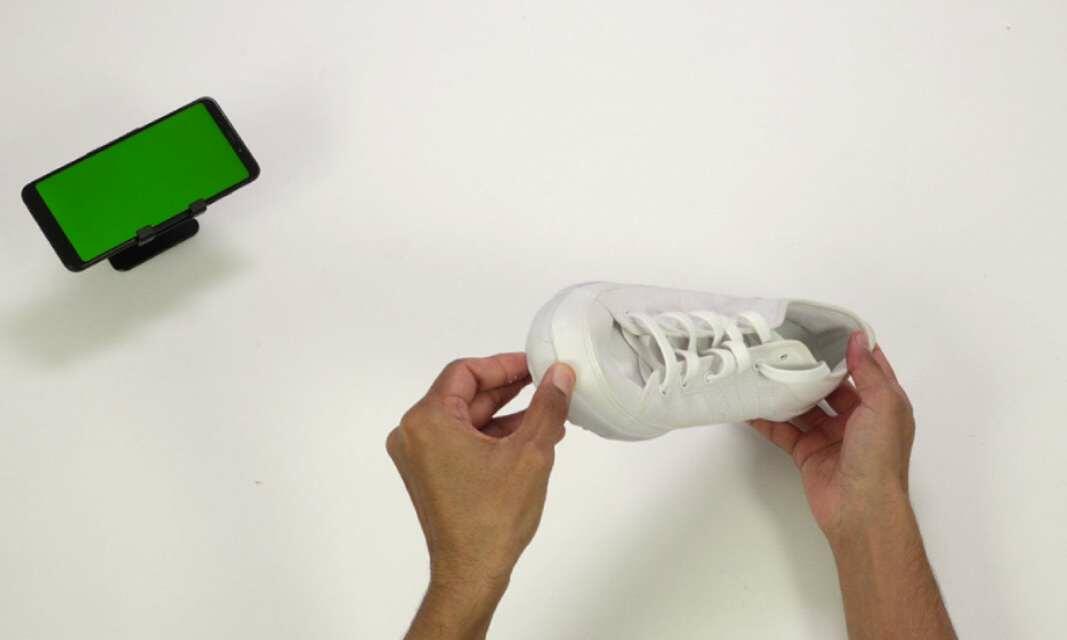
How to repair the sole of your shoe
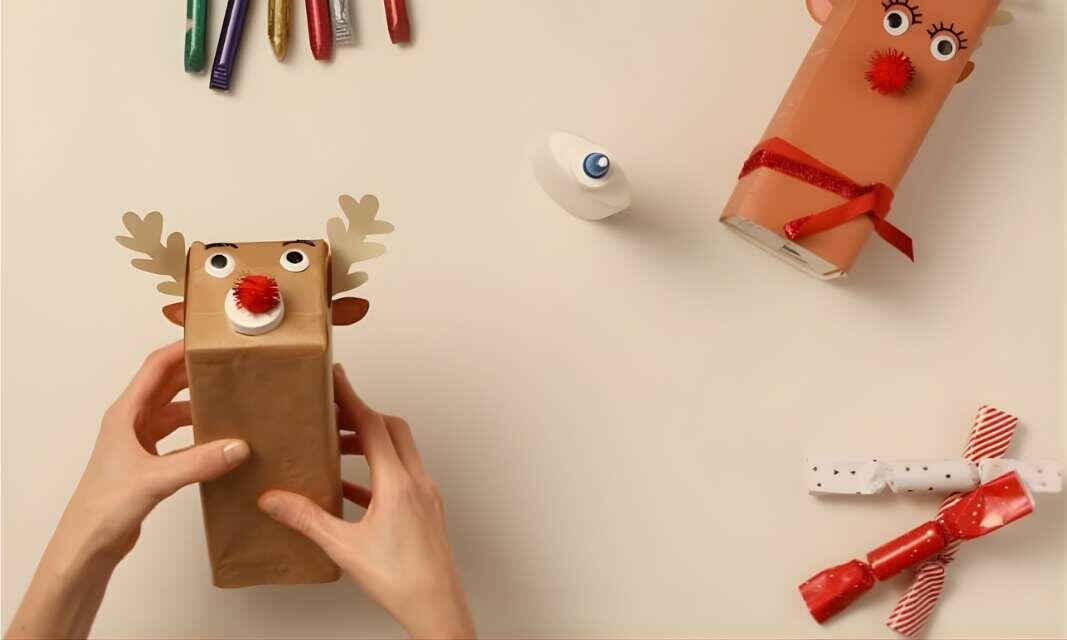
DIY Christmas reindeer using old cartons
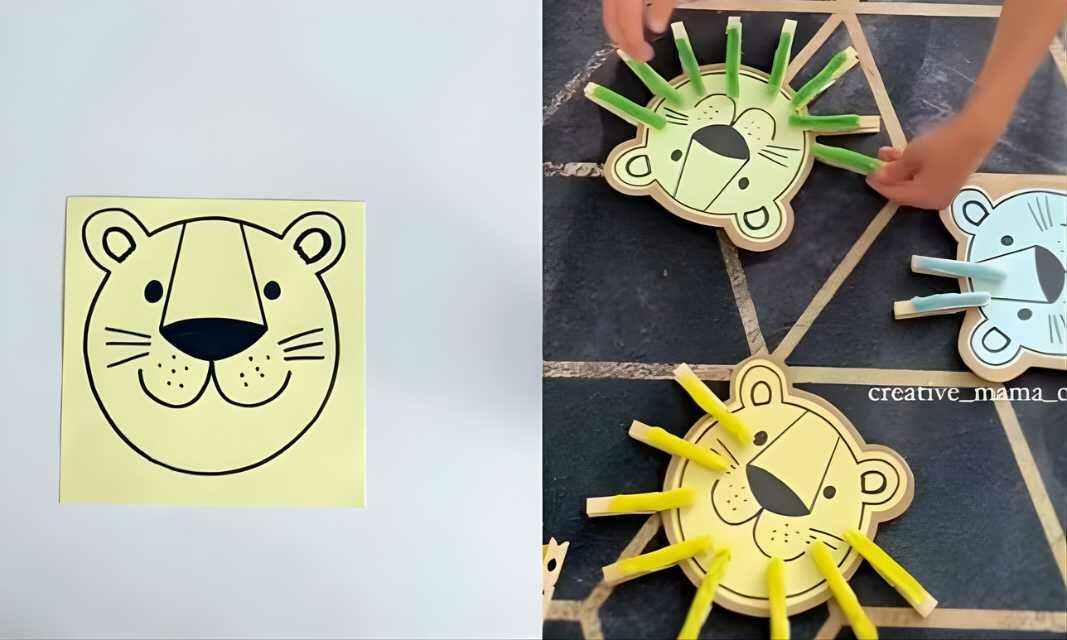
Easy lion craft activity with counting practice for kids
Everything you need to know: Glu Dots

How to build your own DIY cardboard dollhouse

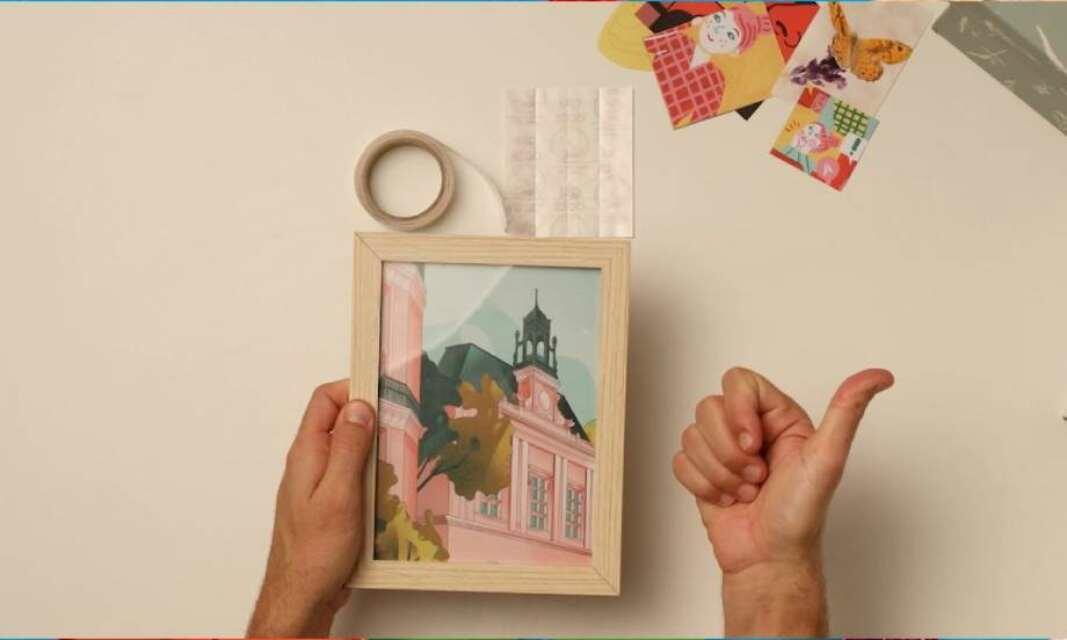
How to create a mood board in 5 simple steps
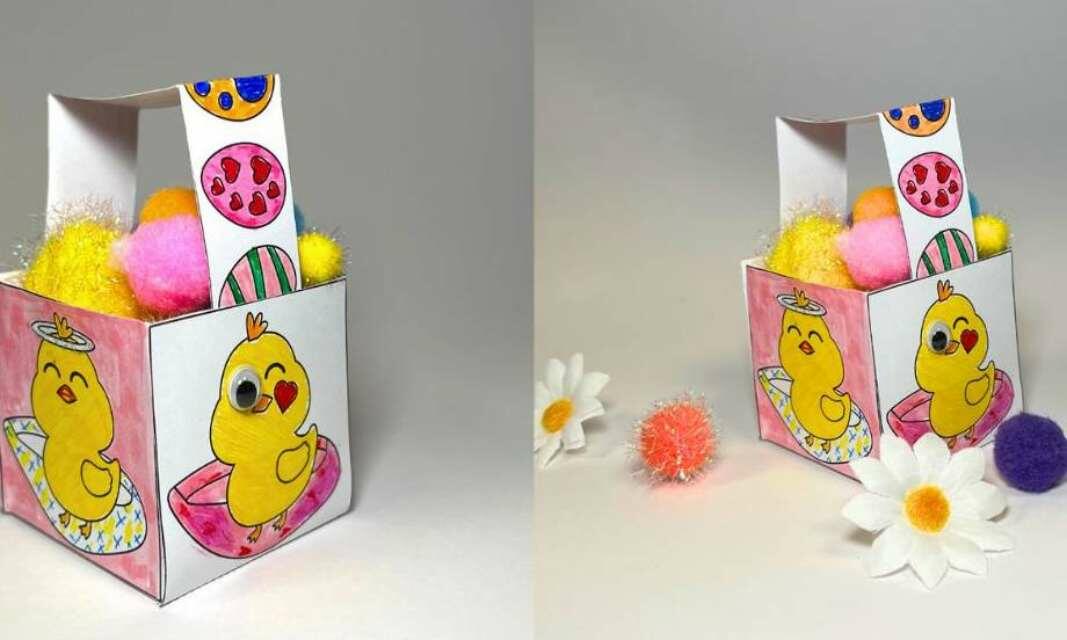
How to create a paper Easter basket
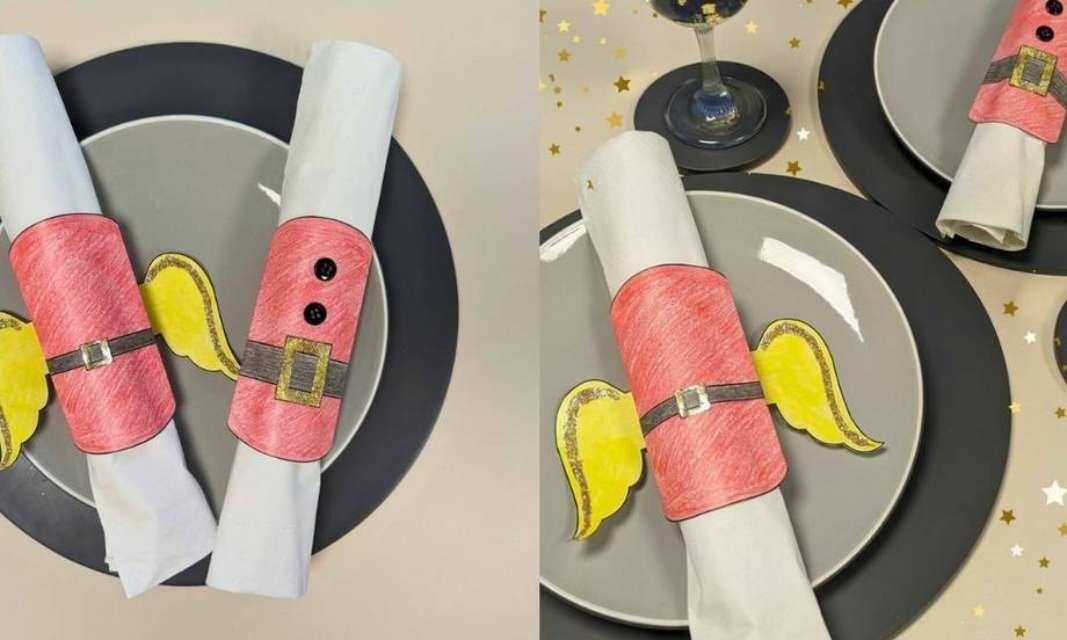
How to make your own Christmas napkin rings
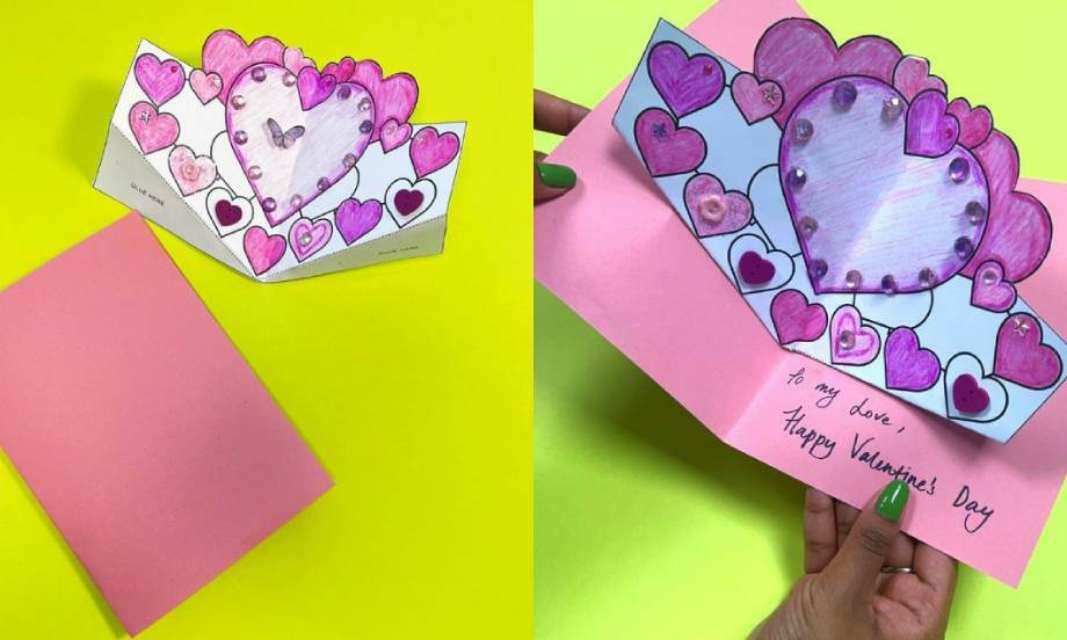
How to create a DIY Valentine's Day card
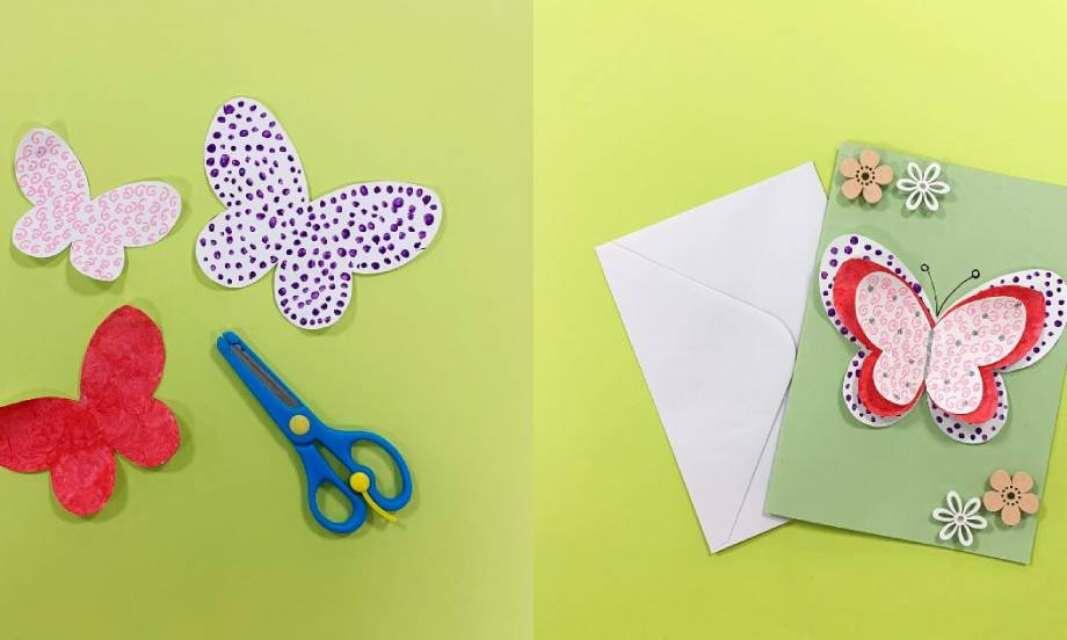
How to create a handmade Mother's Day card using our printable butterfly template