4 super easy children's craft ideas to do at home
Arts and crafts are a great way to express creativity and spend time as a family. Whether it’s a rainy day and you need to entertain the little ones, or you’ve got bits and bobs around the house to upcycle, getting stuck into a craft project is educational, inspiring and provides your children with much-needed quality time.
However, it can be hard to find easy craft ideas that are straightforward to do and produce results that the whole family is happy with.
Thankfully, you can discover our step-by-step guide covering four super simple craft ideas that you can do in the comfort of your own home.
From making handmade postcards, decorating storage boxes, creating a memory picture frame or creating DIY window decorations, we have a tutorial and more importantly, a glue to suit all!
Choosing the right glue for the job
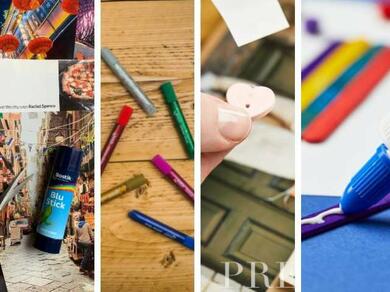
Bostik’s stationery adhesives range from solid glue sticks, to sticky dots, to multi-coloured glitter glues. Knowing which is the right glue for your craft project is important:
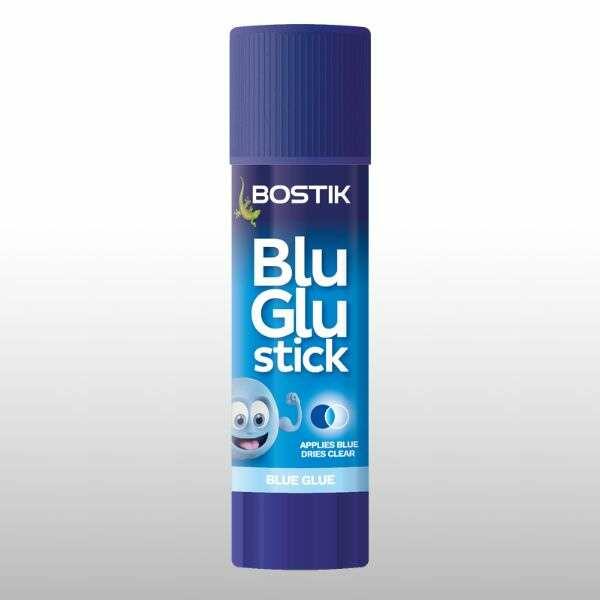
- Bostik Blu Glu stick is the perfect ready-to-use, easy-to-apply, high quality solid glue stick. It applies blue, so you can see where you’re sticking, and dries clear. It’s ideal for use on most paper-based materials including card, paper, crepe, tissue paper and photographs, as well as fabrics like felt and cotton.
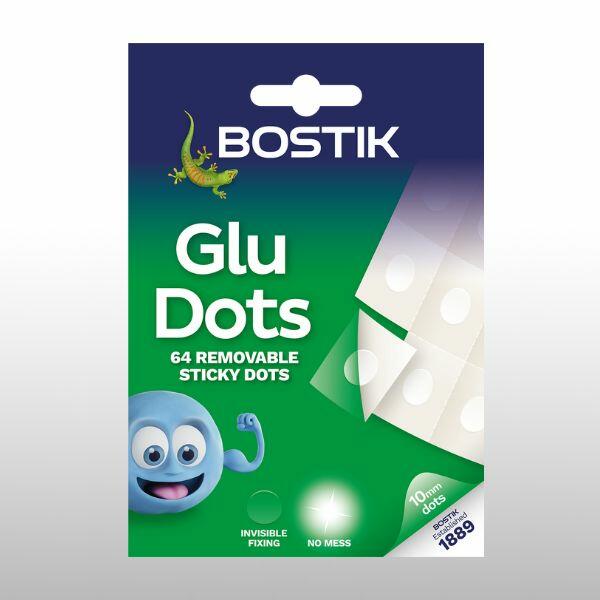
- Bostik Removable Glu Dots are double-sided, clear glue dots that stick to (and easily remove from) most materials including paper, wood, plastic, metal, glass and painted surfaces. Plus, they are acid and lignin-free and non-yellowing, so they’re ideal for gift wrapping, photo albums, craft projects, hanging posters and much more.
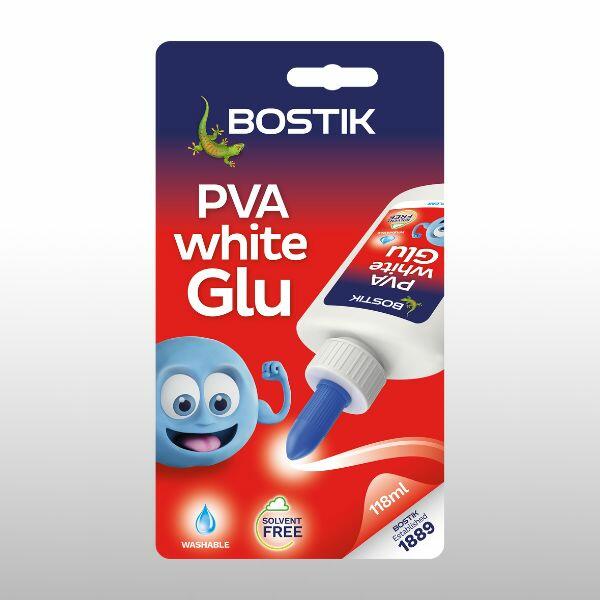
- Bostik PVA white Glu is a multipurpose, solvent-free white glue that dries clear. Packaged in an easy-to-use bottle with a resealable cap, it sticks lots of materials, including paper, card, wood and fabric. It’s also ideal for making slime and easily washes out of clothes.
Plus, all of the above products are UKCA and CE approved, meaning they're suitable for use by children. Now that you know some of our stationery essentials, let’s get into our easy craft ideas…
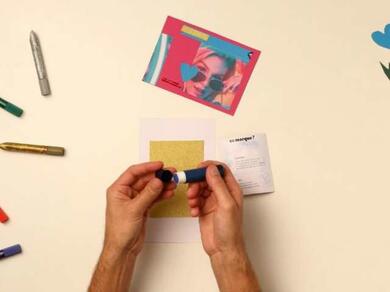
1. Handmade postcard
Our first craft project is a DIY card idea using our blue glue stick. Easily create a sentimental, handmade postcard using patterned card, our blue glue stick and a little imagination.
You will need:
- Blu Glu stick
- A4 card - printed pattern such as a space scene, brightly coloured card or similar
- Pieces of coloured card, a little smaller than A6
- Pre-cut shapes in coloured or patterned card - hearts, balloons, butterflies etc.
- Scissors
Method:
- Fold your A4 piece of card in half so it looks like a piece of A5. Prepare your smaller piece of coloured card and set down on your work surface.
- Remove the Blu Glu stick cap from the glue stick, turn the base clockwise until the glue stick starts to appear out of the tube.
- Apply the glue near to the edges on the back of the small piece of card with firm, even strokes. The glue goes on blue, before drying clear, so you can see exactly where it is applied.
- Align and then press the small card into place onto your folded A4 card.
- Cut shapes from different pieces of card and stick them onto the front of the folded piece of A4, gluing the back of each shape before pressing them into place.
- That’s it, you’ve completed our handmade postcard idea and can now send your unique, DIY card to the lucky recipient!
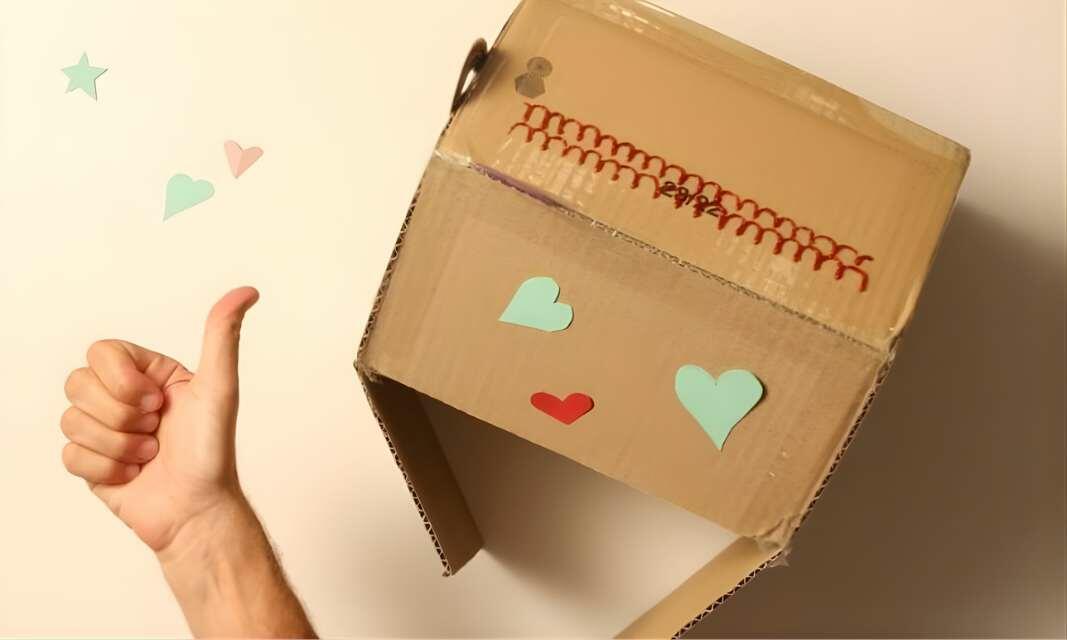
2. Decorating cardboard boxes
Our second simple craft idea explores how to decorate storage boxes, desk organisers, magazine files or similar, using the Bostik Glitter Glu pens.
You will need:
- Glitter Glue
- Cardboard storage boxes, desk organisers, pen pots, magazine files or similar
Method:
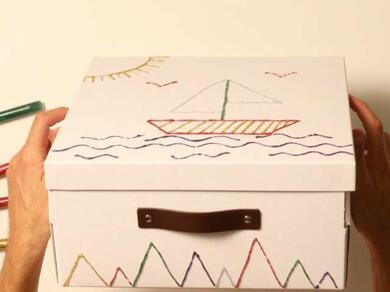
- Choose your cardboard item that you will decorate - we have chosen to decorate a cardboard box.
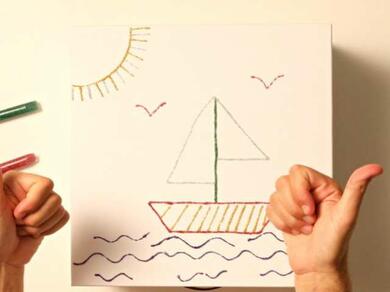
- Pull the lid from the top of the Glitter Glu pen, squeeze gently, and precisely apply the glitter glue where you need it.
- We recommend creating bold diagonal stripes in different colours to outline your item. If you have a large space, such as a cardboard box lid, draw your favourite scene such as a boat at sea, a mountain terrain or a day at the beach.
- Cover your cardboard item as you feel best and set aside to dry once you’re done.
- That’s it! You’ve now discovered how to decorate storage boxes using Bostik Glitter Glu.
Tacky's tip: Push the lid of your Glitter Glue pen back onto the tube once you’ve finished decorating. This will help to ensure the glue doesn’t dry up and it’s ready for next time.
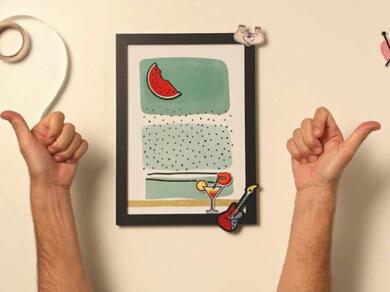
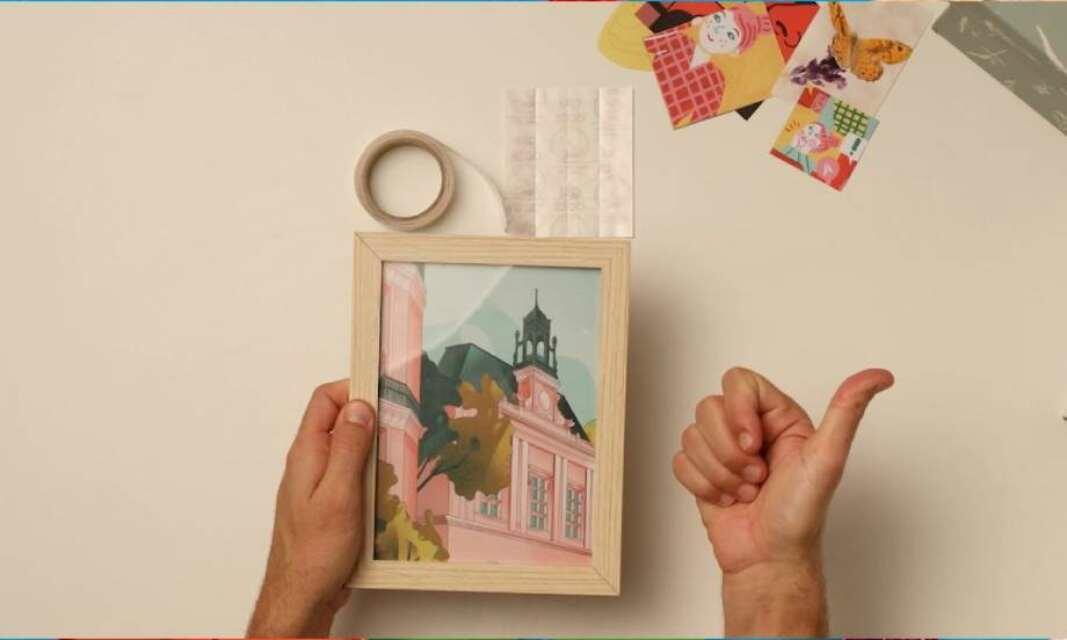
3. Photo frame craft idea
Next up is our easy photo frame craft.
You will need:
- Removable Glu Dots
- A box frame
- A piece of coloured card to fit into the back of the frame as a backdrop
- Craft items for the memory frame e.g. postcards, photos, ticket stubs, dried flowers and leaves, small shells, pebbles or beach items, etc.
Method:
- Before you use Bostik Removable Glu Dots, remember that all adhesives need a clean and dry surface for the glue to work at its best. So, check that all surfaces to be bonded are dust, dirt and grease-free.
- Take out a sheet of dots from the wallet, fold and then tear off along the perforations, removing as many dots as are required. Peel off the printed release paper to reveal a Glu Dot left on the clear backing. The Glu Dot is now ready for use.
- Choose a piece of coloured card for the back of your box frame, press Glu Dots firmly onto the back of the card, then slowly and carefully peel off the clear backing. The Glu Dots will adhere to the card, which can now be pressed into the box frame as a background.
- Apply further dots to each element of the memory frame: photos, postcards, tickets, dried flowers, leaves or feathers. Press each piece into place on the card backdrop. With Removable Glu Dots, you can change the layout around until you are happy with the finished effect.
- And that’s it, you’ve captured some magical memories forever.
Tacky's tip: For best results with Glu Dots, the surfaces and surroundings should be room temperature.
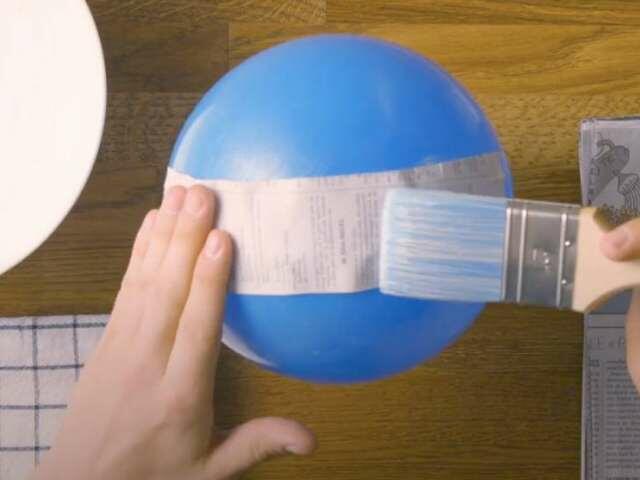
4. DIY window charms
Our final children’s craft idea is our homemade window decorations - perfect for all occasions including Christmas, New Year, Easter and more.
You will need:
- PVA white Glu
- Thick, transparent plastic food lids - we suggest a lid from a tube of stackable potato crisps
- 3-5 bottles of food colouring in various colours (e.g. red, blue, green, yellow, pink)
- Wooden cocktail stick
- Small lengths of ribbon
- Hole punch or something to pierce the lid
Method:
- Take a plastic food packaging lid and ensure that it is clean and free from dirt, dust and grease.
- Twist the resealable cap on the bottle of PVA white Glu and squeeze your white glue into the food packaging lid until the area is fully covered. Close the cap on your PVA glue bottle to avoid the glue from drying out.
- Add single drops of different food colourings and swirl them around with a wooden cocktail stick in your desired effect.
- Leave your DIY window decorations to dry for approximately 2 hours.
- Once dry, push your DIY hanging decoration from the lid and punch or poke a hole through the decoration close to the top edge.
- Thread through a ribbon, tying a knot or bow to create a loop so that you can hang your decoration.
- And that’s it! You’ve created a beautiful, DIY window charm to hang in your window, on a Christmas tree or anywhere else you fancy.
Tacky's tip: Do not overmix the food colours with one another as they can end up looking a muddy brown. Ideally, you want your decorations to be as vibrant as possible.
Time to clean up
You’ve now explored our four easy craft ideas that you can do in the comfort of your own home. We hope you enjoy your new creation, whether it’s a handmade greetings card, DIY window decoration, memory picture frame or you’ve decided to decorate your storage boxes.
Had a spill during your craft project? We have cleaning information for each of our stationery glues in their technical data sheets (TDS).
Bostik offers a wide range of stationery and craft adhesives, so no matter how complicated your next craft project may be, there's a stationery glue at hand to help.
Plus, if you're looking for some craft inspiration, you can browse our blog and filter #CraftWithBostik for all Bostik arts and crafts ideas.
Everything you need to know: Glu Dots
How to build your own DIY cardboard dollhouse
How to make paper maché with Bostik PVA glue
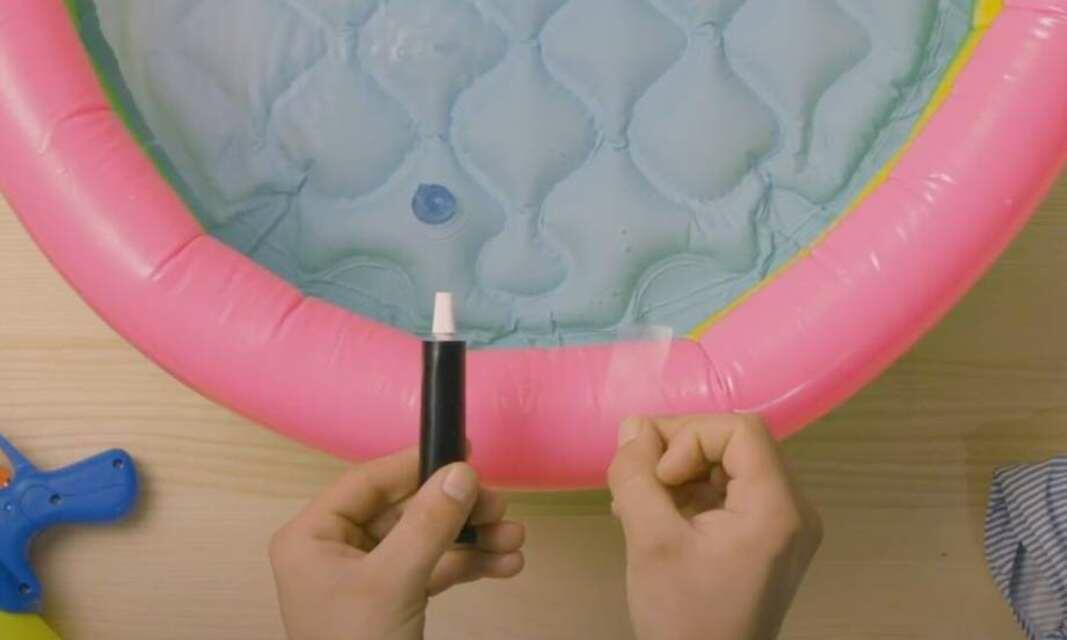
How to repair a child's paddling pool using plastic glue

3 simple things to make with lolly sticks
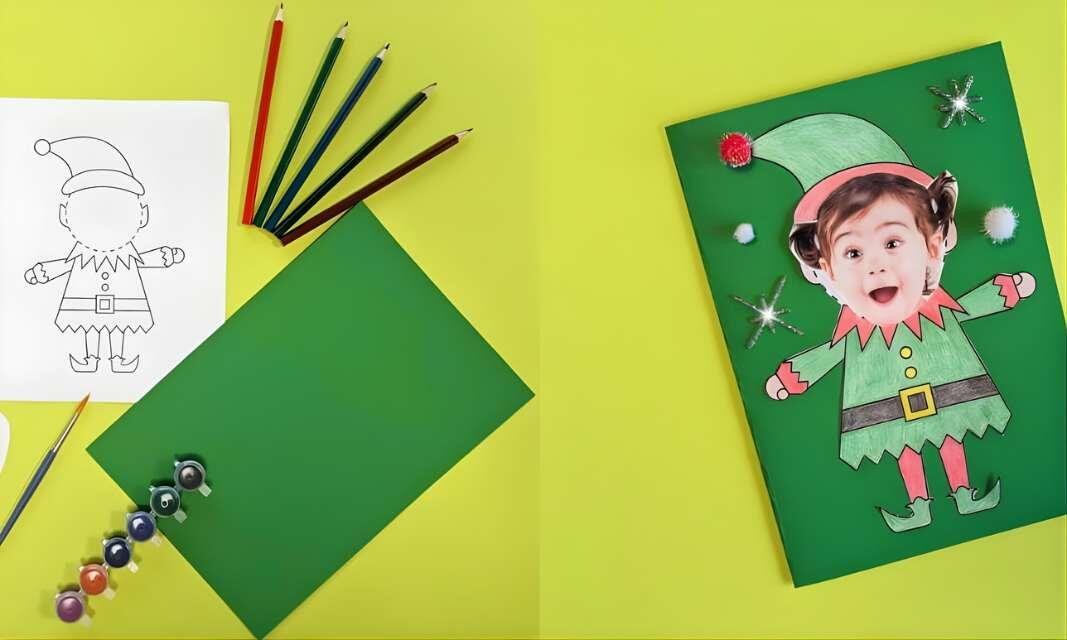
6 steps to make a handmade elf card using our printable template
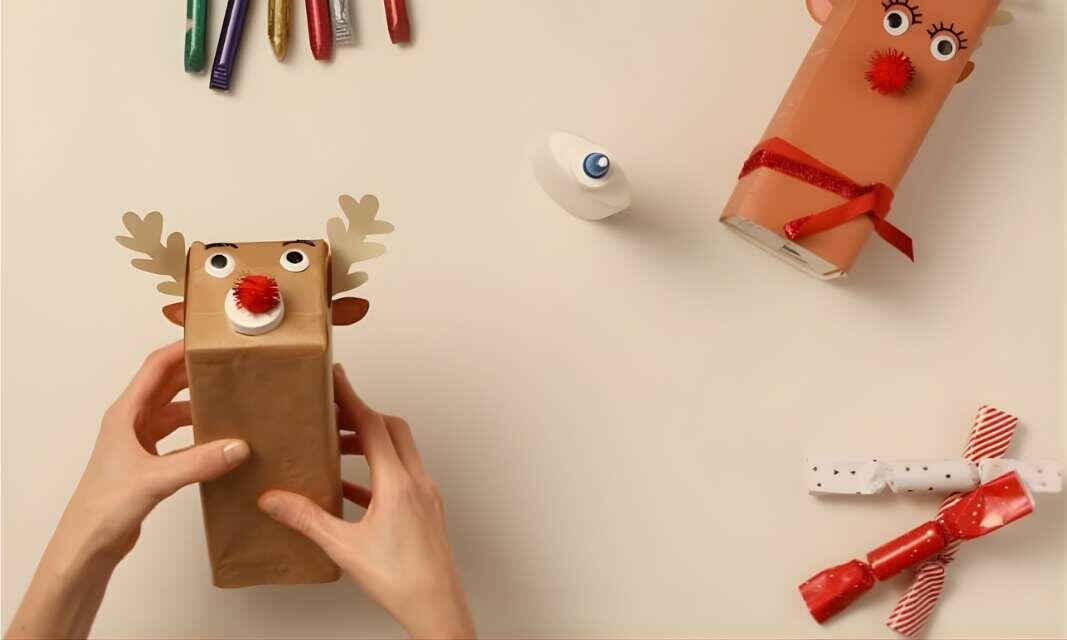
DIY Christmas reindeer using old cartons

How to make animal pencil pot holders
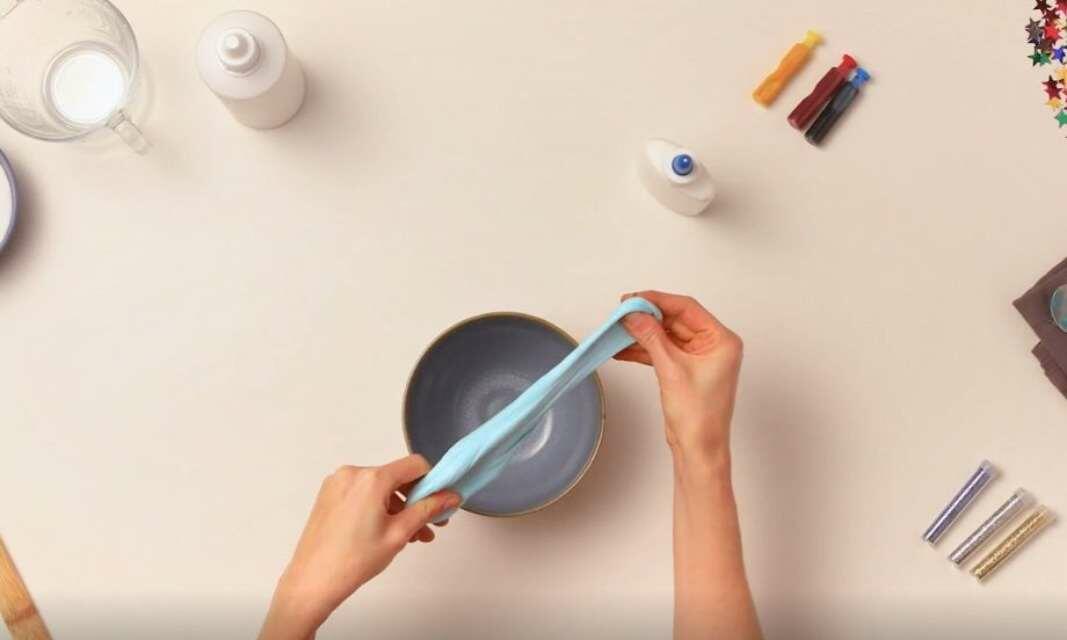
How to make slime using PVA glue
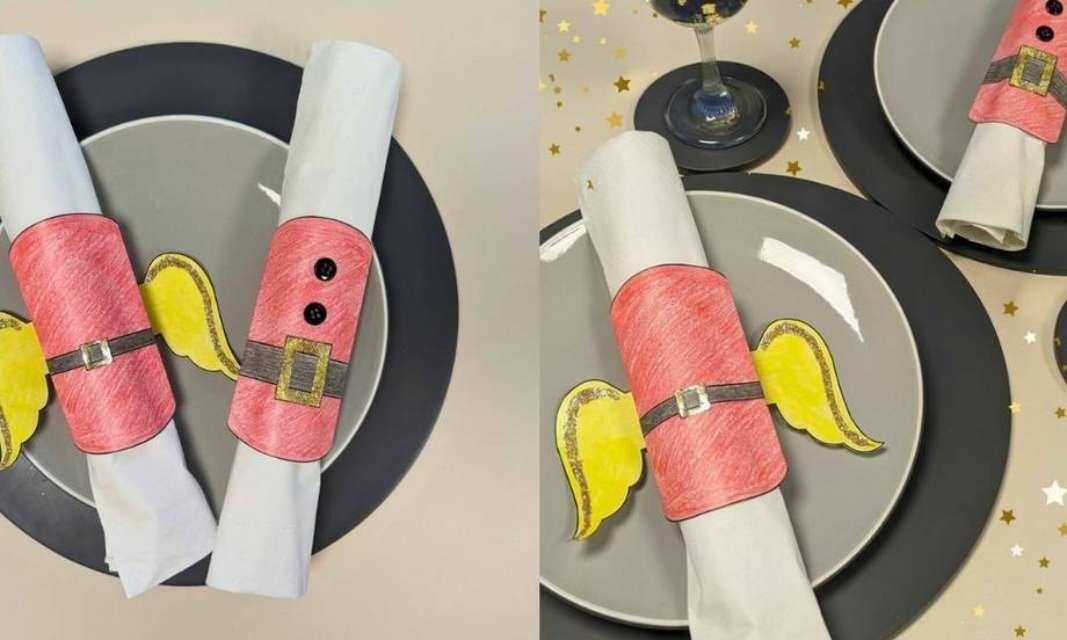
How to make your own Christmas napkin rings
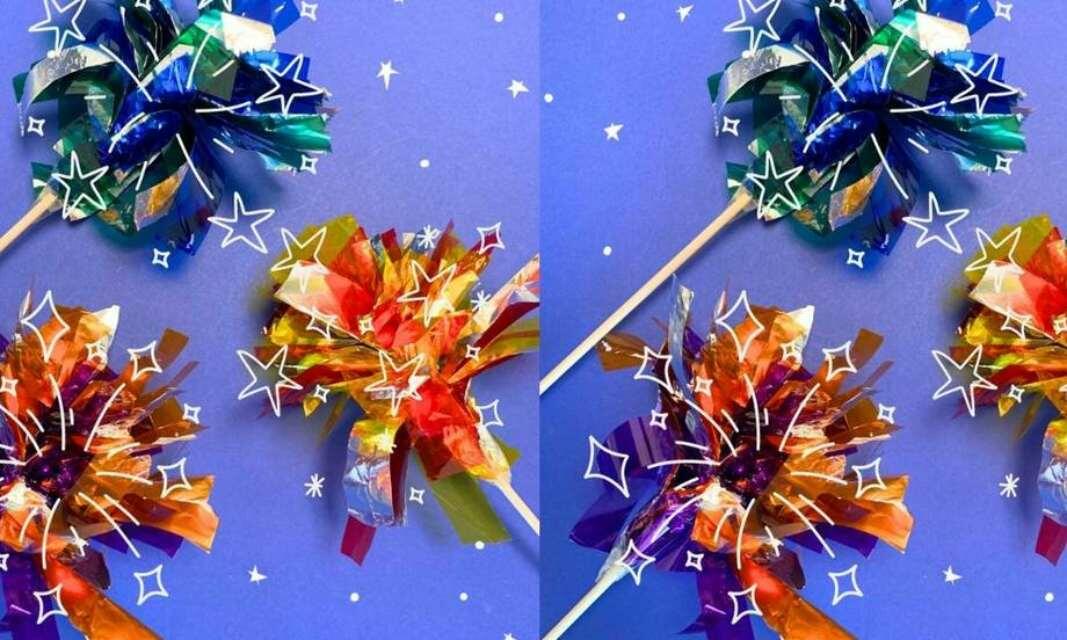
How to make your own sparklers
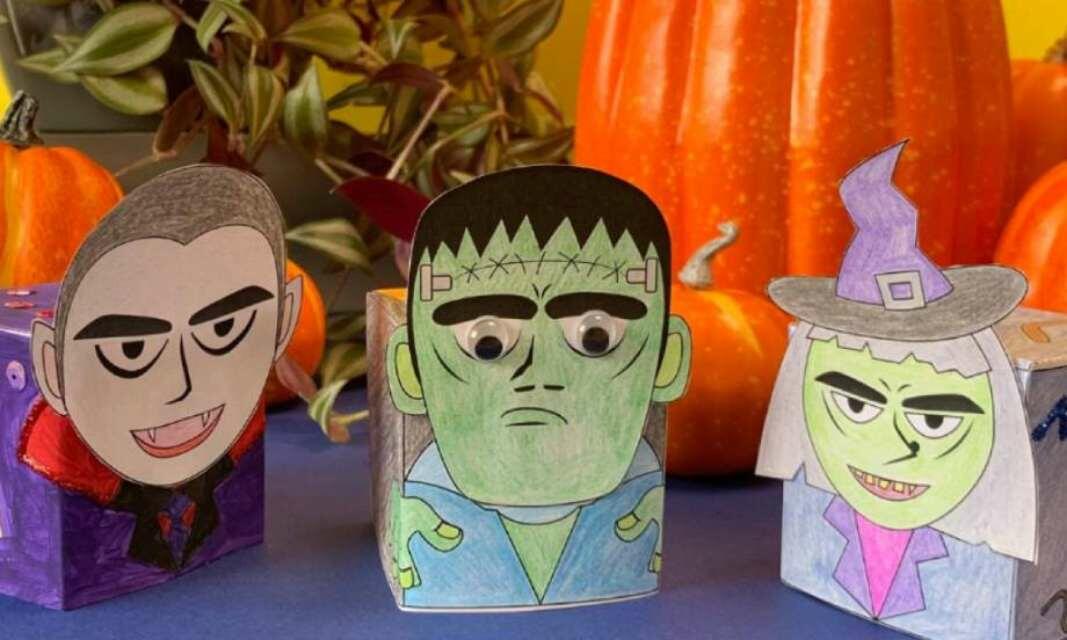
Make your own Halloween monsters using our printable template