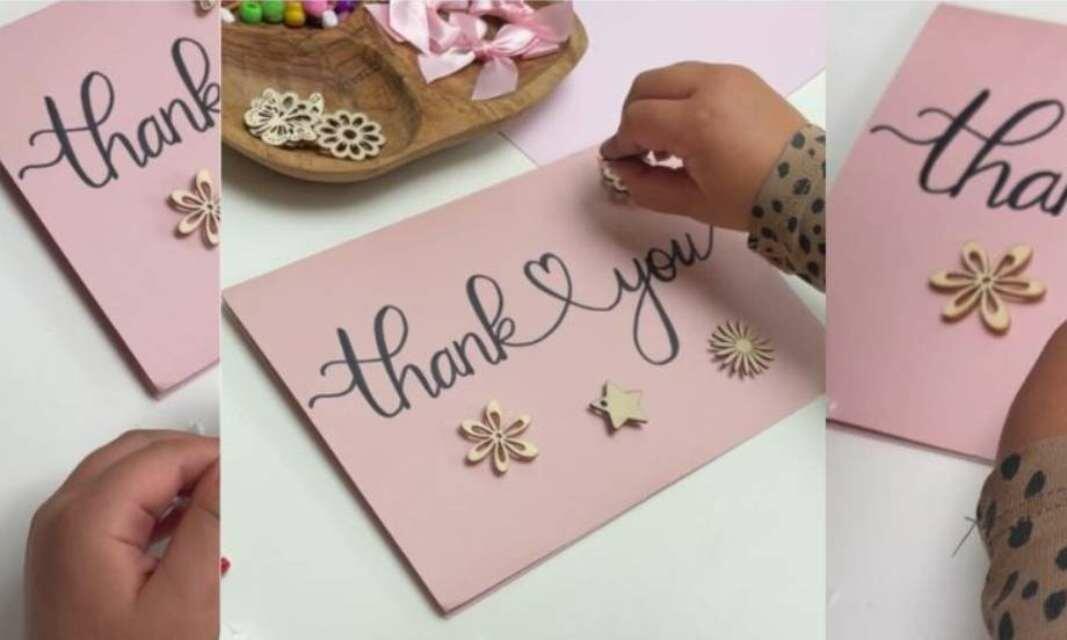
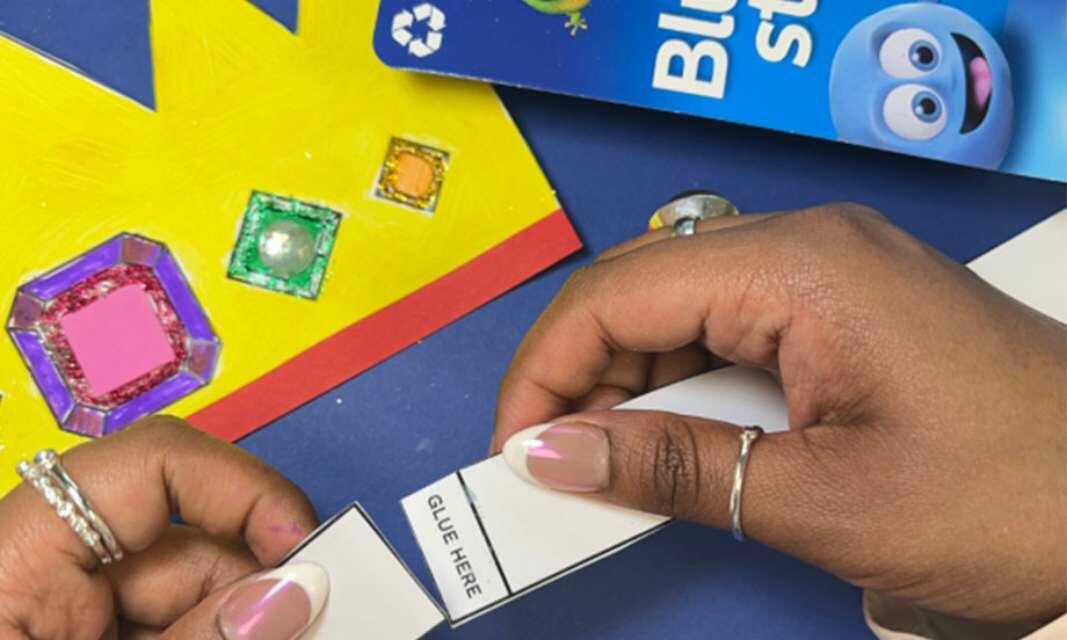
How to create a DIY Valentine's Day card
Showing your nearest and dearest that you love them doesn’t have to be an expensive affair. A simple, homemade Valentine’s Day card is an effective and meaningful way to win them over whilst also being affordable.
Whether you are creating a card for Valentine’s Day or any other time of the year, we have the perfect card tutorial for your Valentine, accompanied by a ready-to-go printable template.
Follow our 7 steps to create a DIY Valentine’s card and send a unique, personalised love letter from your heart to theirs!

Instructions
BLU GLU STICK
FOAM PADS
Make a Father's Day crown craft in 6 simple steps with our printable crown template
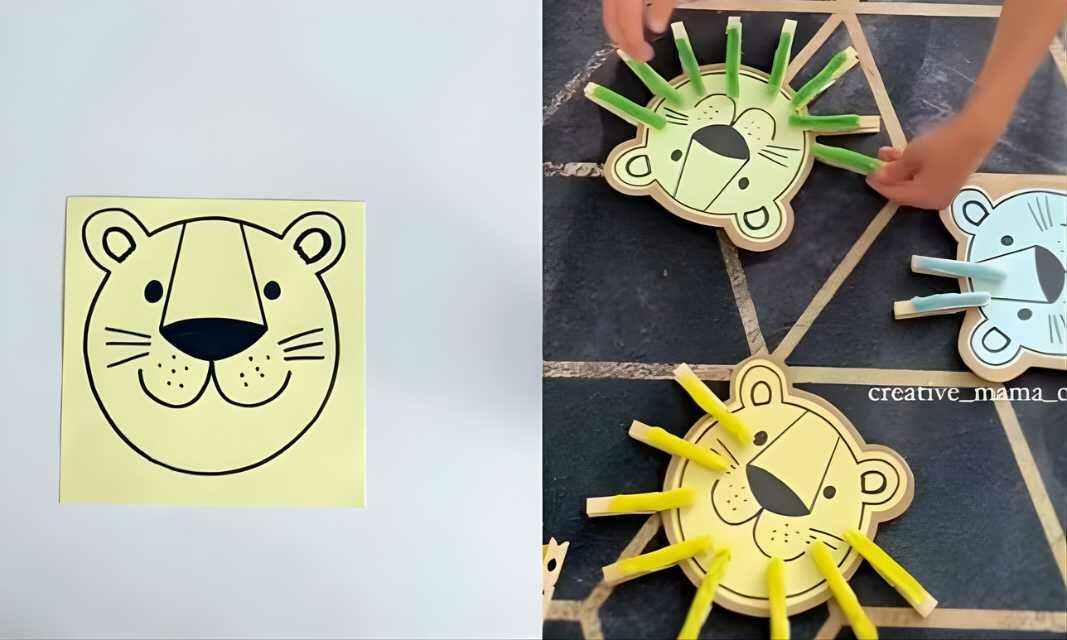
Easy lion craft activity with counting practice for kids

How to build your own DIY cardboard dollhouse
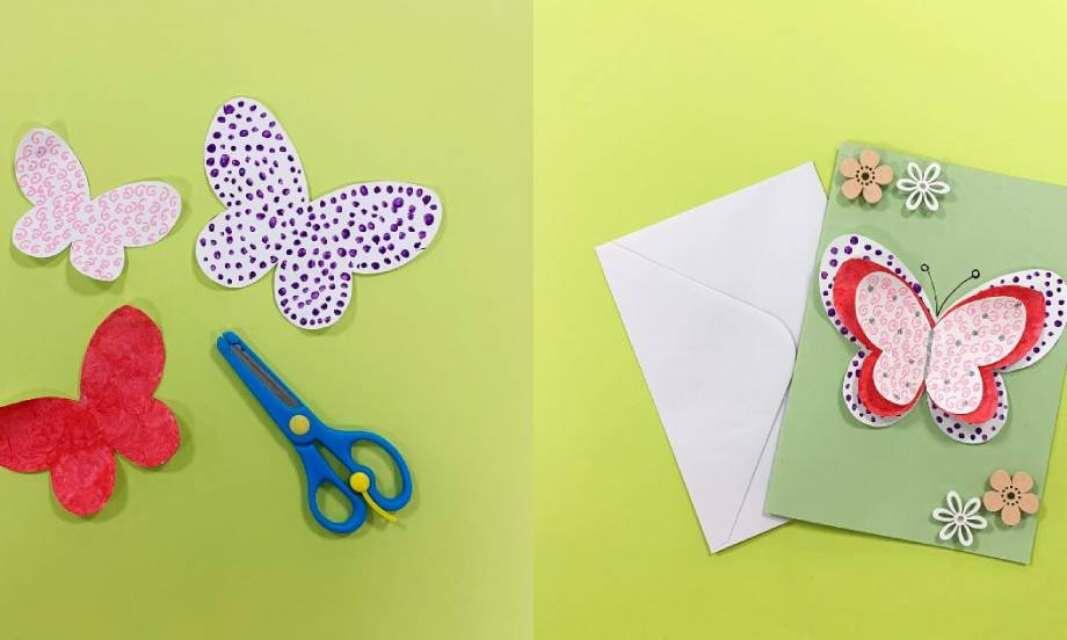
How to create a handmade Mother's Day card using our printable butterfly template

How to create a mood board in 5 simple steps

How to make a 3D snowman out of paper
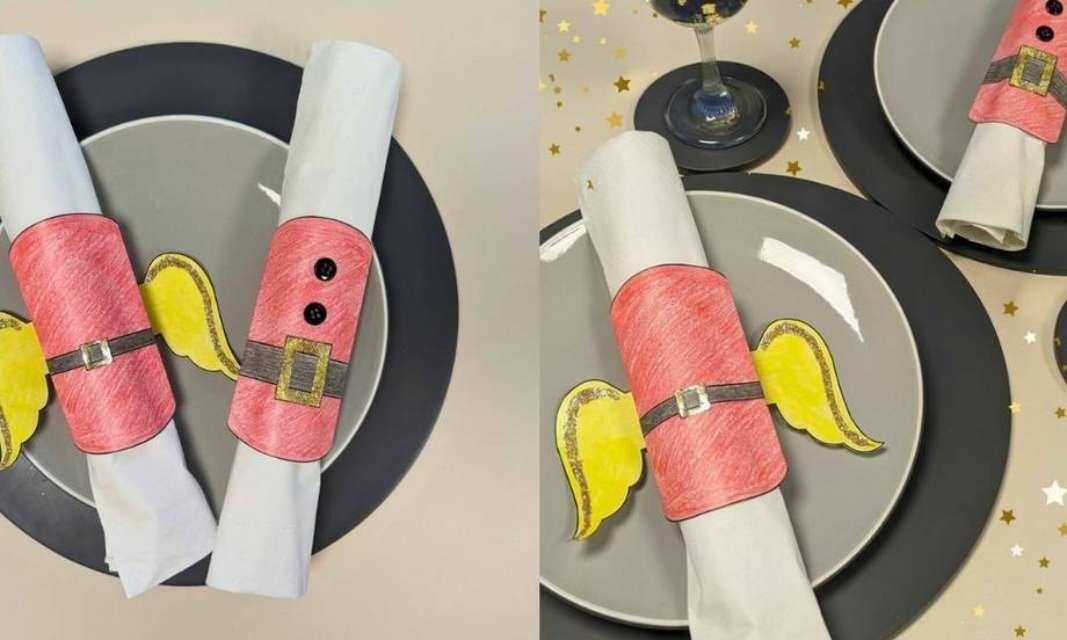
How to make your own Christmas napkin rings
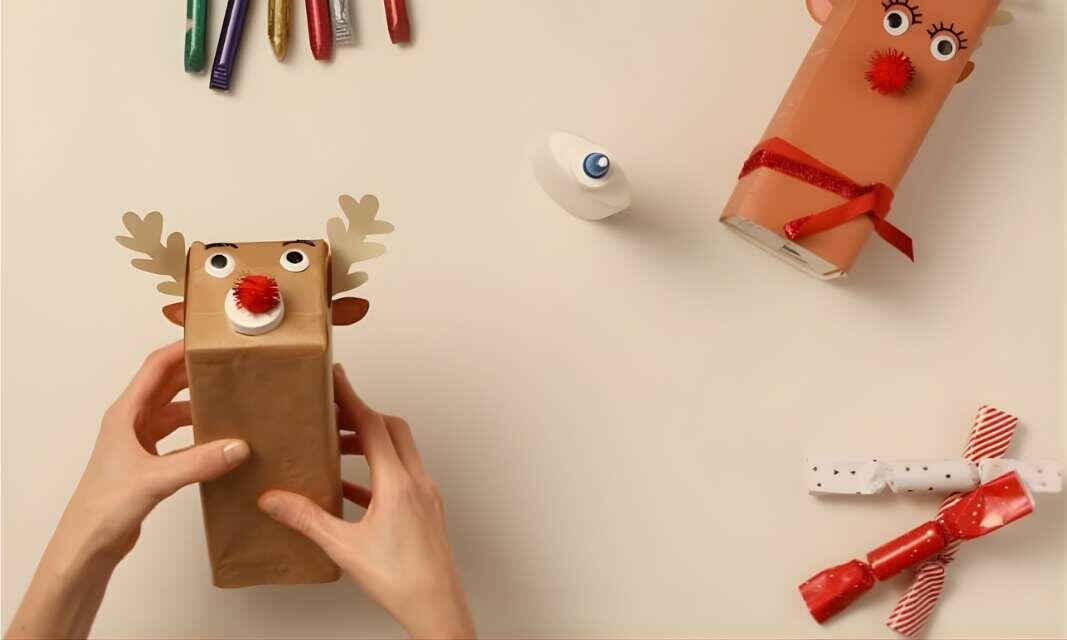
DIY Christmas reindeer using old cartons
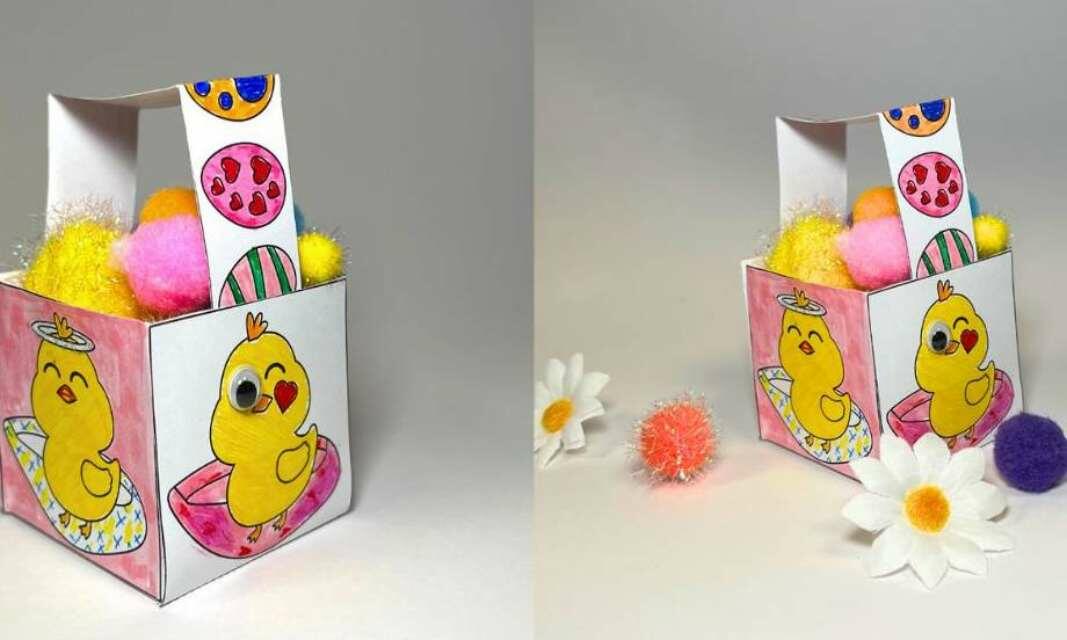
How to create a paper Easter basket