How to make slime using PVA glue
Ever wondered how to make slime at home and impress your family or friends with some hands-on creativity? Slime has taken the crafting world by storm, becoming a go-to activity for children and adults alike. With our simple recipe, it's easy and exciting to make your own slime, ensuring success every time.
Whether you’re planning a weekend project or looking to add a touch of fun to a rainy day, this guide will walk you through making slime with glue and other common household items - it blends a fun science experiment and crafting session into one!
What you will need
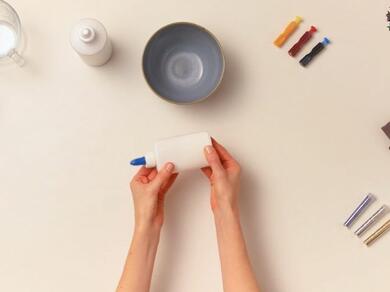
To create the perfect slime, you need the following items that make up our perfected DIY slime recipe:
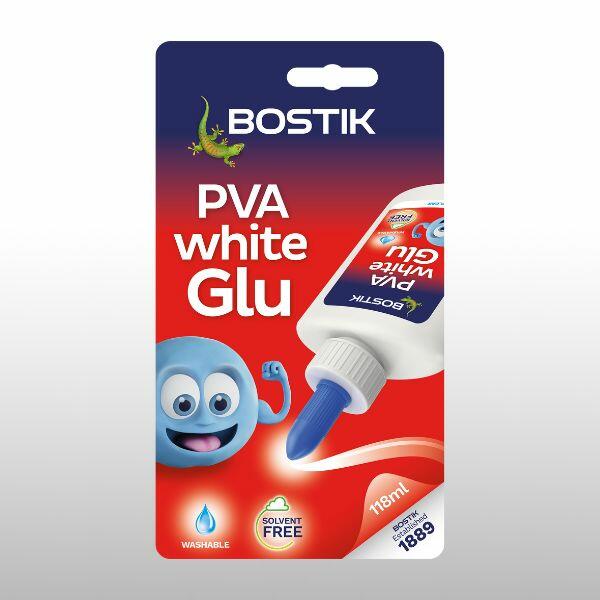
- PVA white Glu (you can't make slime without it!)
- Mixing bowl
- Spatula
- Teaspoon
- Paper towels
- Contact lens cleaning solution (this is the activator; it should contain boric acid and sodium borate)
- Bicarbonate of soda
- Food colouring
Optional
- Glitter, gems or small beads (for added texture)
Step-by-step to make your own slime:
Step 1: Assemble your kit
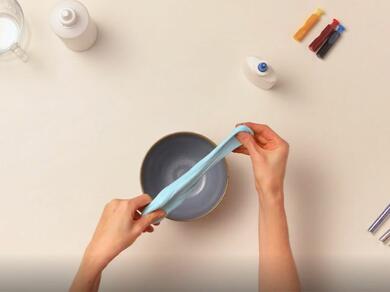
To get started on your slime-making adventure, gather all your ingredients. You may want to use newspaper across your work surface to protect it.
Then, you’ll need a mixing bowl, spatula, teaspoon, kitchen paper, PVA white Glu, contact lens cleaning solution, bicarbonate of soda, food colourings and the additional embellishments you desire. We recommend glitter, beads, gems, or sequins.
Did you know? PVA white Glu is a multipurpose, solvent-free white glue which dries clear for a discrete finish. As well as being great for making your own slime, it’s the perfect solution for arts, crafts, and hobbies for both adults and kids, and sticks most materials. Plus, it comes in an easy-to-use bottle with a resealable cap and even washes out of clothes - perfect for little ones who can be a little messy!

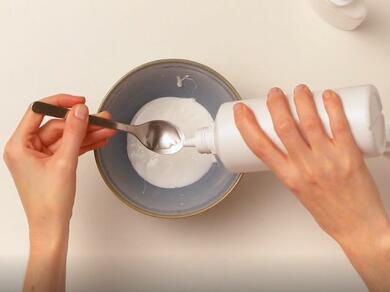
Step 2: Mix the glue, baking soda and lens solution
Pour out 100ml of PVA white Glu into your mixing bowl and add 1 teaspoon of contact lens cleaning solution – the activator - and half a teaspoon of bicarbonate of soda. Use the spatula to mix well, until fully combined.
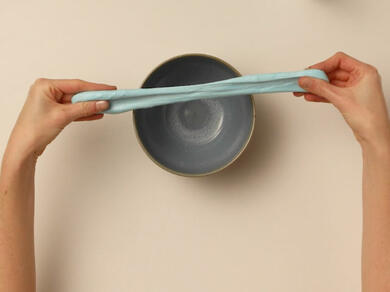
You'll notice the mixture starts to form clumps as the ingredients react. Keep stirring until it begins to pull away from the sides of the bowl to create the stretchy, non-sticky texture.
Important: The contact lens solution must include boric acid and sodium borate for the DIY slime recipe to work. Double check that your contact lens solution includes these ingredients so that your homemade slime can be a success!
Note: For step three, you'll be required to mix in your food colouring using your hands. You may want to protect your fingers using plastic gloves or you can simply give them a good wash with plenty of soap and cold water once you've finishing mixing.
Step 3: Add some colour
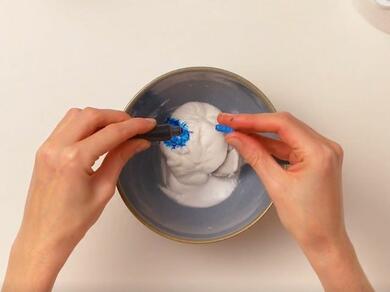
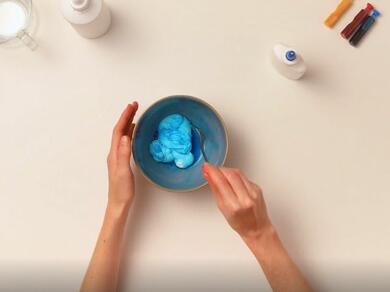
Here's where you can let your imagination shine with your DIY slime! To create an intensely coloured slime, add your chosen food colouring, a drop or two at a time. Work the drops of food colouring into the slime mixture before adding more to deepen the colour, as preferred.
Tacky's tip: Mix standard food colours to create your own custom finish. For example, blue and red will make purple, and yellow and red will make orange. Remember to go slow and add 1-2 drops before working the product into your slime mixture to get the perfect shade for you!
Step 4: Make it sparkle
Personalise your slime further by adding some glitter into the mixture for a satisfyingly sparkly finish. Or choose large beads, gems, sequins, or confetti to bring some texture to your homemade slime.
You could even add rock salt to create a fantastic crunchy slime or keep your slime white with snowflake confetti for DIY snow slime - the possibilities are endless! Just check that your slime recipe is suitable for your child’s age and allergies.
Step 5: Troubleshoot your homemade slime
You're almost done! Before your slime is good to go, troubleshoot it to make sure it's up to your slime standards.
- Too sticky? Add a touch more contact lens solution.
- Too stiff? Work in a little more glue to make it softer.
- Want it fluffier? Mix in a squirt of shaving cream for fluffy slime!
Step 6: You're done!
That's it! You’ve learnt how to make slime with glue from the comfort of your craft table. Enjoy playing with your personalised version of this popular toy and when out of use, be sure to store your slime in an airtight container to keep it in tip top condition.
Making slime with glue is a fantastic way to bond with your little ones or let your creative side run wild. Always supervise young children during this activity and ensure that ingredients are used safely.
