How to glue metal to metal
When it comes to bonding metal surfaces together, having the right adhesive is key to ensuring a strong and durable bond. Metal can be a tricky surface to work with, especially if you're looking to bond metal to metal.
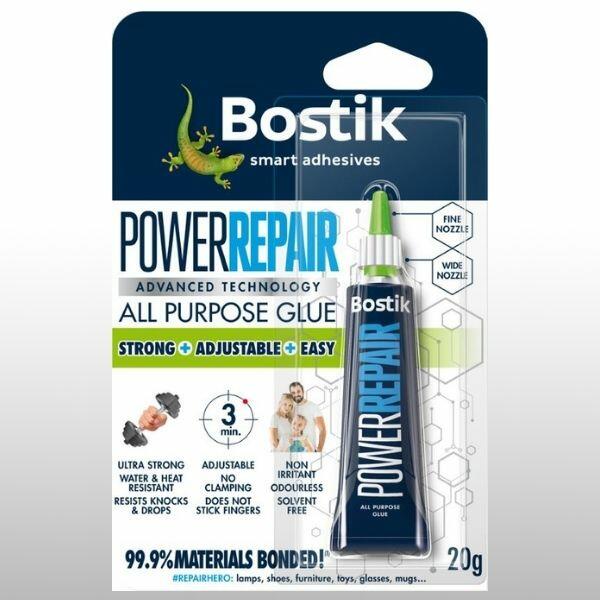
Whether you're tackling a DIY project, repairing metal fixtures, or working on industrial applications, Bostik has a wide range of adhesives for the job. Our best glue for metal-to-metal adhesion is Power Repair, which is proven to be a powerful and efficient solution. Unlike traditional methods such as welding or riveting, using glue offers a simpler, cleaner, and often quicker way to join metal parts, perfect for DIY enthusiasts or professionals alike!
In this guide, we’ll walk you through how to glue metal to metal using a powerful tube of adhesive. You’ll discover tips for surface preparation, the correct application method, and important drying times to achieve the best results. Whether you're working with aluminium, steel, or other metal types, mastering this process will save you time and effort while ensuring a solid bond.
How to choose the right metal glue?
Choosing the right adhesive for metal-to-metal bonding is crucial to ensuring a secure and long-lasting repair. Not all adhesives are designed to handle the unique properties of metal, such as its smooth surface and potential for expansion and contraction due to temperature changes.
When selecting a glue, consider factors like the type of metal you're working with, the environment the bond will be exposed to, and the strength needed for the task. For day-to-day tasks and making general repairs to metal household items, Bostik's Power Repair comes in handy.
Power Repair is an ultra-strong, fast-setting, clear glue that uses SM Polymer technology for a long-lasting bond on just about any material. It will glue most surfaces, even if both are non-porous, so it’s a great choice whether you’re gluing glass, wood, stone, metal, leather, rubber, plastics, ceramics, mirrors and much more. Plus, it resists knocks and drops, works in extreme temperatures, bonds damp surfaces and can even be used underwater! It's perfect for small household repairs, indoors and out.
A guide to fixing metal-to-metal
What you will need
- Bostik Power Repair
- Old newspaper or similar
- Alcohol-based cleaner
- A clean, dry cloth
- White spirit
Step 1: Prepare your surfaces
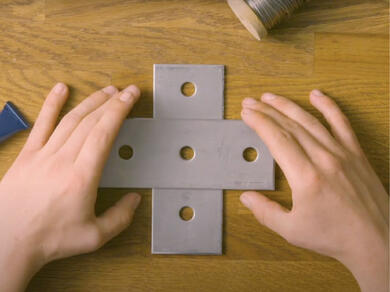
Before you glue metal to metal, remember that all glues need a clean, dry surface for the glue to work as intended. Check the damaged area for dust, dirt, grease, or any other contamination. If necessary, give your metal item a quick clean with an alcohol-based cleaner and let it dry.
Step 2: Apply your metal glue
Once your metal object is ready to glue, place it on a flat surface. You may want to lay it on an old newspaper to protect your work surfaces.
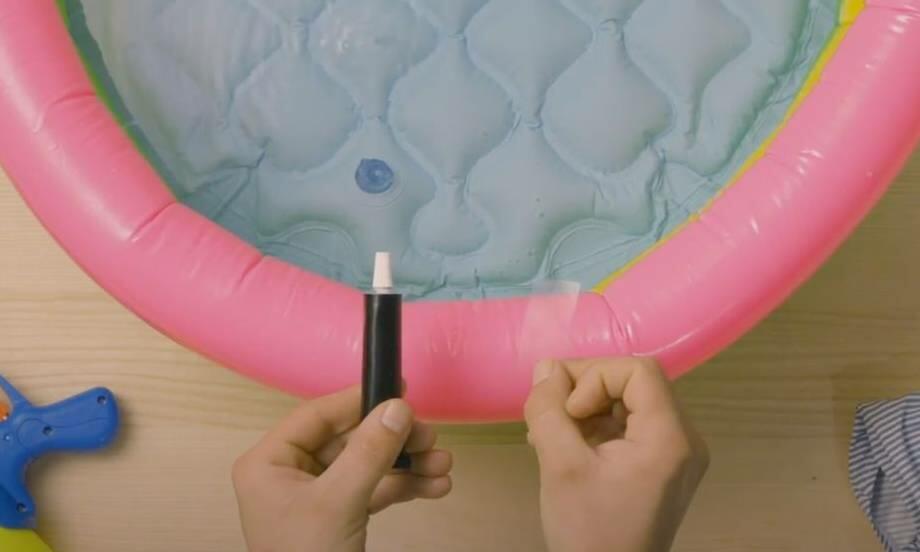
When opening the adhesive, always point the tube away from you and take care not to squeeze the tube. If it’s your first time using the glue, unscrew the nozzle to remove the washer. Then screw the nozzle back onto the tube to pierce the seal.
- For a fine application, unscrew the cap and squeeze the glue out of the nozzle.
- For a wider application, unscrew the entire plastic nozzle and squeeze out the glue.
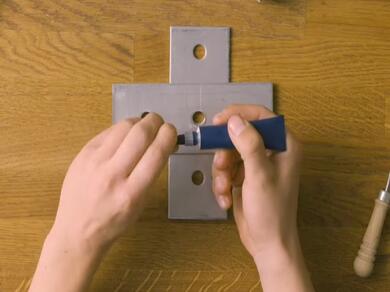
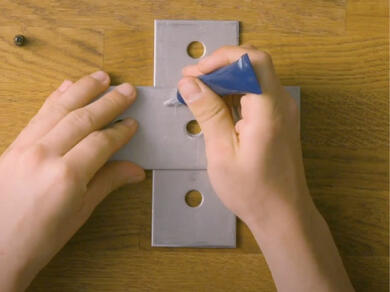
Apply thin beads to one surface and then lightly press the two surfaces together.
Step 3: Leave to set in place
Once you've applied the adhesive, reseal the Bostik Power Repair tube to prevent the glue from drying out.
The applied glue remains adjustable for up to 3 minutes, so you have time to position and reposition your items until you've created the perfect alignment for your metal-to-metal bond. The glue will then be fully set within two hours, with no need for clamping.
Step 4: Clean up
To finish up, give the nozzle a wipe with a clean cloth and replace the cap. Then, store the Power Repair tube upright in a cool, dark place.
Good to know: If there is any surplus glue, you should remove it with white spirit before it sets.
