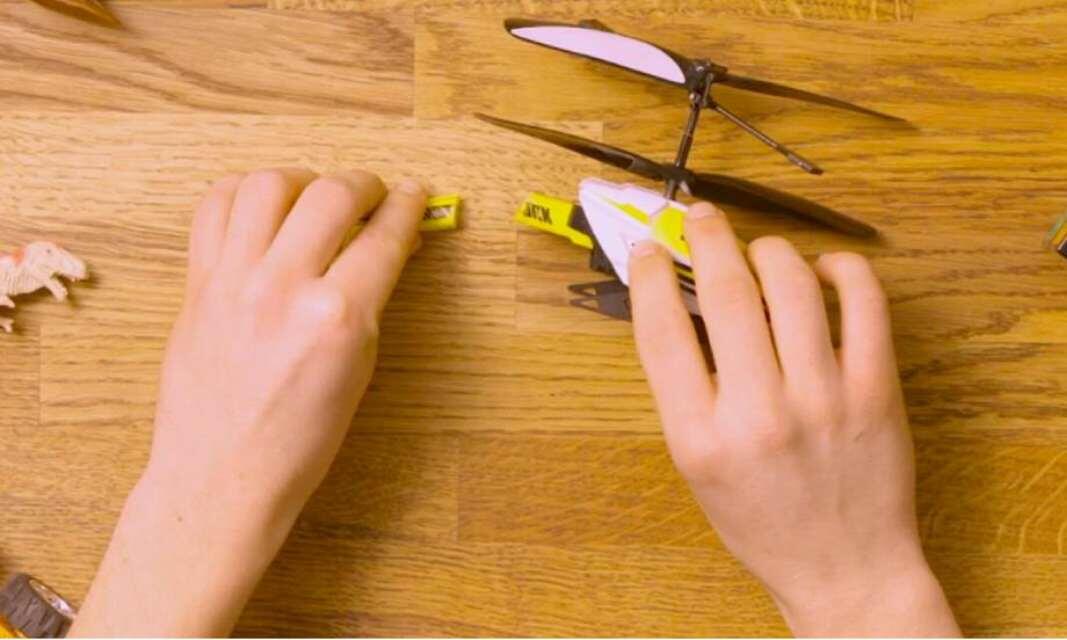
How to repair a plastic toy
We've all been there as a child – you break your favourite toy and are left with no option but to throw it away. Thankfully, your children don't have to experience the same disappointment of throwing their treasured item in the bin. Instead, a drop or two of Bostik's best glue for plastic toys can help.
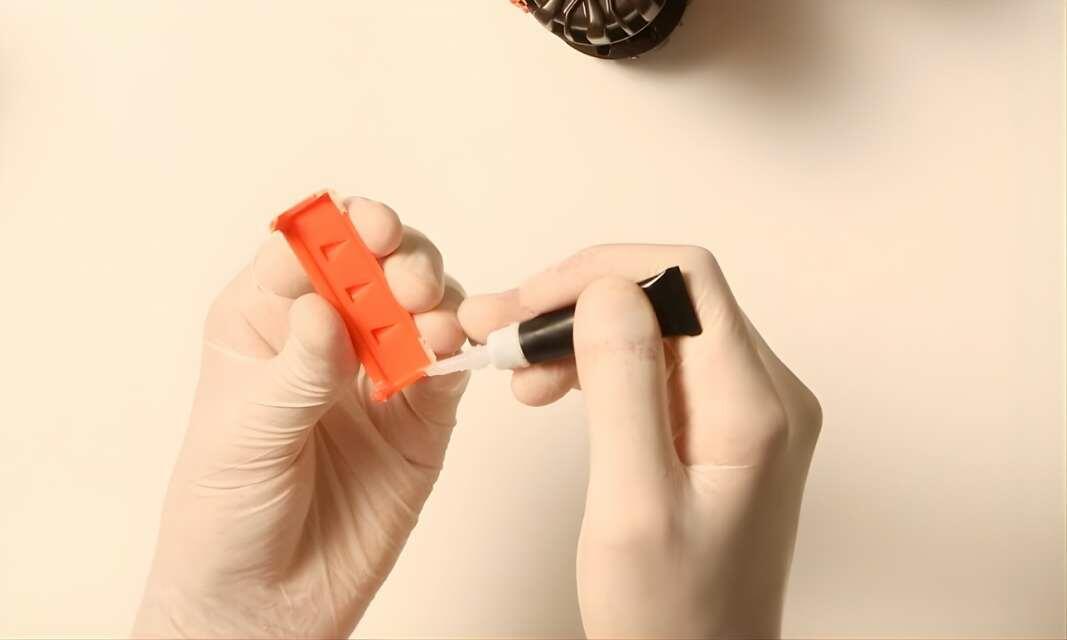
Bostik Fix & Glue is one of our best glues to repair plastic toys as it’s ultra strong, long-lasting and bonds to 99.9% of materials, making it ideal for toy repairs of all shapes and sizes.
Read on for our five simple steps for how to repair broken plastic toys. Don’t bin it, fix it and become an everyday #REPAIRHERO!
Instructions
SUPER GLUE EASY FLOW
SUPER GLUE LIQUID
SUPER GLUE NON-DRIP GEL
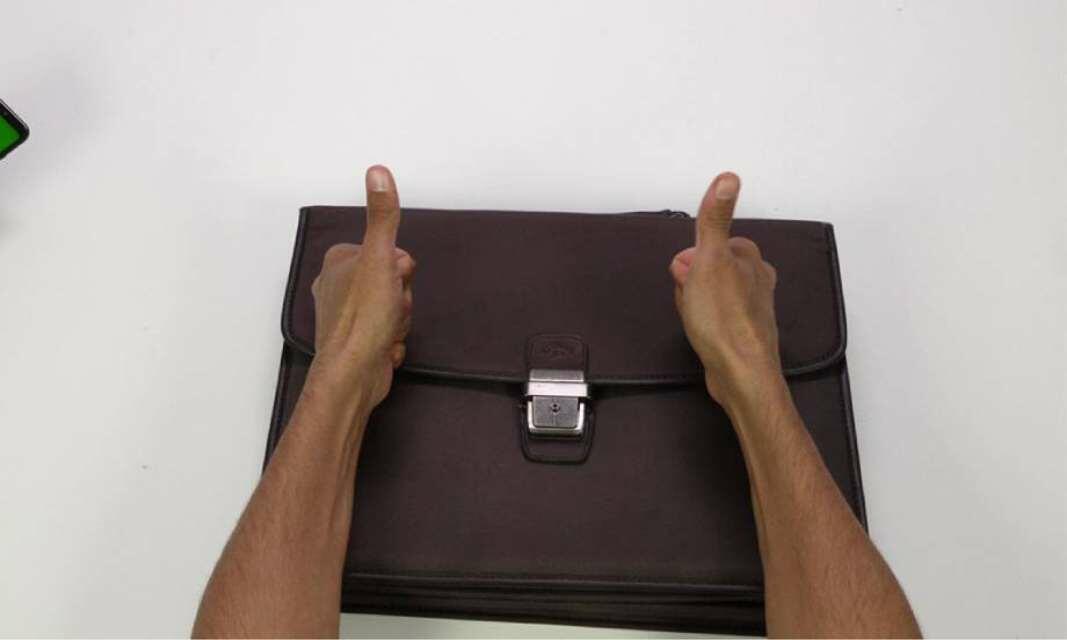
How to easily repair a fabric or leather bag clasp with super glue

How to repair a broken ceramic vase
How to repair a broken glass
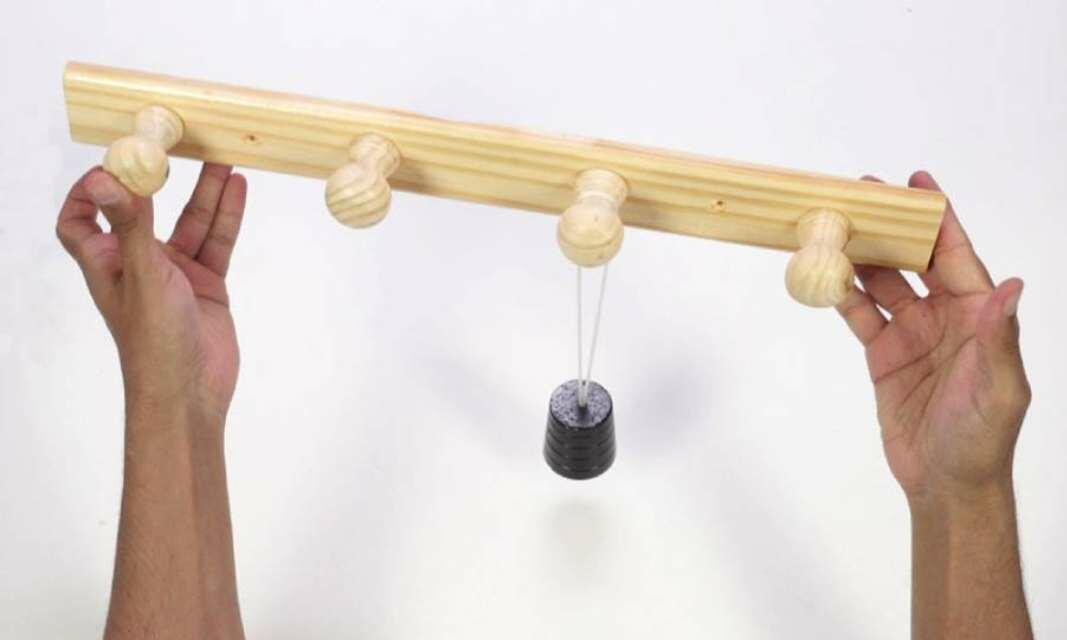
How to repair a broken wooden coat rack
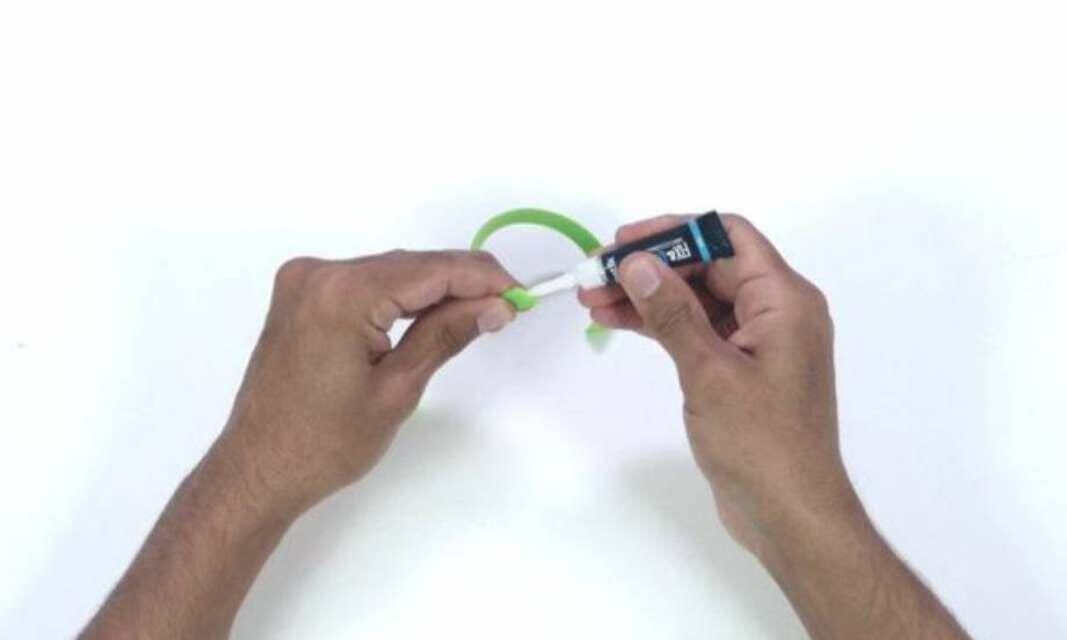
How to repair a rubber bracelet
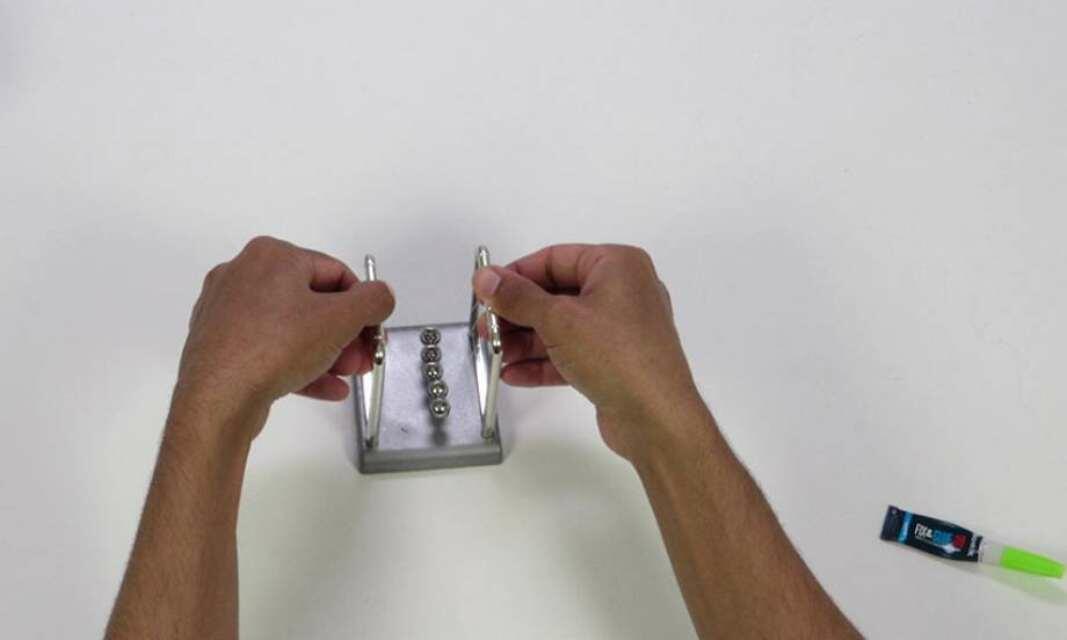
How to repair metal objects using super glue
How to repair the sole of your shoe

6 steps to create a DIY flower candle holder
Everything you need to know: Super Glue

How to create a DIY cake stand or homemade vase

How to create a DIY sun mirror
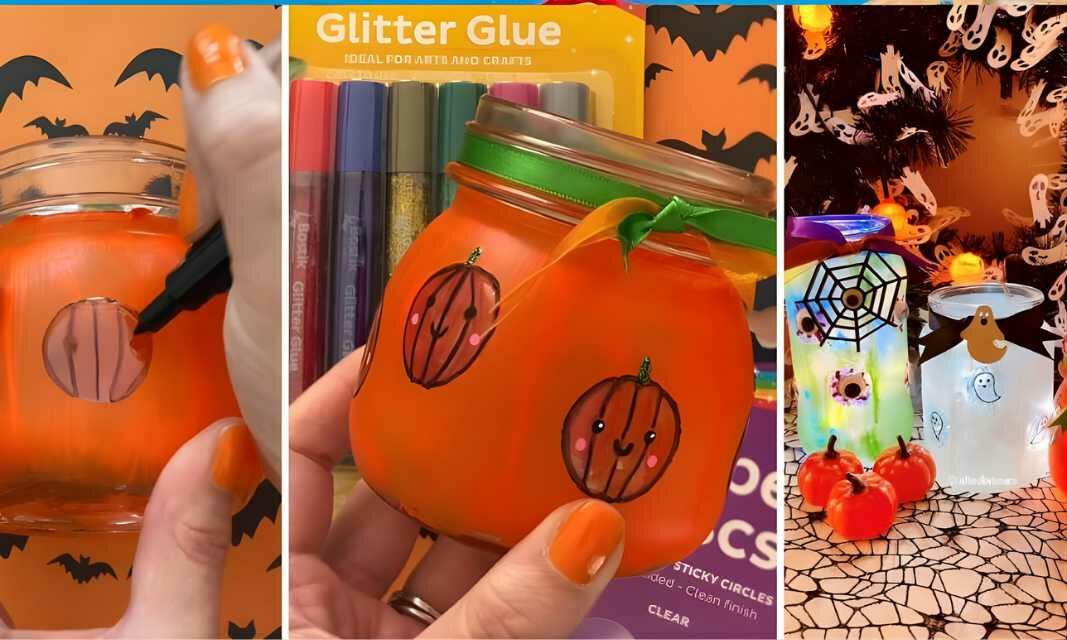
How to create DIY Halloween jar lanterns
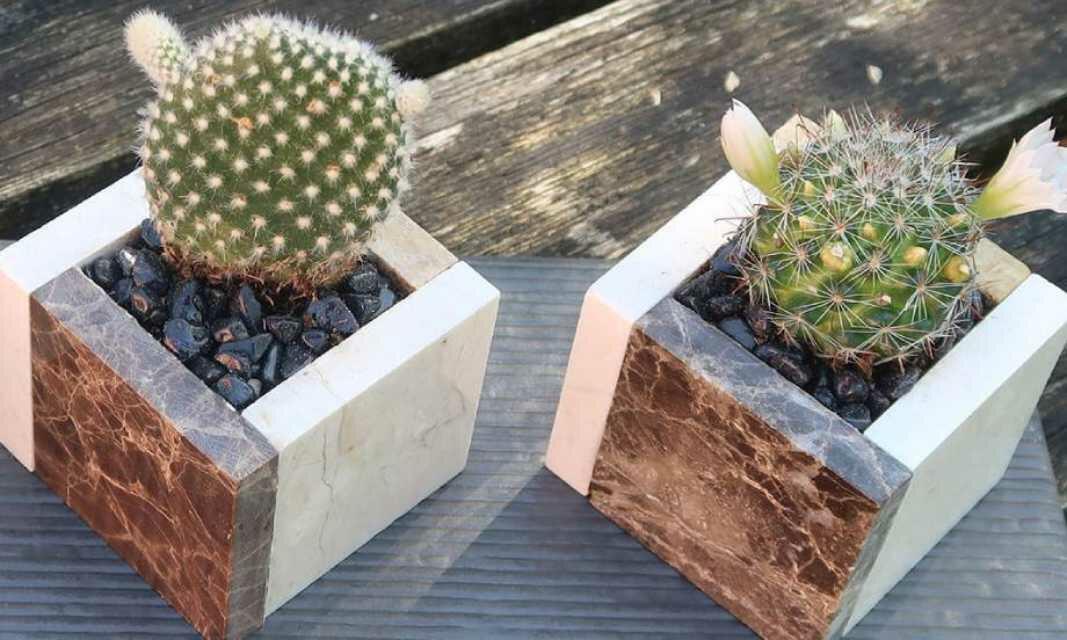
How to create your own DIY ceramic plant pots
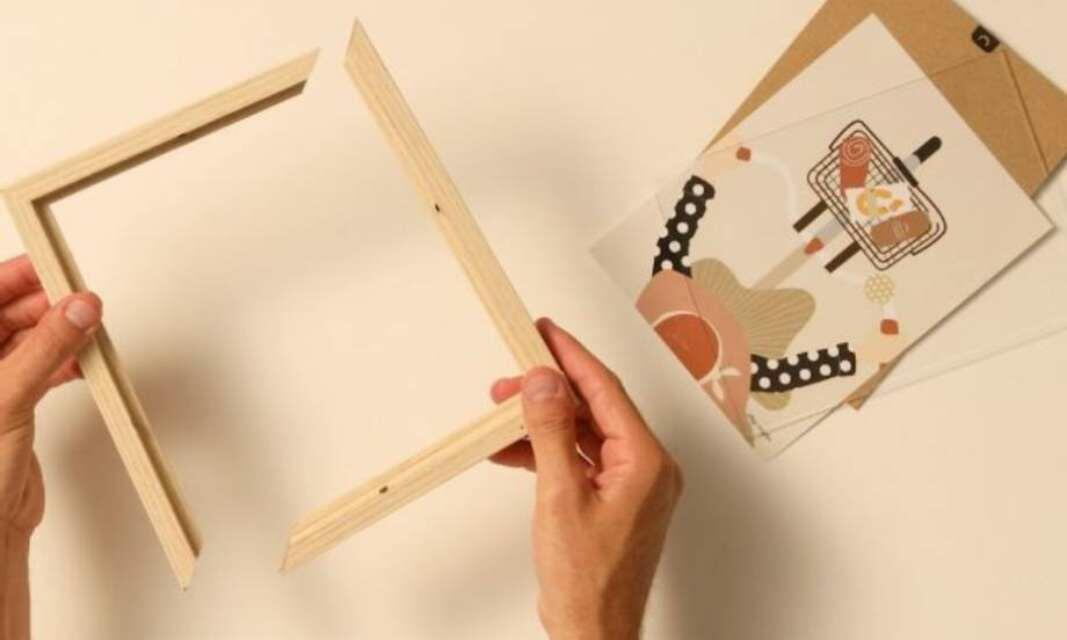
How to fix a broken picture frame with glue
How to fix broken hard plastic items
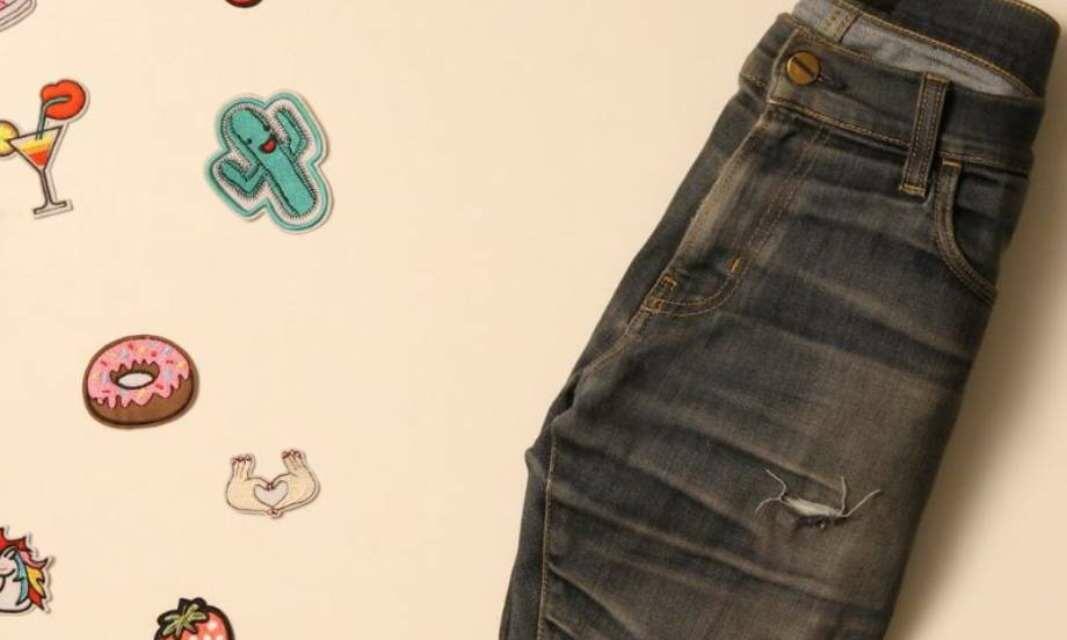
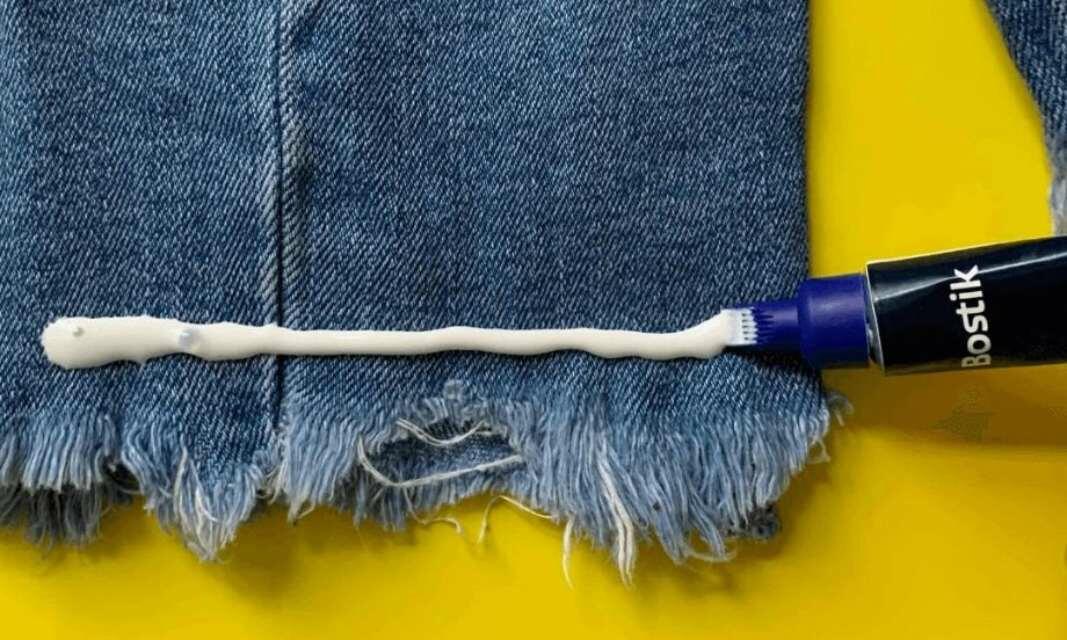
How to fix ripped jeans with fabric glue and a decorative patch
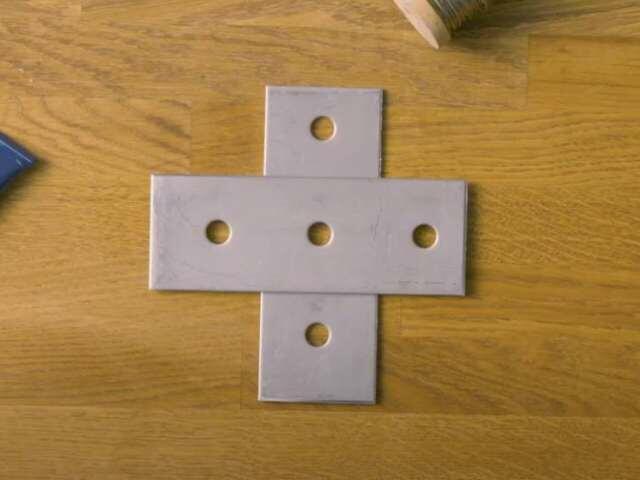
How to glue metal to metal
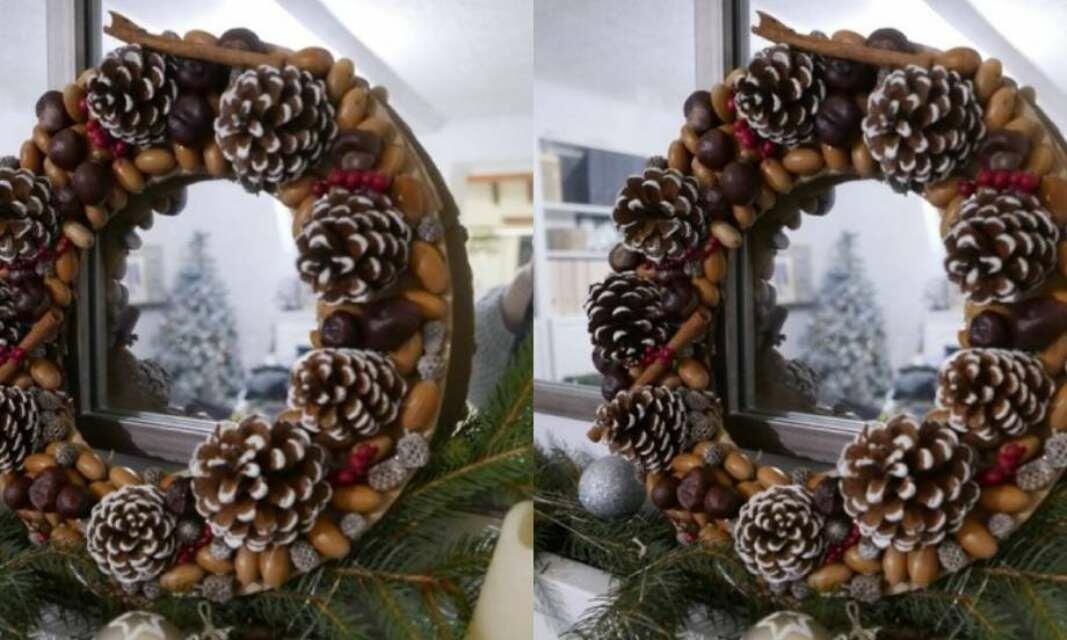
How to make a Christmas wreath at home
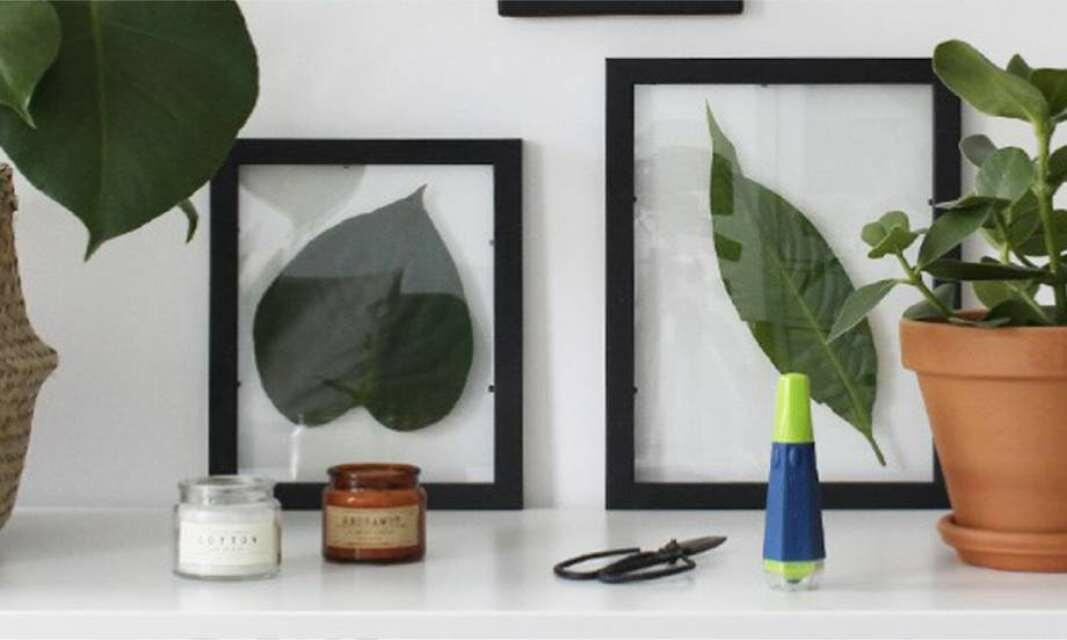
How to make a DIY plant frame

How to make your own pendant light
How to read hazard icons on glues
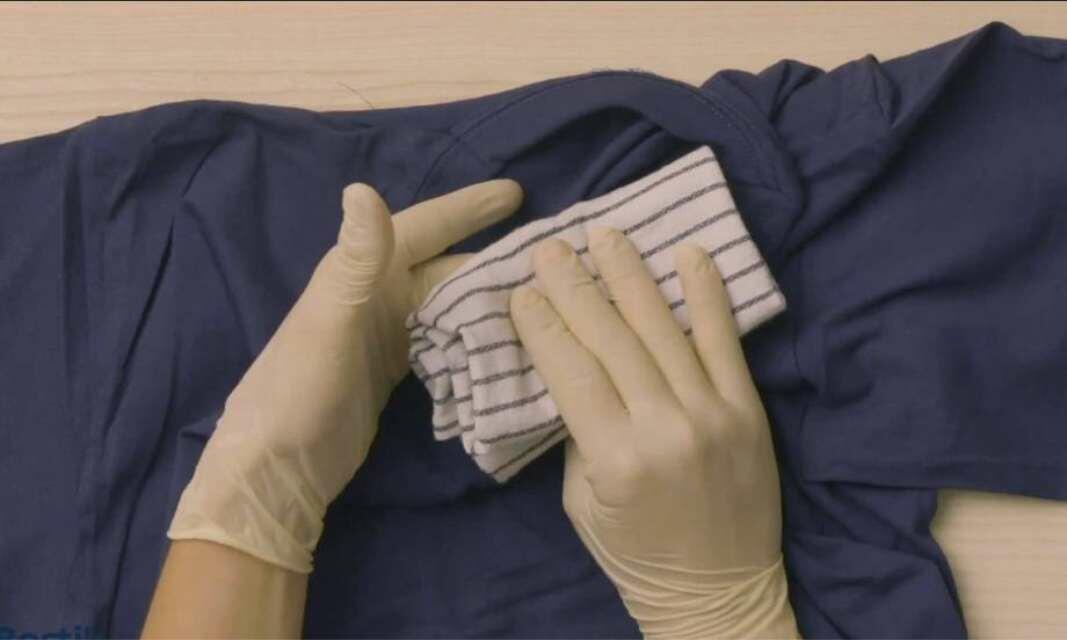
How to remove fabric glue from clothes
How to remove super glue from clothes
How to remove super glue from skin
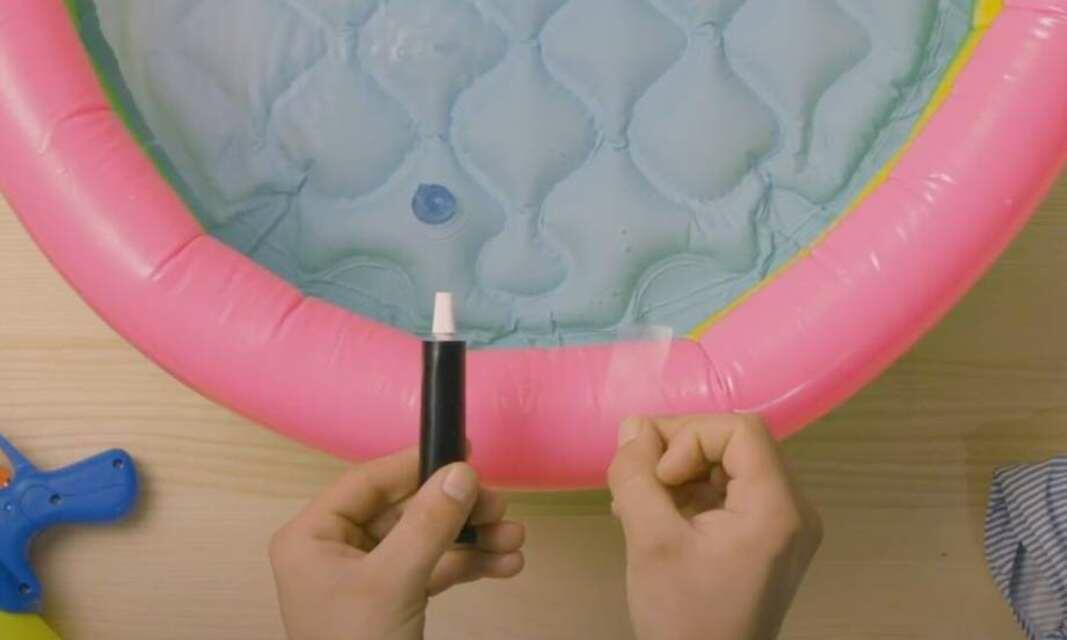
How to repair a child's paddling pool using plastic glue
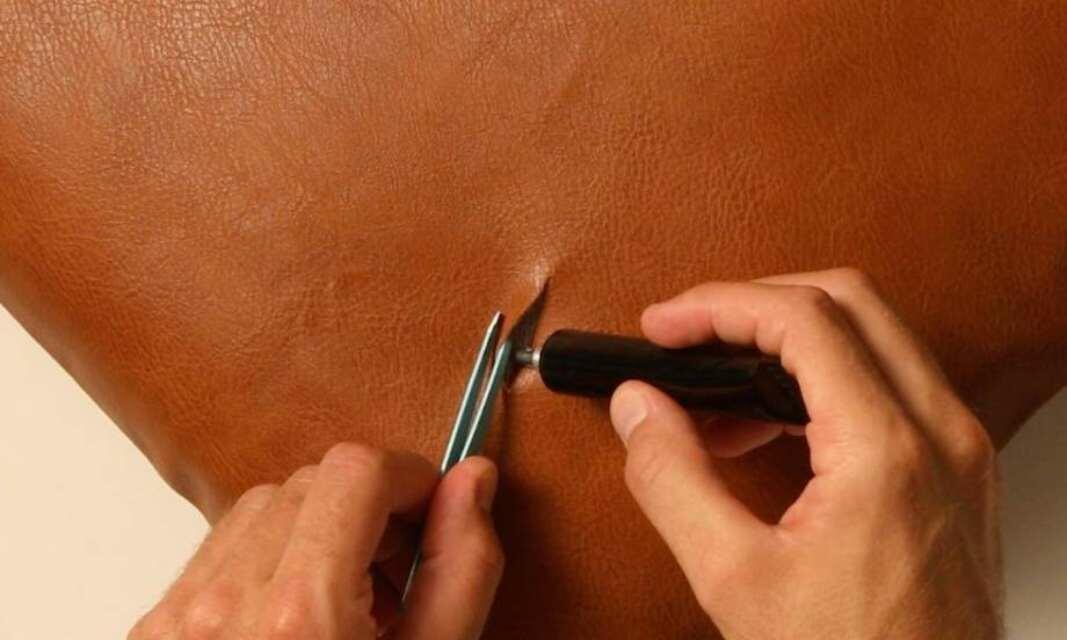
How to repair a leather sofa cushion
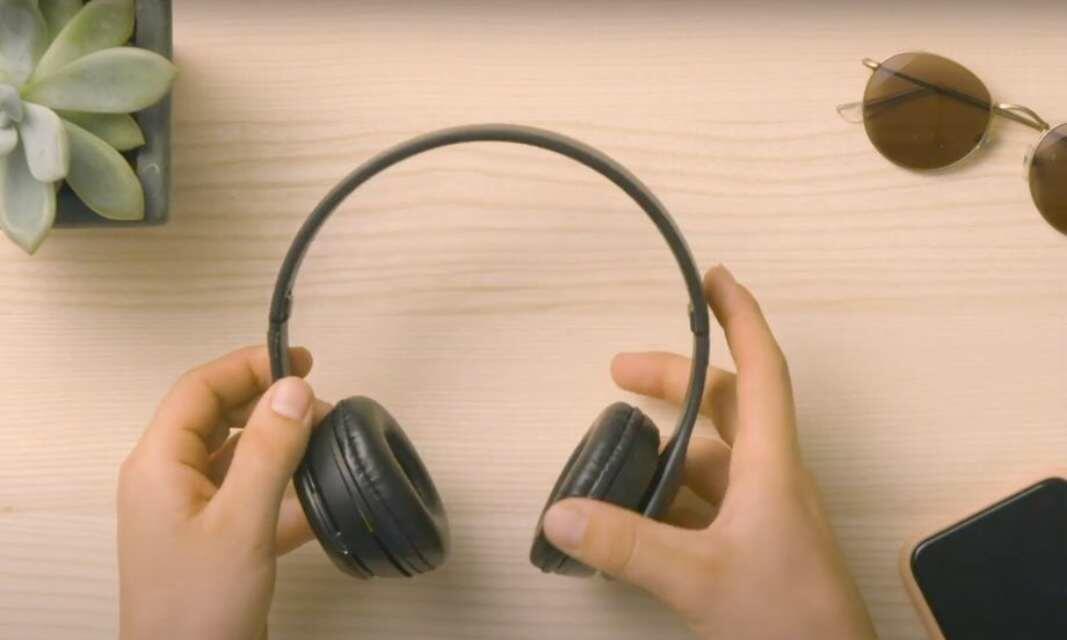
How to repair broken headphones