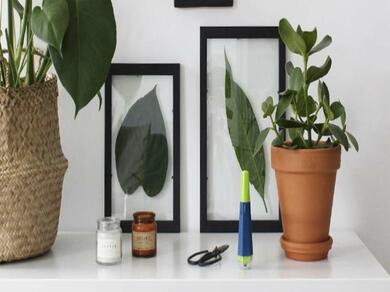
How to make a DIY plant frame
Plants and flowers are perfect for bringing the outdoors into your home, breathing life and colour into the space. But often, real plants and particularly flowers can have a short lifespan if not cared for properly.
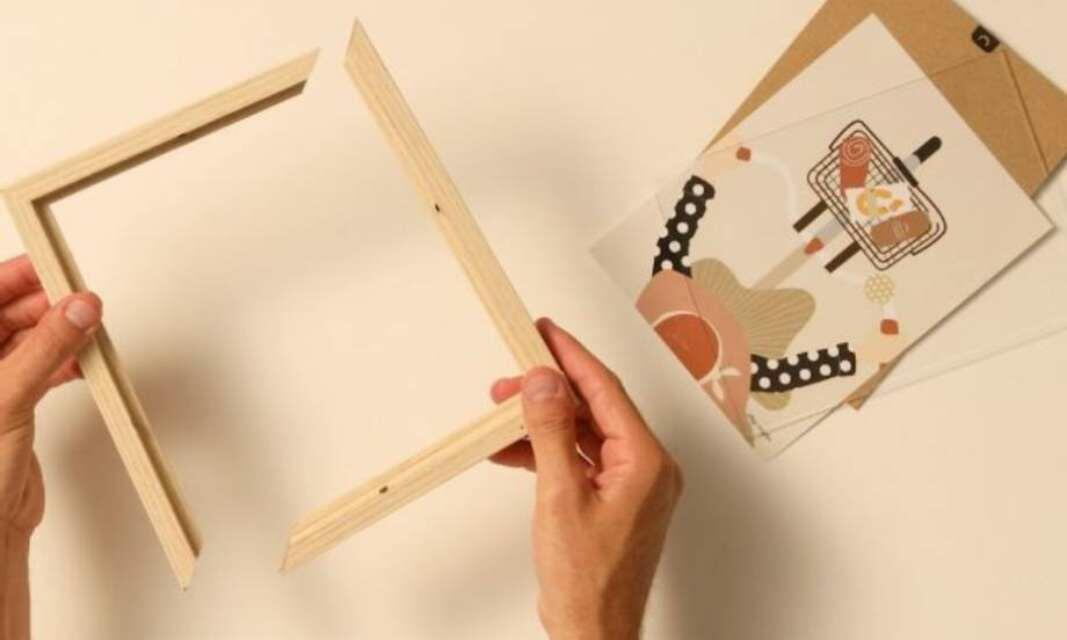
Instead of binning your wilting blooms, reuse them in a framed masterpiece and create your very own DIY plant frame. This step-by-step guide is in collaboration with Shake My Blog, who shows us how to easily transform pretty plants into pressed plant frames that can withstand the test of time.
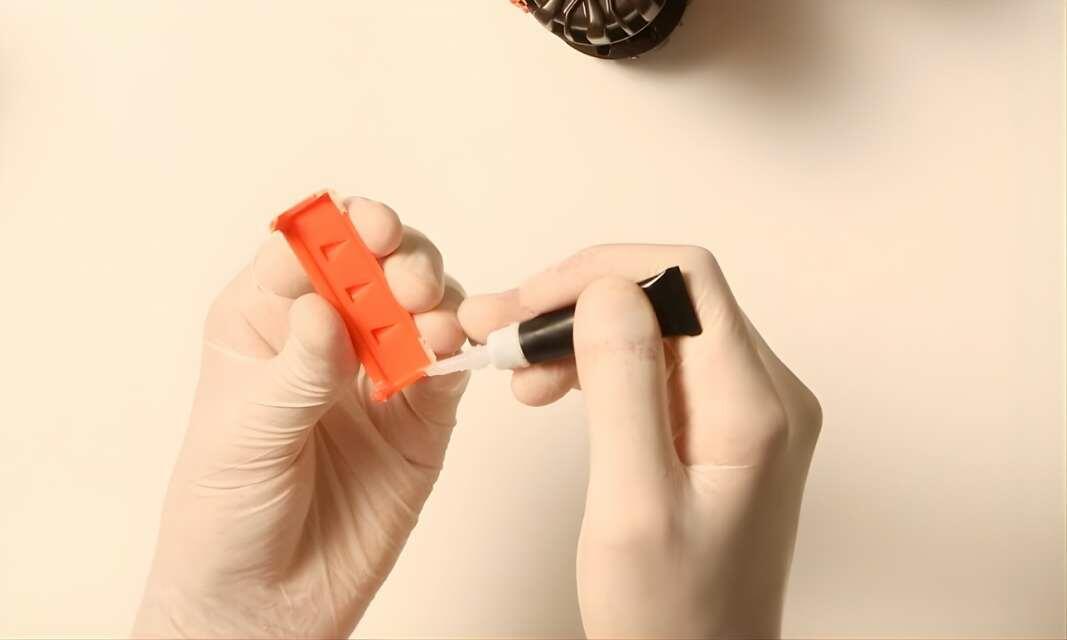
So, grab your dried foliage, a frame, and our light-activated glue, and #CraftWithBostik!
Instructions
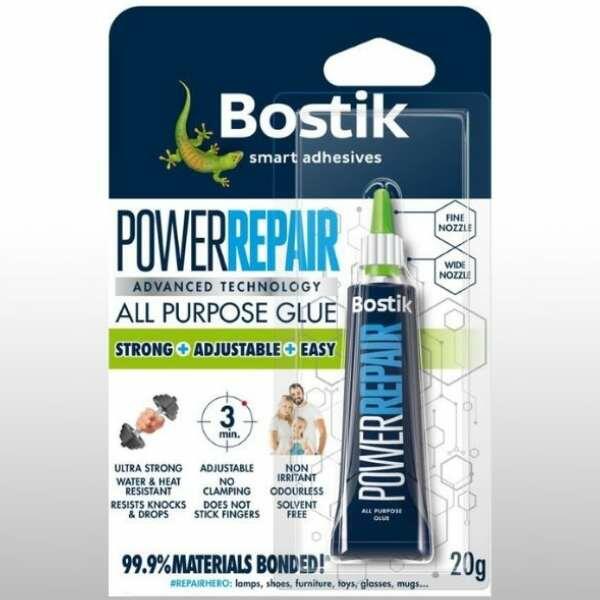
POWER REPAIR

6 steps to create a DIY flower candle holder

How to create a DIY cake stand or homemade vase

How to create a DIY sun mirror
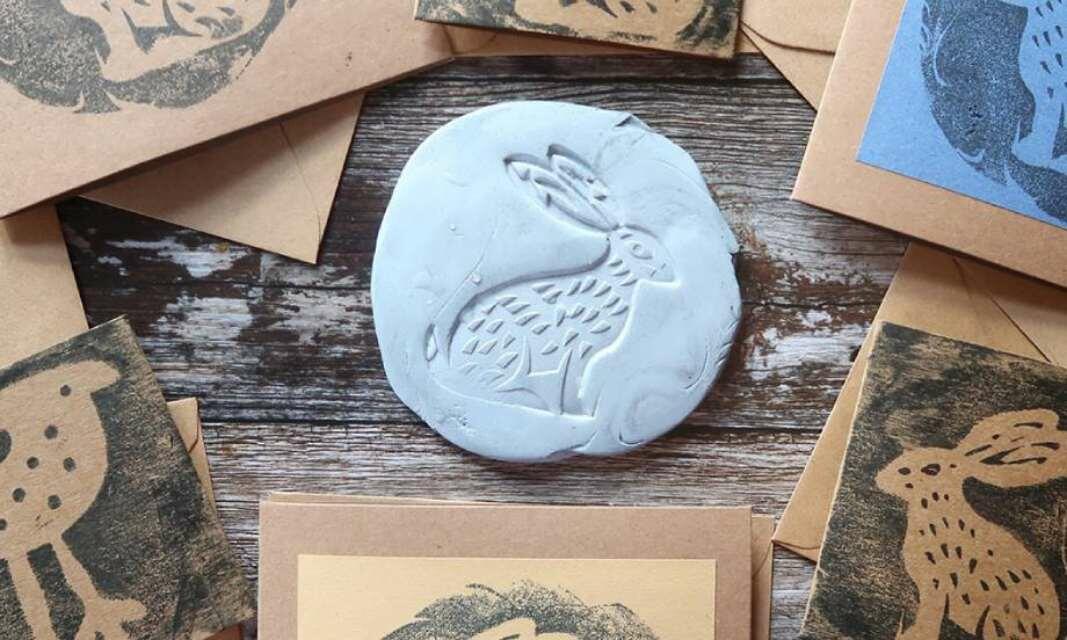
How to create reverse prints using Blu Tack®
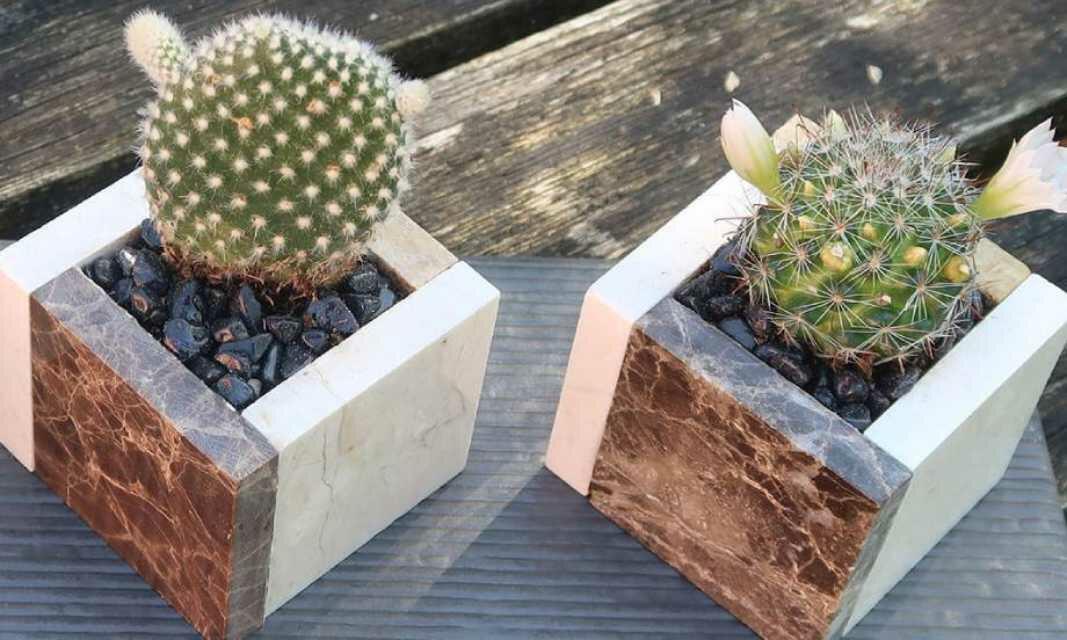
How to create your own DIY ceramic plant pots

How to make your own advent calendar
Everything you need to know: Super Glue
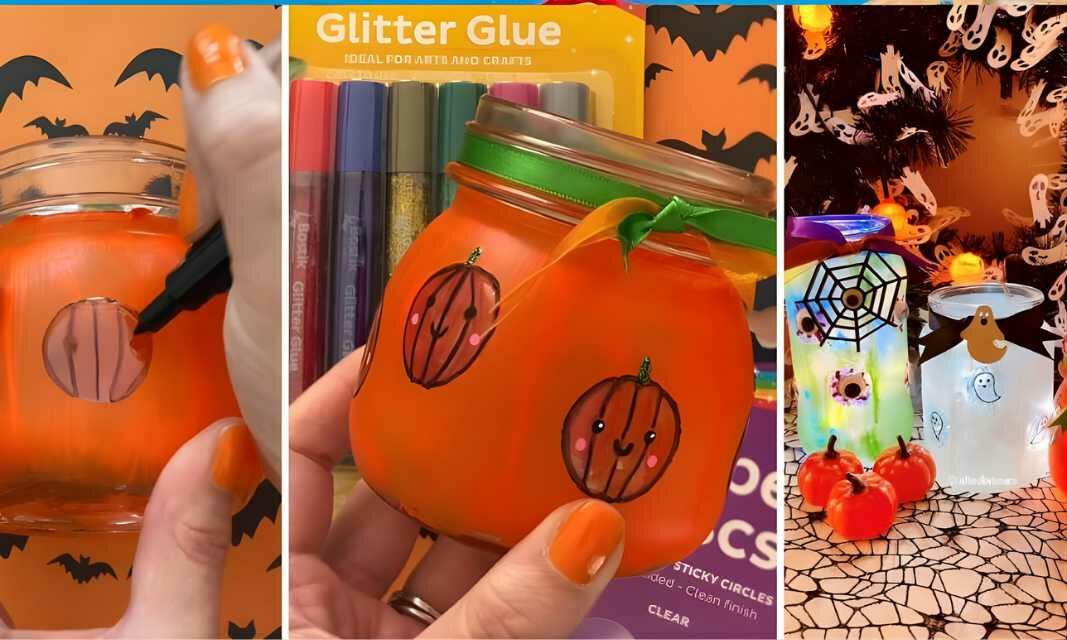
How to create DIY Halloween jar lanterns
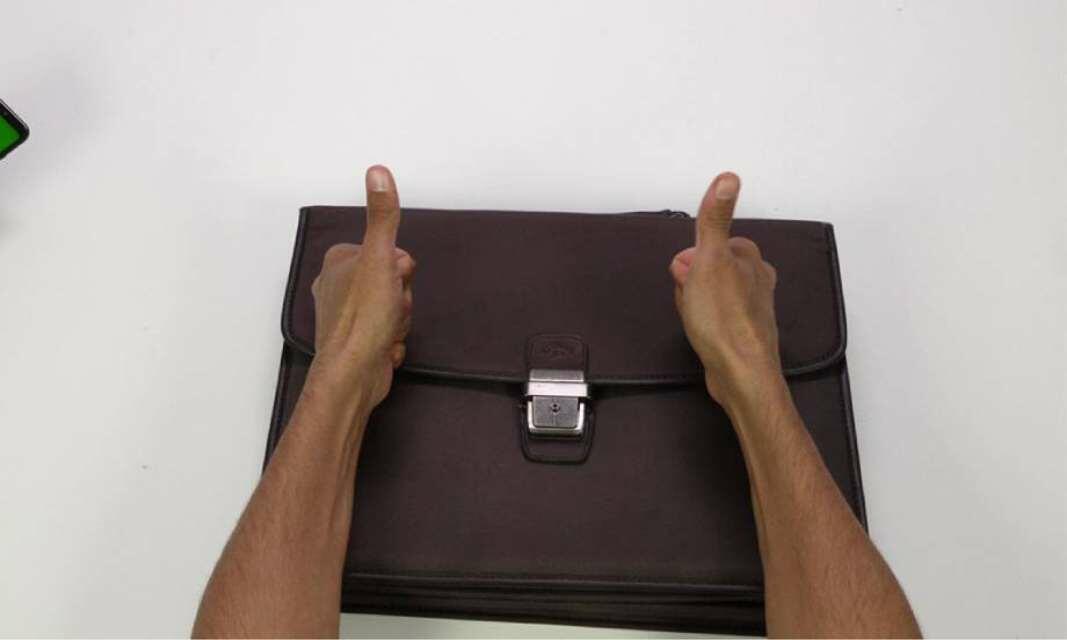
How to easily repair a fabric or leather bag clasp with super glue
How to fix a broken picture frame with glue
How to fix broken hard plastic items

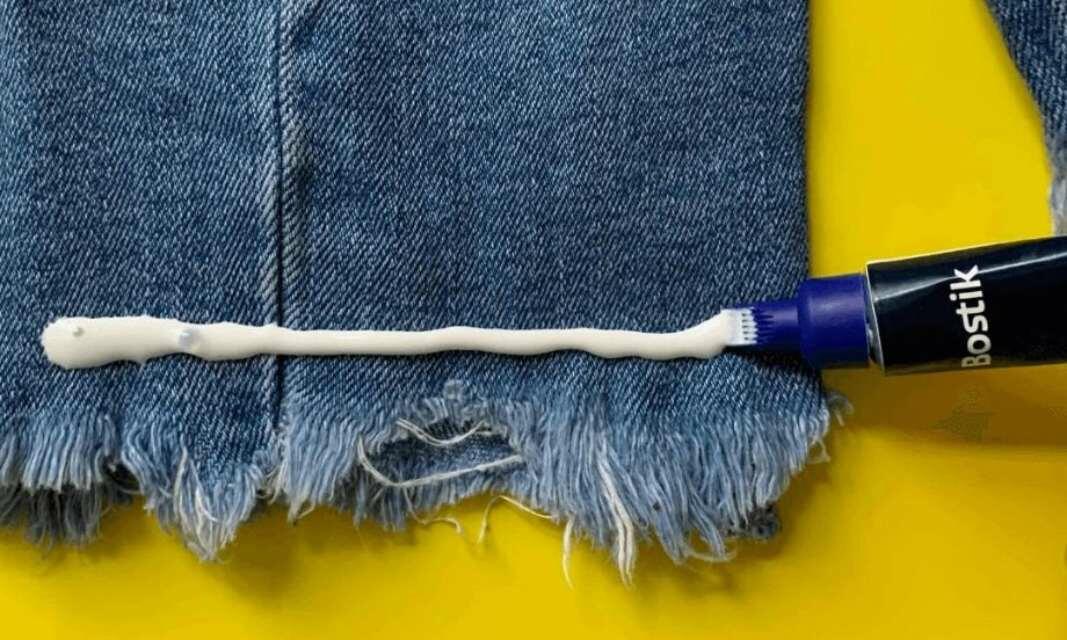
How to fix ripped jeans with fabric glue and a decorative patch
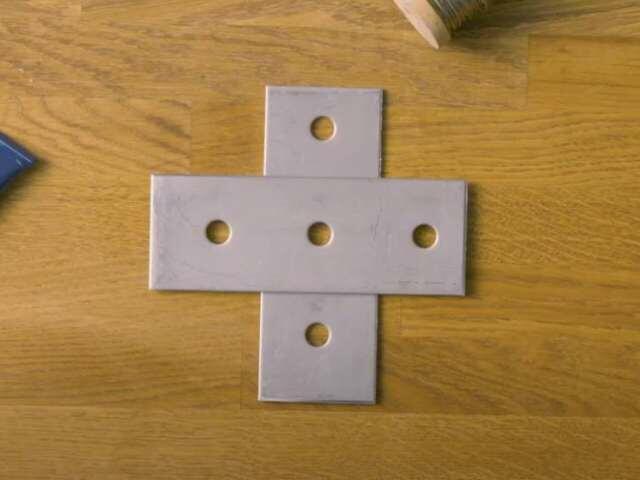
How to glue metal to metal
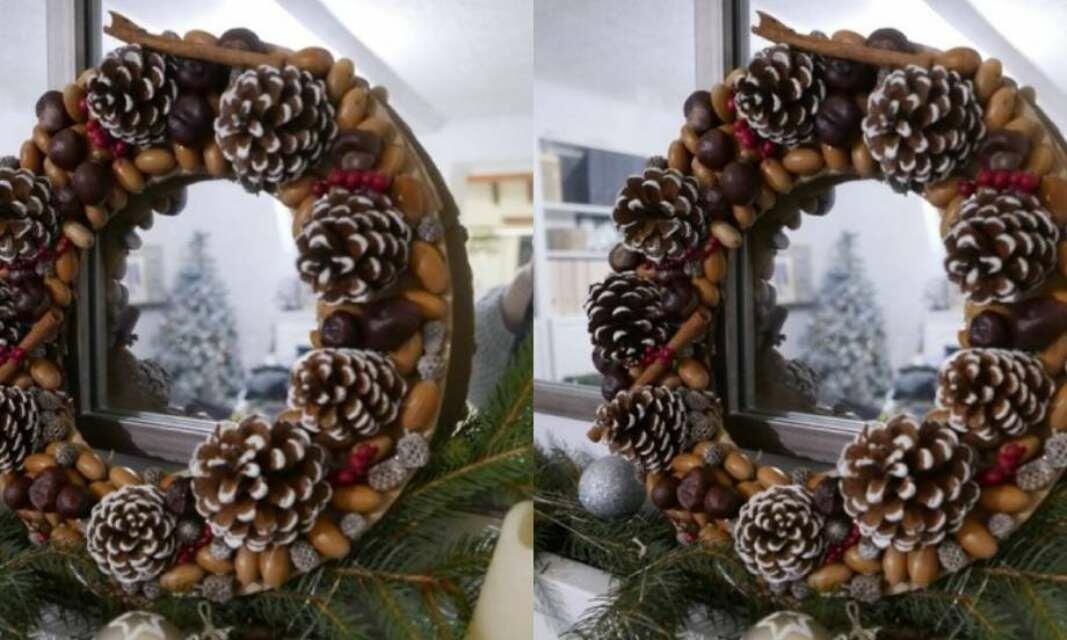
How to make a Christmas wreath at home

How to make a DIY advent calendar

How to make your own pendant light
How to read hazard icons on glues
How to remove fabric glue from clothes
How to remove super glue from clothes
How to remove super glue from skin

How to repair a broken ceramic vase
How to repair a broken glass
How to repair a broken wooden coat rack
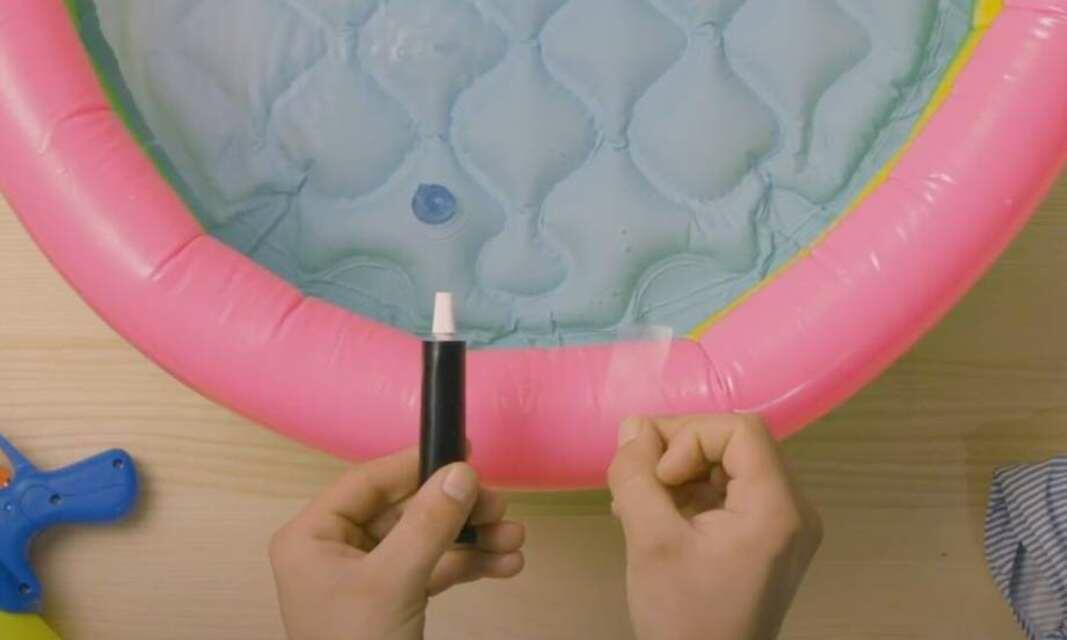
How to repair a child's paddling pool using plastic glue
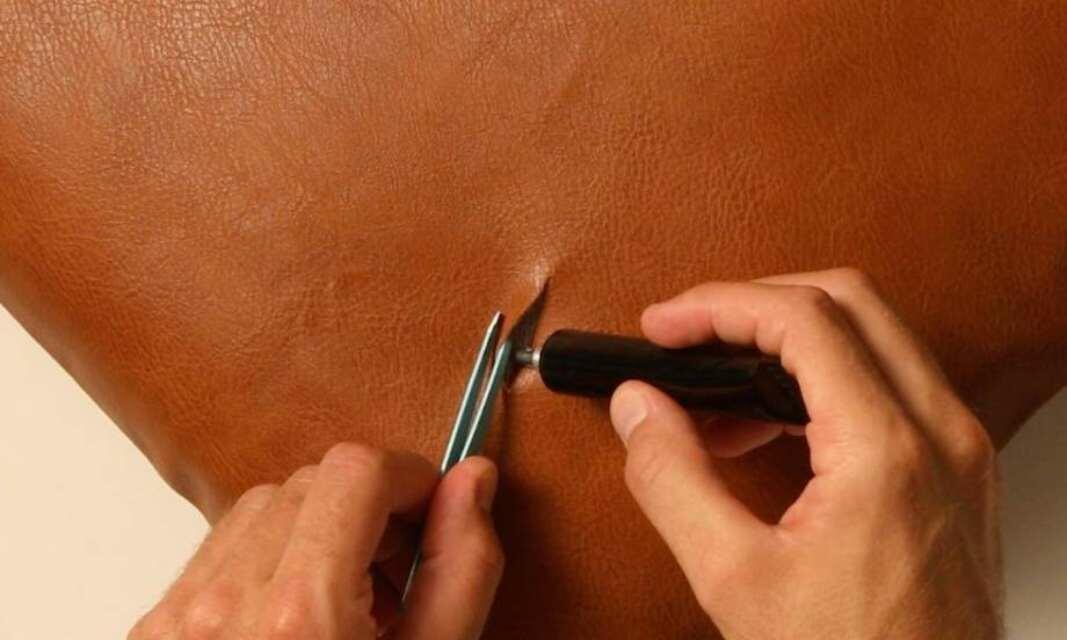
How to repair a leather sofa cushion
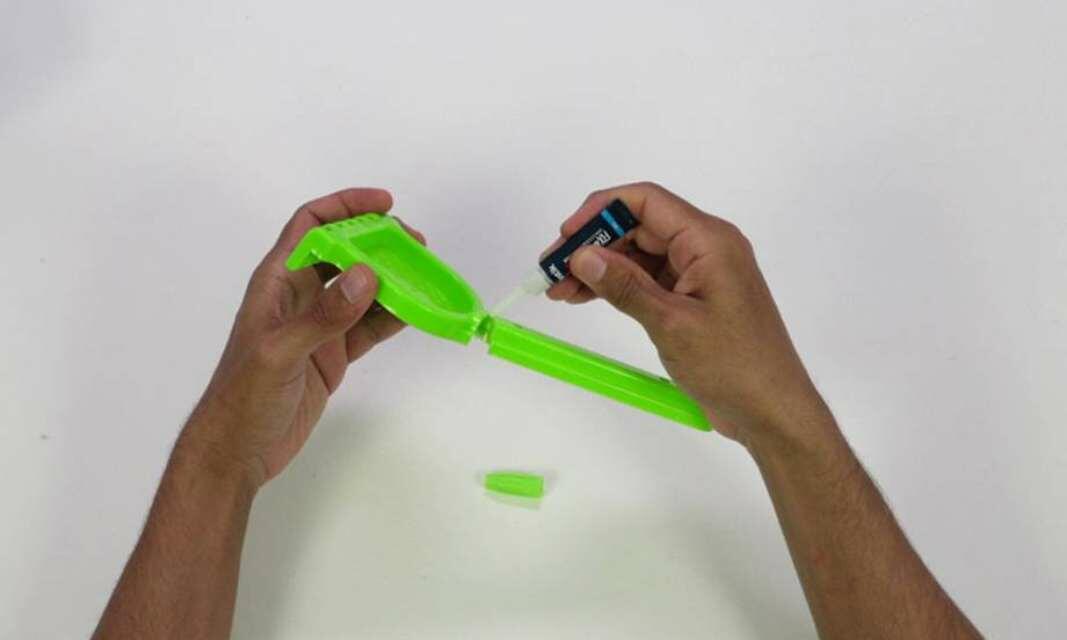
How to repair a plastic toy
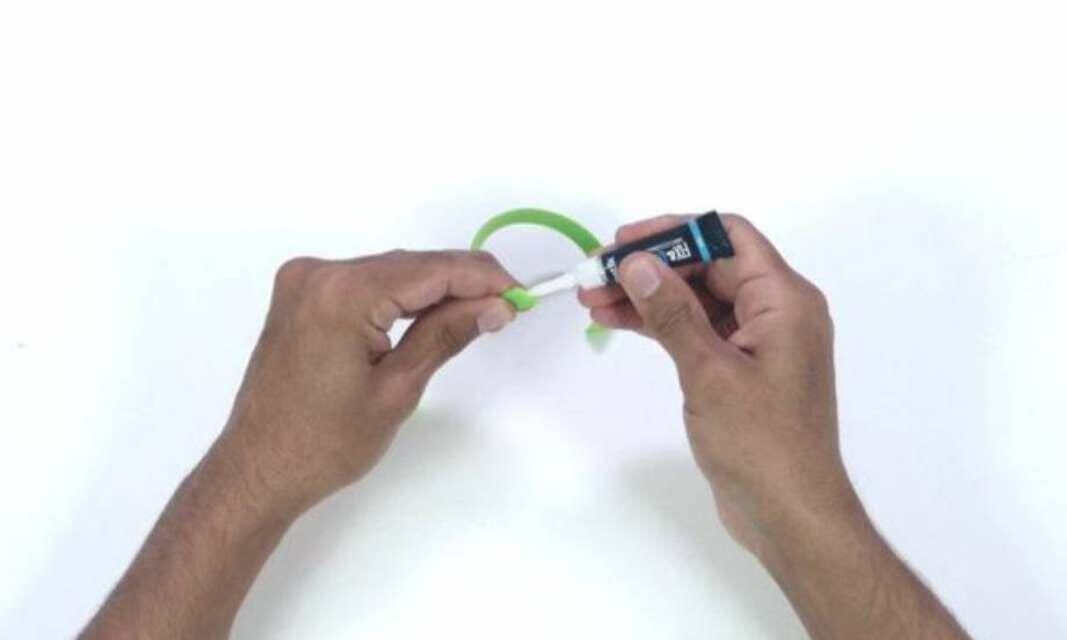
How to repair a rubber bracelet

How to repair broken headphones
How to repair metal objects using super glue
How to repair the sole of your shoe