How to create DIY Halloween jar lanterns
Lots of us enjoy getting spooky come 31st October, but like many things, Halloween decorations can be expensive, especially if you have children who also require a costume and sweets for trick or treating.
Need some easy, affordable Halloween craft ideas? Discover our step-by-step guide in collaboration with Crafted by Bears to create DIY Halloween jar lanterns. This Halloween craft is great for the planet by upcycling jam jars or mason jars, and is the perfect way to bring some spooky spirit in your home, office or work space.
We dare you to read on…

Instructions

How to create a DIY cake stand or homemade vase
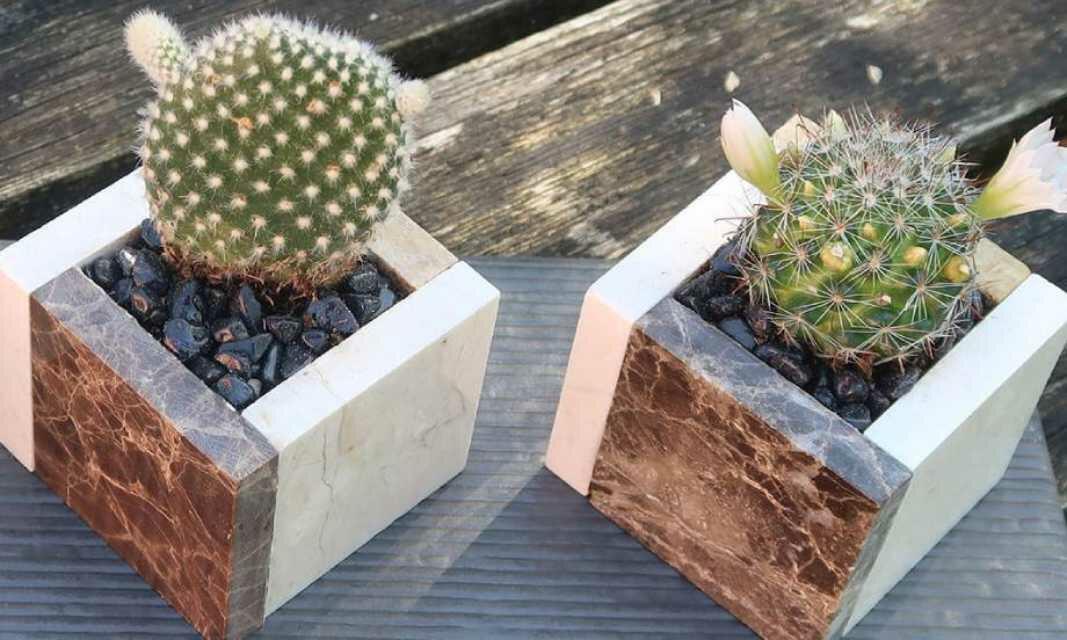
How to create your own DIY ceramic plant pots
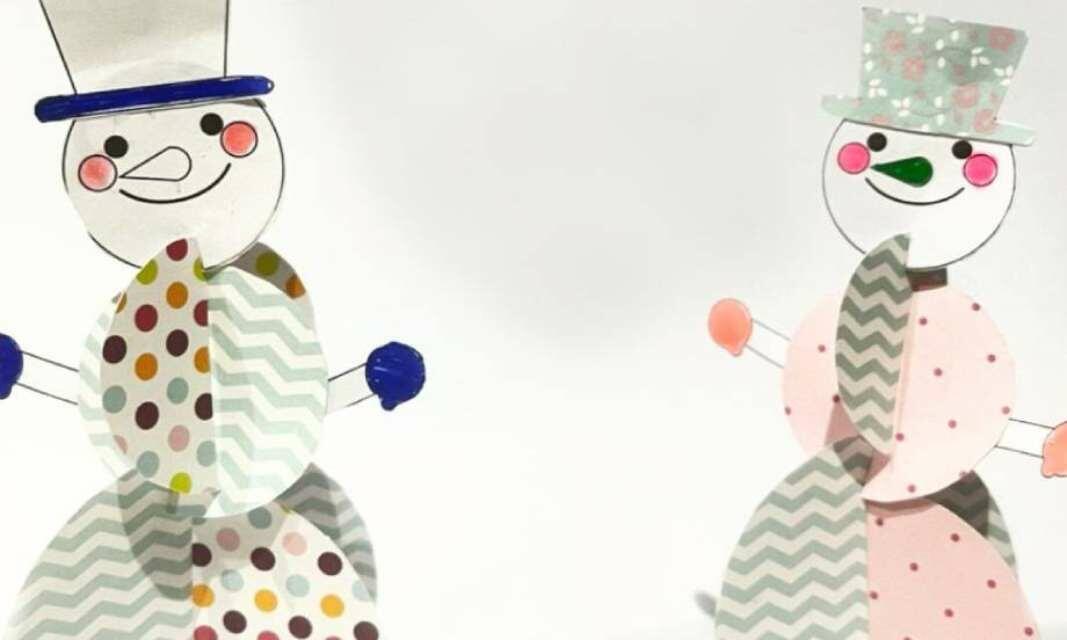
How to make a 3D snowman out of paper
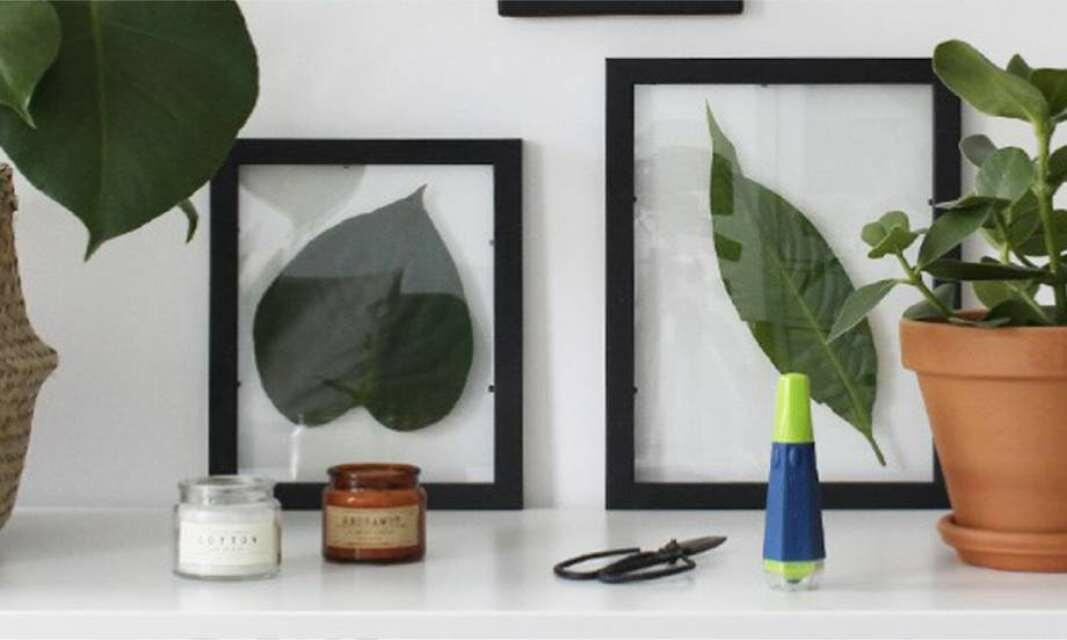
How to make a DIY plant frame

4 brown paper wrapping ideas for Christmas and birthdays
6 easy glitter glue craft ideas

Everything you need to know: Tapes
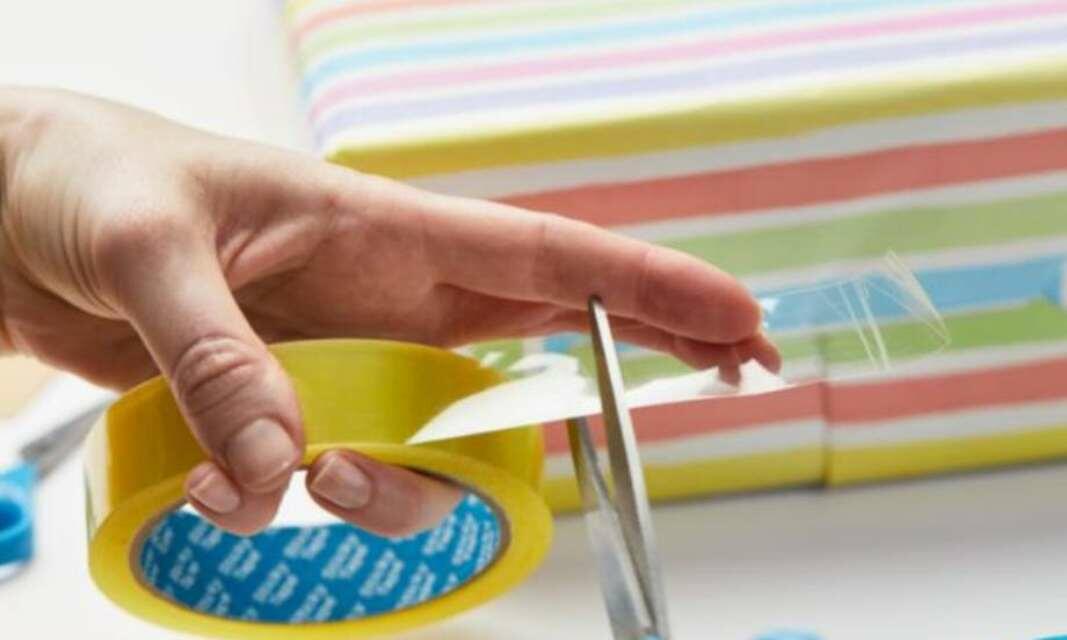
How to wrap a present like a professional
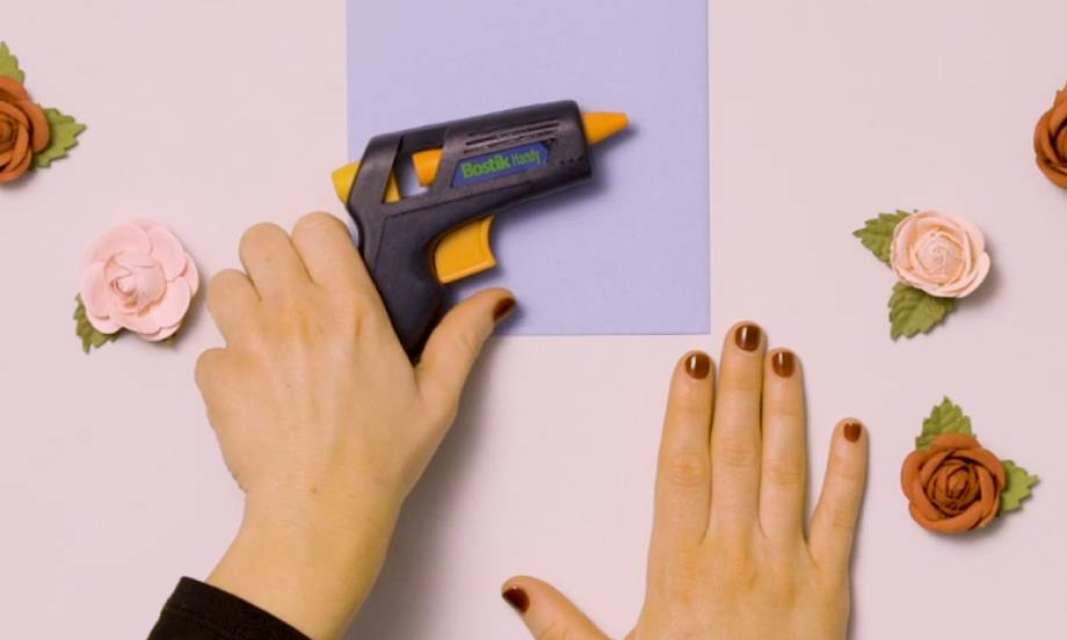
6 simple hot glue gun crafts to do at home
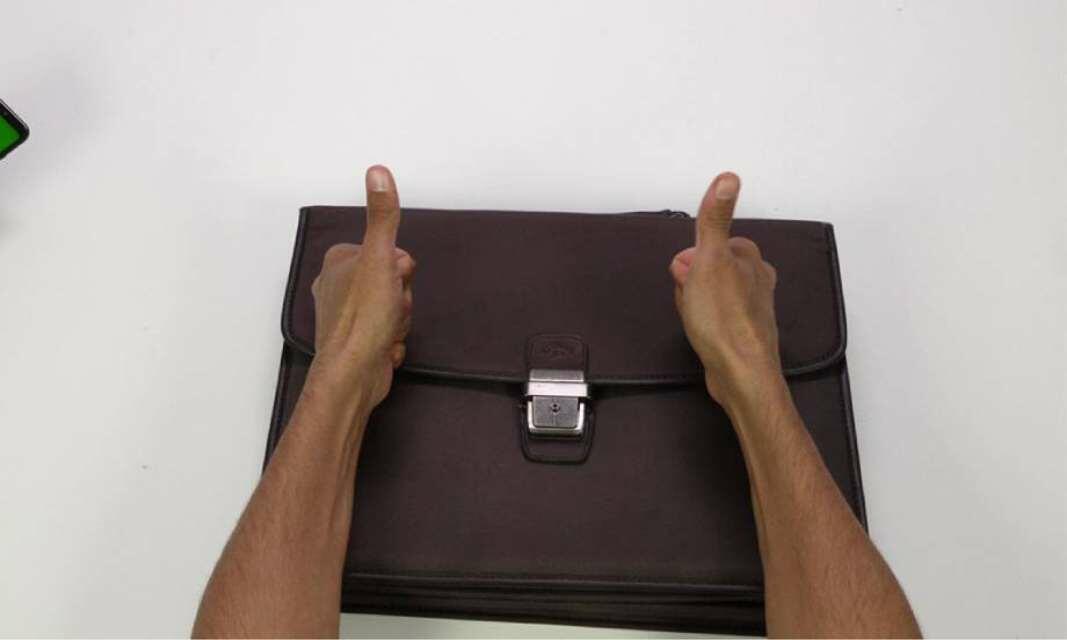
How to easily repair a fabric or leather bag clasp with super glue
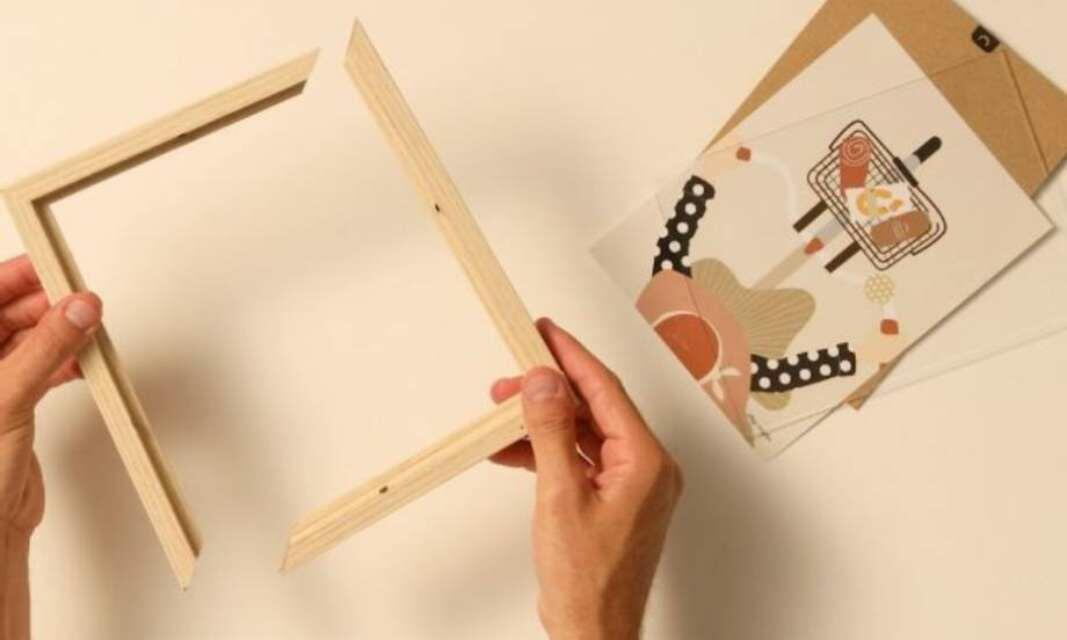
How to fix a broken picture frame with glue
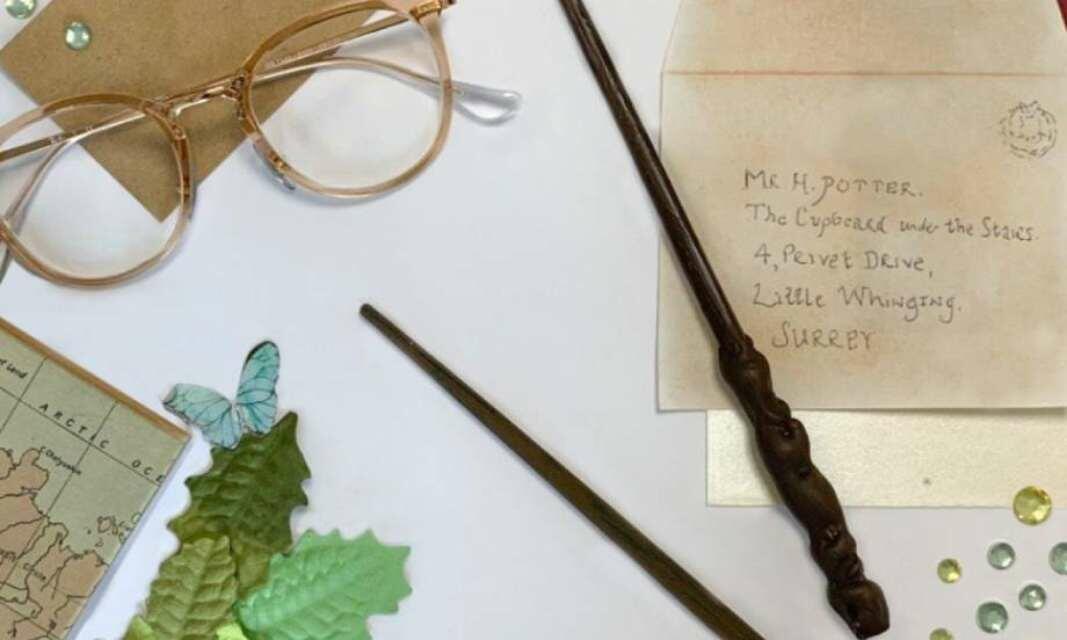
How to make your own wand
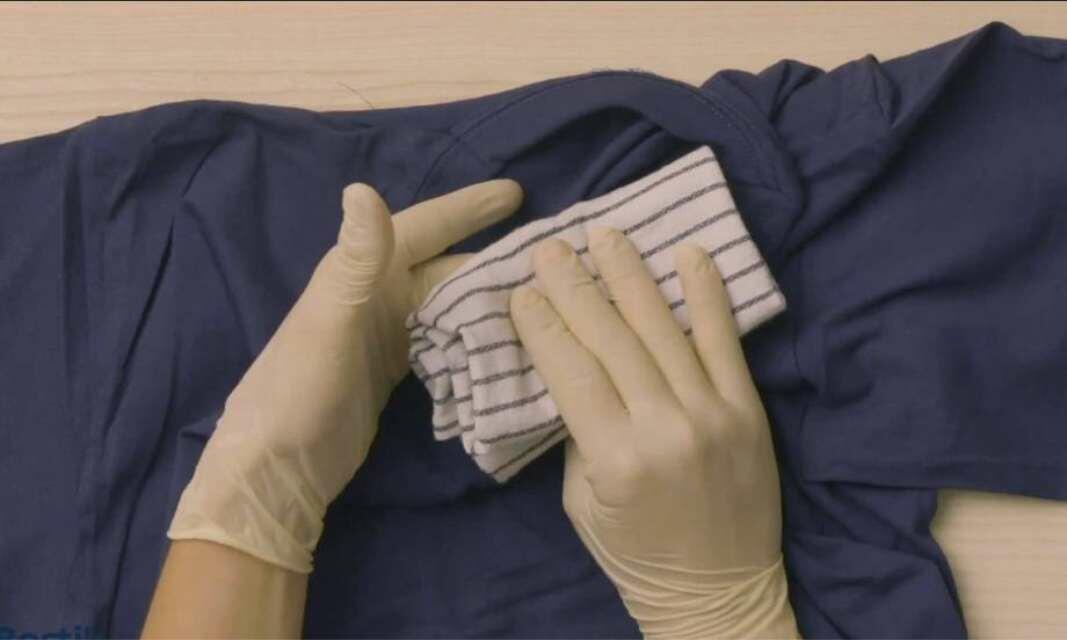
How to remove fabric glue from clothes
How to remove super glue from clothes
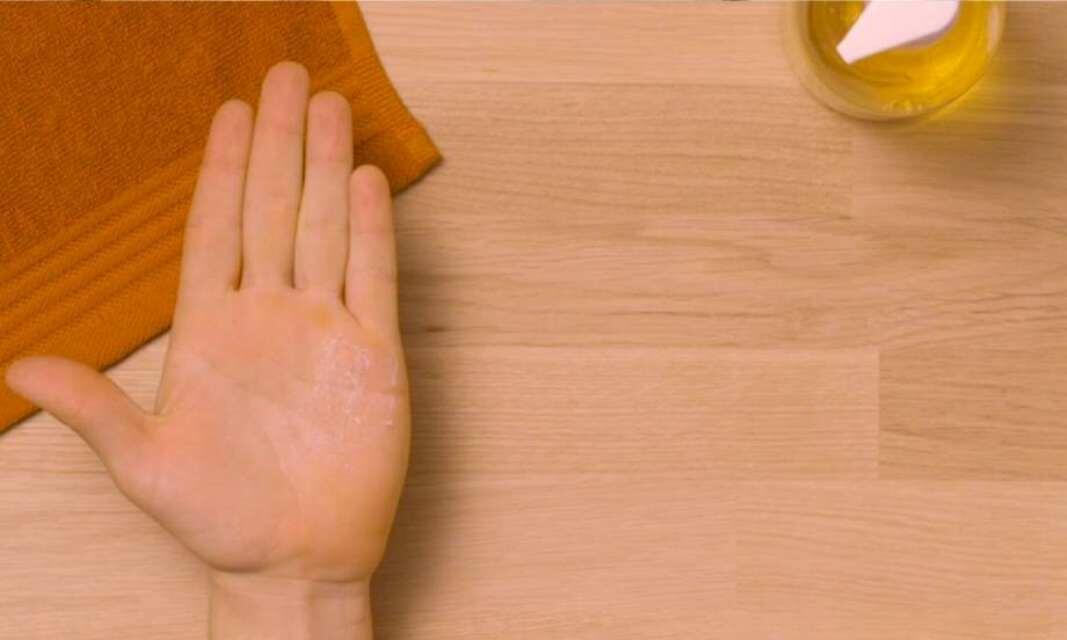
How to remove super glue from skin

How to store glues at home
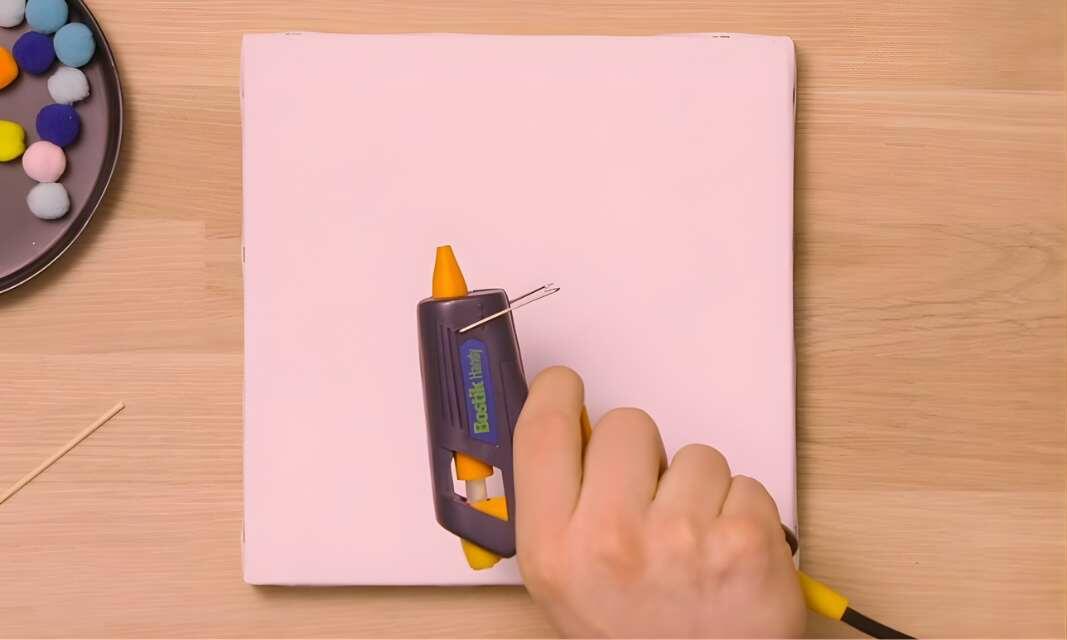
How to use a glue gun for the first time

6 steps to create a DIY flower candle holder
Everything you need to know: Super Glue

How to create a DIY sun mirror
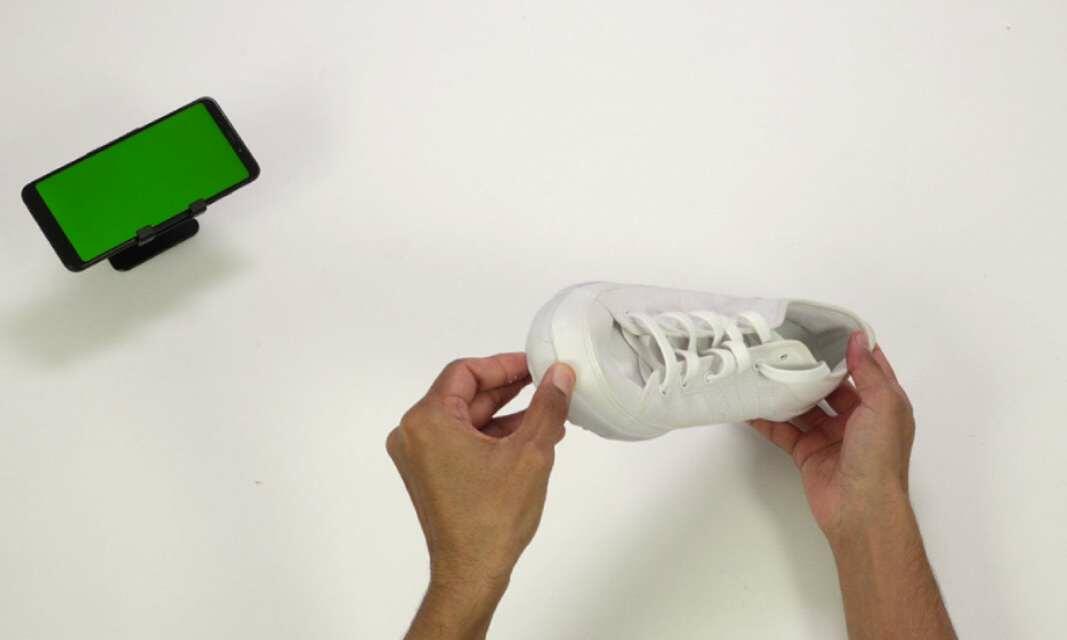
How to fix broken hard plastic items
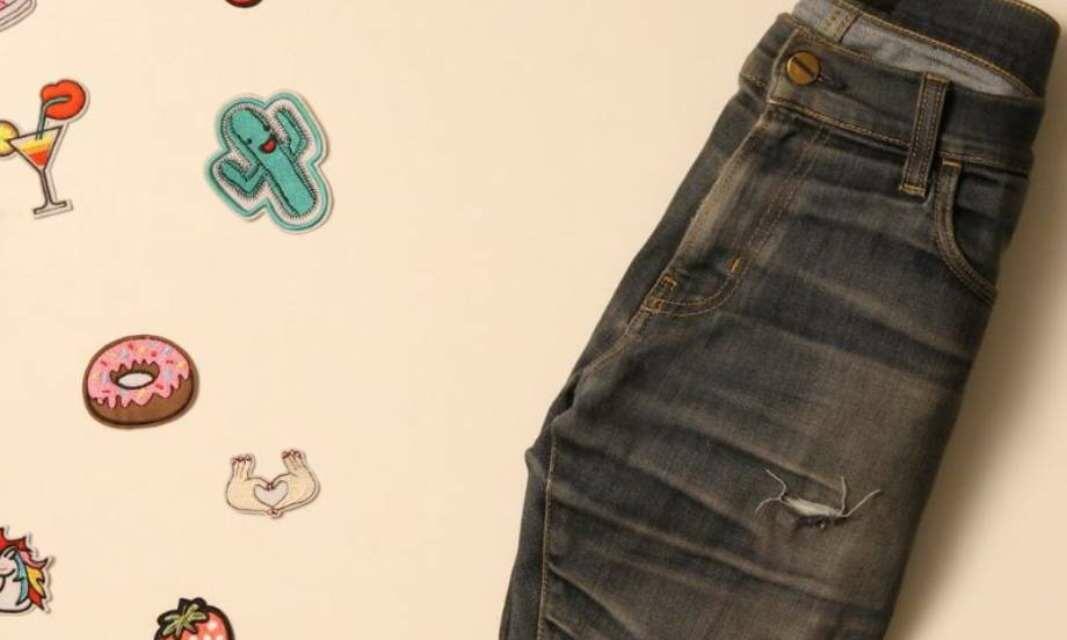
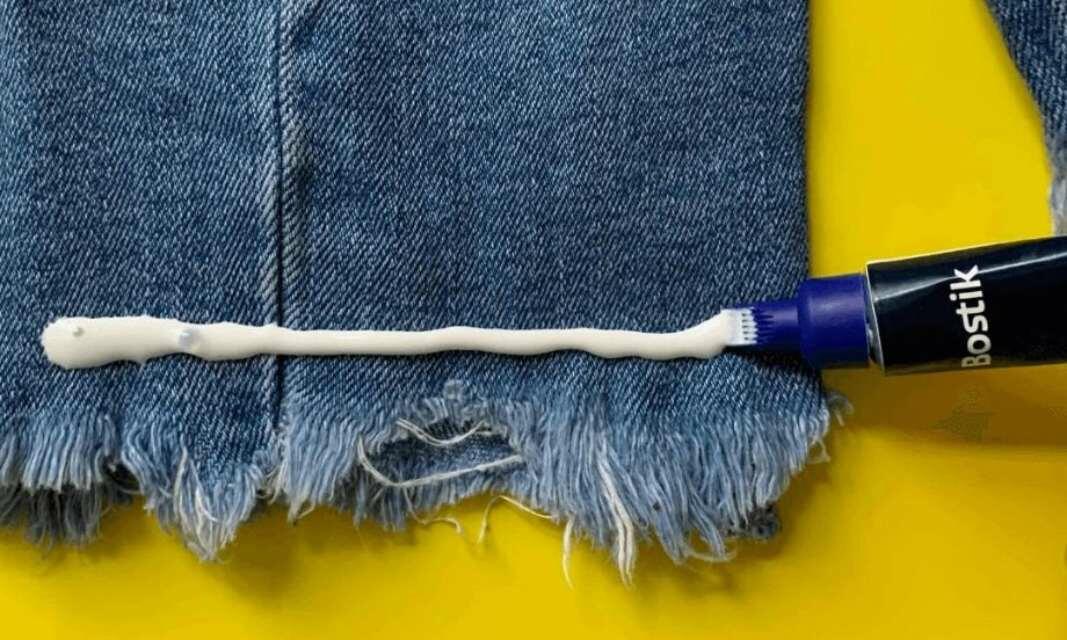
How to fix ripped jeans with fabric glue and a decorative patch
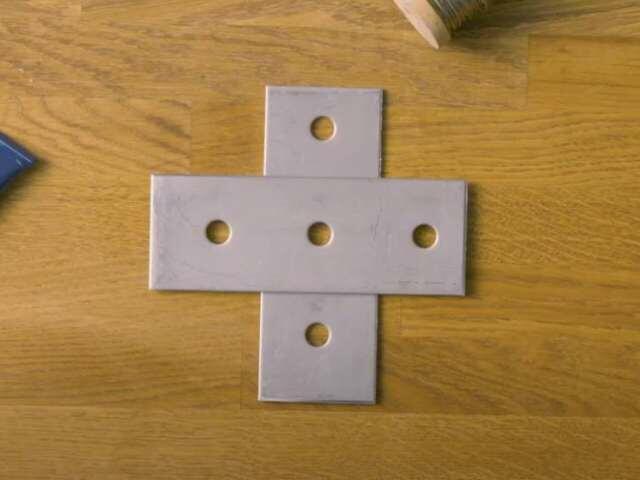
How to glue metal to metal
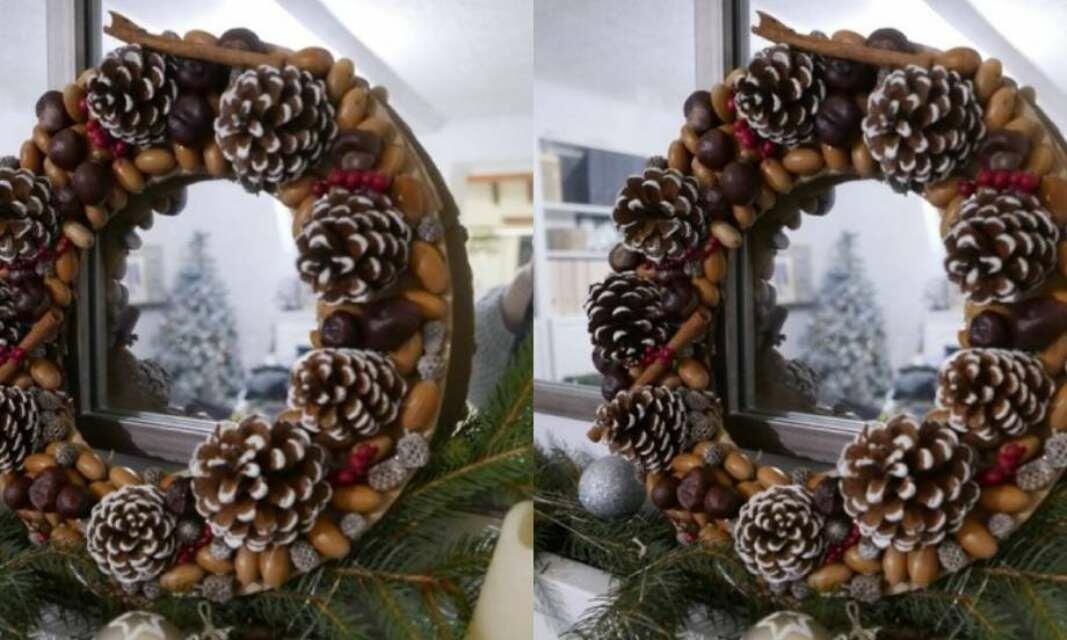
How to make a Christmas wreath at home
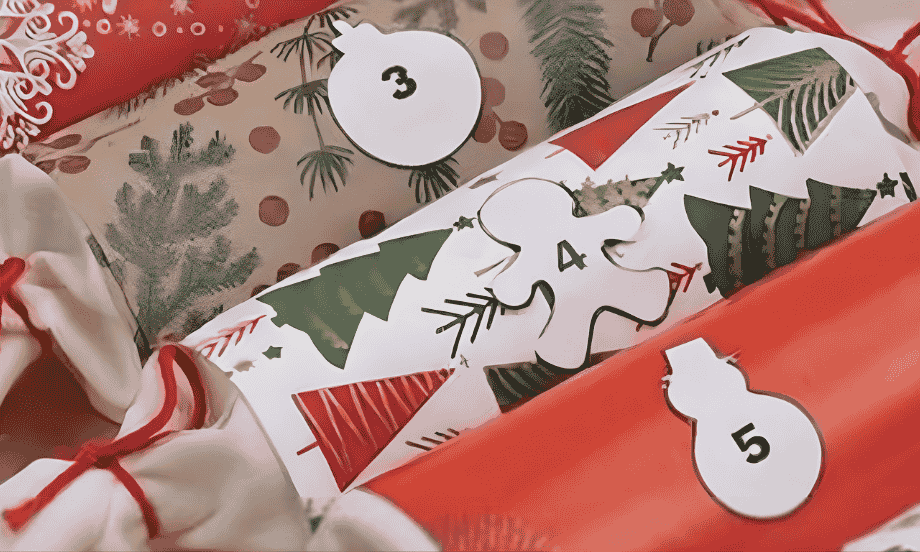
How to make a DIY advent calendar
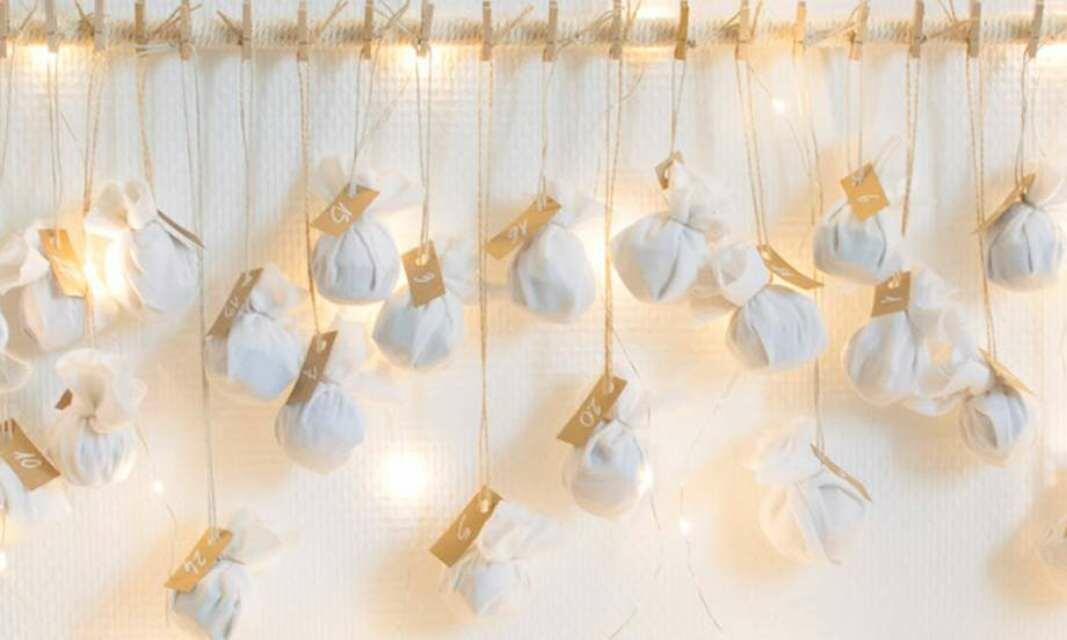
How to make your own advent calendar

How to make your own pendant light
How to read hazard icons on glues

How to repair a broken ceramic vase
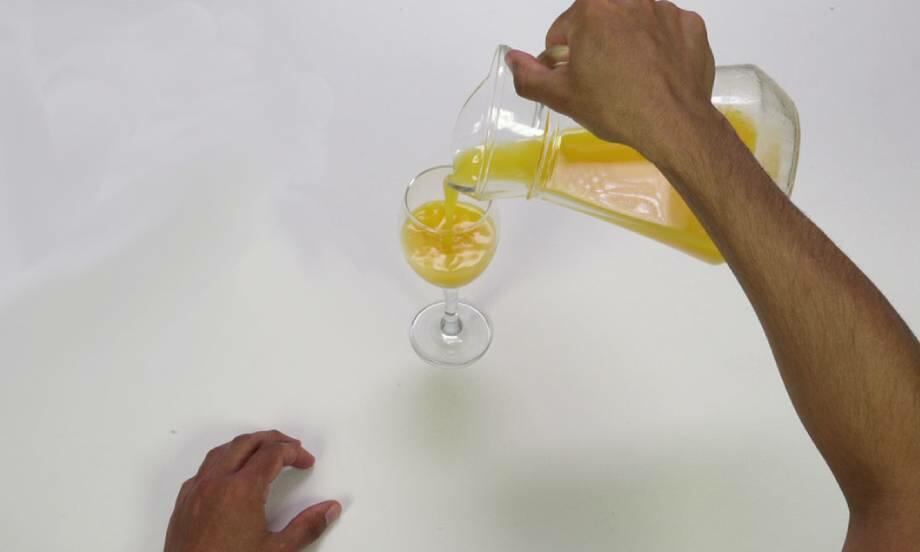
How to repair a broken glass
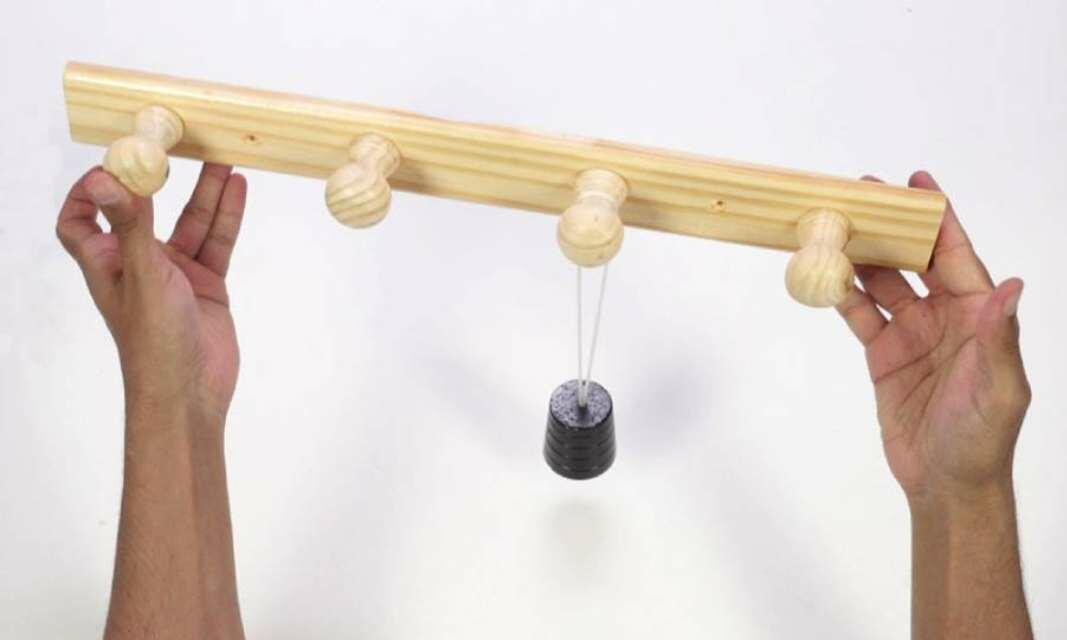
How to repair a broken wooden coat rack
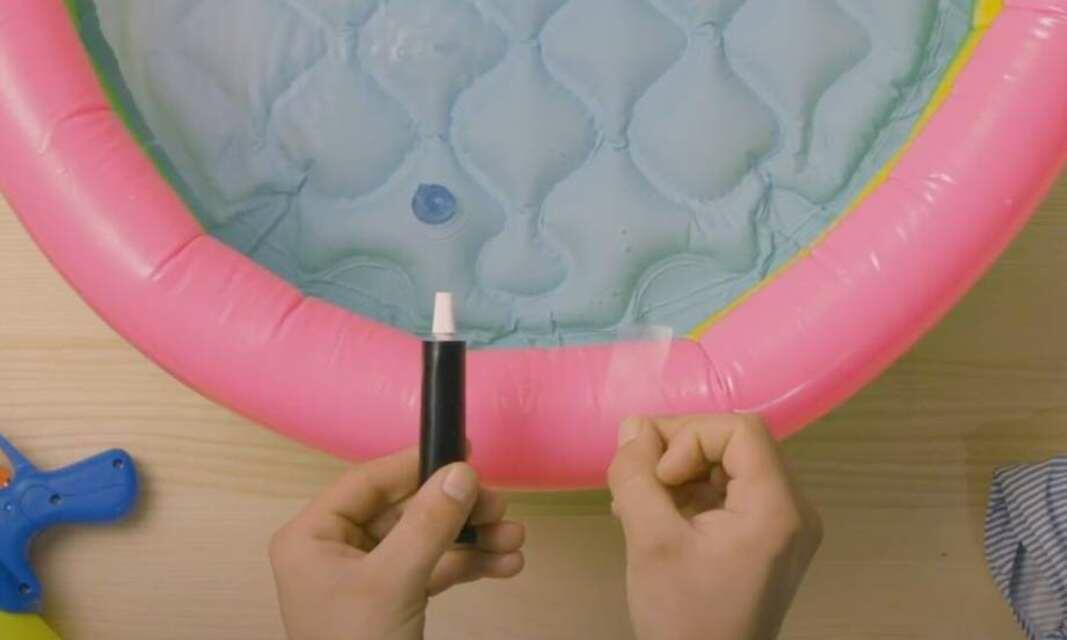
How to repair a child's paddling pool using plastic glue
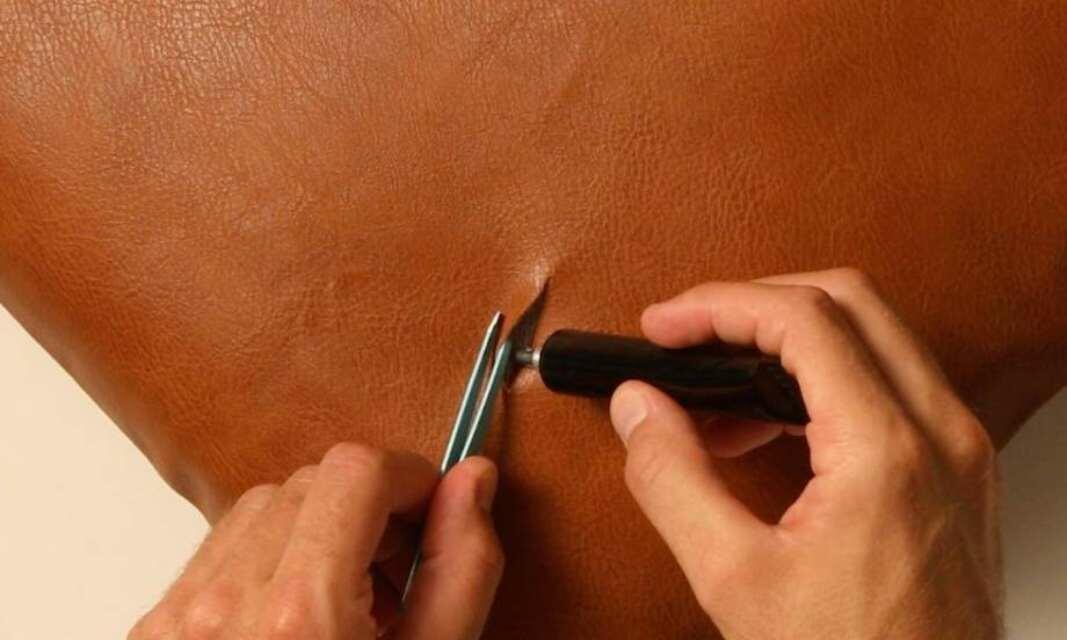
How to repair a leather sofa cushion
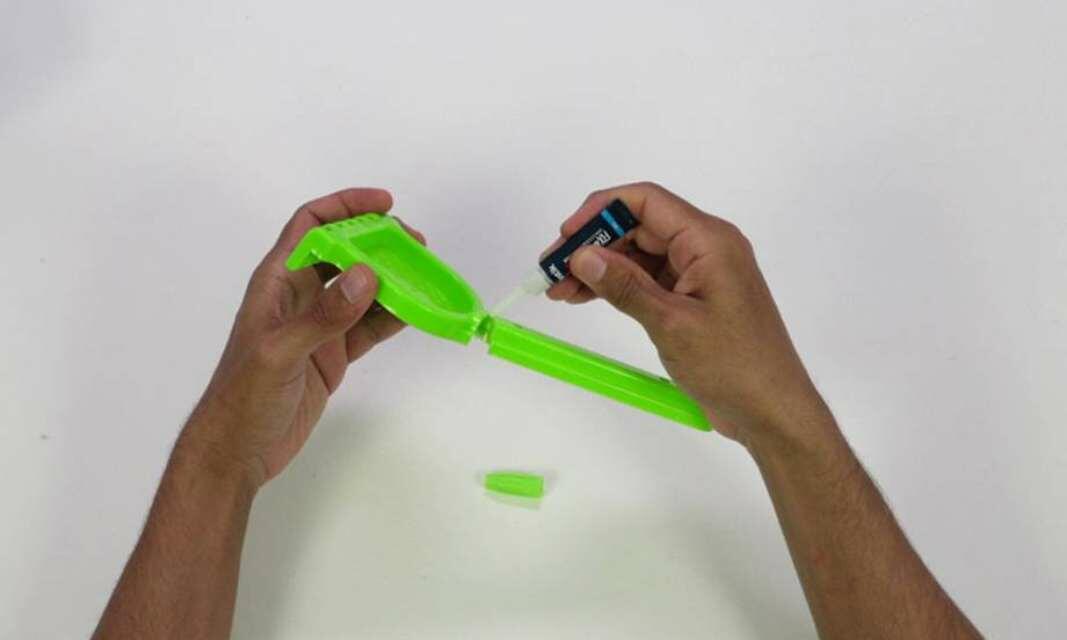
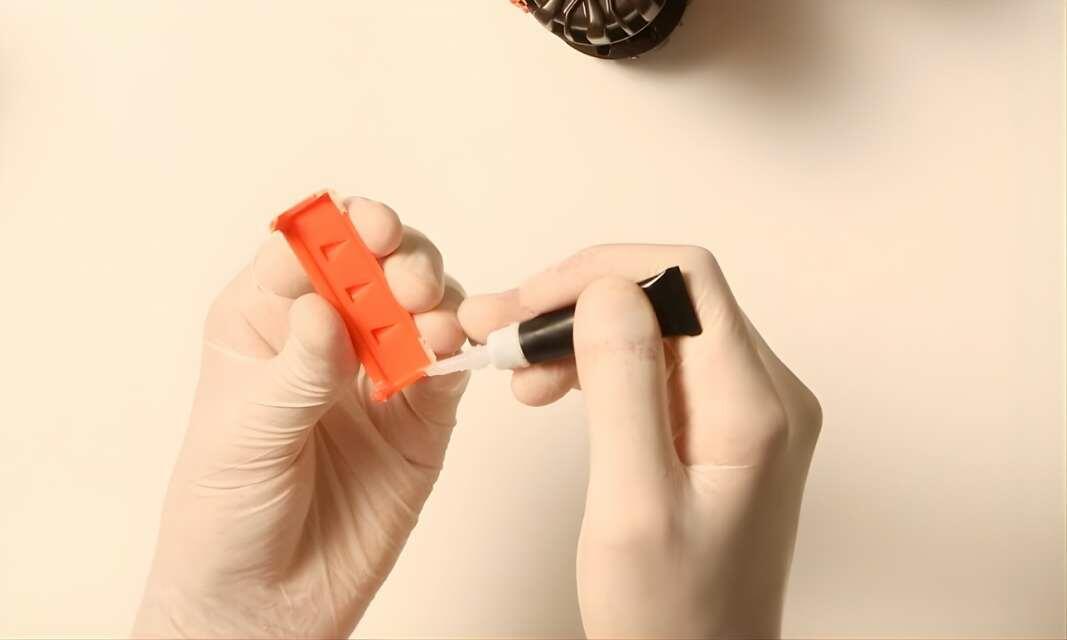
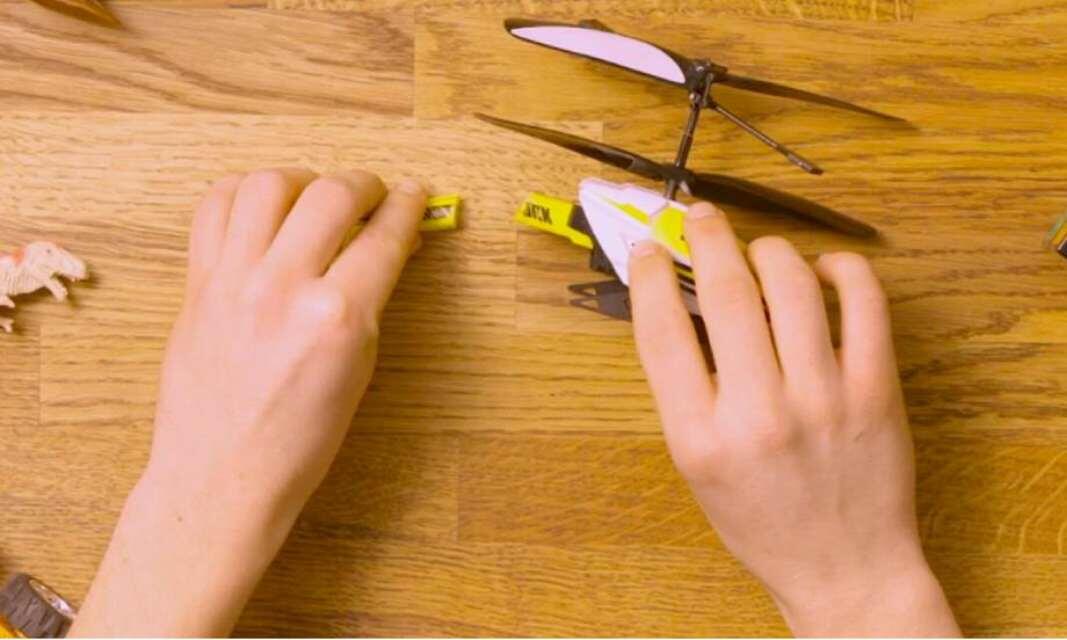
How to repair a plastic toy
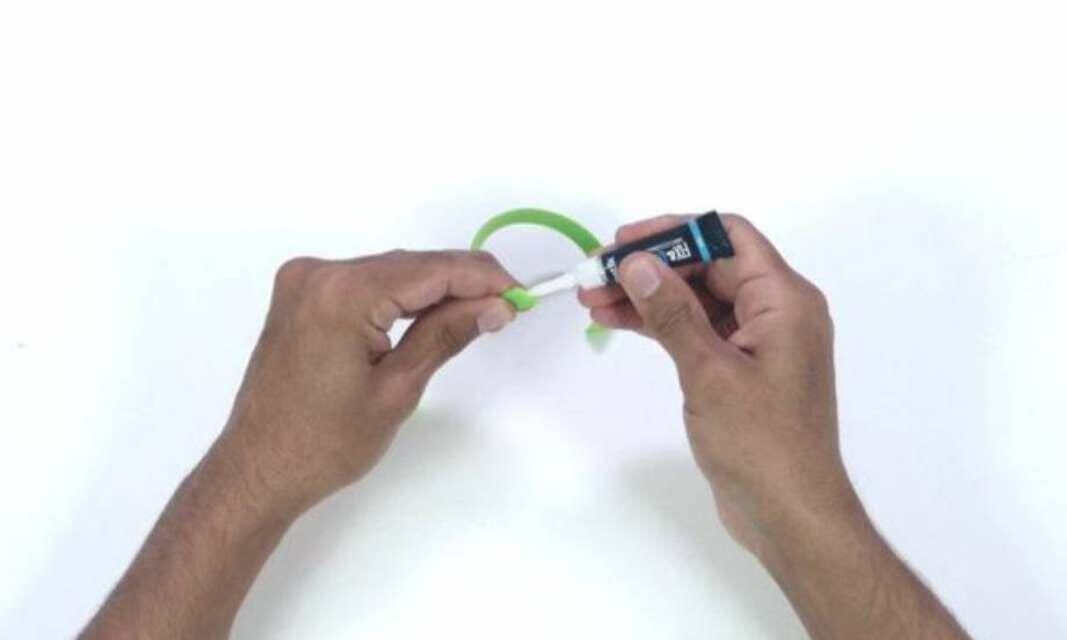
How to repair a rubber bracelet

How to repair broken headphones
How to repair metal objects using super glue