How to fix broken hard plastic items
Life can be messy, complicated, imperfect. Things break, but that doesn’t mean they should be sent straight to the bin. Some objects have huge sentimental value, and we’d all prefer not to buy twice which can be a waste of money and resources. Instead, become a #REPAIRHERO and fix what's broken.
Luckily jobs don’t get much easier than fixing broken plastic items such as toys, baskets, garden furniture, plant pots and more.
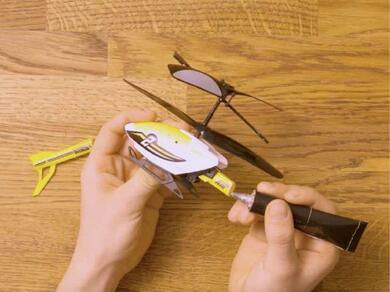
Picture the scene, it’s another hectic day of family life and unfortunately, your child breaks their favourite toy. Follow our simple, four step guide and discover how to fix a broken plastic toy using our best glue for hard plastic repairs, so you can stop the tears and save the day!
What's the right glue for your broken hard plastic?
The glue gurus at Bostik have created a special glue to match every need. From super glues in liquid and gel formulas, specialist material glues such as fabric, leather, or plastic and more.
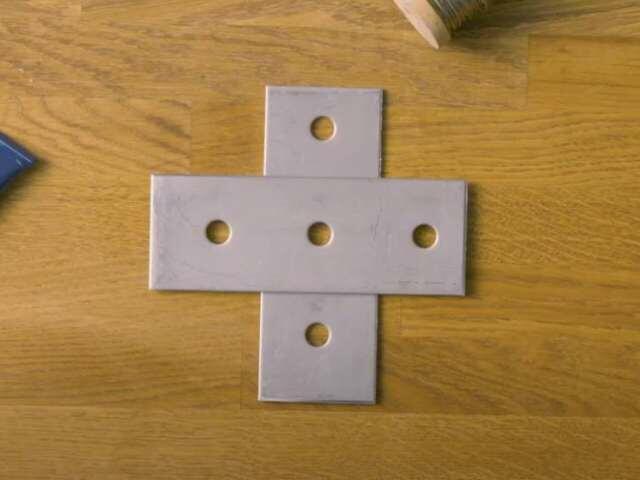
For rigid plastic items, we recommend our Hard Plastics glue. Whether you’re fixing a toy, a tool or a television remote, Hard Plastics Glue is perfect for all tough jobs that need an ultra strong, long-lasting, water resistant glue. Applied white but dries clear, it's the perfect choice for most rigid plastic items made from PVC-U, ABS and High Polystyrene, as well as other materials including wood, metal, and leather.
Keep it handy to repair broken hard plastic around the home, garage, and workshop. Plus, it can also be used to assemble things, not only repair, so is great for craft projects too.
What you will need
Essential:
Optional:
- Old newspaper or similar
- Alcohol-based cleaner
- A clean, dry cloth
- Nail polish remover or acetone
How to fix a broken plastic toy
Step 1: Be prepared
Before you repair broken plastic, remember that all glues need a clean, dry surface to ensure the glue is as effective as possible.
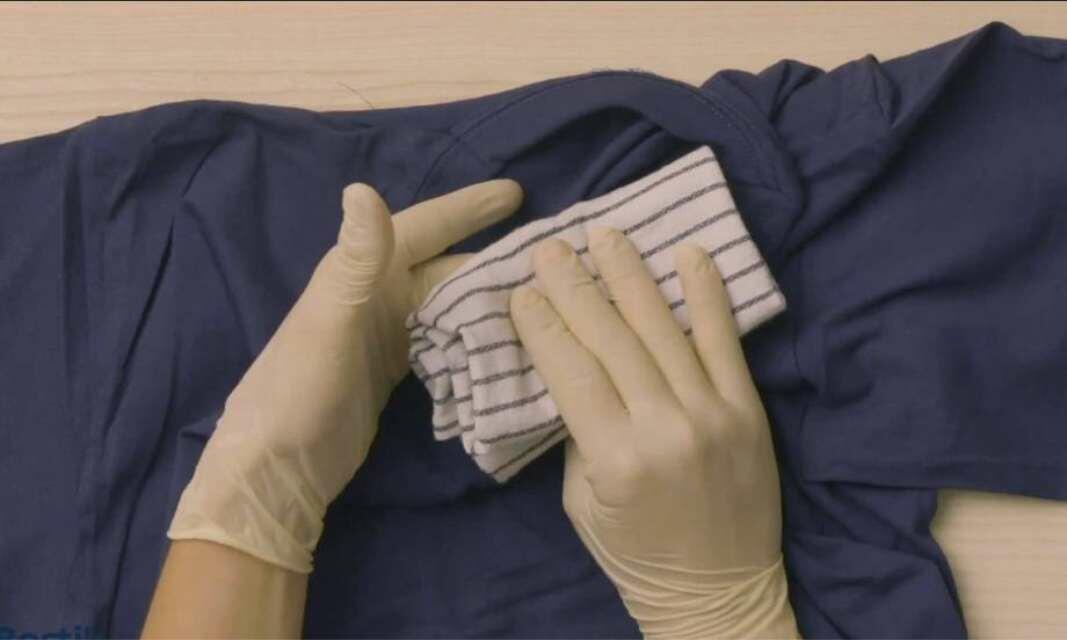
Check the damaged area for dust, dirt, grease, and if necessary, give your broken plastic toy a quick clean with an alcohol-based cleaner and let it dry.
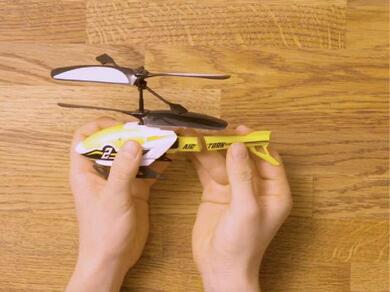
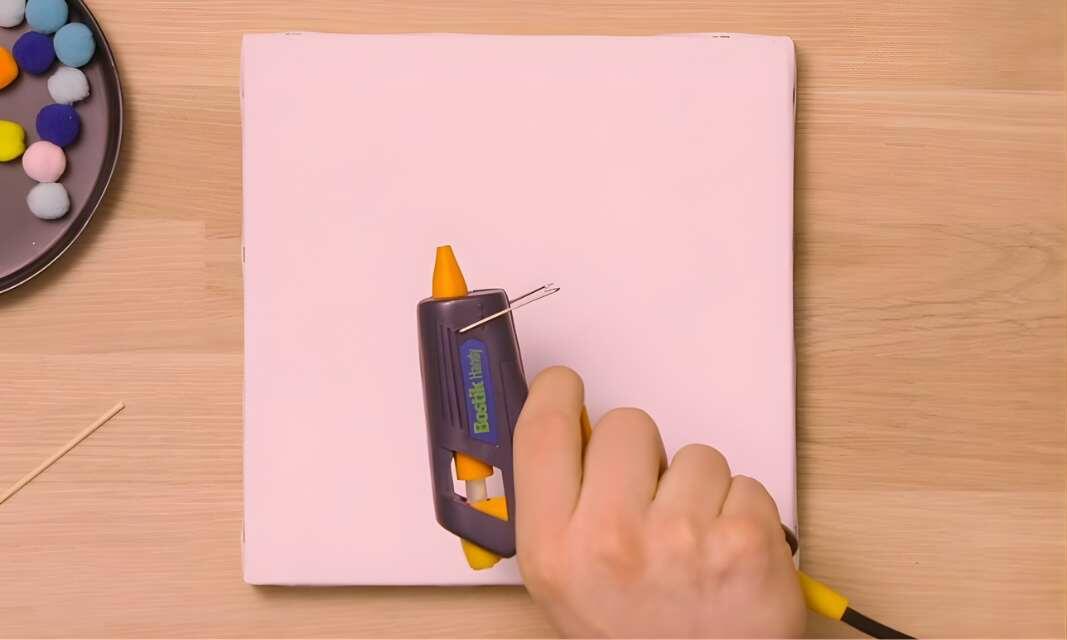
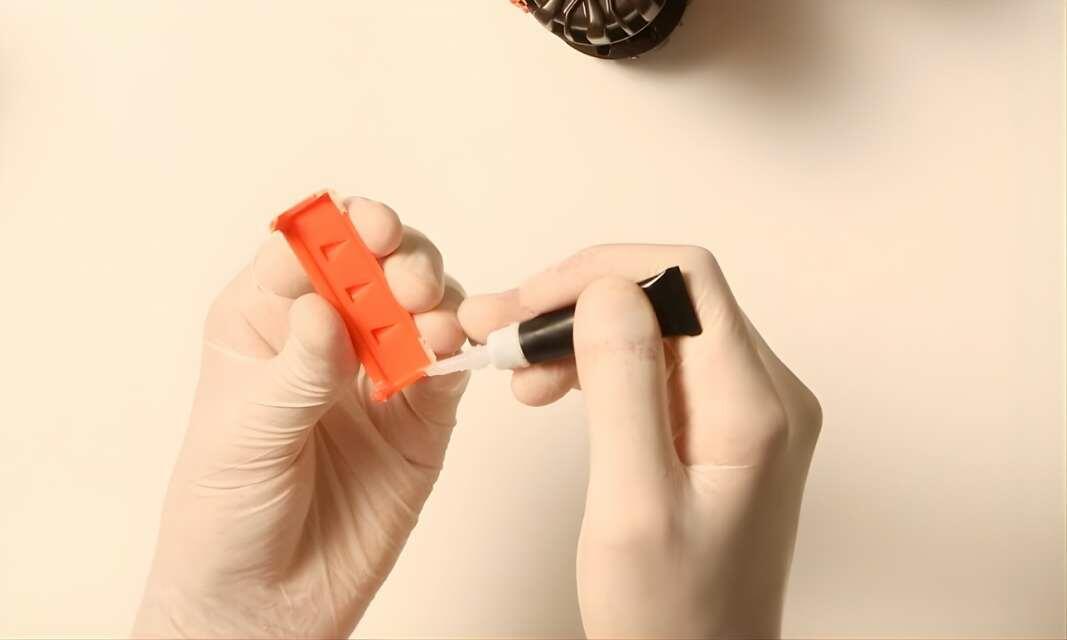
Step 2: Get gluing
Once your broken hard plastic is ready to be glued, place it on a flat surface. You may want to lay it on an old newspaper or similar to protect the work surface.
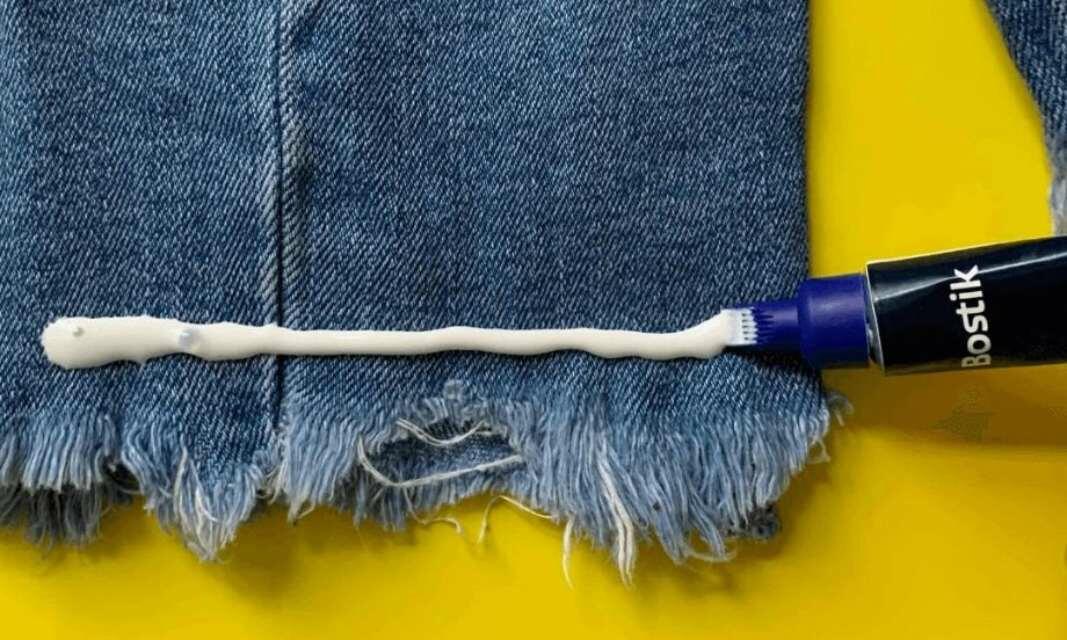
Then, unscrew the glue cap and spread an even line of glue onto both damaged surfaces of the broken toy.
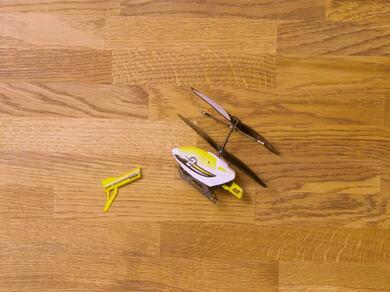
Step 3: Leave to dry
Place the broken toy pieces down on the work surface, being careful that the glue doesn't touch anything. Then, wait for the glue to become tacky. We recommend allowing four minutes – the perfect amount of time at normal room temperature. Set a timer and take a quick coffee break!
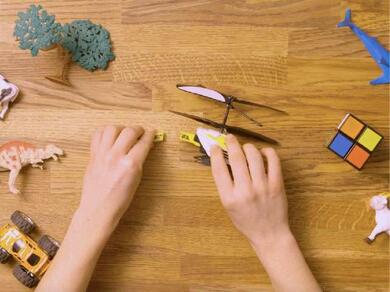
Step 4: Glue the broken plastic toy together
Our Hard Plastic glue will stick immediately, so be careful when lining up the pieces to ensure they fit perfectly to create a seamless repair.
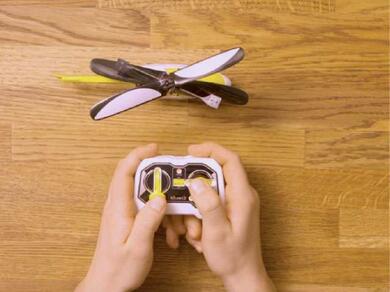
Once aligned, gently press them together. Maximum bond strength is achieved after around 12 hours, so store your item laying on one side for the very best results.
That’s it! You've discovered how to repair a broken plastic toy with a drop or two of glue. It's official, you're now a #REPAIRHERO.
Made a little mess?
Mistakes are inevitable. Thankfully, Bostik Hard Plastics Clear Glue can be removed before it sets using nail polish remover or acetone. Before applying your solvent, we recommend testing a small area to be certain that it will not damage the surface.
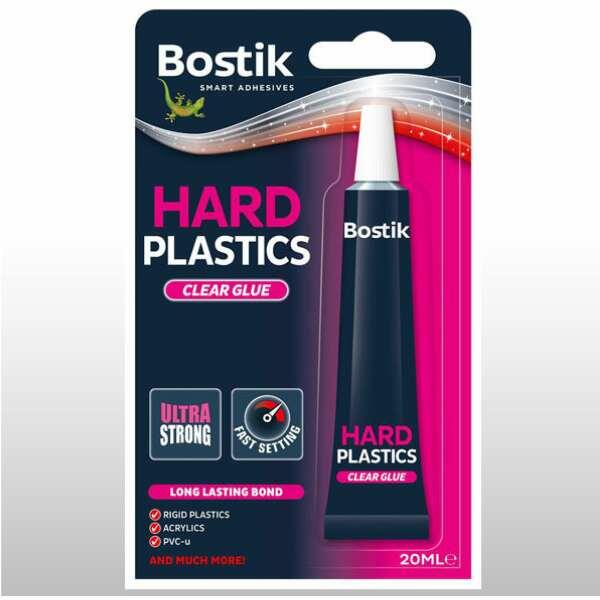
HARD PLASTICS CLEAR GLUE
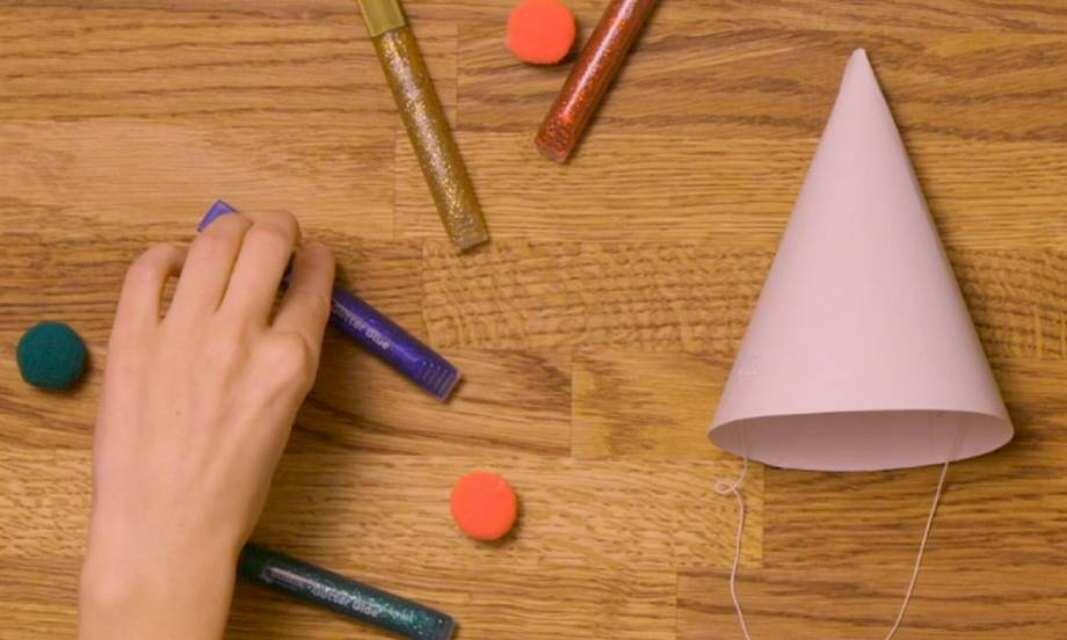
6 easy glitter glue craft ideas
6 simple hot glue gun crafts to do at home
How to remove Blu Tack® from carpet
How to remove Blu Tack® stains from a wall
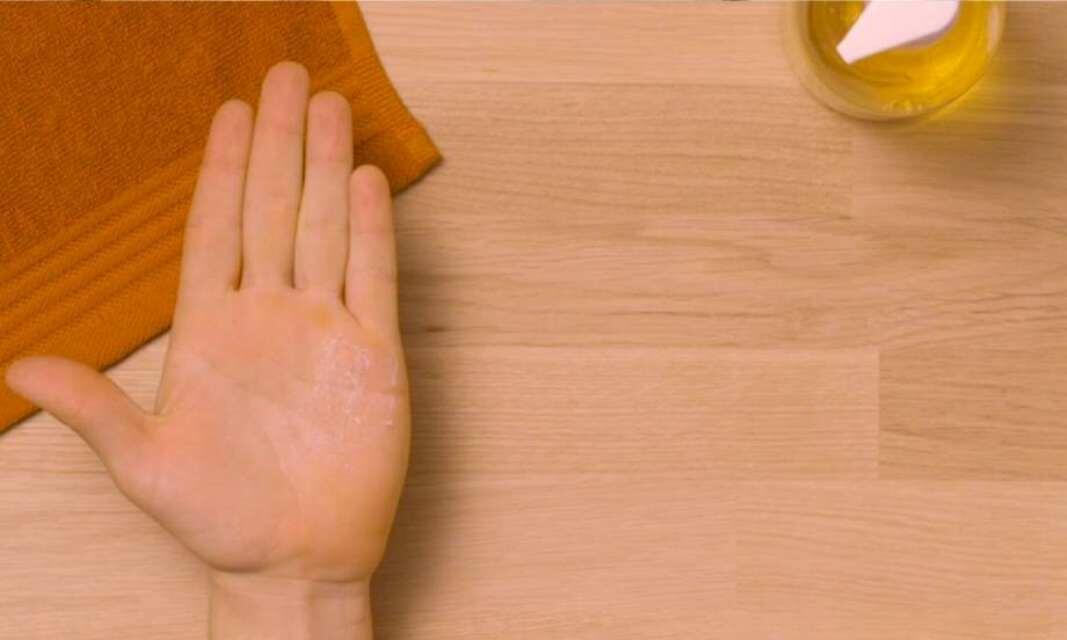
How to remove super glue from skin
How to use a glue gun for the first time

6 steps to create a DIY flower candle holder
Everything you need to know: Super Glue

How to create a DIY cake stand or homemade vase

How to create a DIY sun mirror
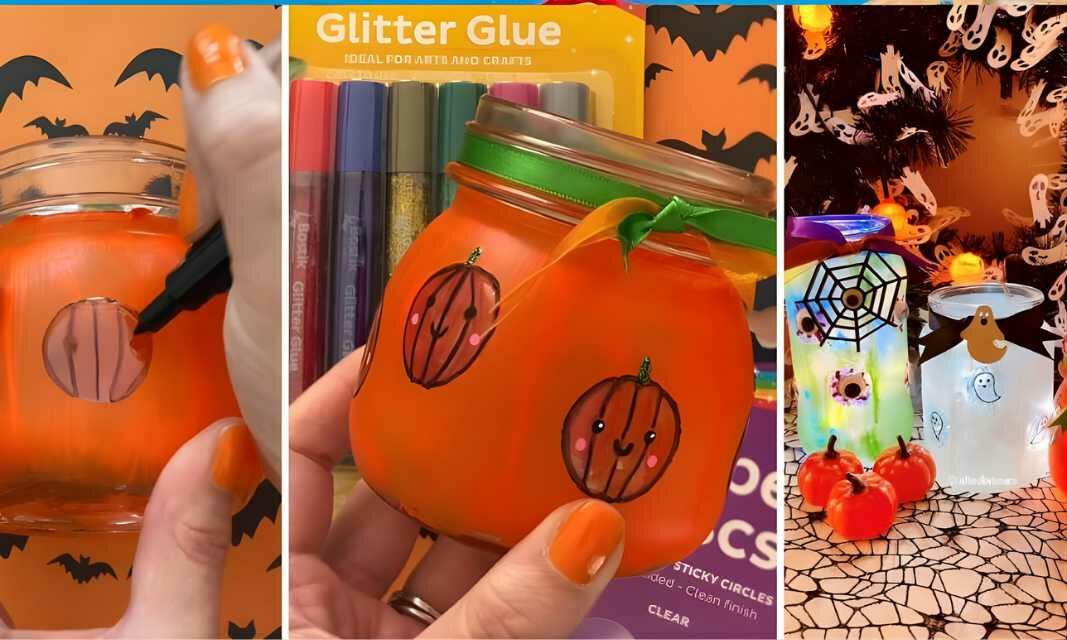
How to create DIY Halloween jar lanterns
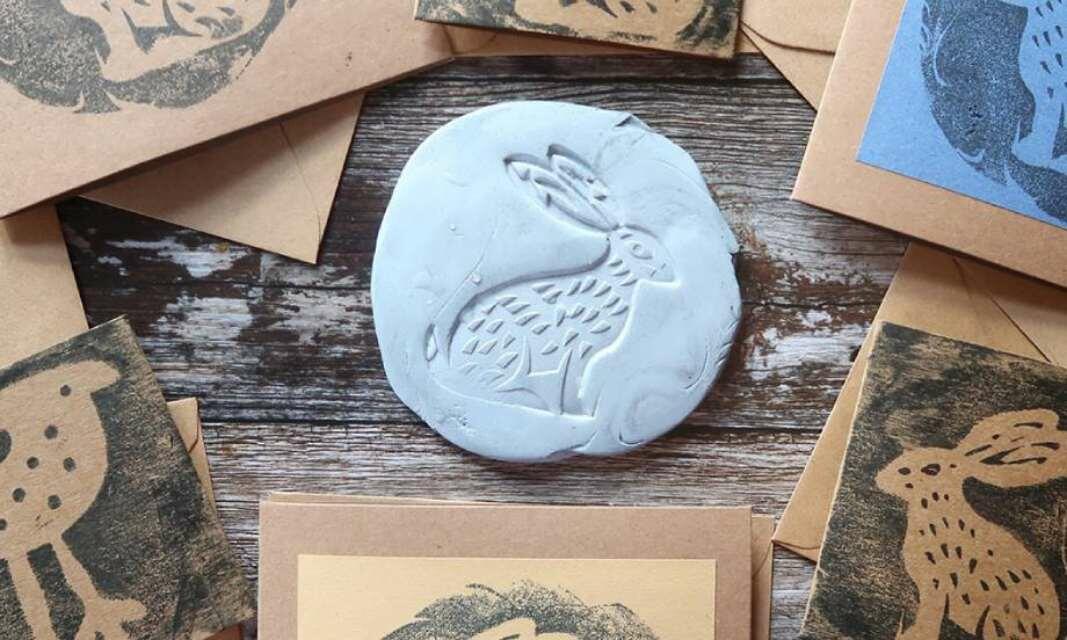
How to create reverse prints using Blu Tack®
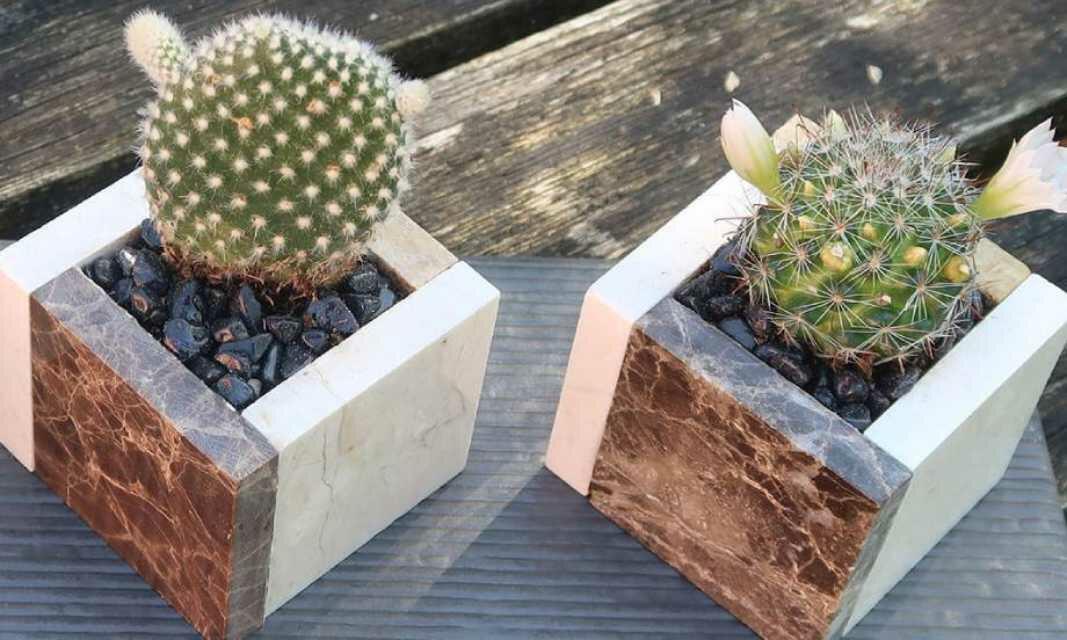
How to create your own DIY ceramic plant pots
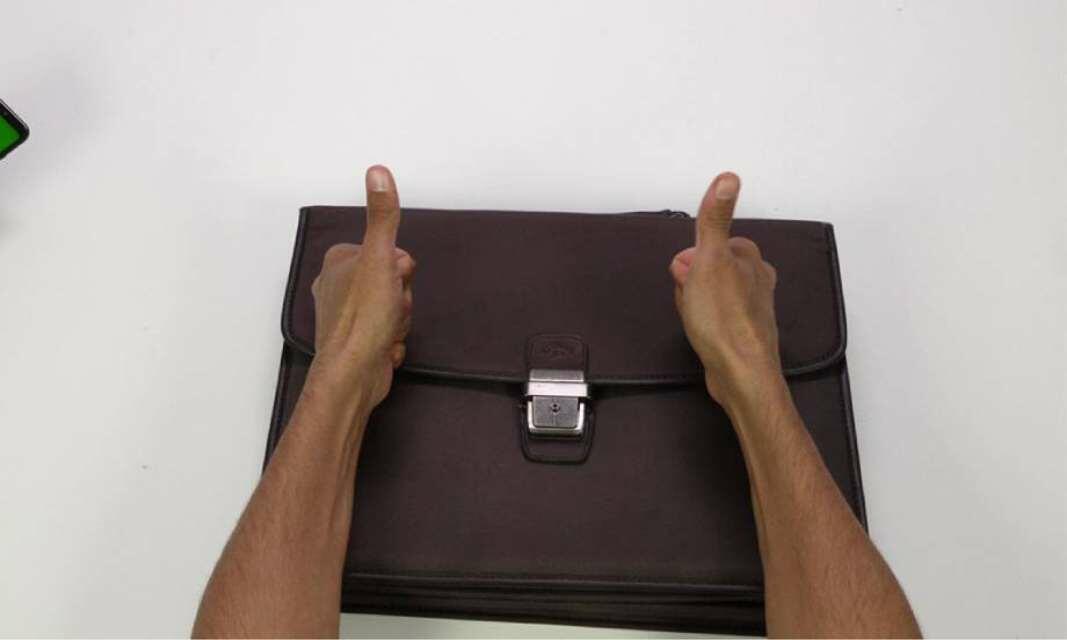
How to easily repair a fabric or leather bag clasp with super glue
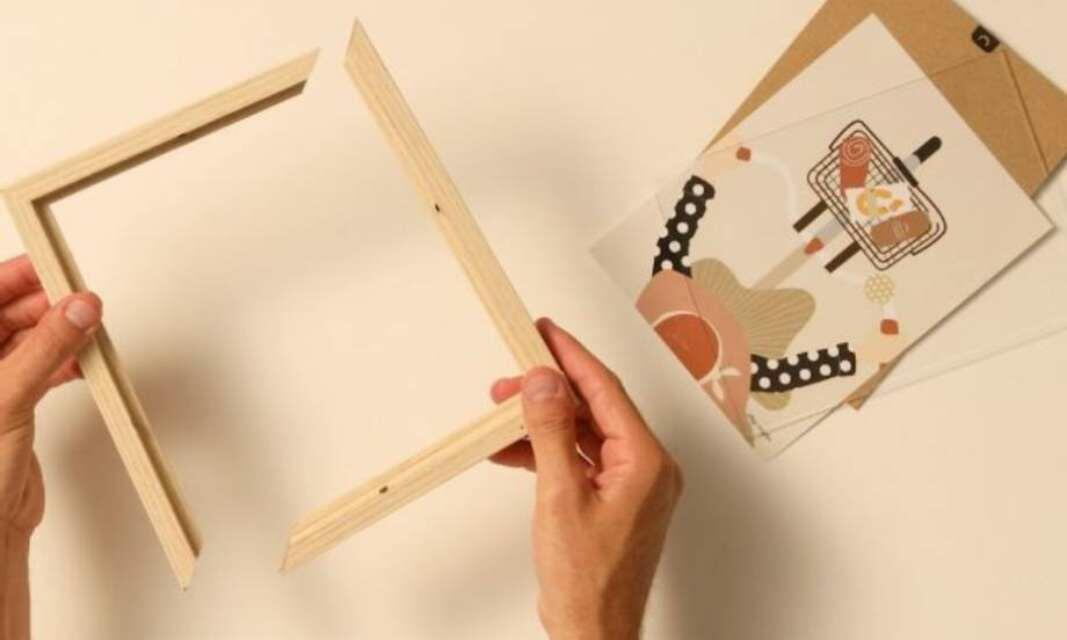
How to fix a broken picture frame with glue
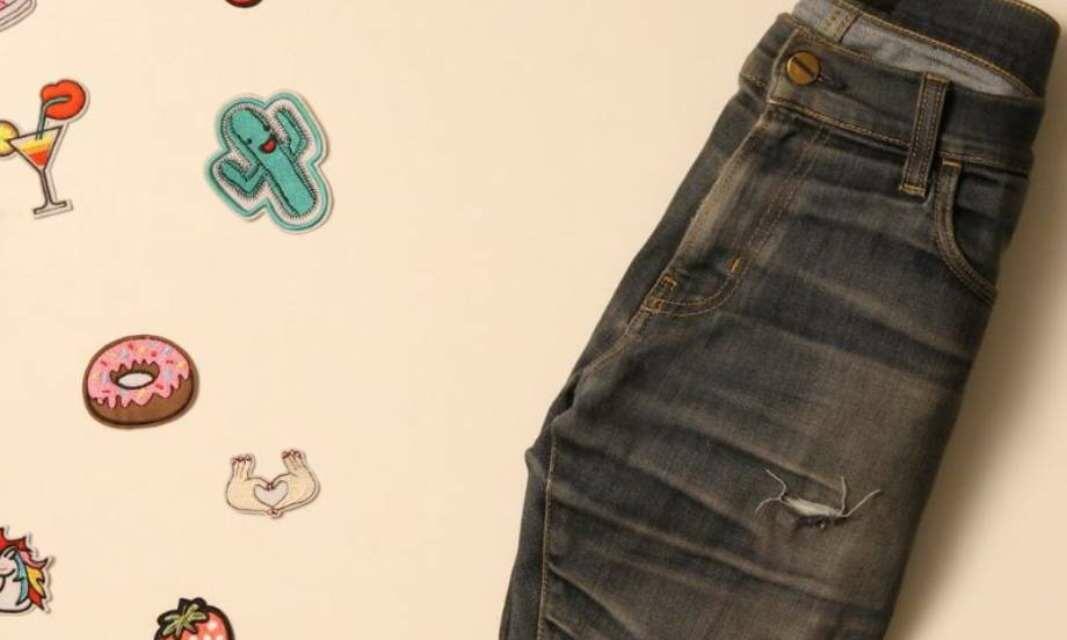
How to fix ripped jeans with fabric glue and a decorative patch
How to glue metal to metal
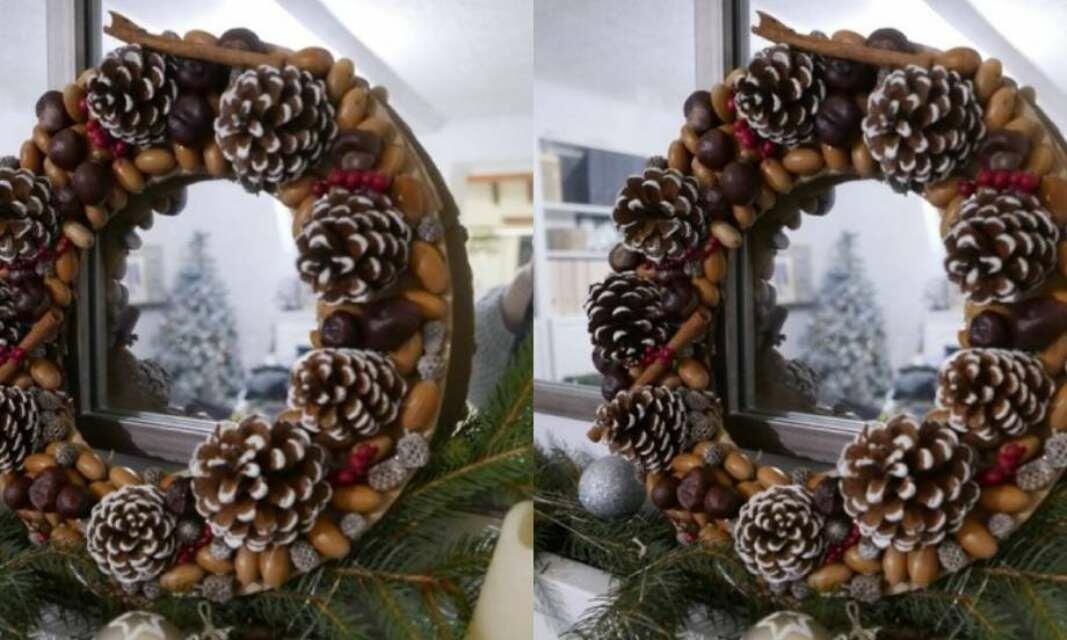
How to make a Christmas wreath at home
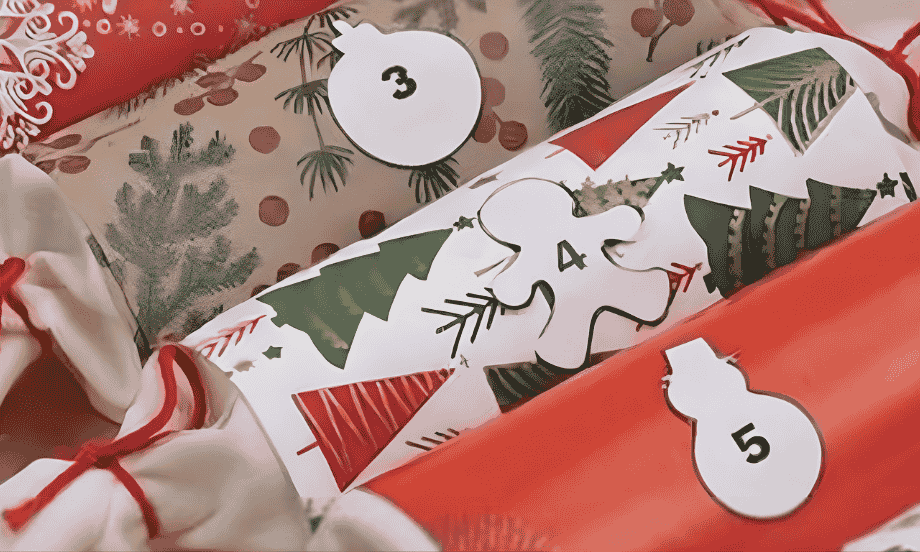
How to make a DIY advent calendar
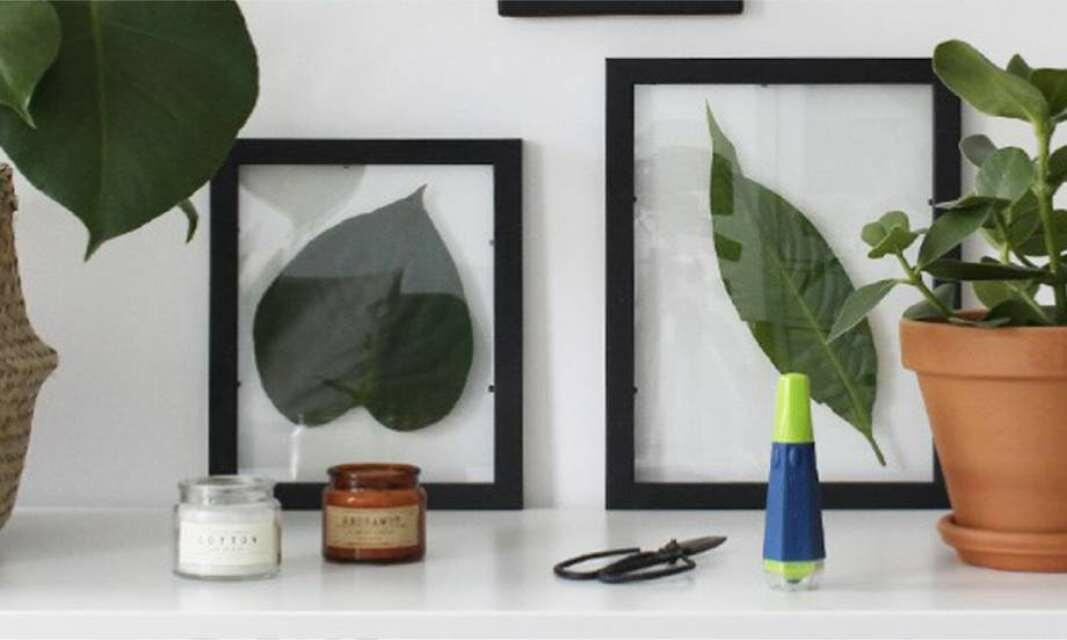
How to make a DIY plant frame

How to make your own advent calendar

How to make your own pendant light
How to read hazard icons on glues
How to remove fabric glue from clothes
How to remove super glue from clothes

How to repair a broken ceramic vase
How to repair a broken glass
How to repair a broken wooden coat rack
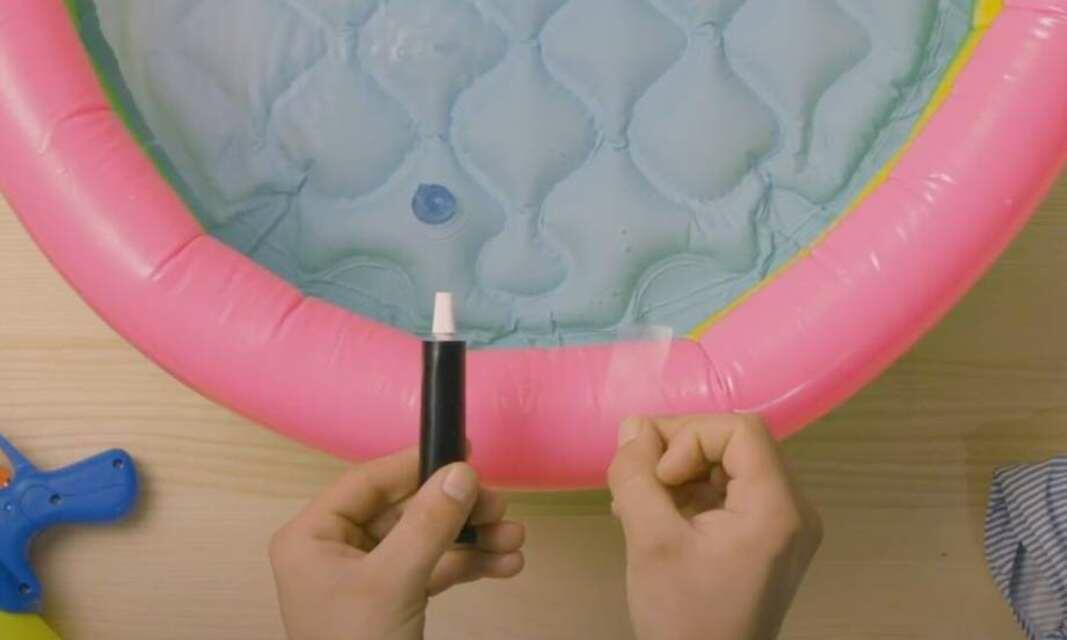
How to repair a child's paddling pool using plastic glue
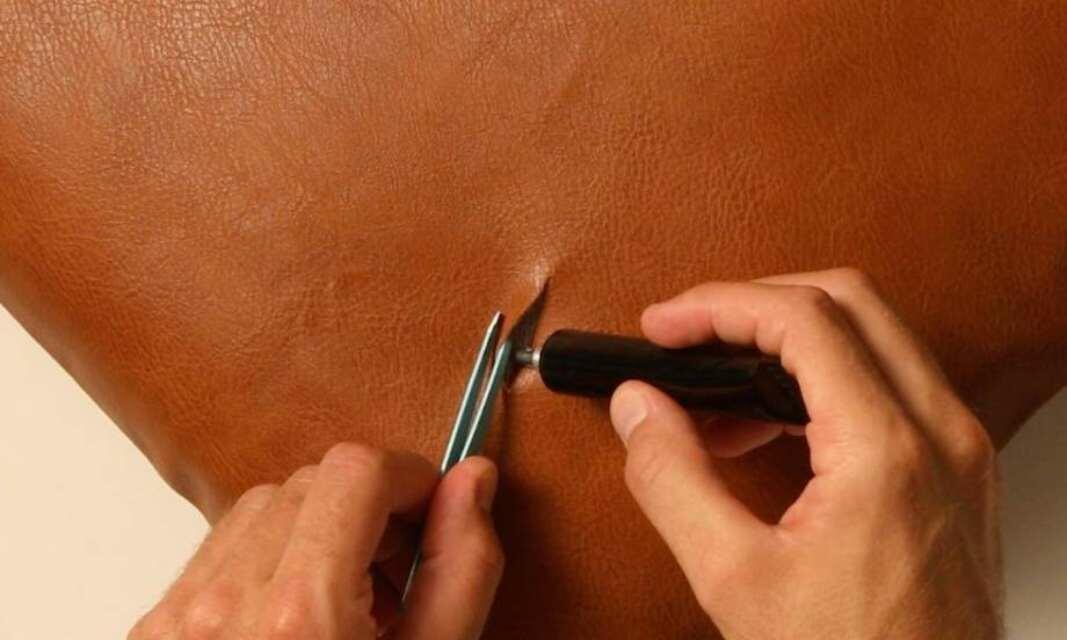
How to repair a leather sofa cushion
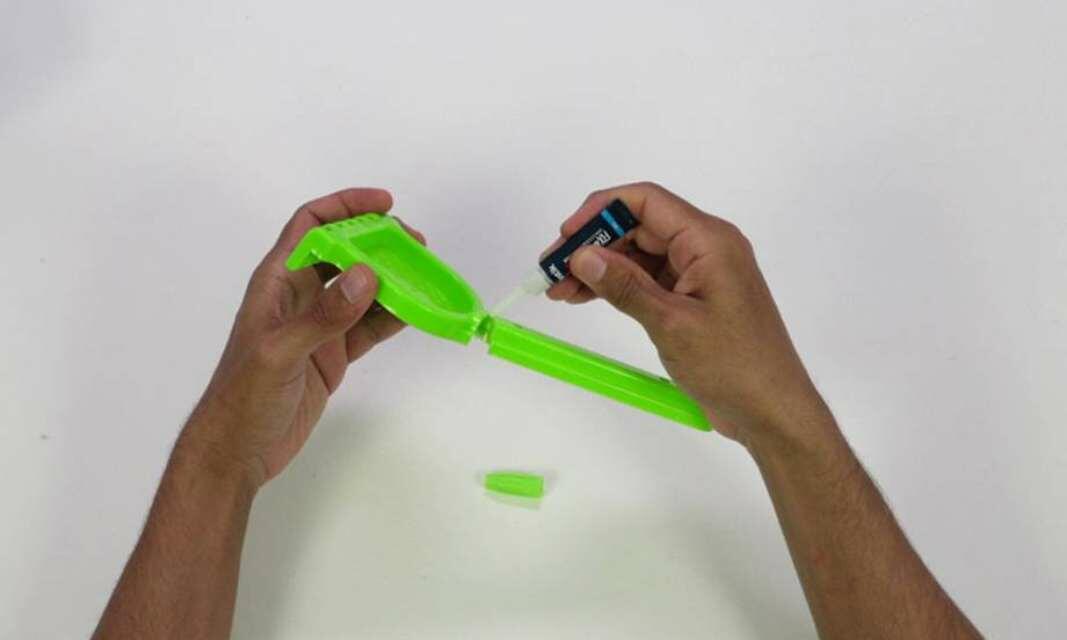
How to repair a plastic toy
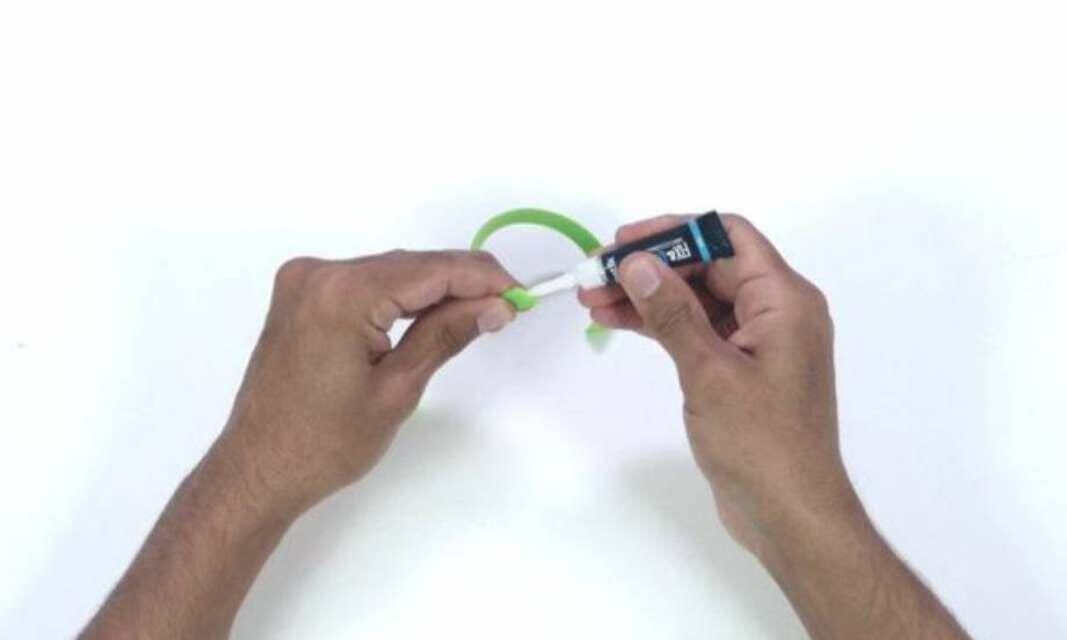
How to repair a rubber bracelet
How to repair broken headphones
How to repair metal objects using super glue
How to repair the sole of your shoe