How to repair the sole of your shoe
A simple guide to shoe sole repair using the right shoe adhesive
Shoes are made to be worn and lived in every day. No matter how careful we are with them, they almost always end up with scuffs, holes, cracks and even broken soles due to daily use.
Instead of discarding your favourite pair of trainers because the sole is dangling off, give them a new lease of life using the right shoe repair glue. A good shoe sole repair can restore your footwear quickly, saving you money and reducing waste.
Bostik has a range of repair glues ideal for shoe sole repair, delivering an ultra-strong, long-lasting bond that resists movement and prevents water penetration. Follow our step-by-step guide to discover how to fix shoe sole issues once and for all. Don't bin it, fix it and become an everyday #REPAIRHERO!
What you will need
- A shoe
When shoe sole repair is the right choice
Before reaching for a new pair, it's worth considering whether repairing your sole is a better option than replacing it. In most cases, sole repair is quicker, cheaper and more sustainable than a full shoe sole replacement.
If the upper part of your shoe is still in good condition, reattaching or patching a loose or cracked sole is straightforward with the right shoe sole adhesive. This applies to a wide range of footwear: from trainer sole repair to boot sole fixes, a quality shoe repair glue can handle most jobs at home.
However, if the sole is worn down completely or structurally compromised, a full sole replacement or a professional cobbler may be more appropriate. For everyday repairs such as a loose shoe outsole or a split along the edge, a strong adhesive for shoe sole repair is all you need to get back on your feet.
Instructions
Disclaimer
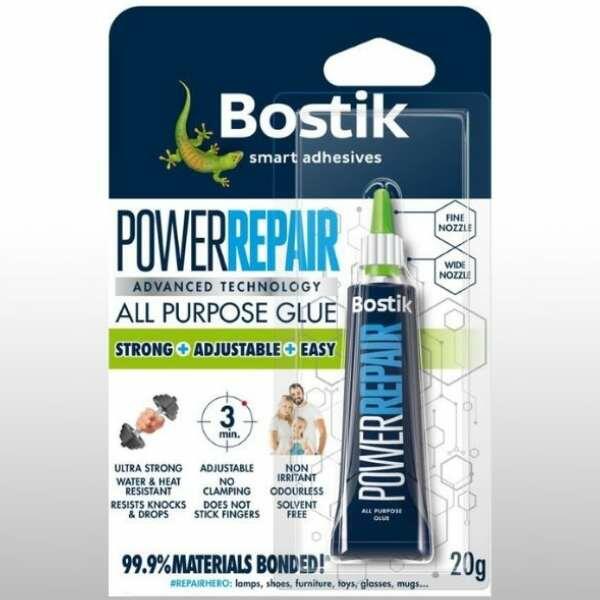
Please note this guide features images of an adhesive that is now discontinued. The step-by-step tutorial is correct to the alternative product(s) suggested.
Step 1: Clean the shoe to be glued
Before carrying out a shoe sole repair, you need to clean and dry the broken area thoroughly. Any dirt, dust, grease or moisture can prevent the shoe adhesive from bonding properly.
Use a dry cloth or brush to remove loose debris from the sole and the shoe upper where the two surfaces will meet. For greasy areas, a small amount of rubbing alcohol on a cloth can help. Once cleaned, leave both surfaces to dry completely before applying any sole glue. This step is the foundation of a long-lasting repair, so take your time before moving on.
Step 2: Repair the sole of the shoe with glue
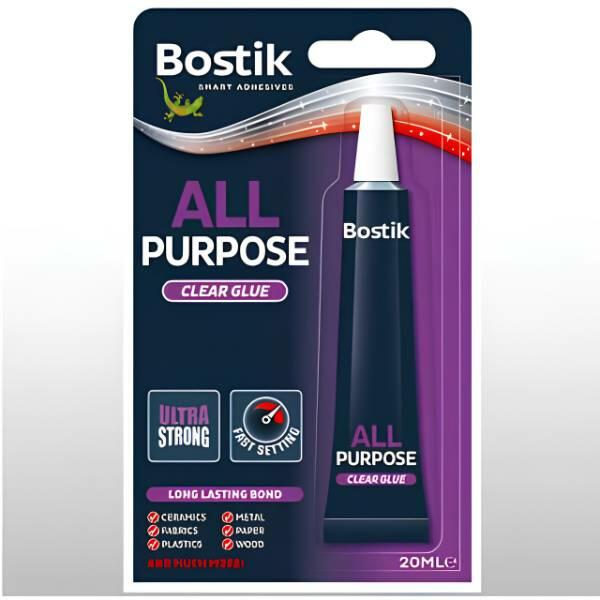
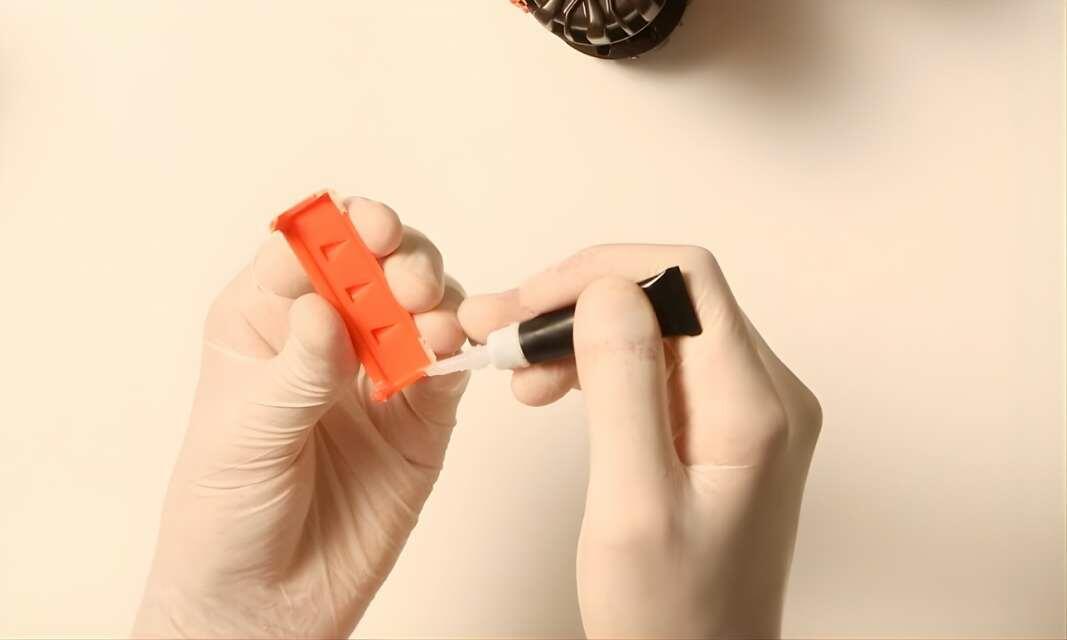
Apply your choice of Bostik glue such as Power Repair or All Purpose Glue, two of our best shoe adhesives, to the area that needs to be repaired.
The precise nozzle allows for controlled and accurate application to keep your repair looking as neat and unnoticeable as possible.
Step 3: Press the broken sole to the shoe
Press the sole firmly to the shoe, making sure the edges are properly aligned before applying pressure. Once you are happy with the positioning, hold the two surfaces together for at least 5 seconds to form the initial bond. Apply even pressure across the entire glued surface, not just the edges, to ensure full contact between the shoe sole glue and both surfaces. If possible, use a clamp, rubber band or a heavy object to maintain pressure while the initial bond sets.
Step 4: Leave the shoe adhesive to dry
Leave the shoe sole adhesive to dry fully before wearing the shoe. Avoid the temptation to test the bond too early. For the best results, leave the repair for at least 24 hours in a dry, well-ventilated area, away from direct heat or sunlight. Once cured, the bond will be resistant to movement and moisture, making it ideal for rubber soles on shoes as well as plastic and synthetic materials.
Step 5: You've repaired the sole of your shoe
That's it. Your shoe sole repair is now complete and you're good to go!
Our selection of repair glues provides a bond that is resistant to movement and moisture, which is ideal for any rubber or plastic soles. You can use the same technique alongside our shoe repair glue to fix all your broken shoes including trainers, boots, heels and more.
As well as being used to glue the sole of your shoe, most Bostik repair glues bond to the majority of materials, so whatever it is that's broken, don't bin it, fix it and become an everyday #REPAIRHERO.
Related products
POWER REPAIR GLUE
ALL PURPOSE GLUE
SUPER GLUE EASY FLOW
SUPER GLUE NON-DRIP GEL
Popular tutorials
How to easily repair a fabric or leather bag clasp with super glue
How to repair a broken ceramic vase
How to repair a broken wooden coat rack
How to repair a plastic toy
How to repair a rubber bracelet
How to repair metal objects using super glue
How to repair a broken glass
6 steps to create a DIY flower candle holder
Everything you need to know: Super Glue
How to create a DIY cake stand or homemade vase
How to create a DIY sun mirror
How to create DIY Halloween jar lanterns
How to create your own DIY ceramic plant pots
How to fix a broken picture frame with glue
How to fix broken hard plastic items
How to fix ripped jeans with fabric glue and a decorative patch
How to glue metal to metal
How to make a Christmas wreath at home
How to make a DIY advent calendar
How to make a DIY plant frame
How to make your own pendant light
How to read hazard icons on glues
How to remove fabric glue from clothes
How to remove super glue from clothes
How to remove super glue from skin
How to repair a child's paddling pool using plastic glue
How to repair a leather sofa cushion
How to repair an inflatable mattress
How to repair broken headphones
How to store glues at home