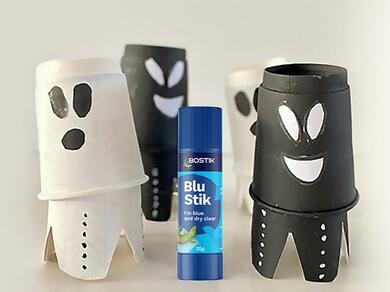
Bobbing ghosts
Get glu-some for Halloween with our Bobbing Ghosts project! 👻
Using simple materials like paper cups, white card, and markers, you’ll assemble these spooky specters in no time. Whether setting the scene for a party or just adding to your seasonal decorations, this craft is perfect for family fun. Let's start this ghostly crafting adventure and make your home a haunt to remember!
This project was made by our Bostik Buddy, Sonia - follow her on Instagram!
Instructions
Animal Games
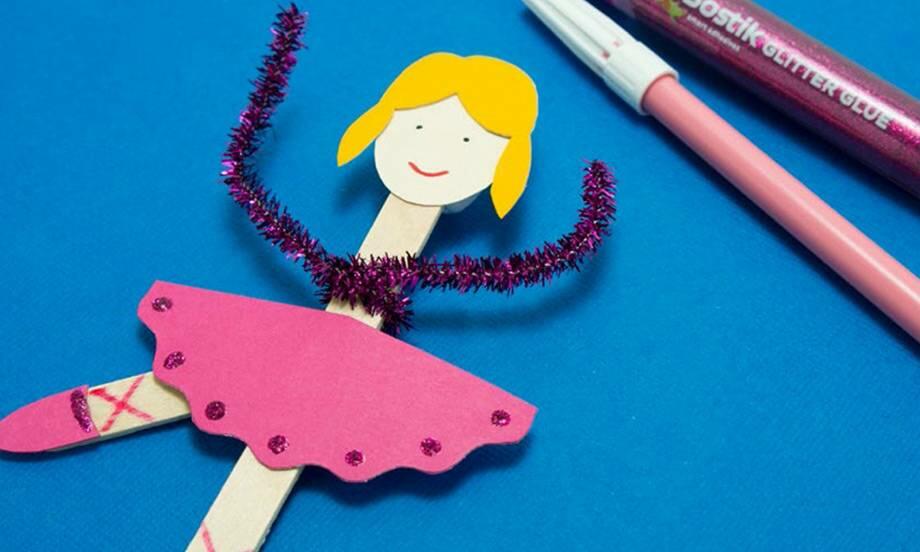
Ballerina
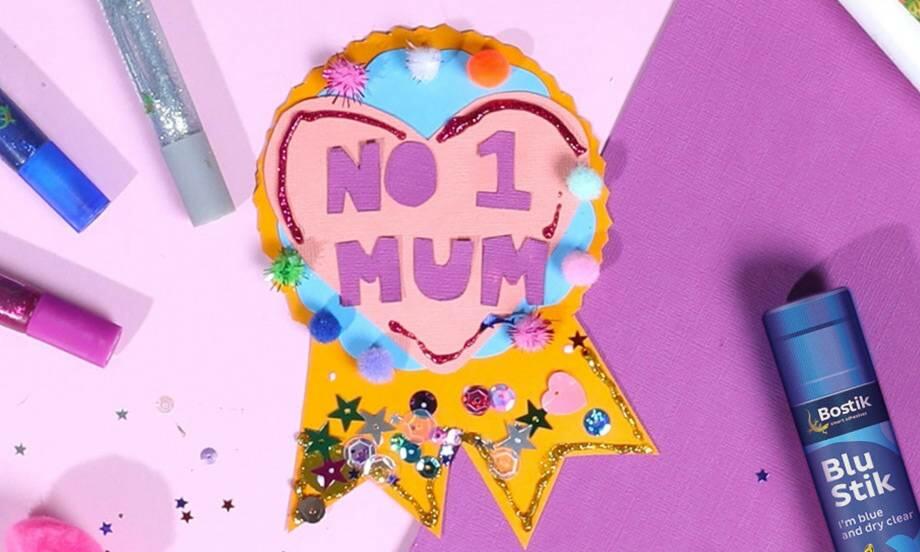
Best Mum Ribbon
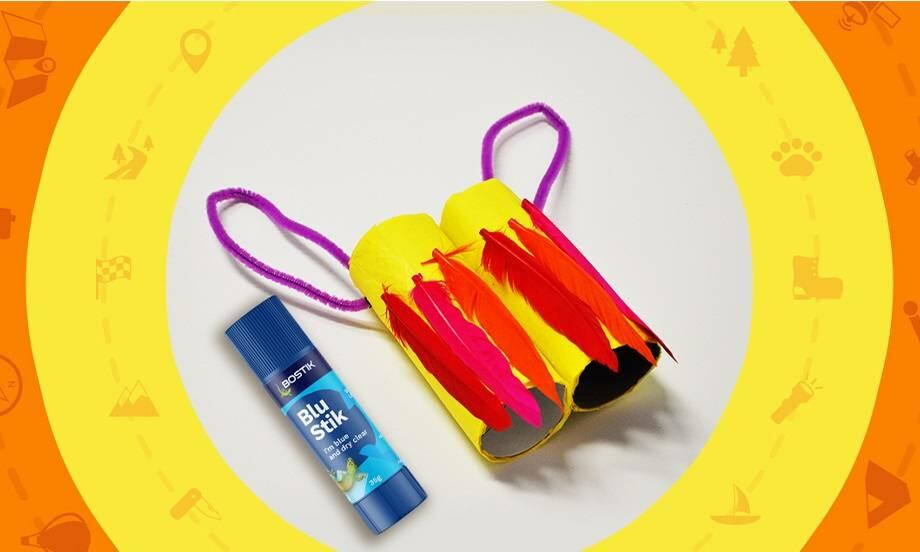
Binoculars
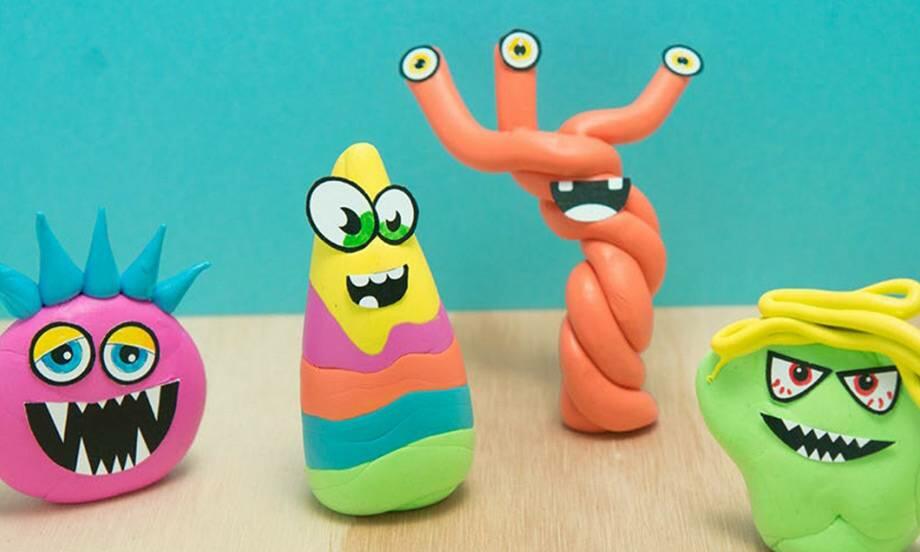
Blu Tack® Monsters
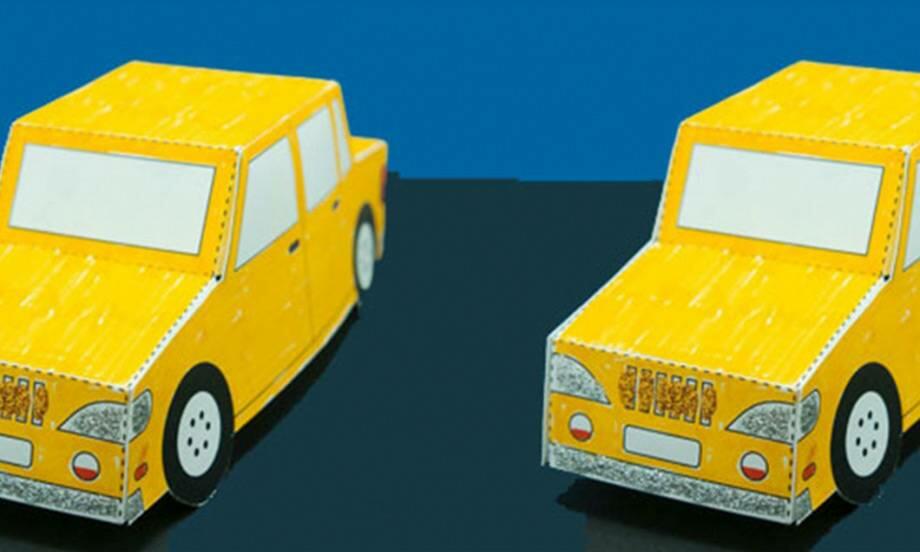
Bostik car
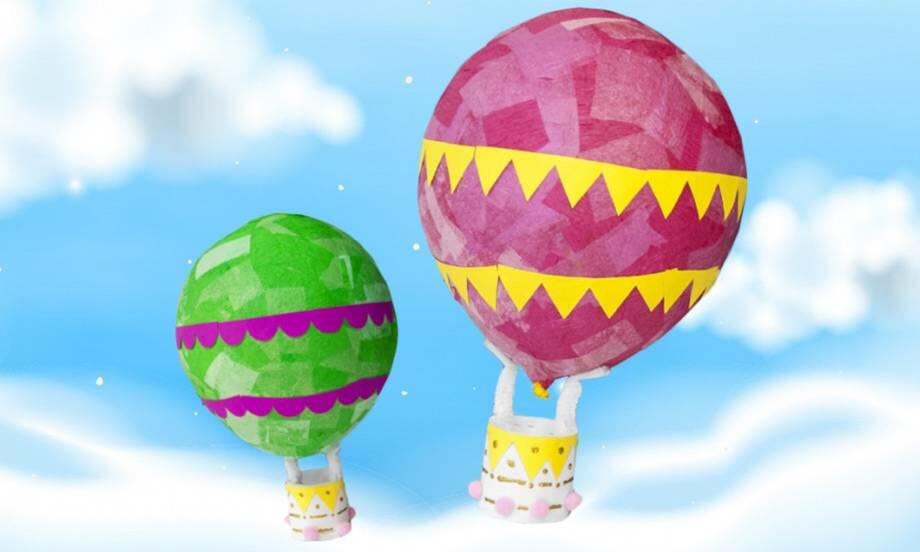
Bostik Hot Air Balloon
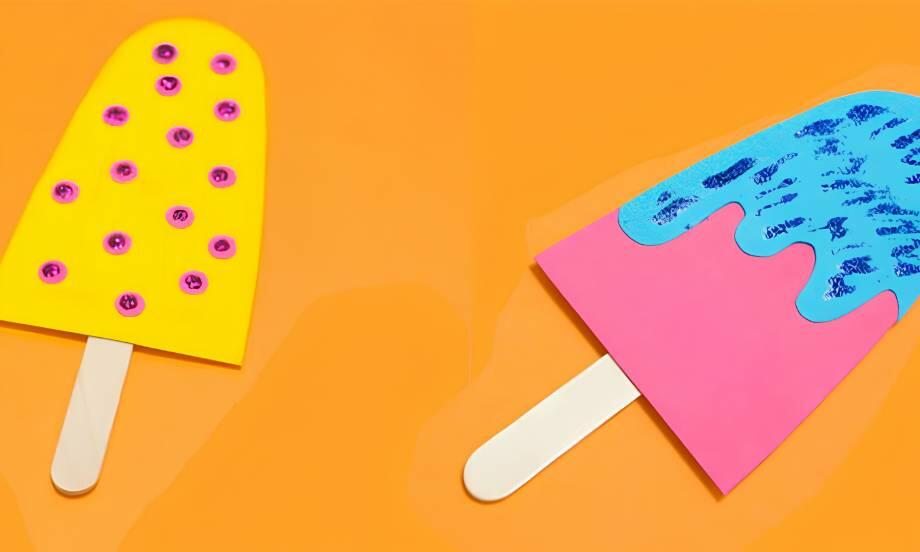
Bostik icy pole
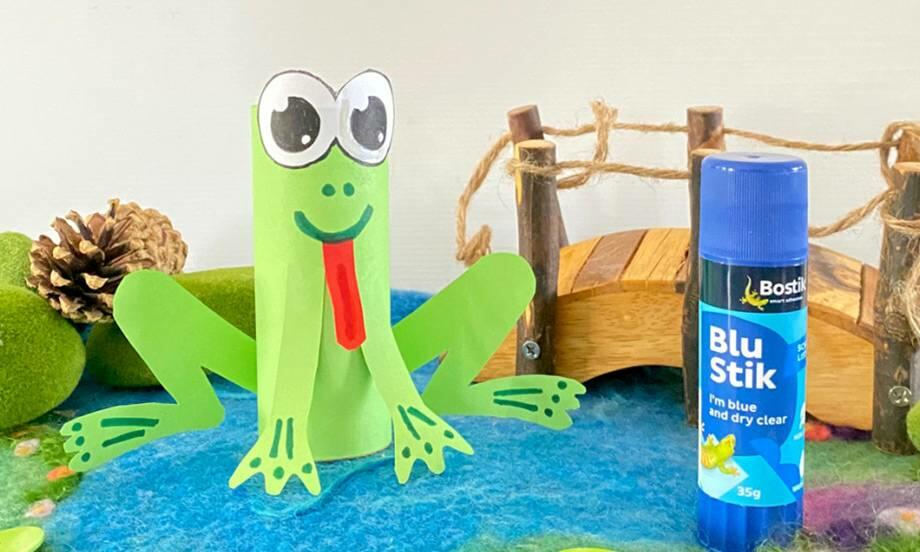
Cardboard Frog
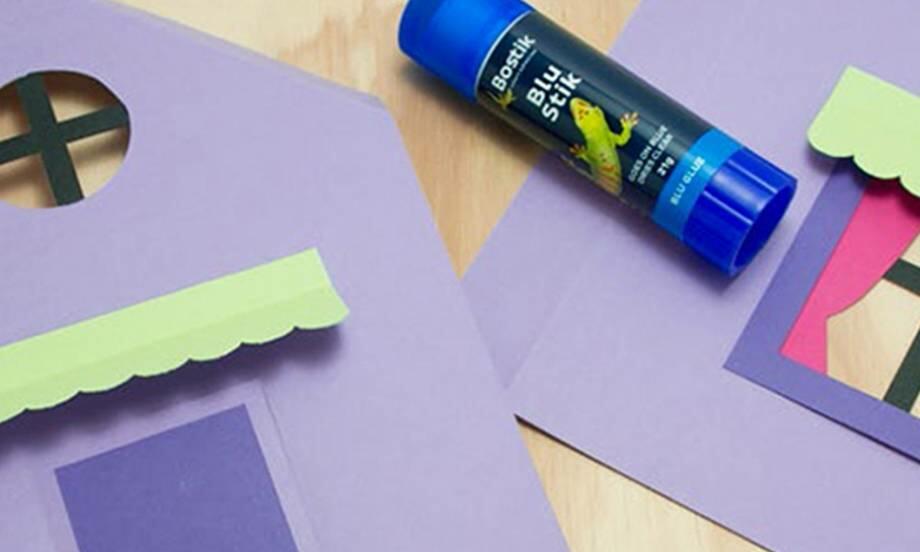
Cardboard House
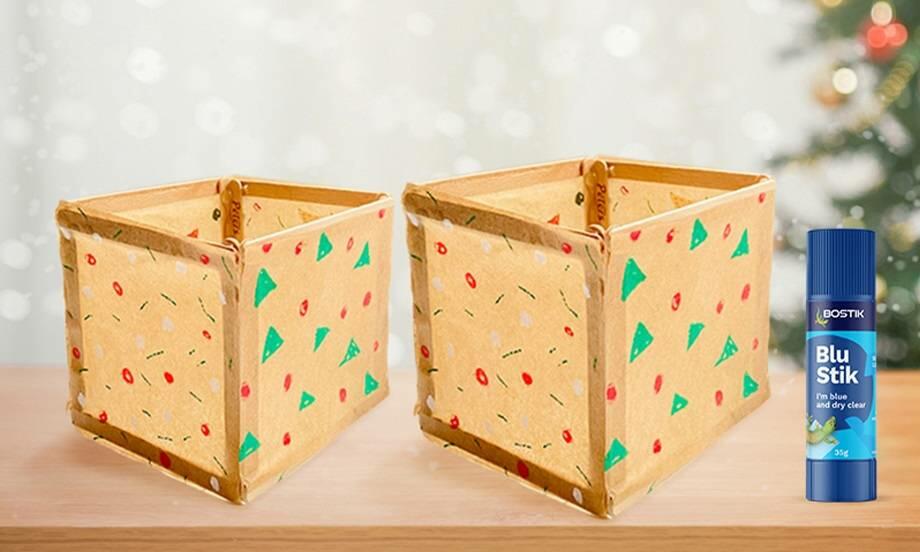
Christmas lanterns
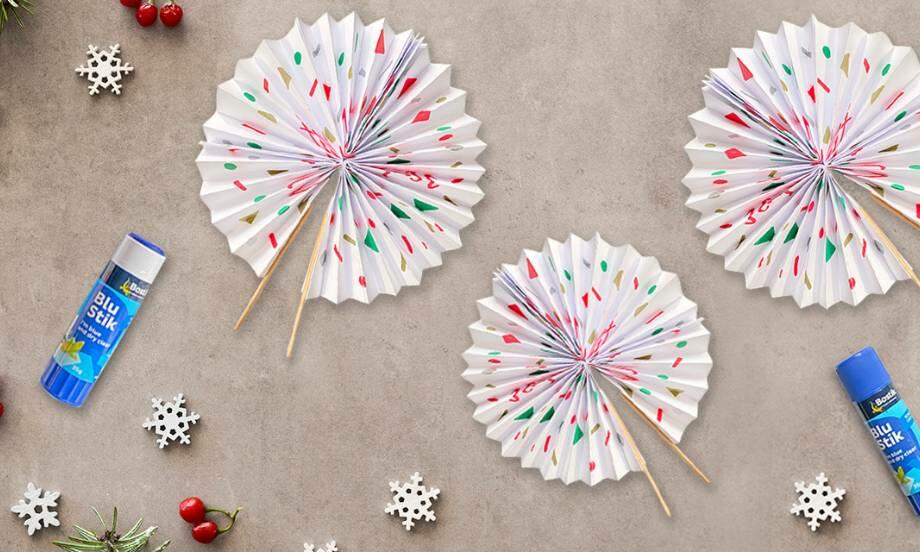
Christmas party fan
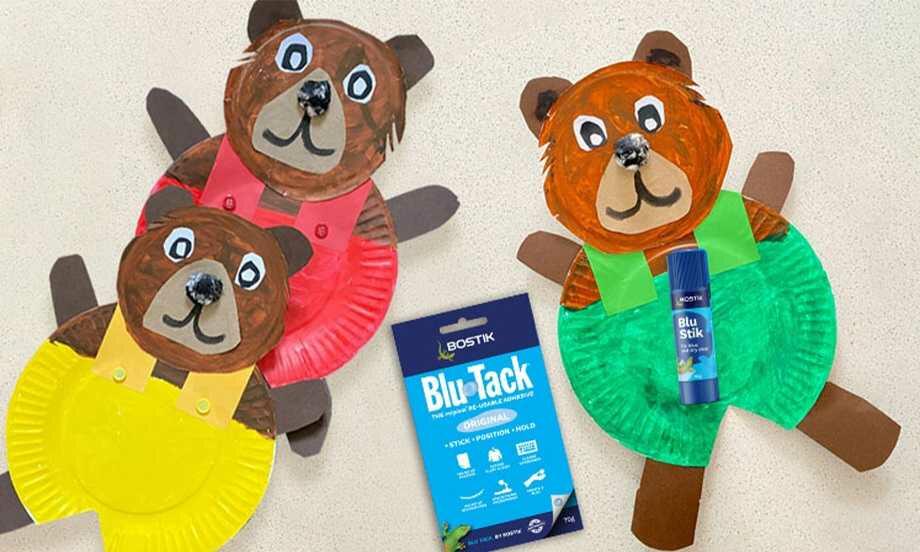
Corduroy the bear
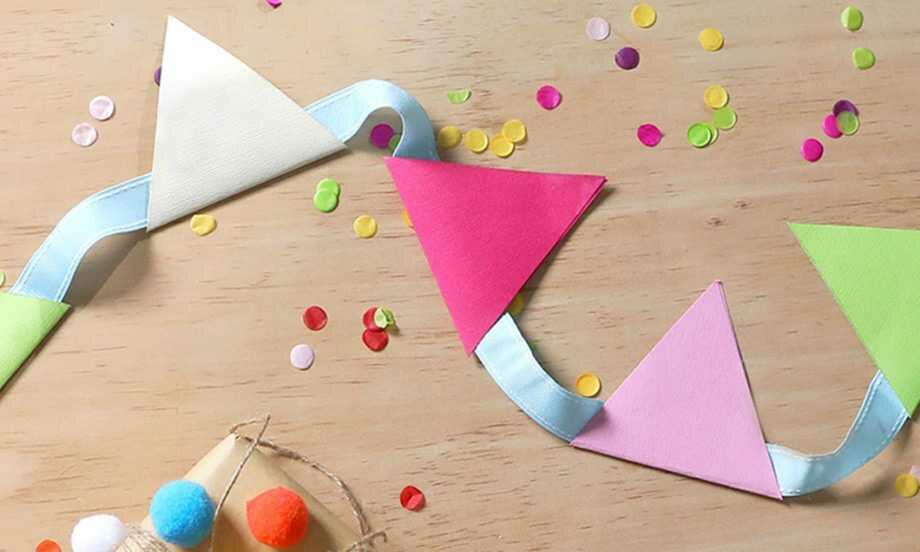
DIY bunting
DIY solar oven

DIY Stationery Holder

Easter cup bunnies
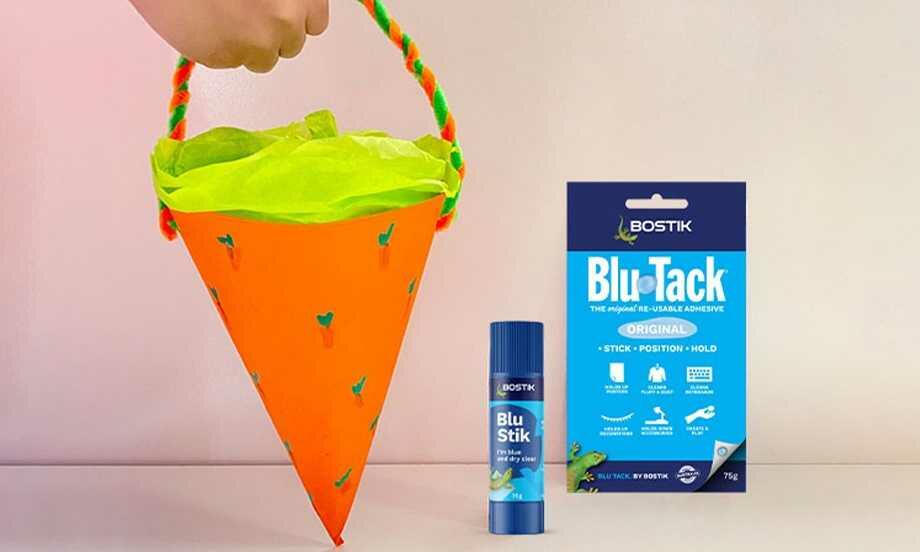
Easter Egg Basket
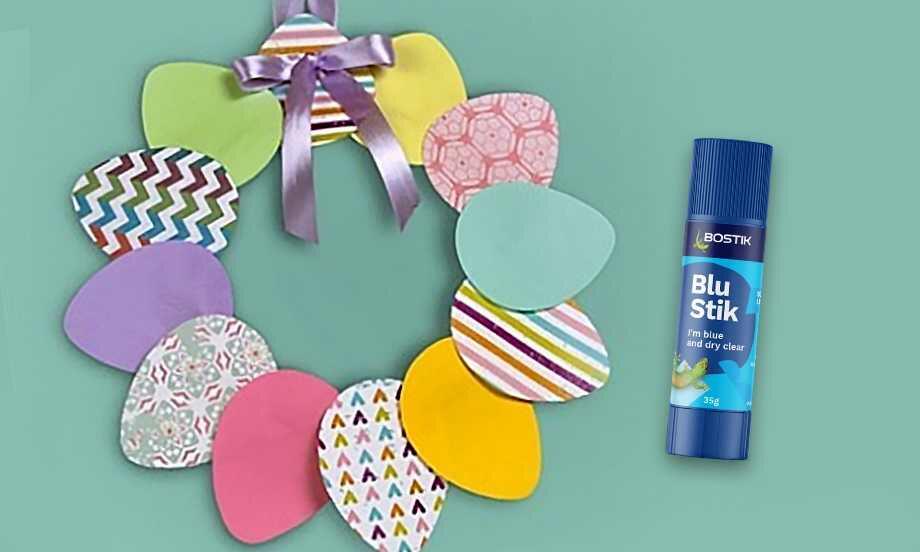
Easter Garland
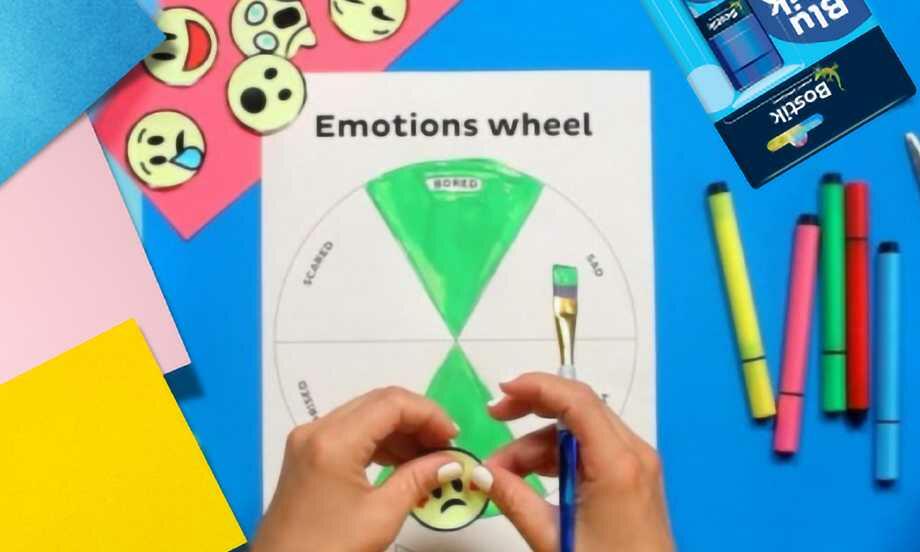
Emotions wheel

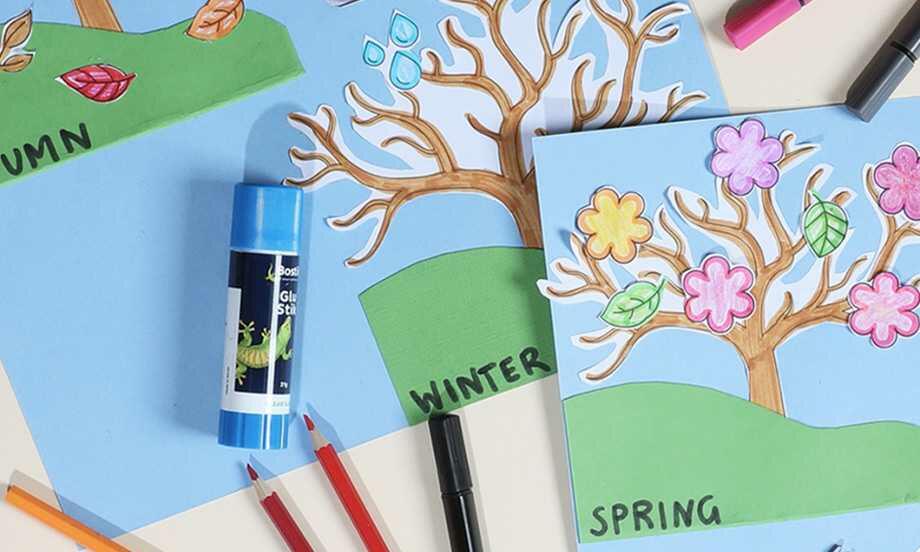
Family tree project
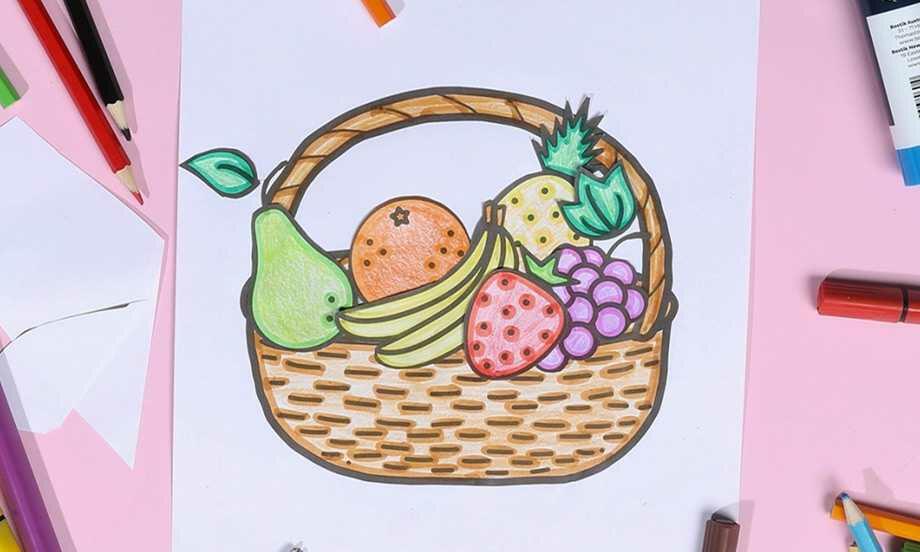
Fruit basket
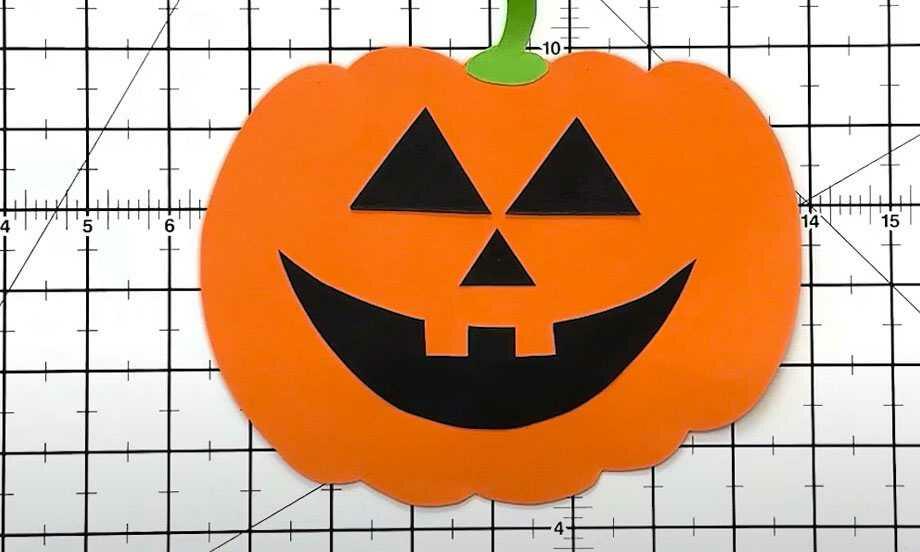
Halloween decoration pumpkin craft
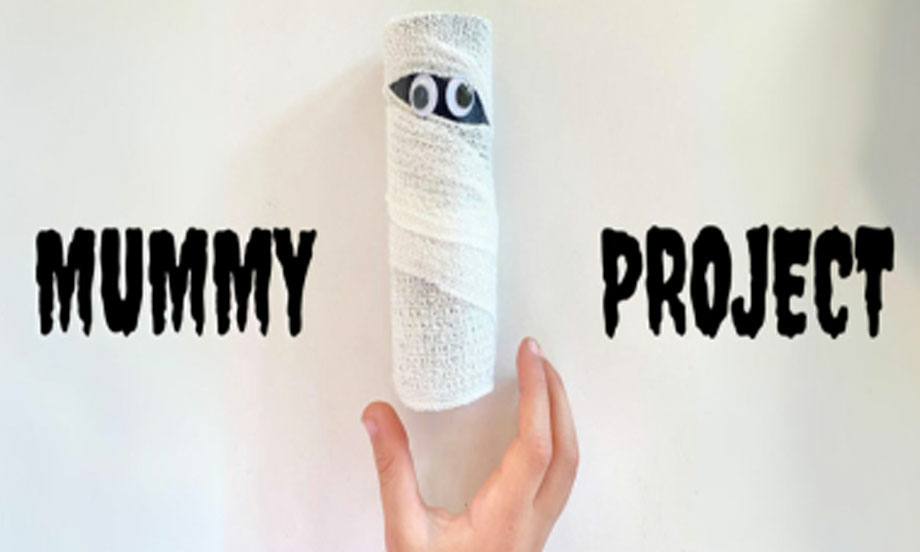
Halloween mummy
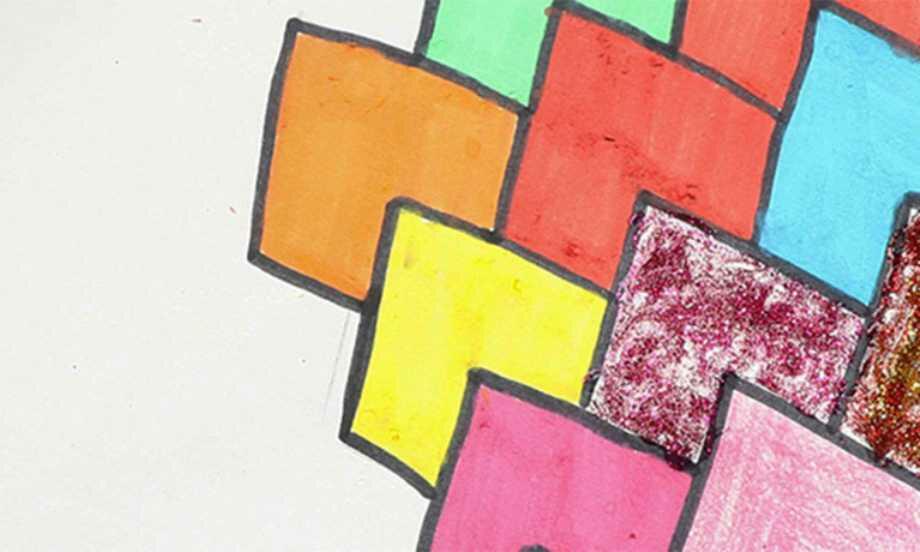
Heart tessellations
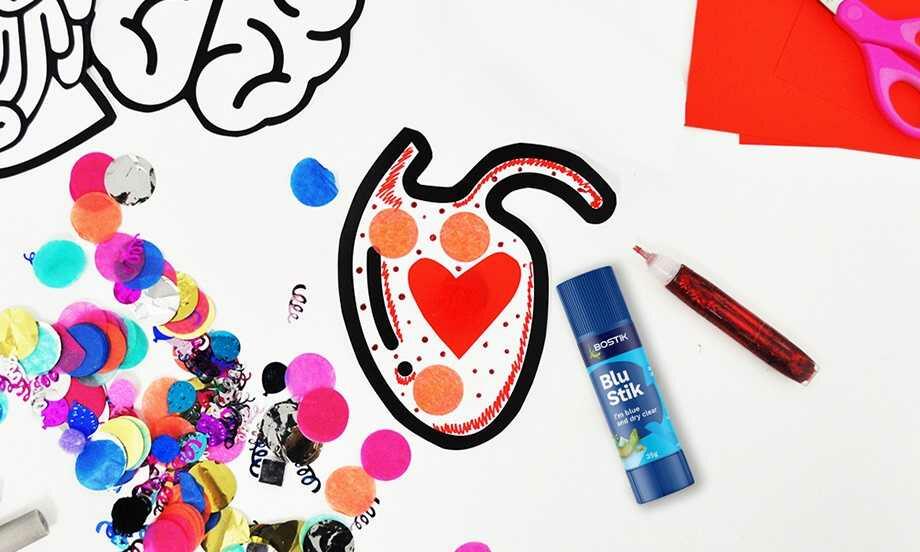
Human Body Project
Mechanical Gary Gecko
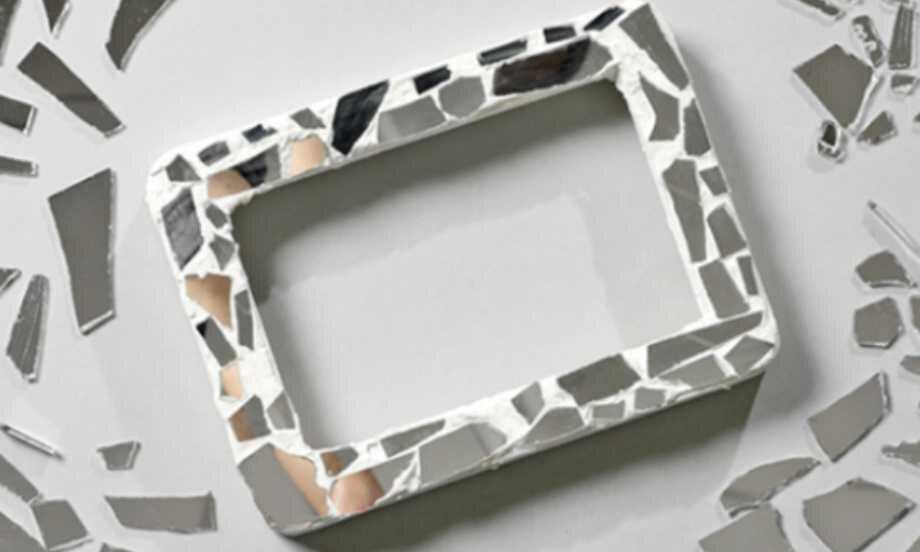
Mosaic mirror frame
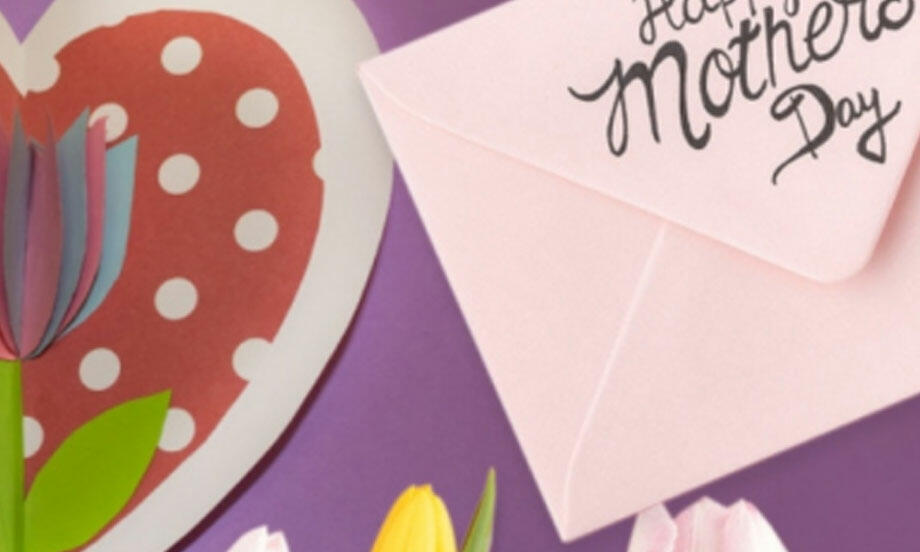
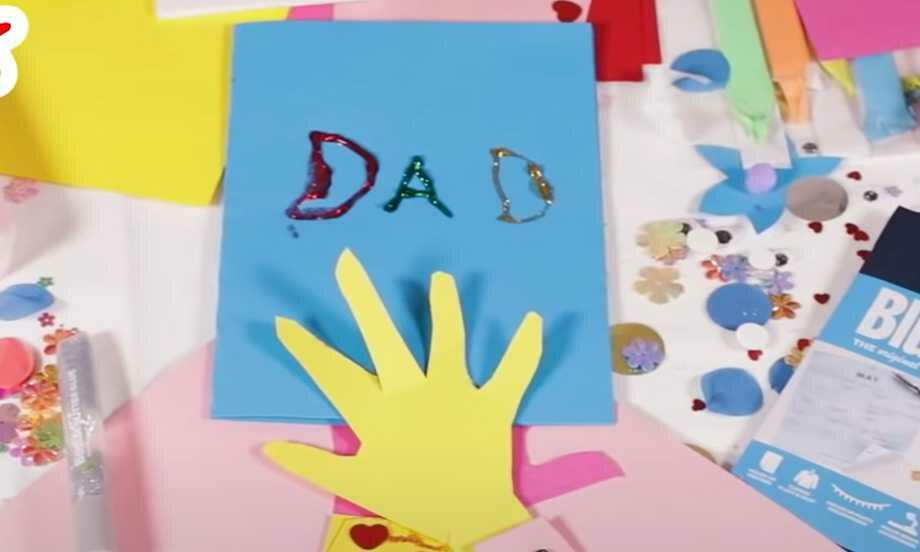
Mother's day card
My name is
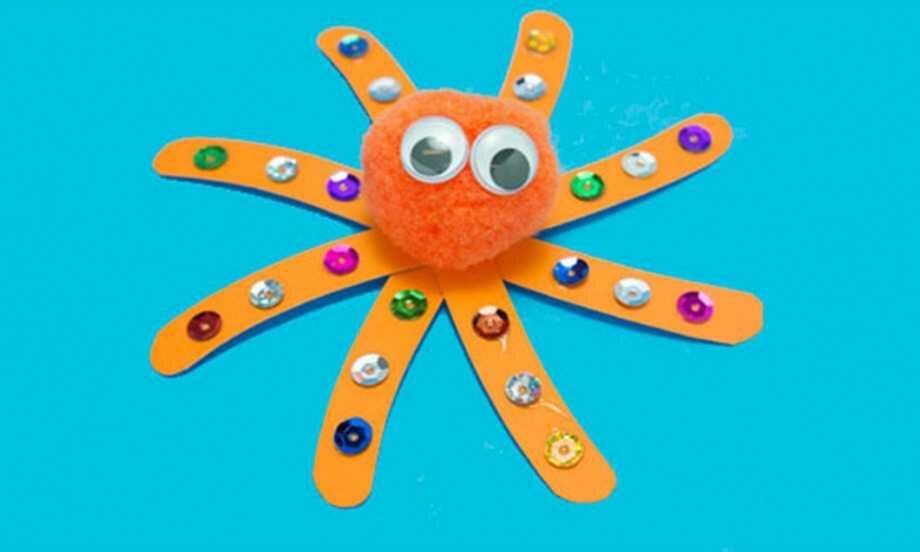
Octopus
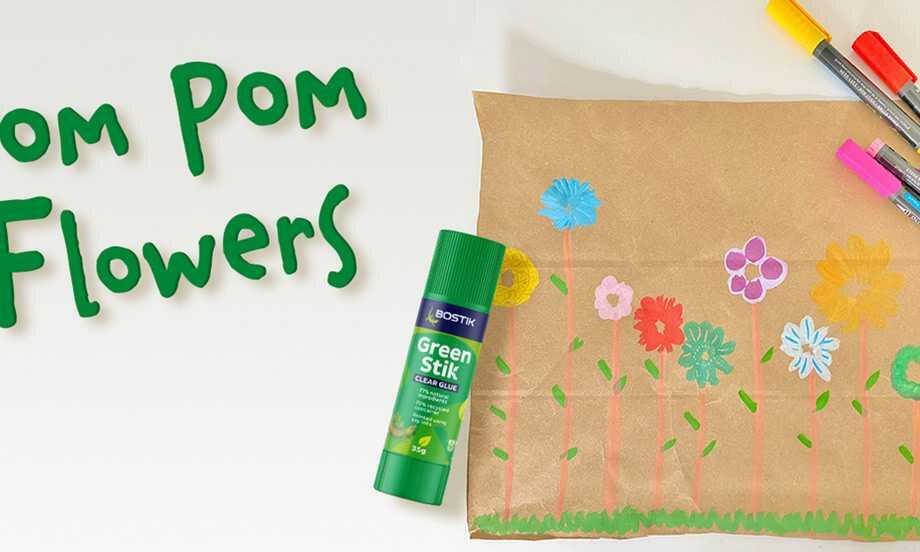
Pom Pom flowers
Round of applause card holder

Self esteem die
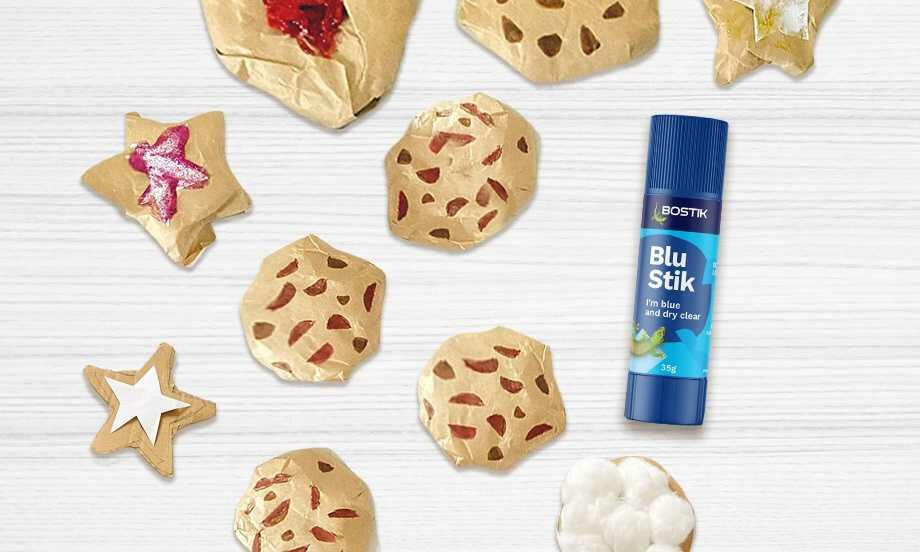
Smart cookie
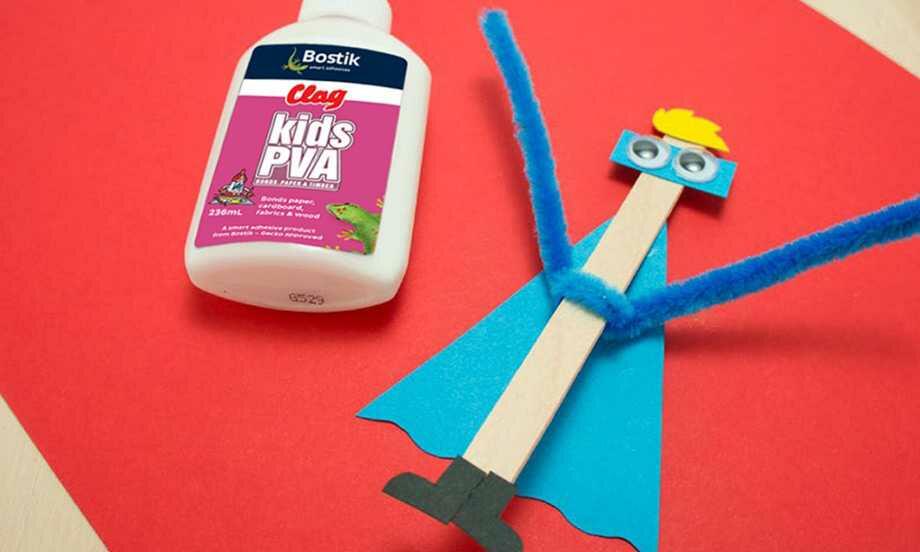
Superhero
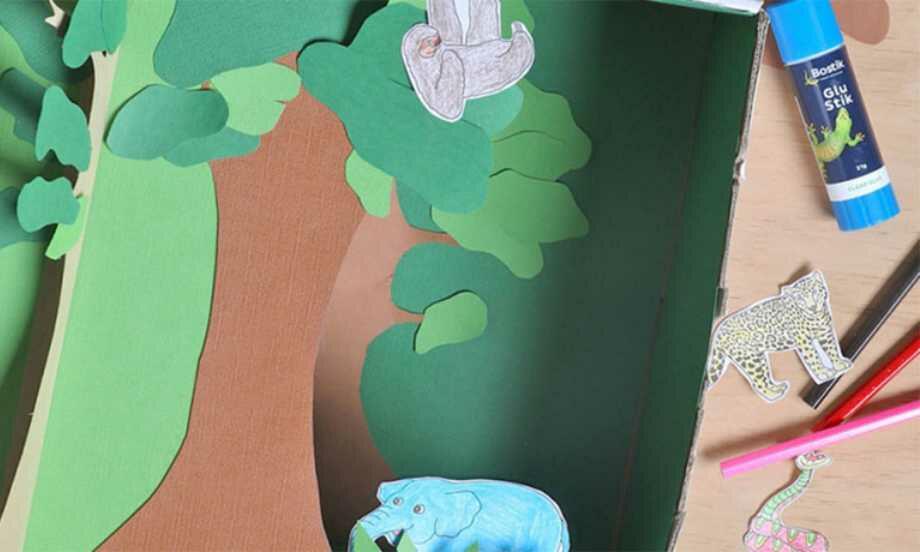
Tropical Rainforest Diorama