Bostik Hot Air Balloon
Take your creativity to new heights with this whimsical DIY Bostik Hot Air Balloon🎈 project! First, construct a foam basket and attach it with a pipe cleaner handle using Glu Tape and accents of Glitter Glue for festive flair. Next, papier-mâché a balloon with layers of pink tissue using Clag Paste, and let it dry into a dreamy globe. Add flair by gluing on template flags with Blu Stik, then affix the basket securely to the balloon for your magical masterpiece. Perfect as a delicate décor piece or centerpiece, this floating craft adds color and charm to any room or party. A creative blend of crafting and decoration that brings imaginative flight to your table, elevating your décor game one balloon at a time!

Instructions
Animal Games
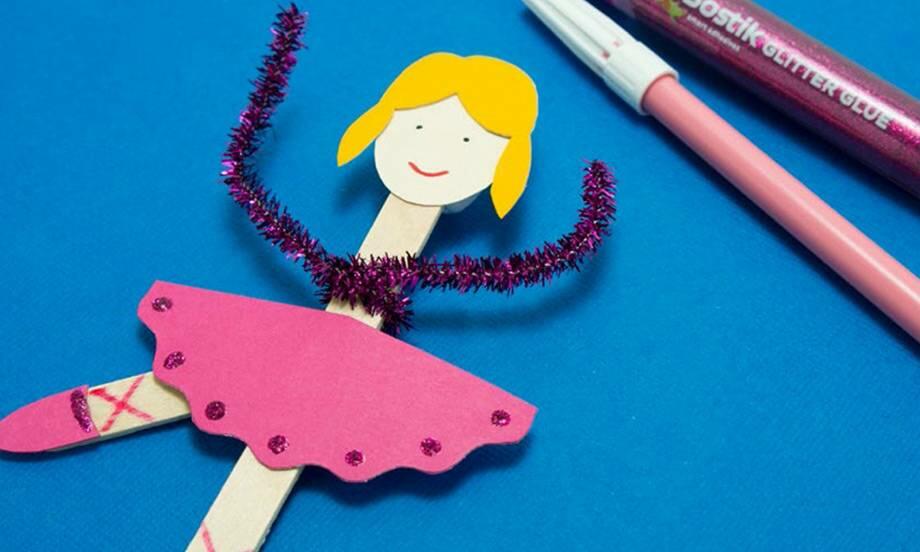
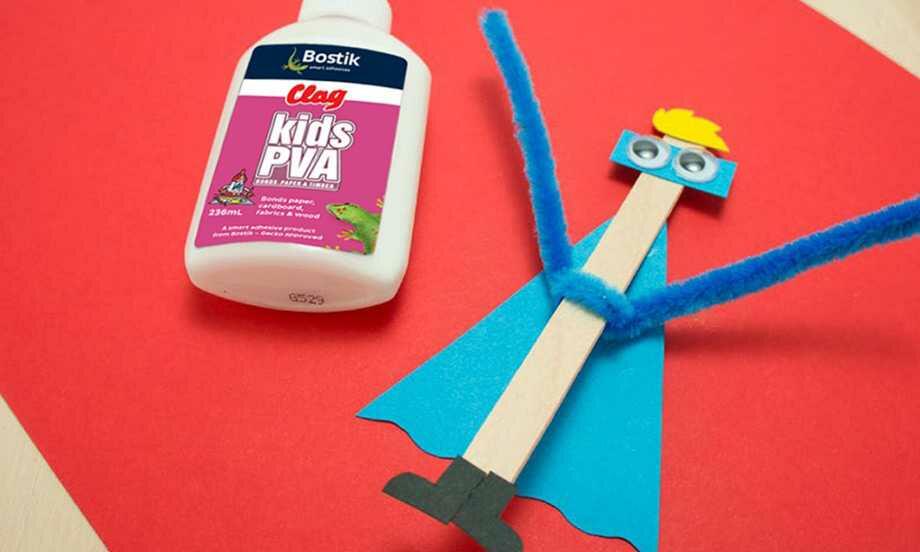
Ballerina
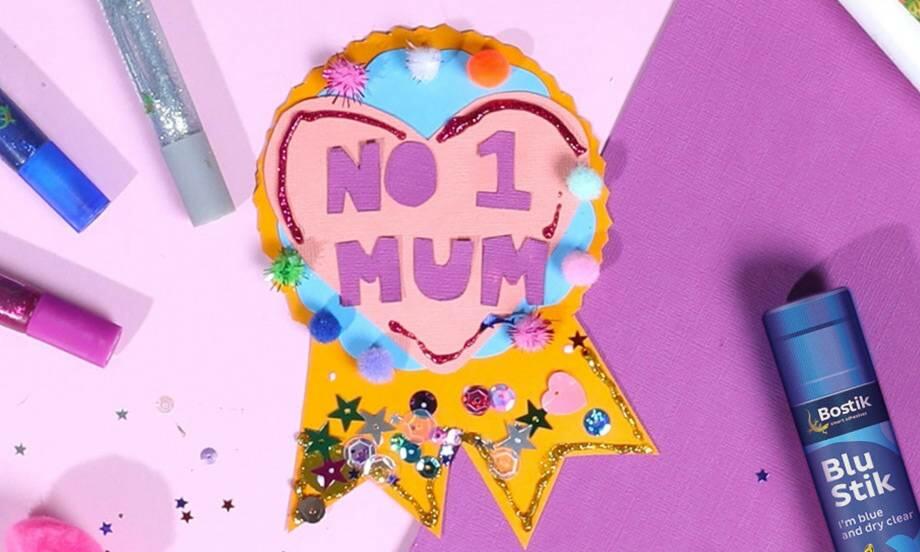
Best Mum Ribbon
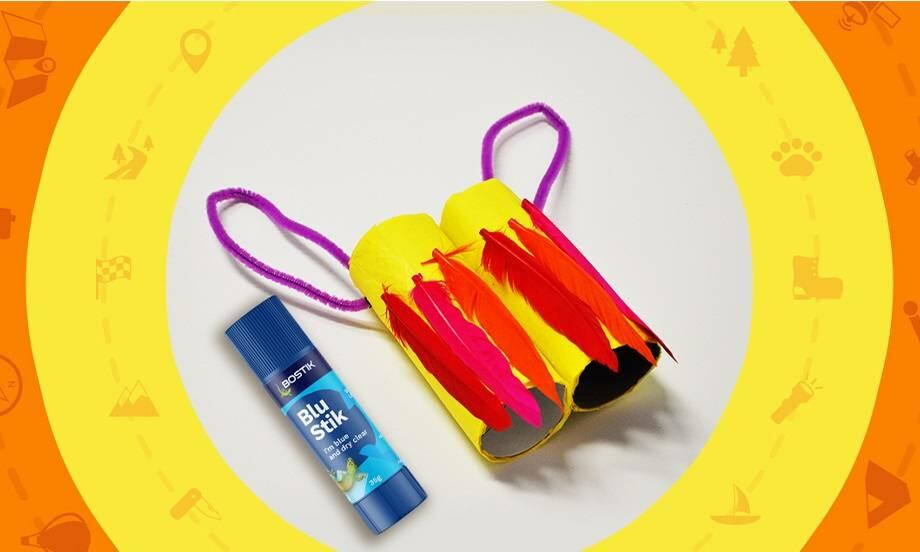
Binoculars
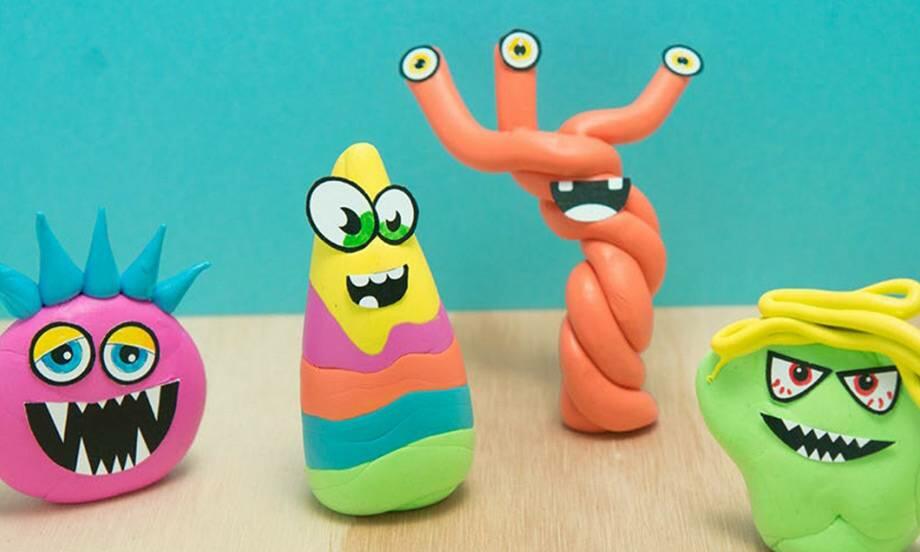
Blu Tack® Monsters
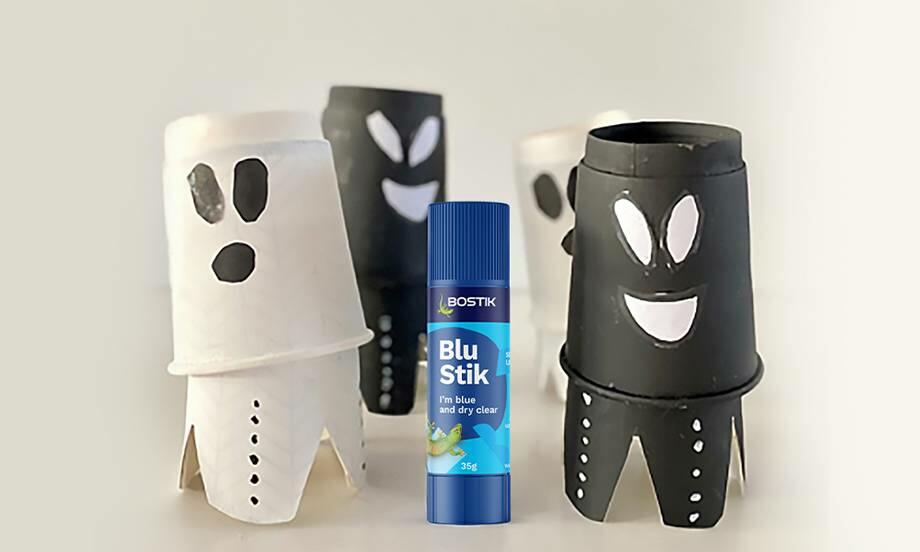
Bobbing ghosts
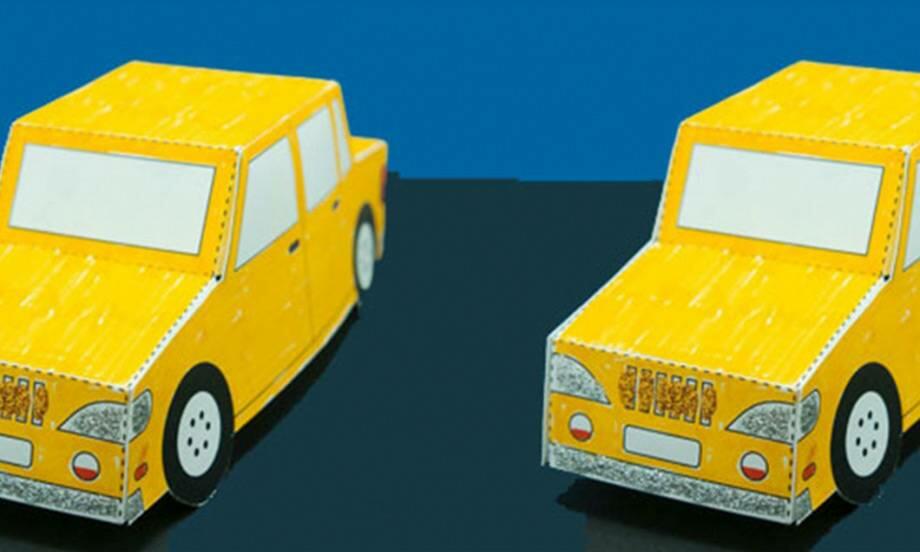
Bostik car
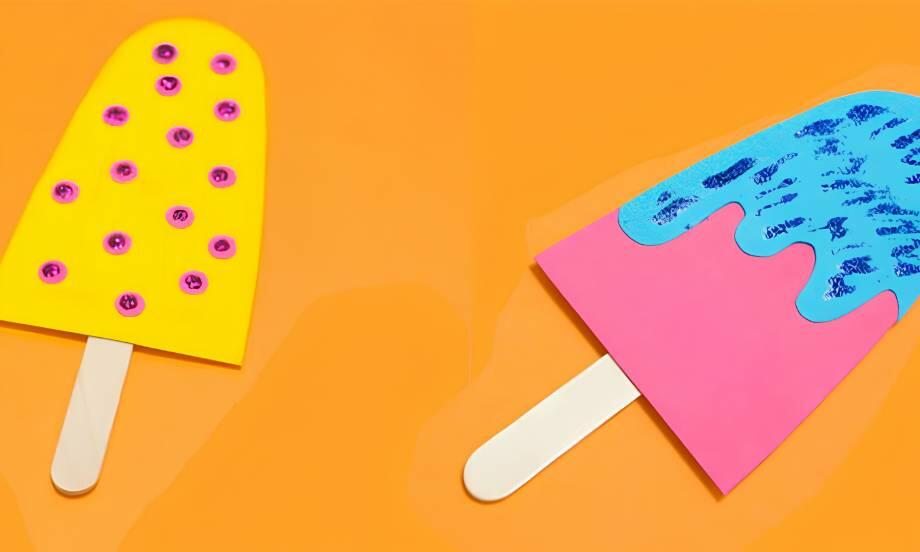
Bostik icy pole
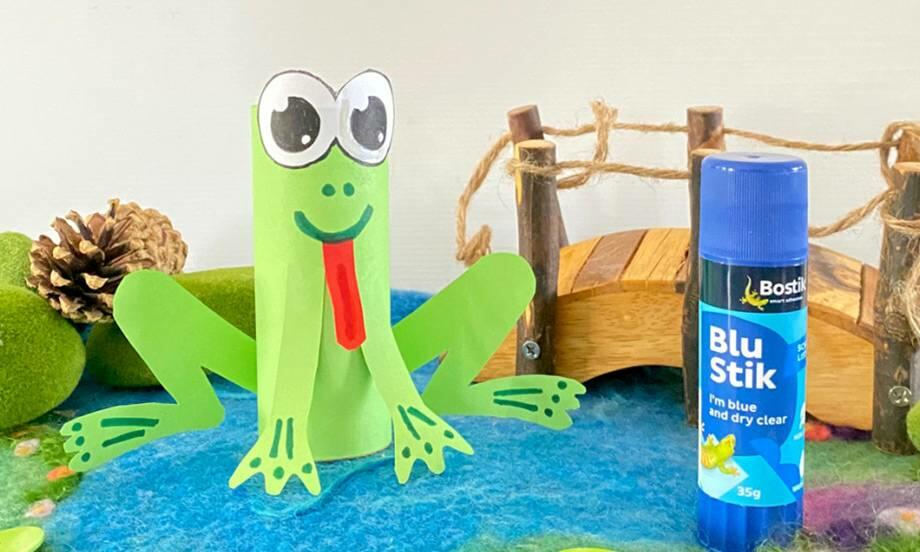
Cardboard Frog
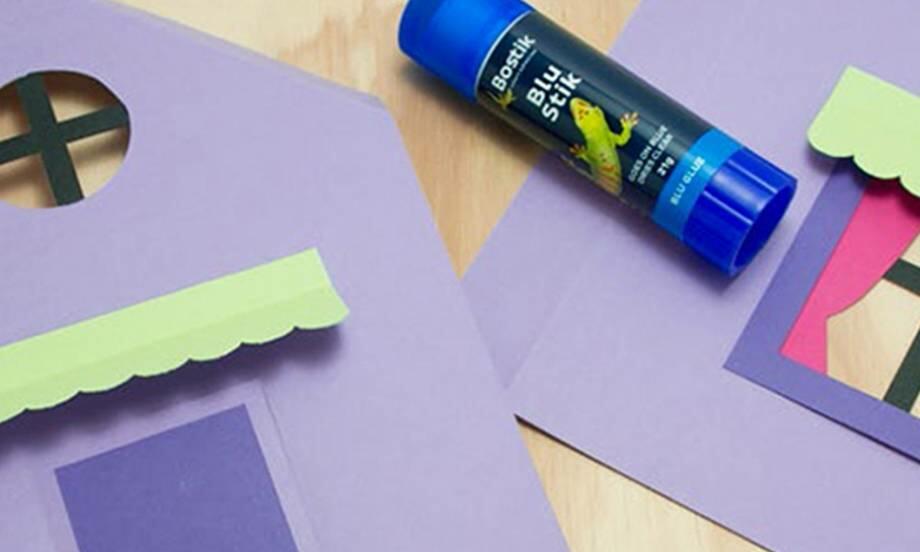
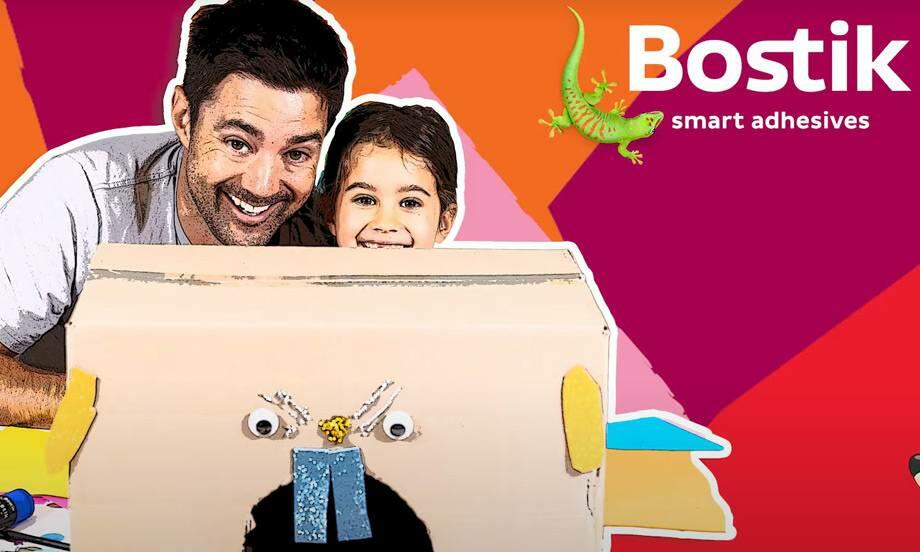
Cardboard House
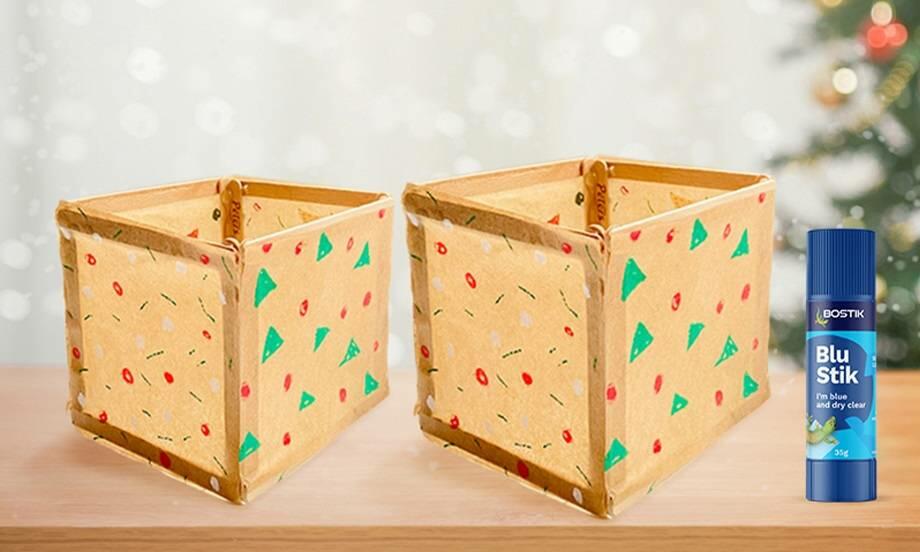
Christmas lanterns
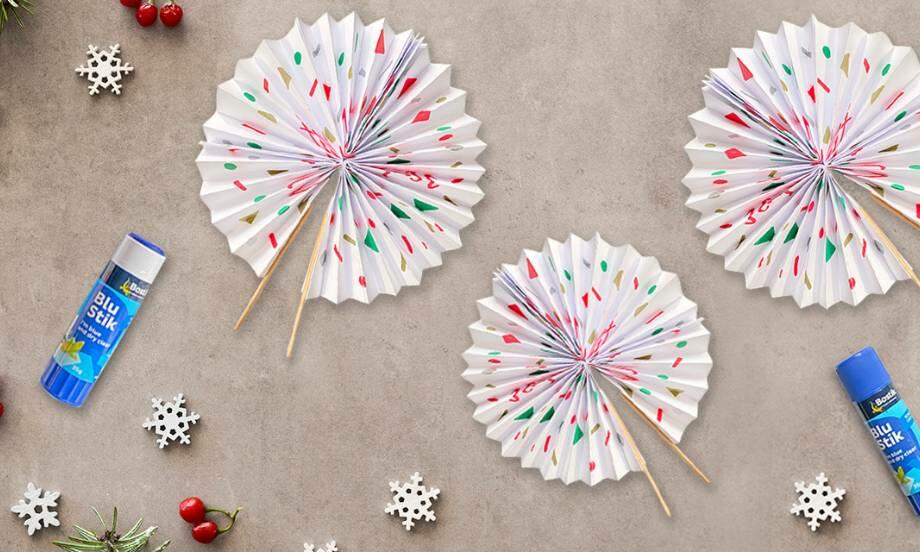
Christmas party fan
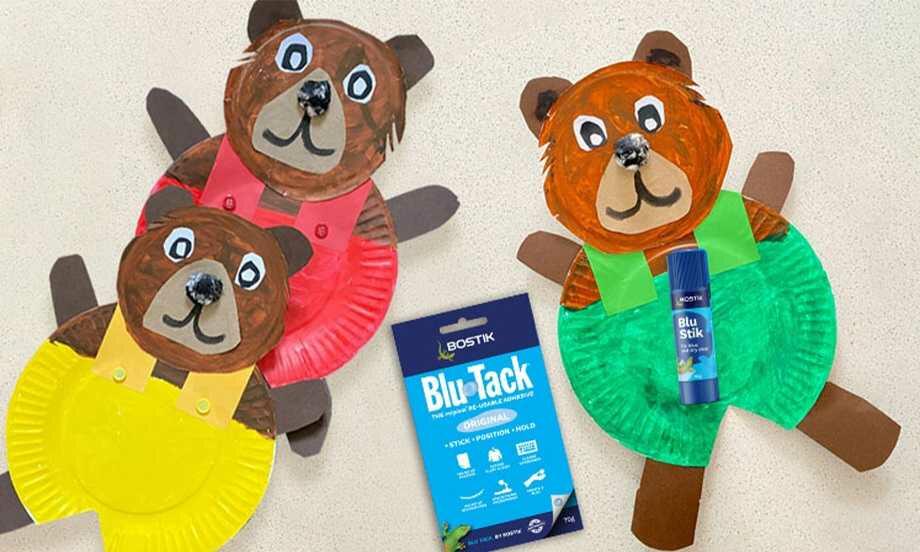
Corduroy the bear
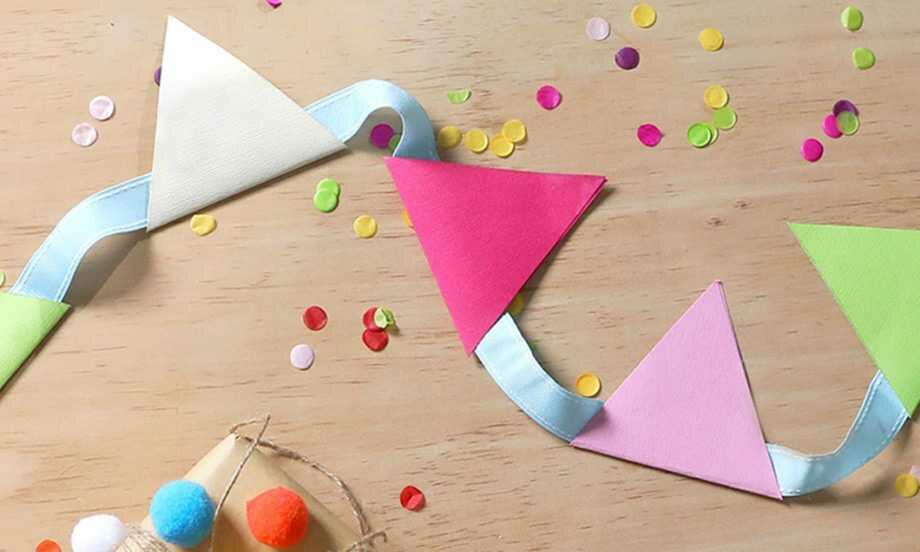
DIY bunting
DIY solar oven

DIY Stationery Holder

Easter cup bunnies
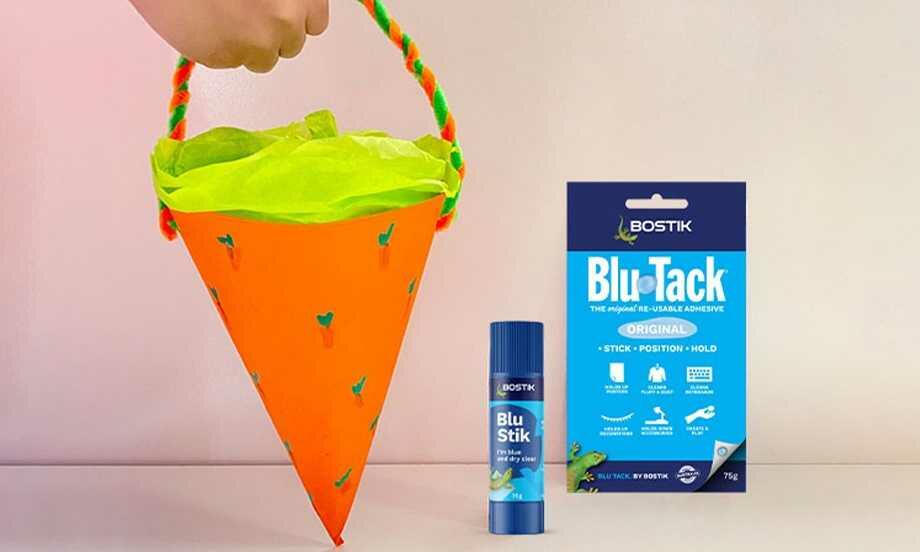
Easter Egg Basket
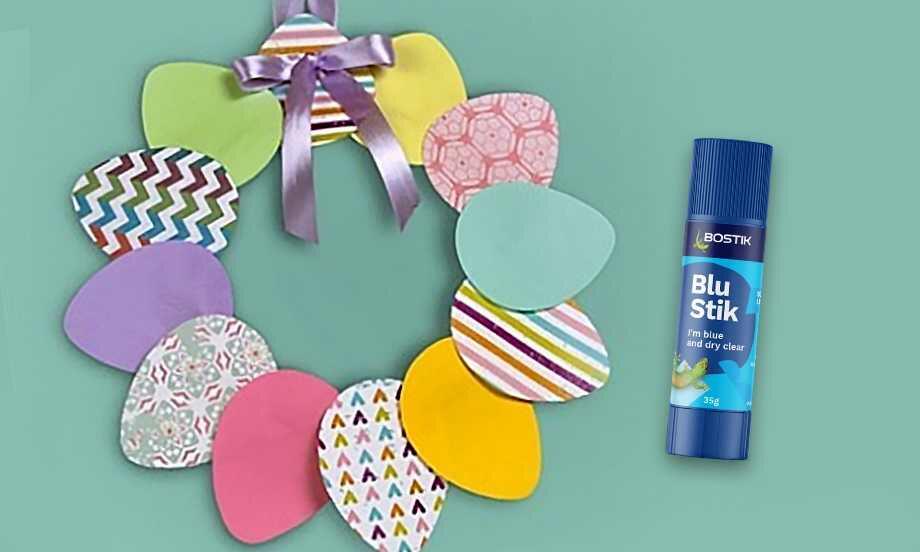
Easter Garland
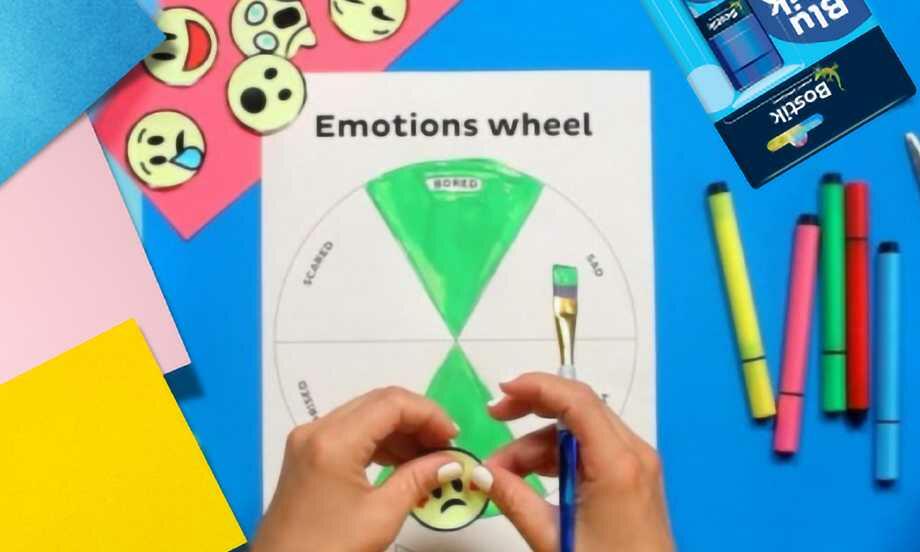
Emotions wheel

Family tree project
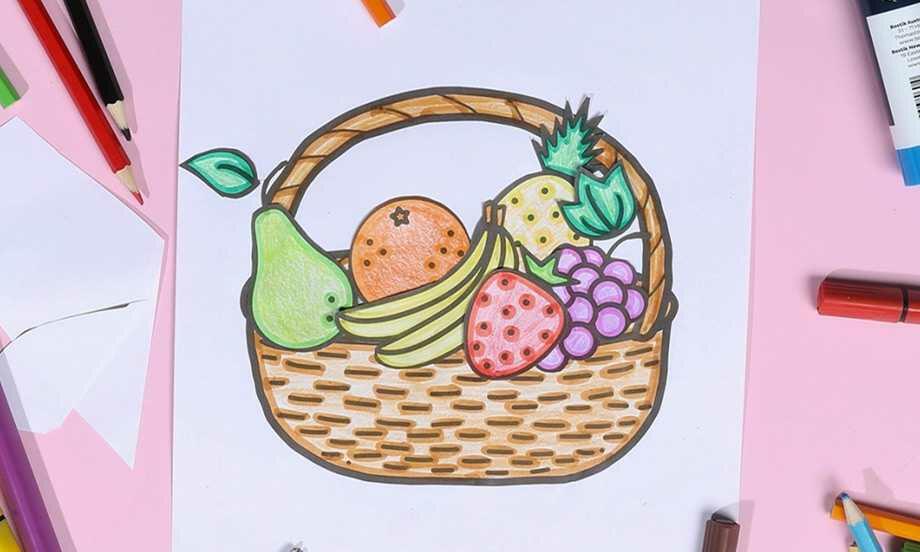
Fruit basket
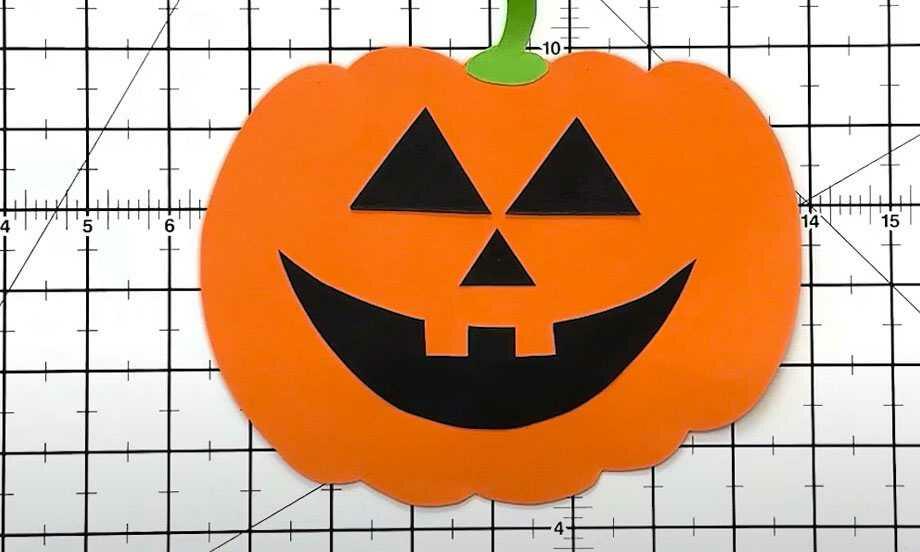
Halloween decoration pumpkin craft
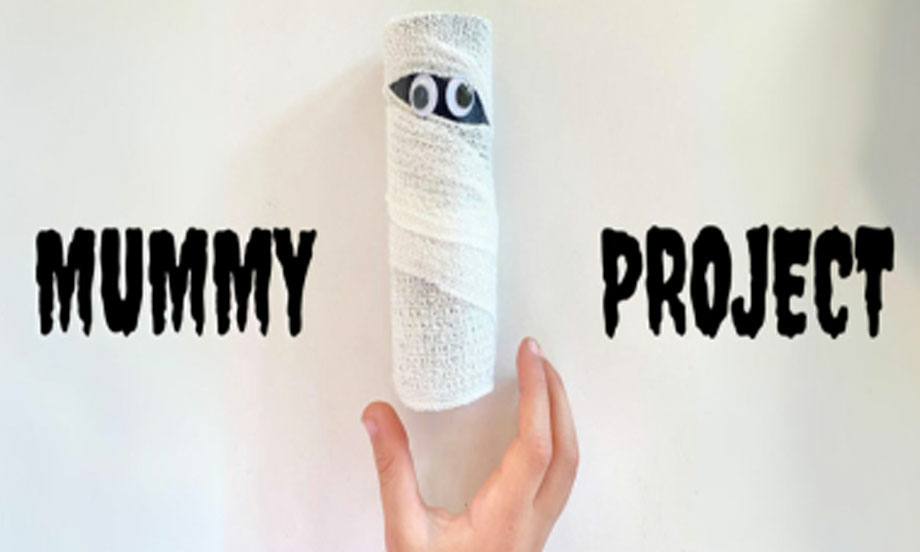
Halloween mummy
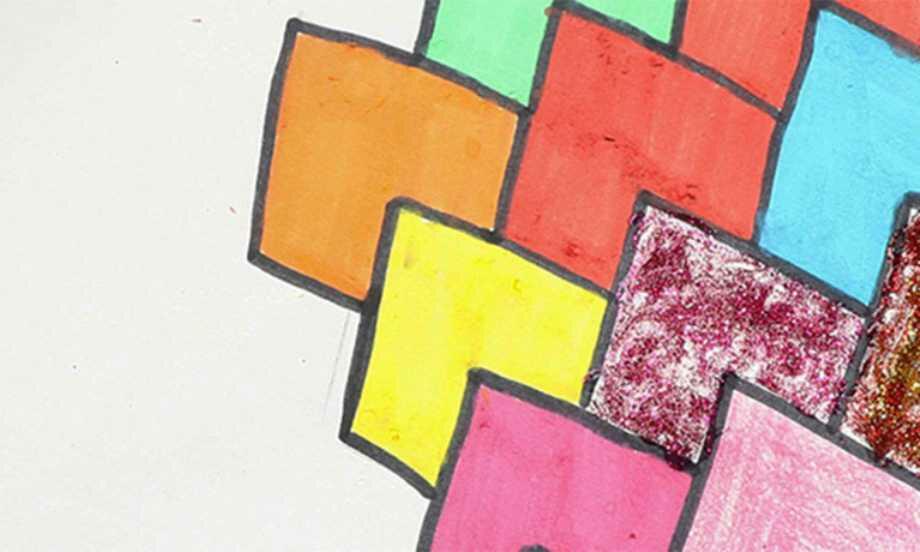
Heart tessellations
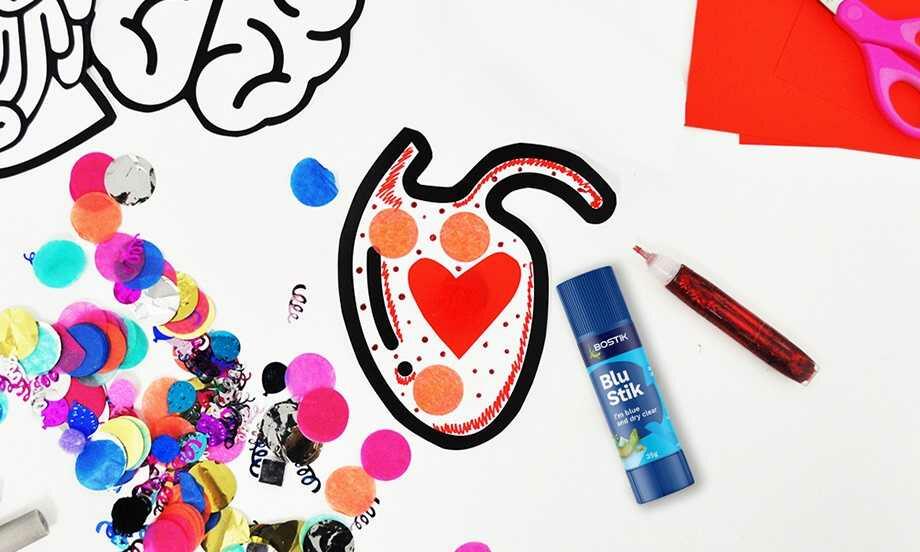
Human Body Project
Mechanical Gary Gecko
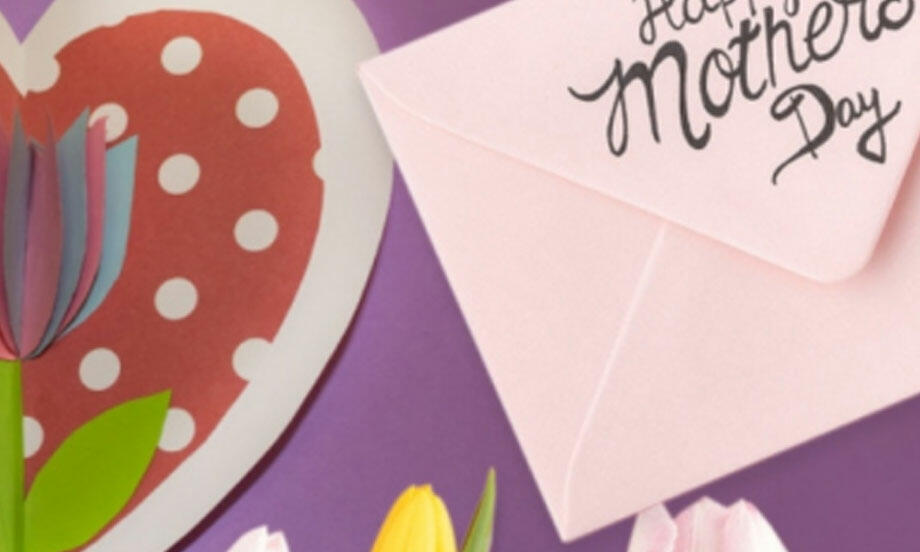
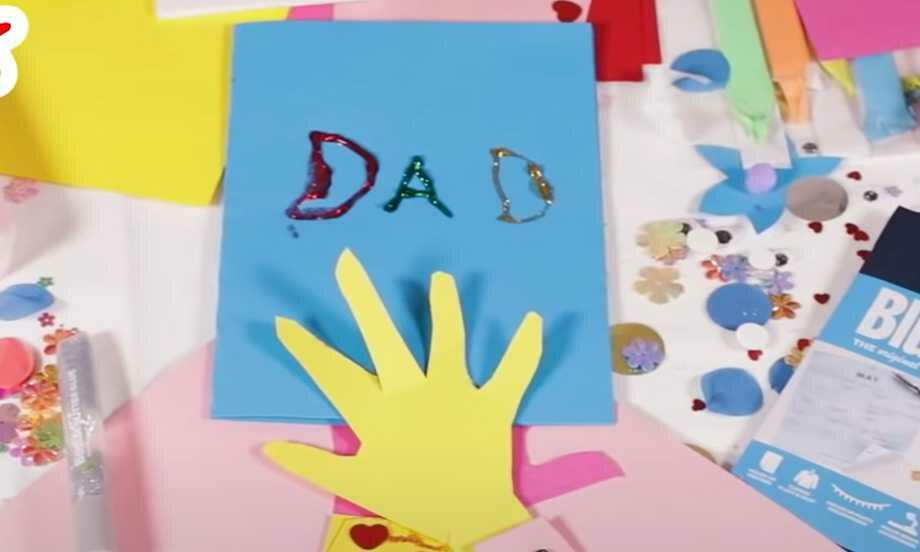
Mother's day card
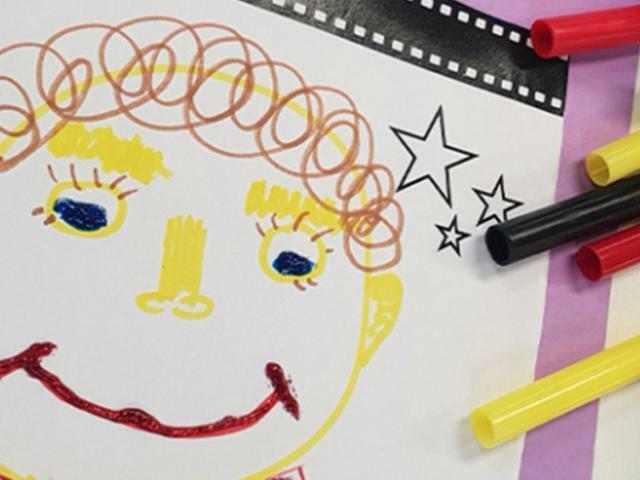
My name is
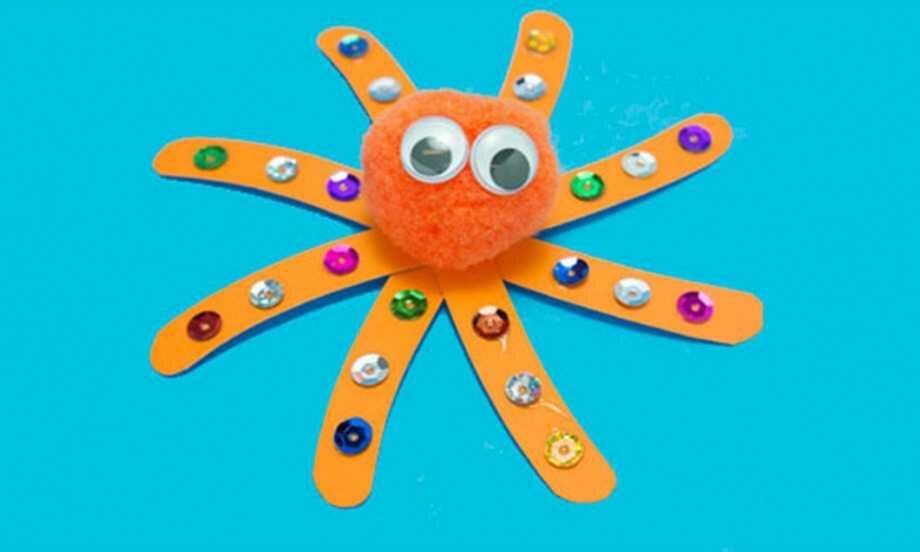
Octopus
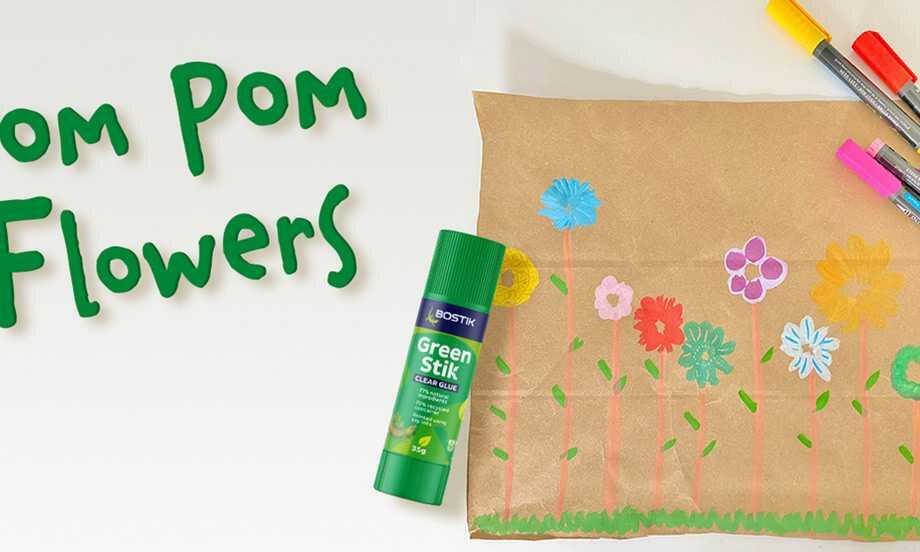
Pom Pom flowers
Round of applause card holder

Self esteem die
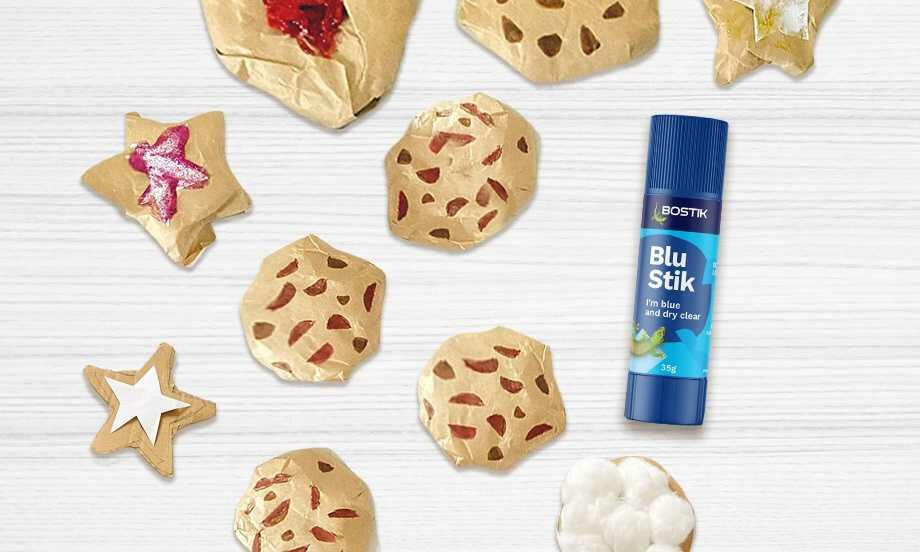
Smart cookie
Superhero
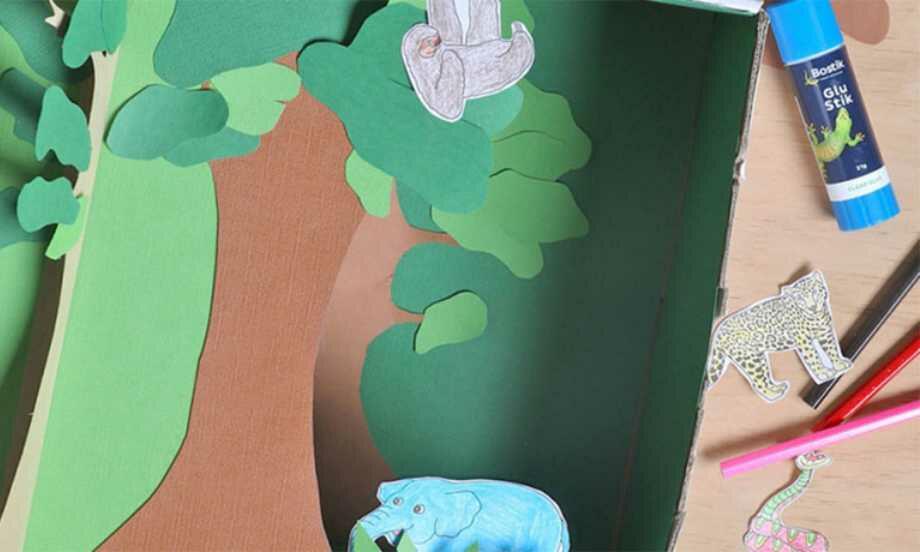
Tropical Rainforest Diorama