Halloween decoration pumpkin craft
Bring a dash of spooky fun 🎃 to your Halloween décor with this simple DIY paper pumpkin craft. Using orange and black paper, scissors ✂️, and Bostik Blu Stik, kids can trace, cut, and glue their very own jack-o’-lantern with a big smile. Add a green paper stem 🌿 to complete the look, then display your pumpkin on a wall, window, or desk to spread festive cheer. This craft is quick, budget-friendly, and perfect for families looking to enjoy some creative Halloween fun together. ✨

Instructions
Animal Games
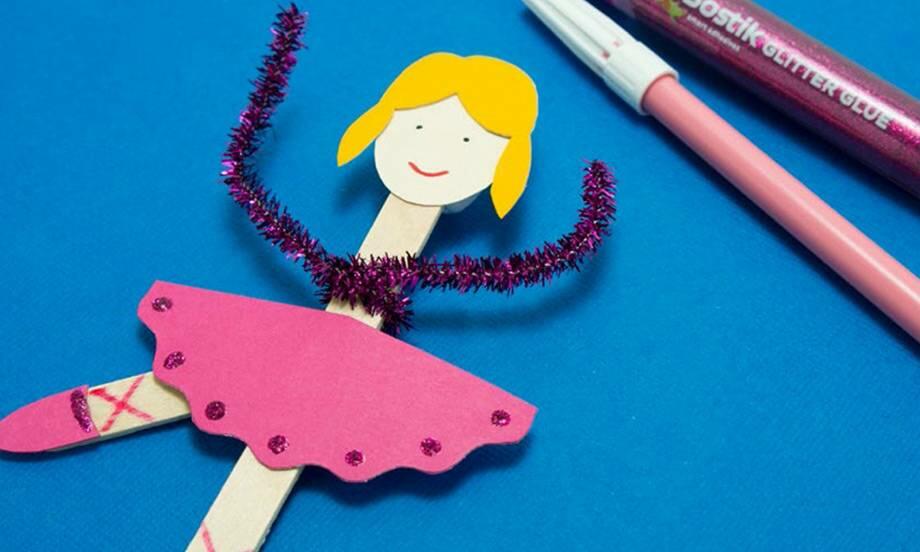
Ballerina
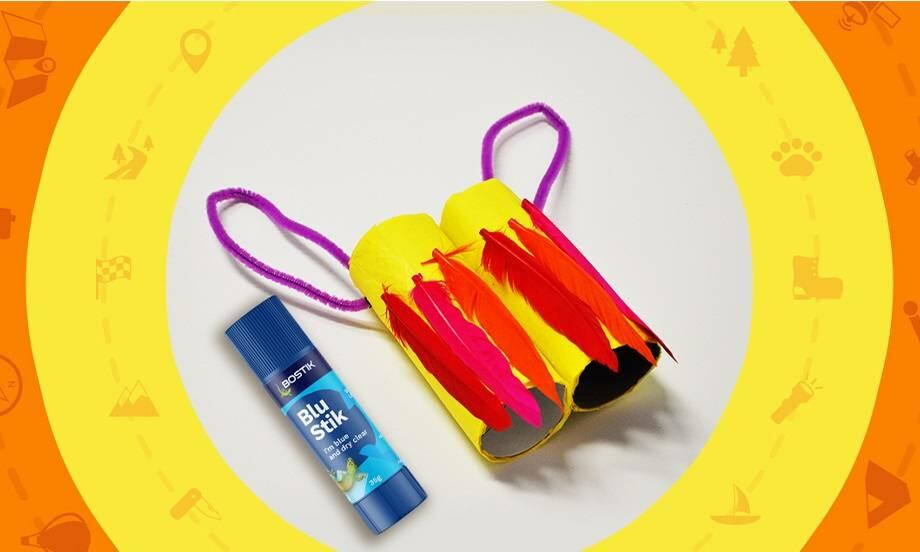
Binoculars
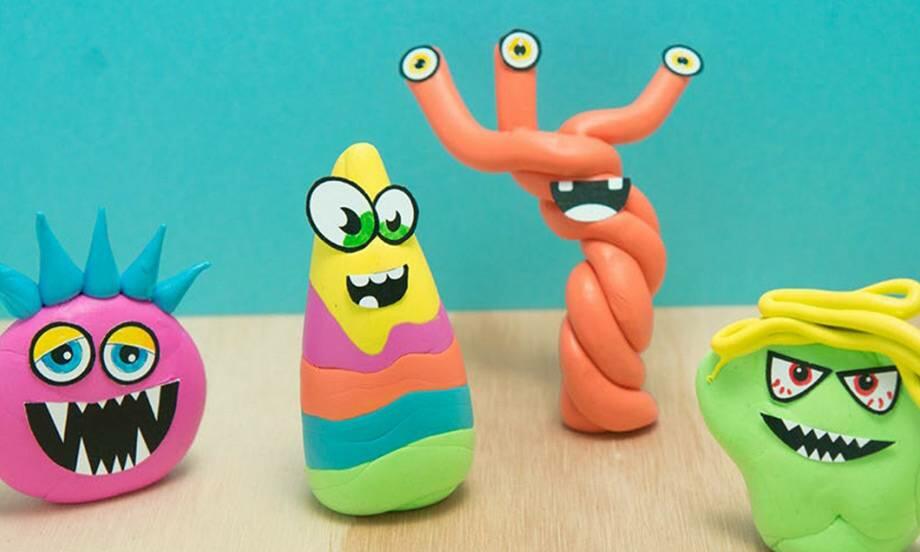
Blu Tack® Monsters
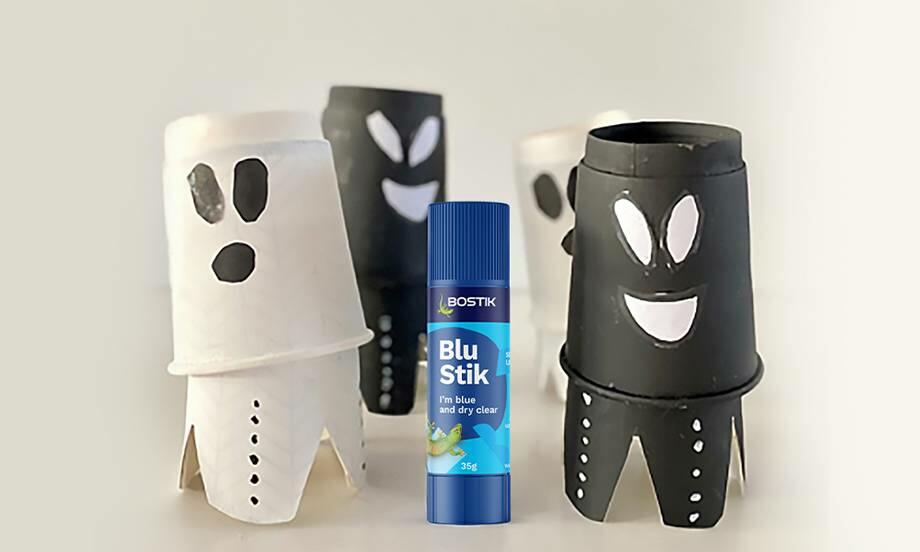
Bobbing ghosts
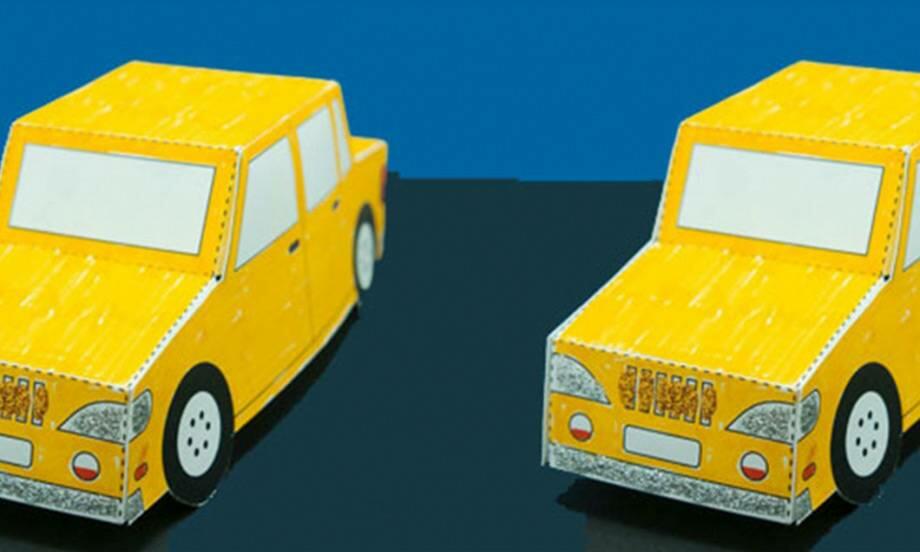
Bostik car
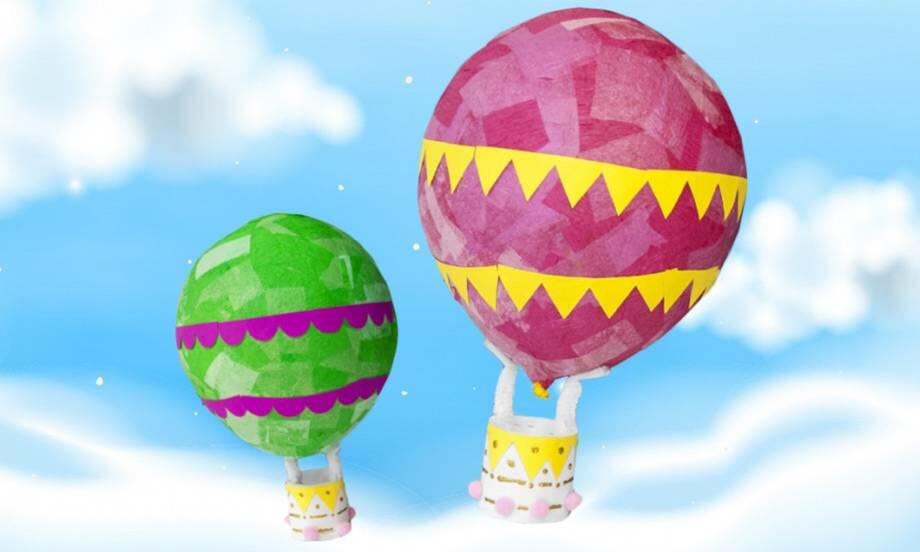
Bostik Hot Air Balloon
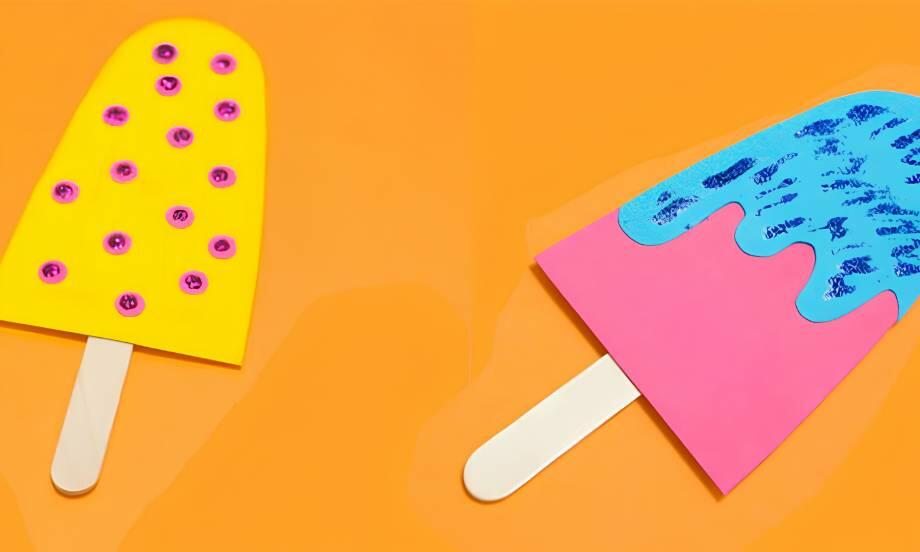
Bostik icy pole
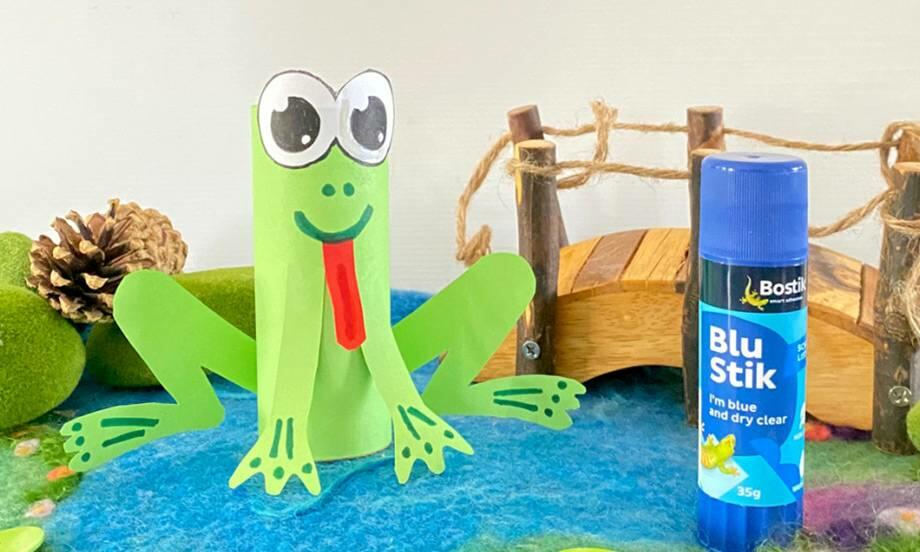
Cardboard Frog
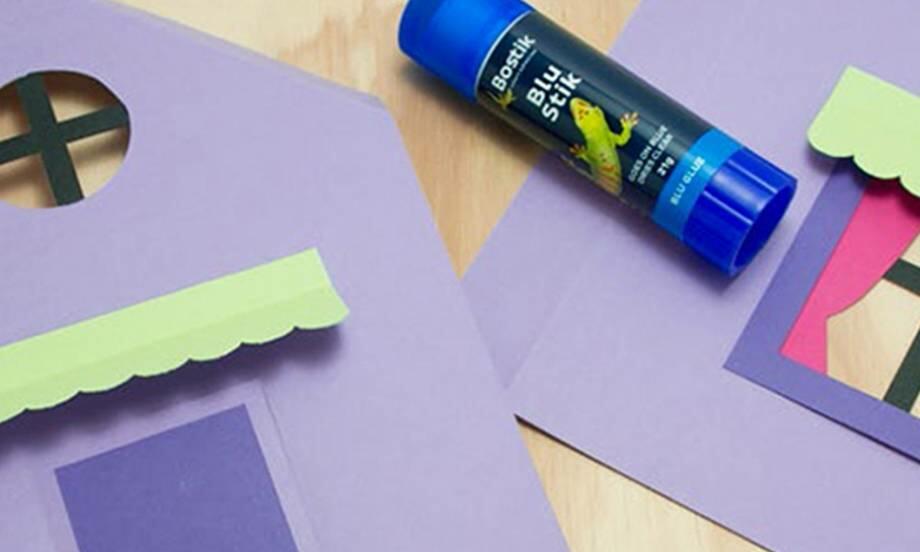
Cardboard House
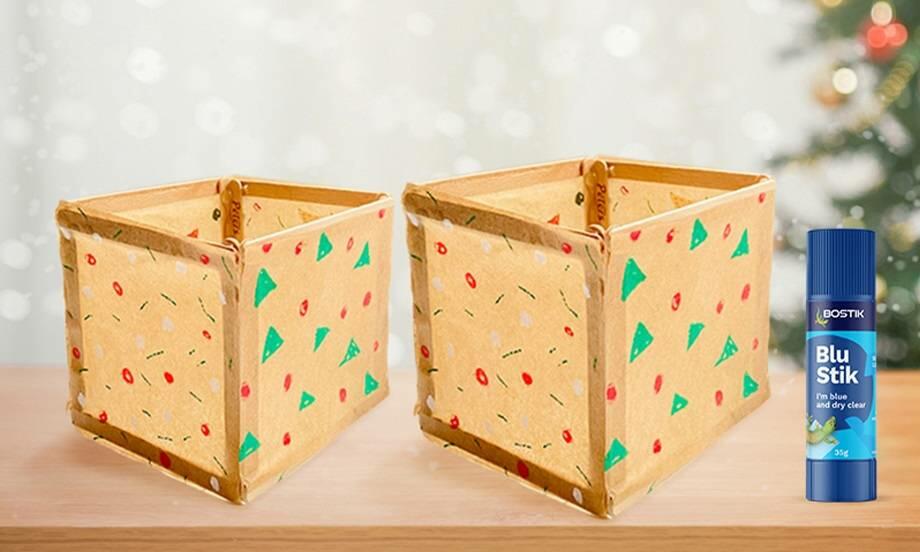
Christmas lanterns
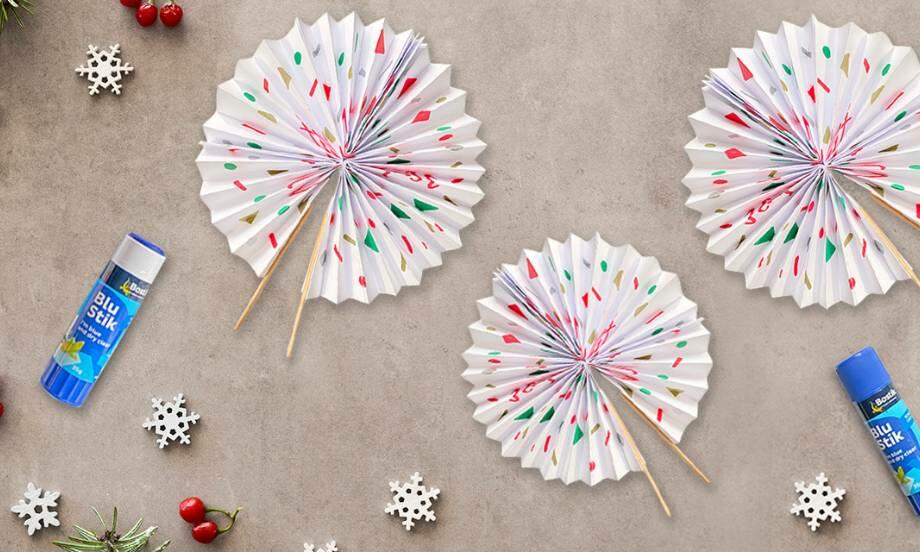
Christmas party fan
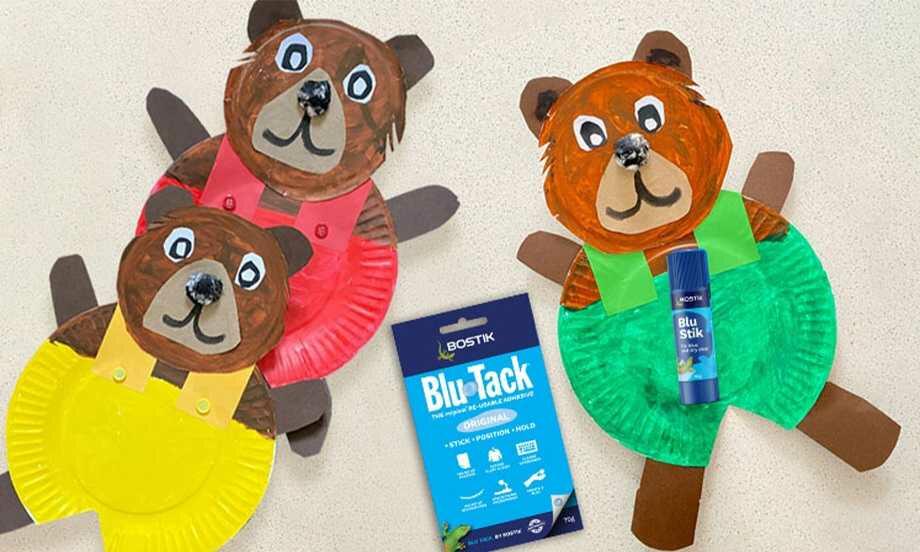
Corduroy the bear
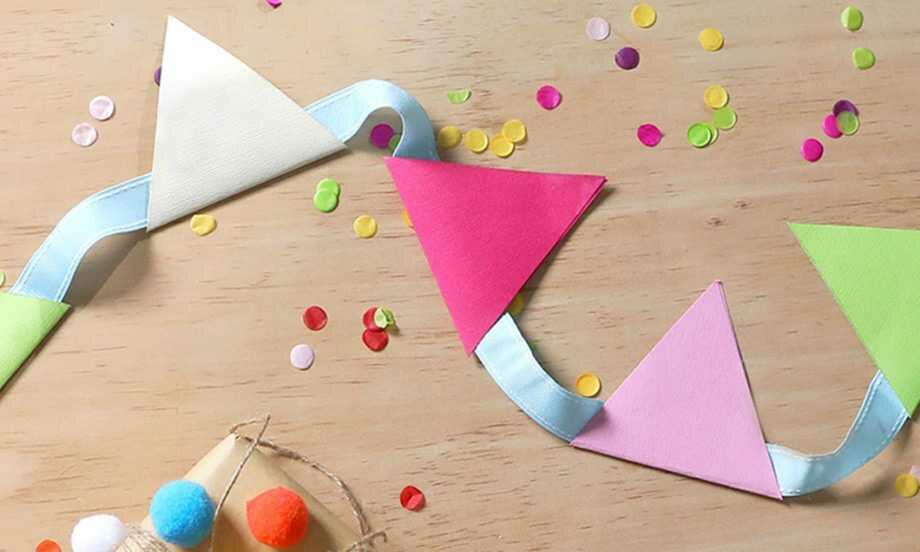
DIY bunting
DIY solar oven

DIY Stationery Holder

Easter cup bunnies
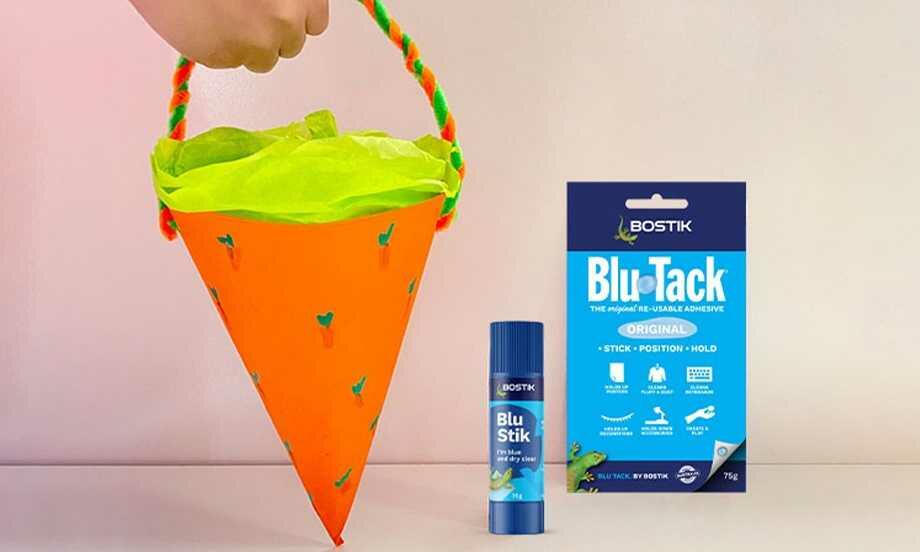
Easter Egg Basket
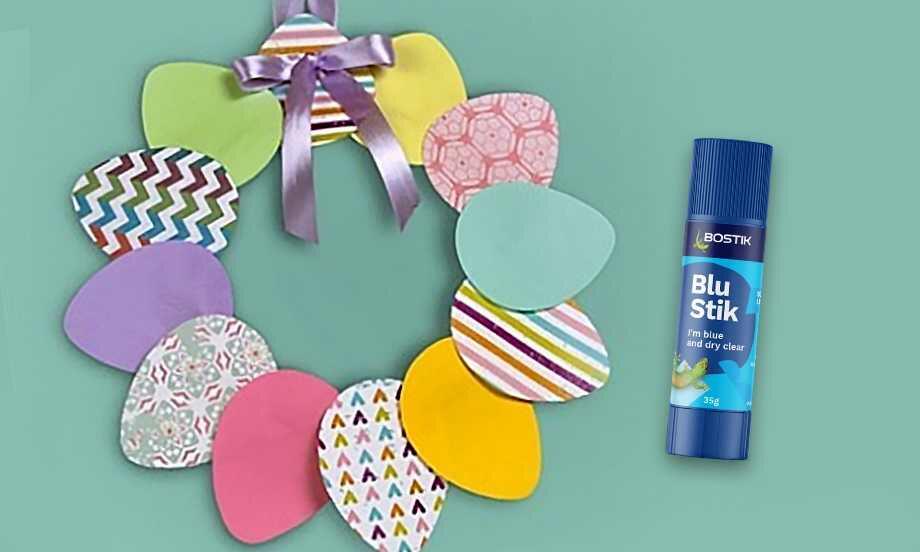
Easter Garland

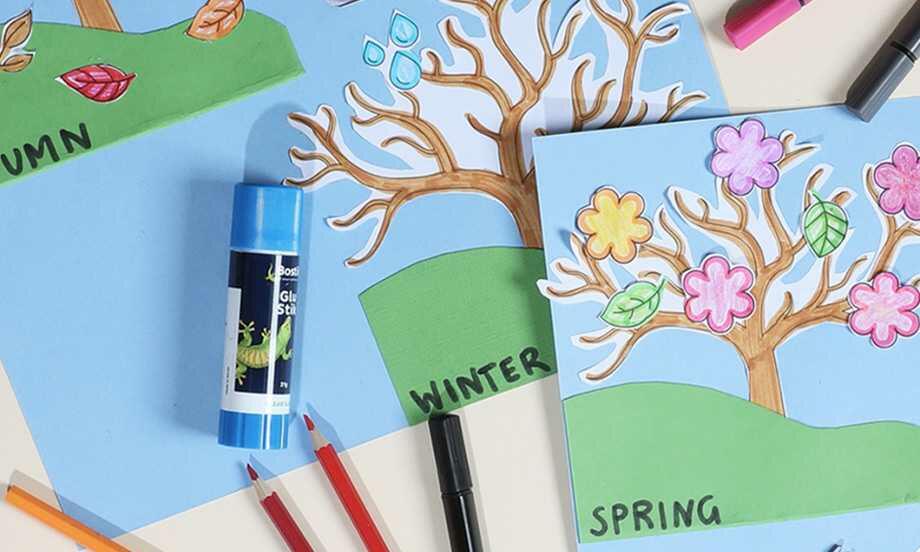
Family tree project
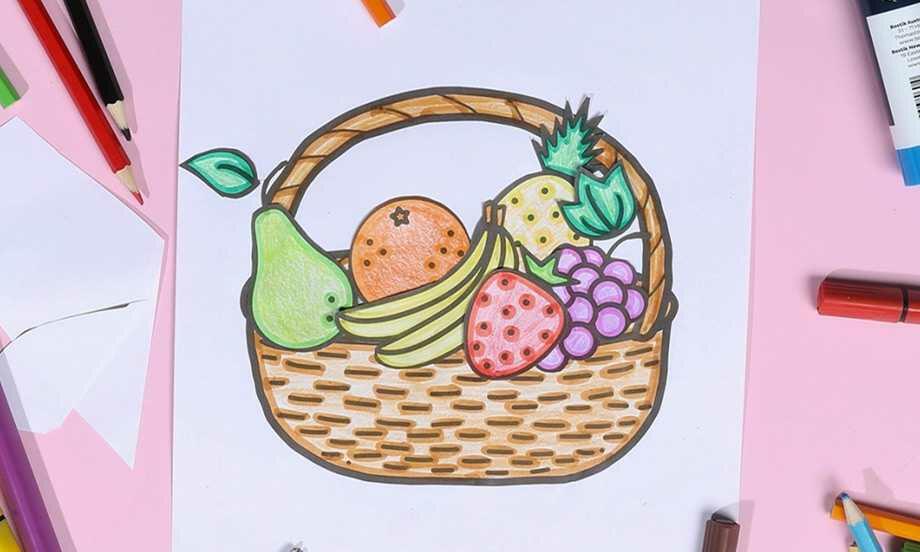
Fruit basket
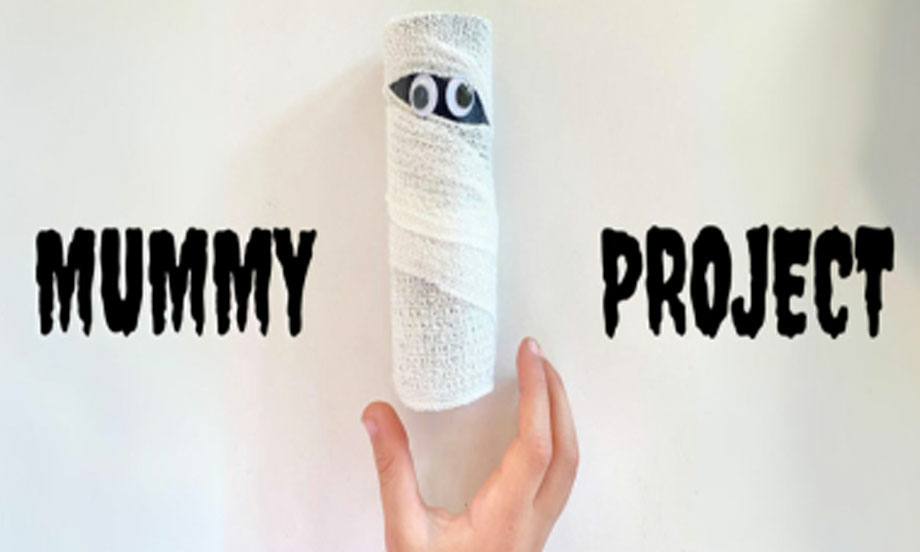
Halloween mummy
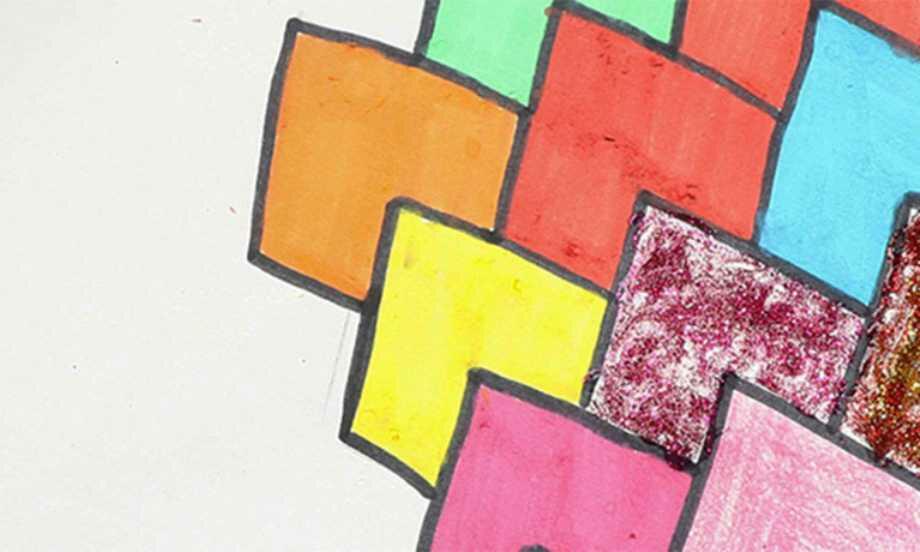
Heart tessellations
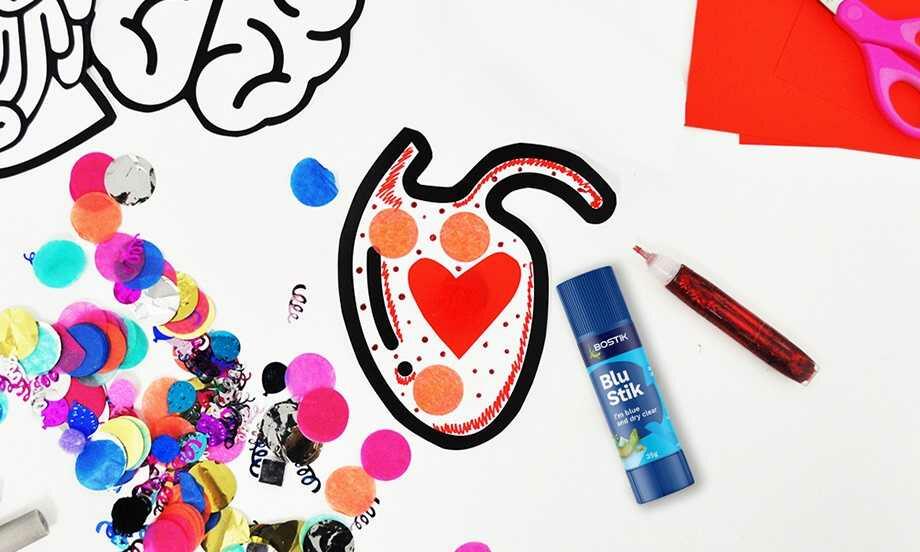
Human Body Project
Mechanical Gary Gecko
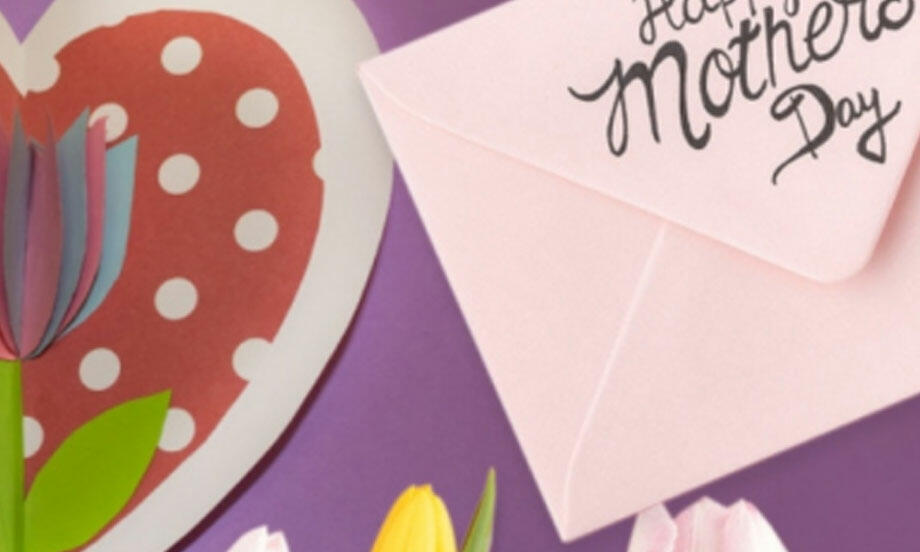
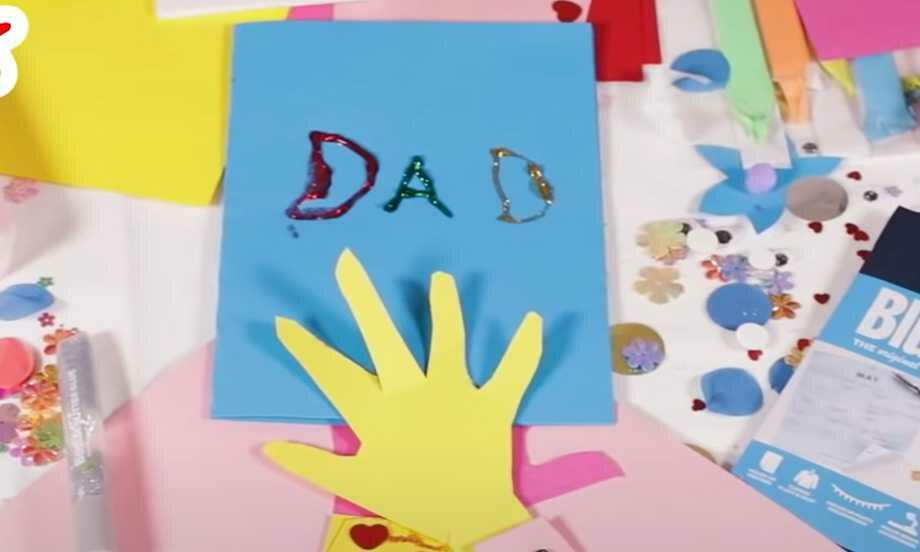
Mother's day card
My name is
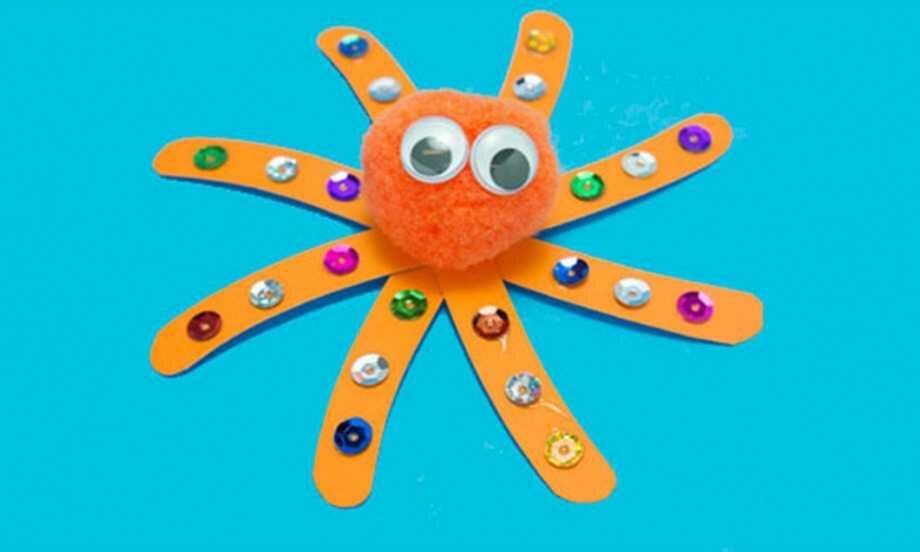
Octopus
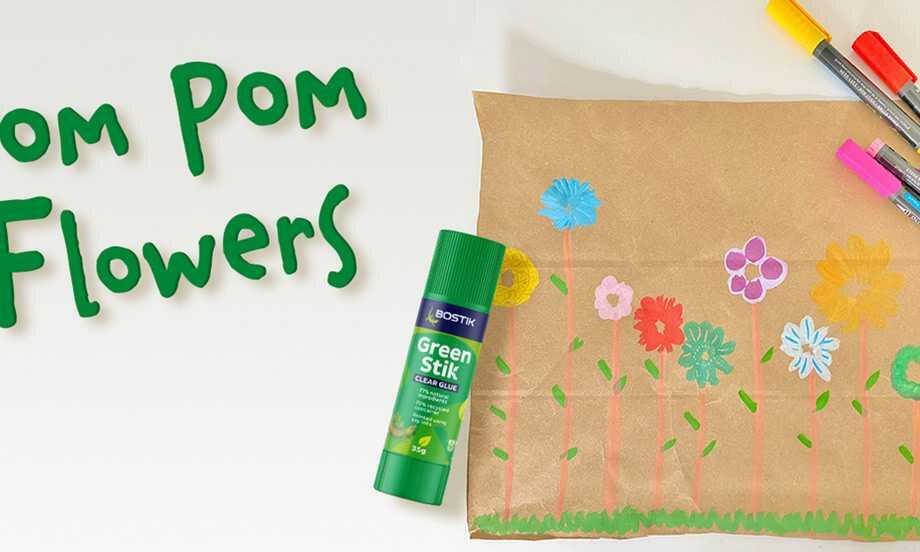
Pom Pom flowers
Round of applause card holder

Self esteem die
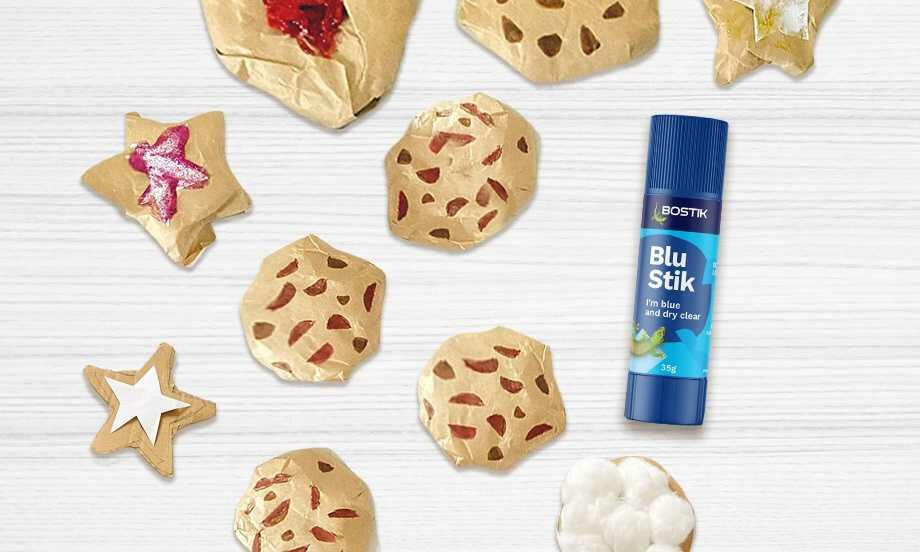
Smart cookie
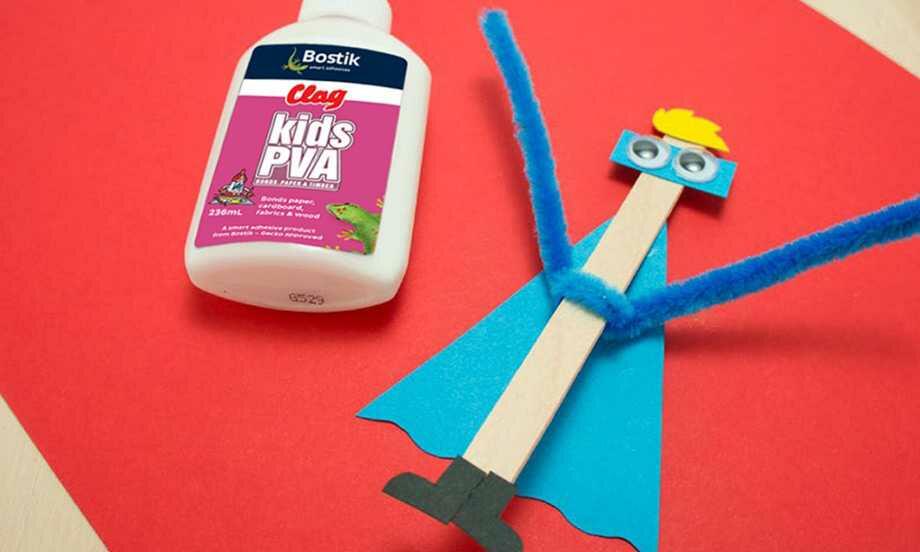
Superhero
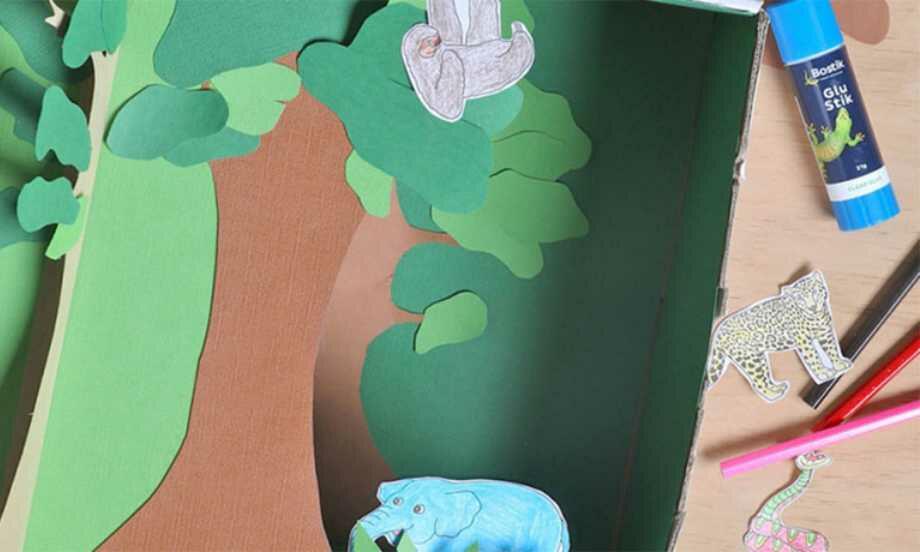
Tropical Rainforest Diorama