Cardboard House
Bring tiny homes to life with this delightful DIY Miniature Cardboard House🏠 project! Using printed templates, Bostik Blu Stik to stick elements onto colored cardstock, and a craft knife for precision, you can effortlessly build windows, doors, and walls that come together into a charming miniature house. Add finishing flourishes like glitter, markers, or ribbons 📐 to personalize each detail, and even create rooftop décor or wall patterns. Whether for display, storytelling, or imaginative playtime, this handcrafted house adds warmth to any shelf or tabletop. A perfect blend of creativity, fine-motor fun, and home-made charm - crafted in just a couple of hours!
Instructions
Animal Games
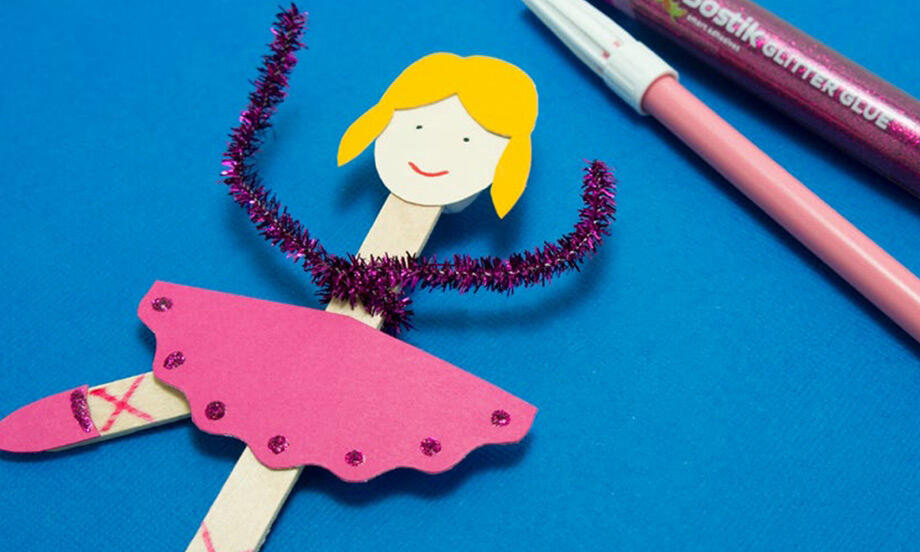
Ballerina
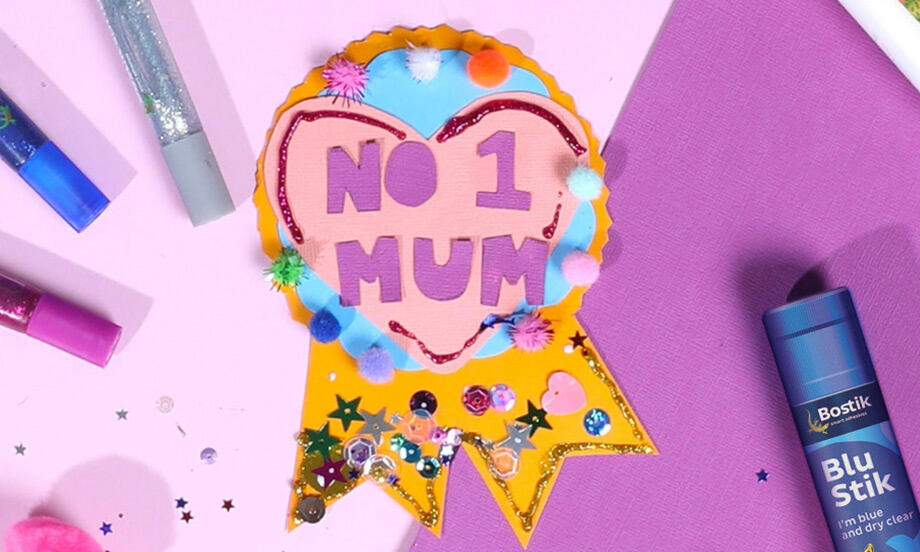
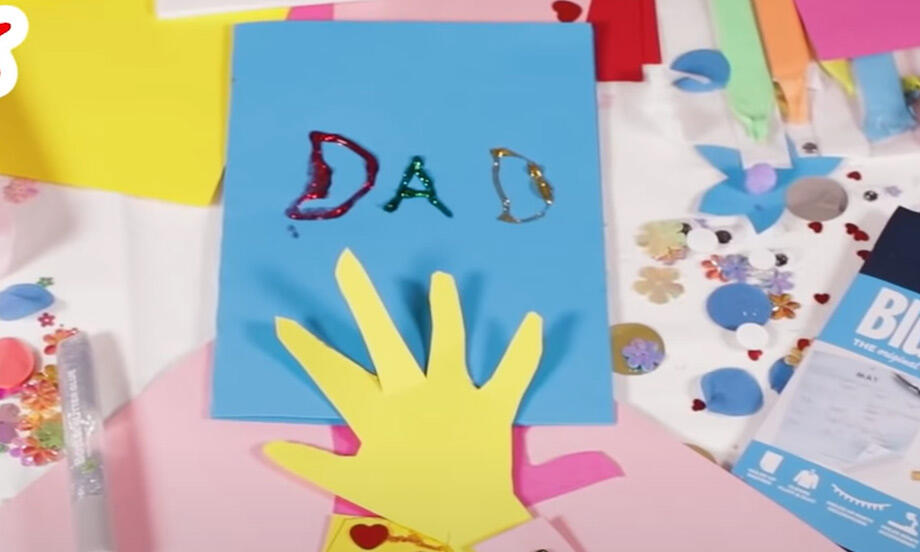
Best Mum Ribbon
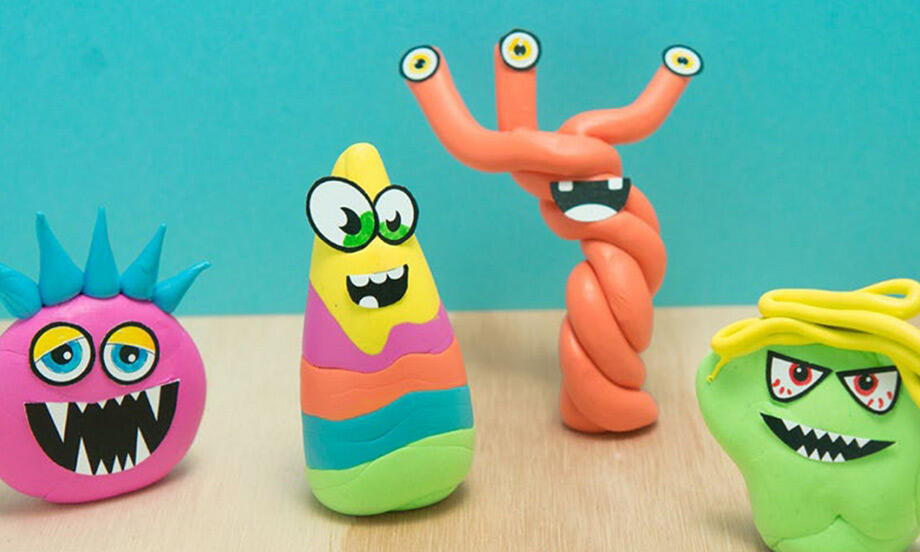
Blu Tack® Monsters
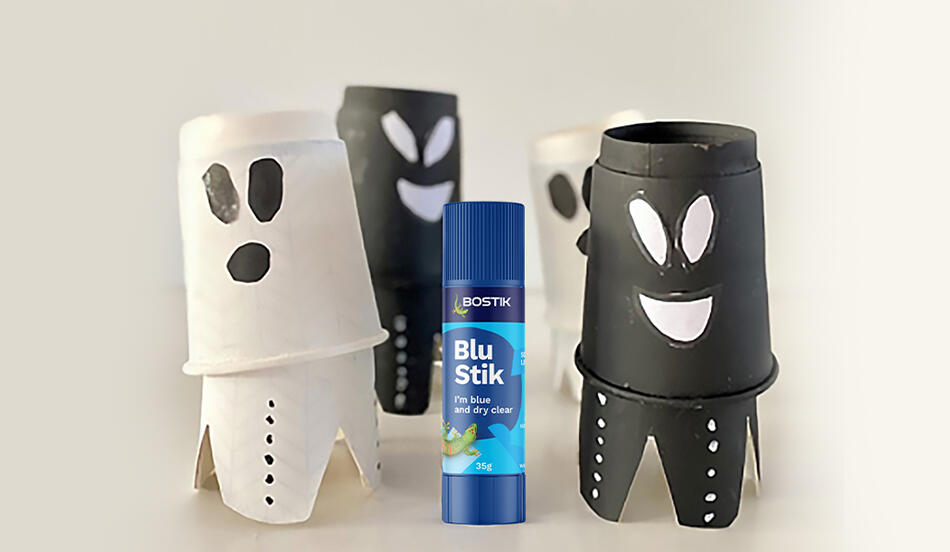
Bobbing ghosts
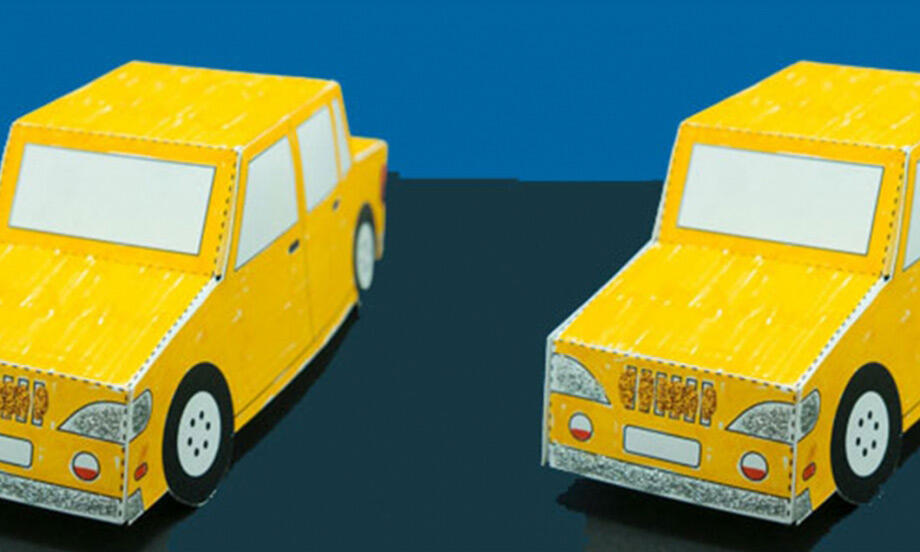
Bostik car

Bostik Hot Air Balloon
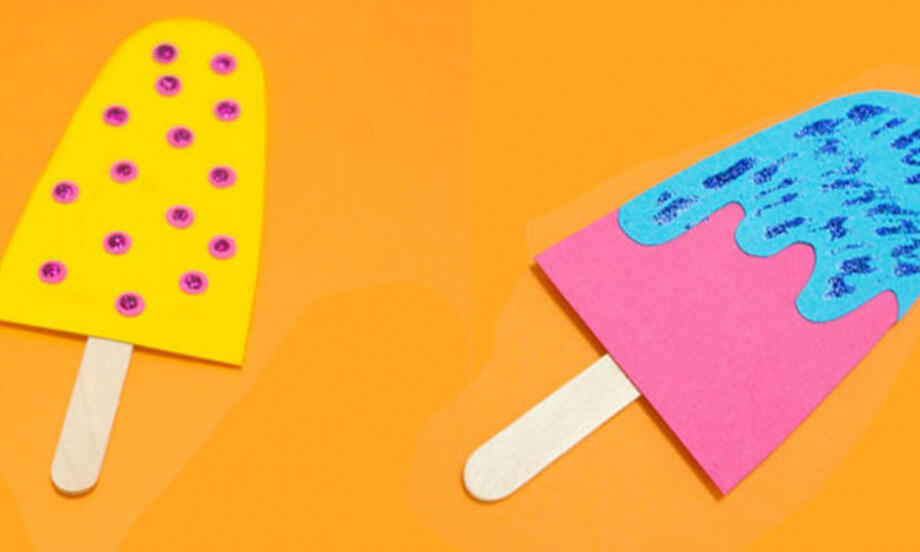
Bostik icy pole
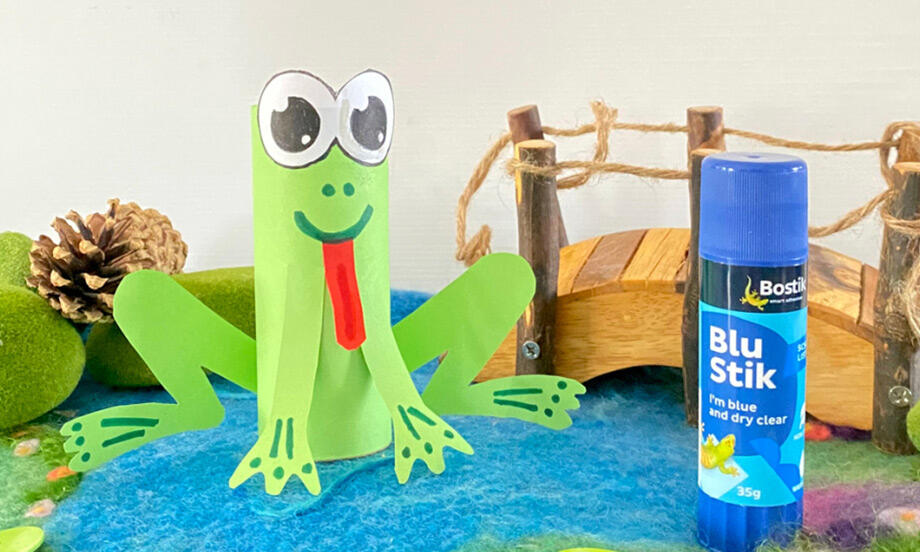
Cardboard Frog
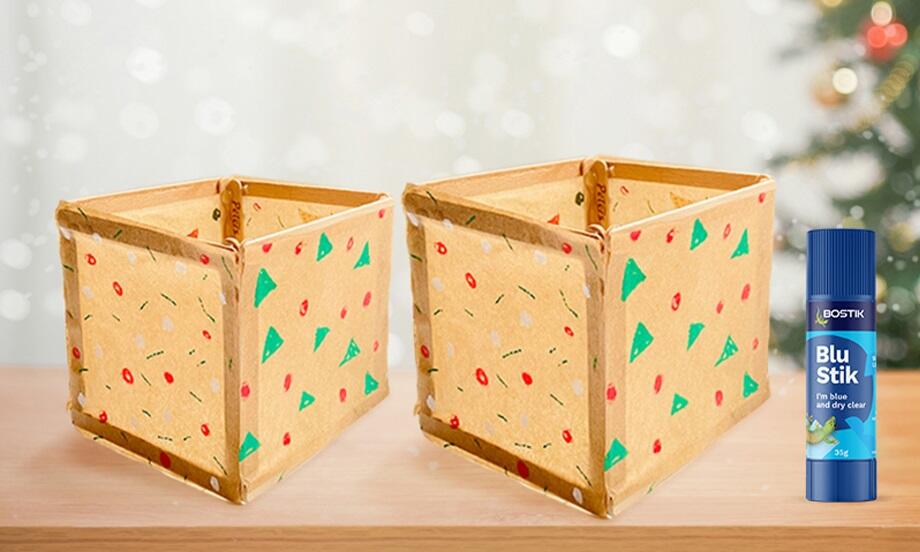
Christmas lanterns
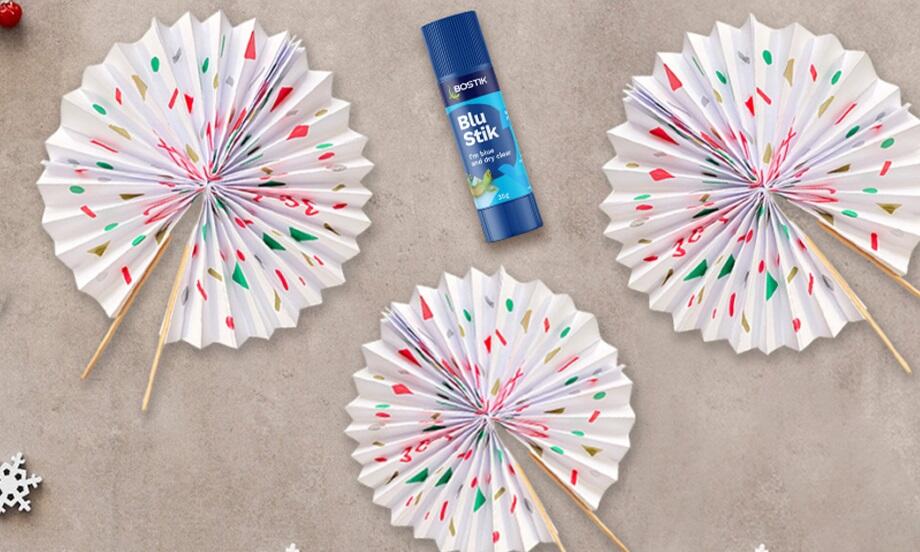
Christmas party fan
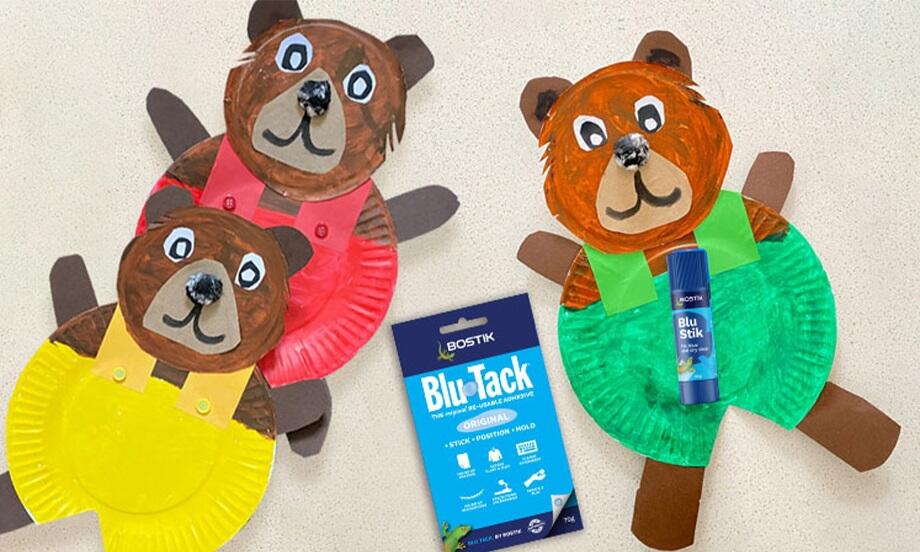
Corduroy the bear
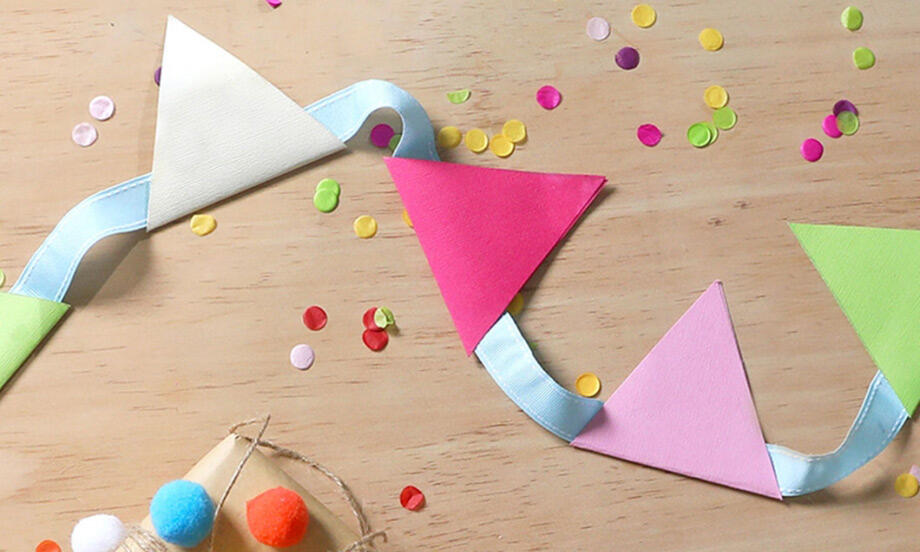
DIY bunting
DIY solar oven
DIY Stationery Holder

Easter cup bunnies
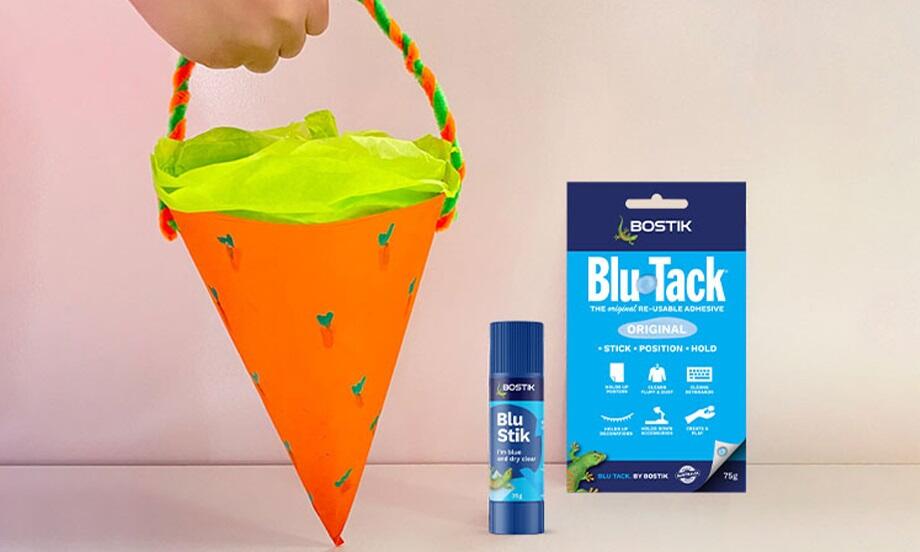
Easter Egg Basket
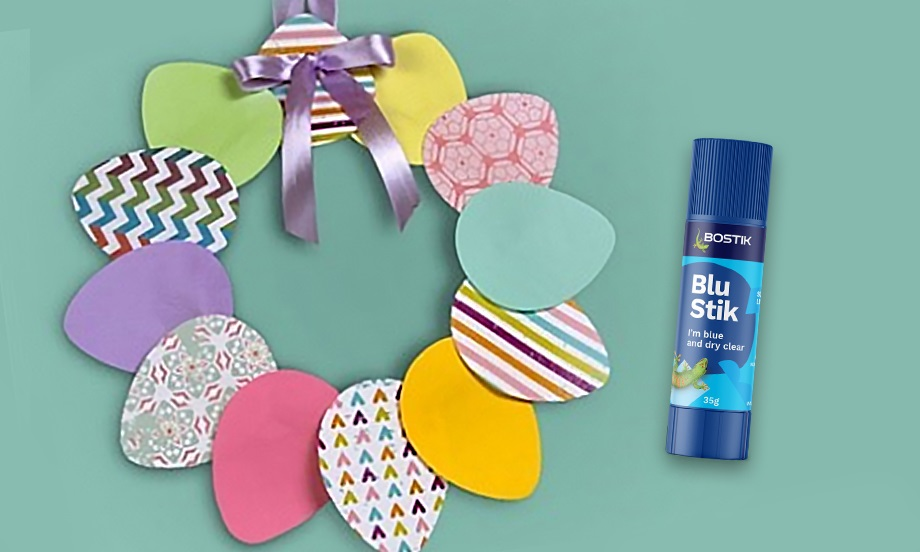
Easter Garland
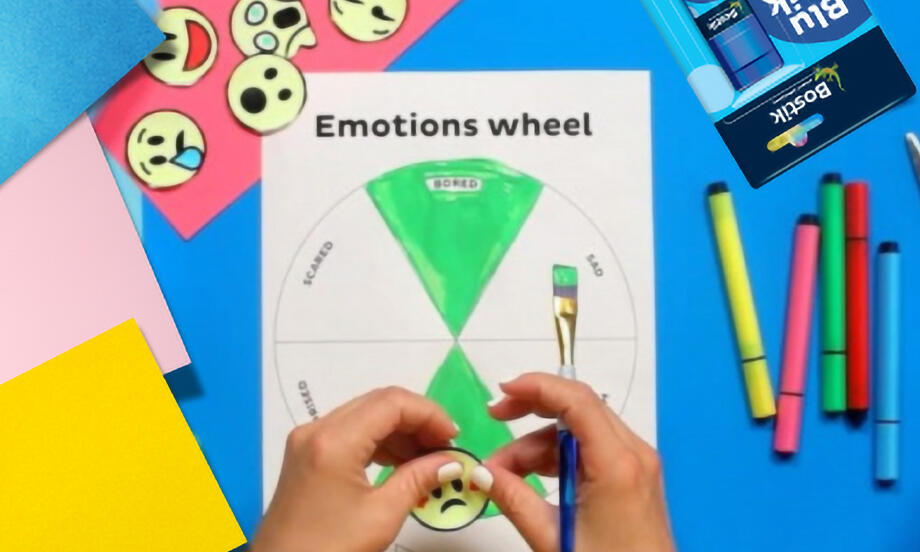
Emotions wheel
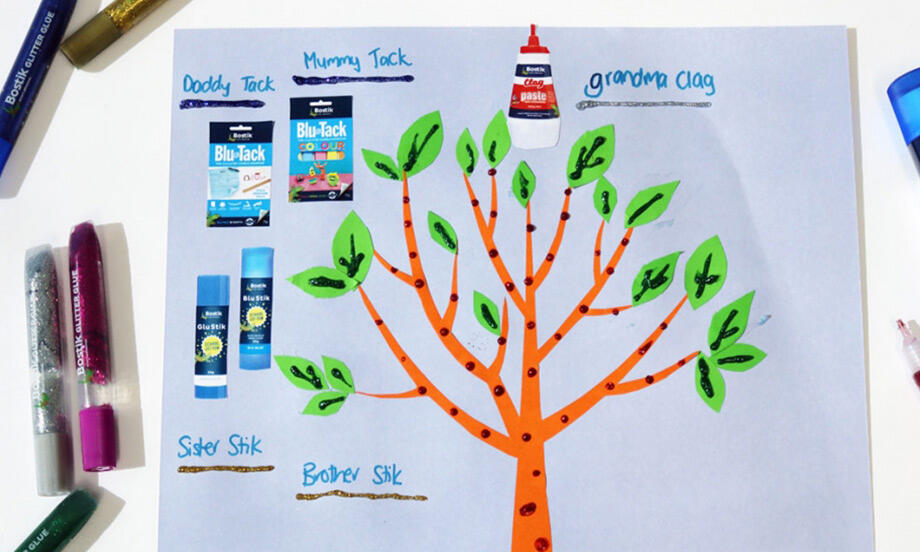
Family tree project
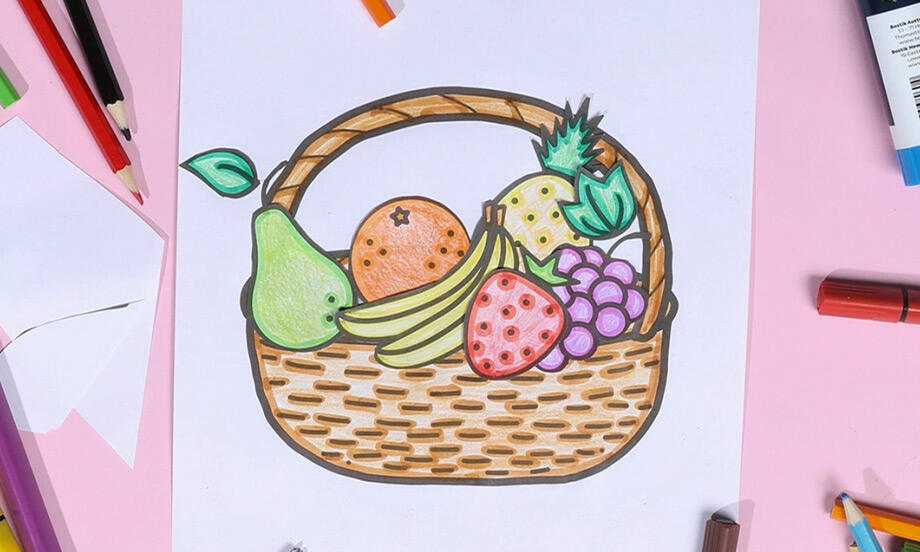
Fruit basket
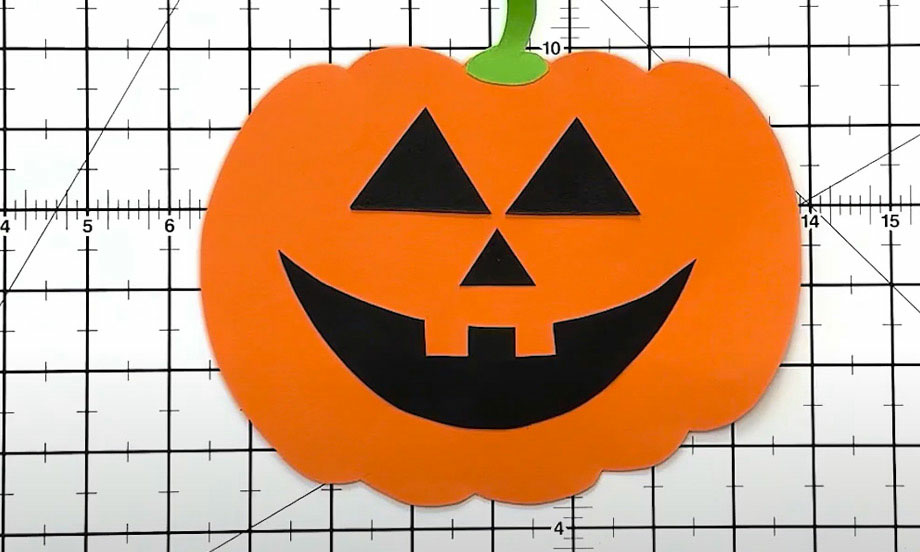
Halloween decoration pumpkin craft
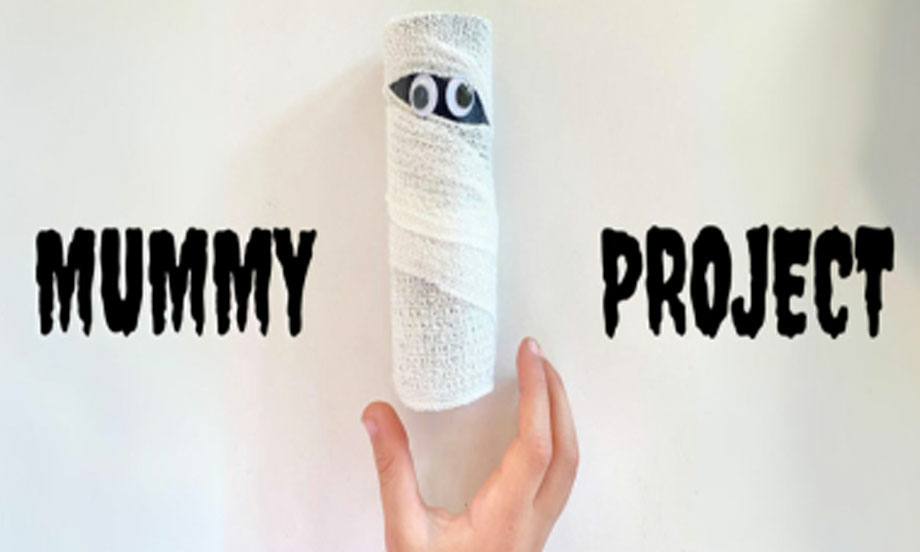
Halloween mummy
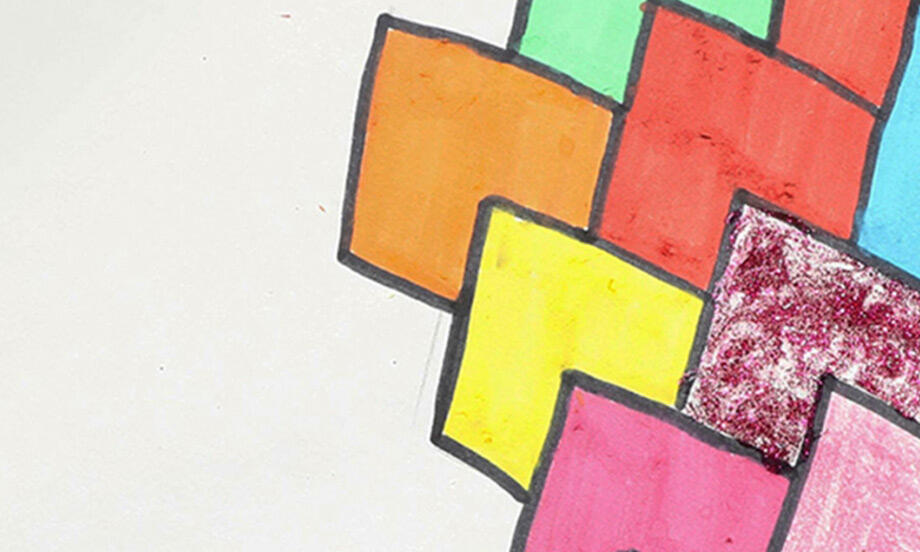
Heart tessellations
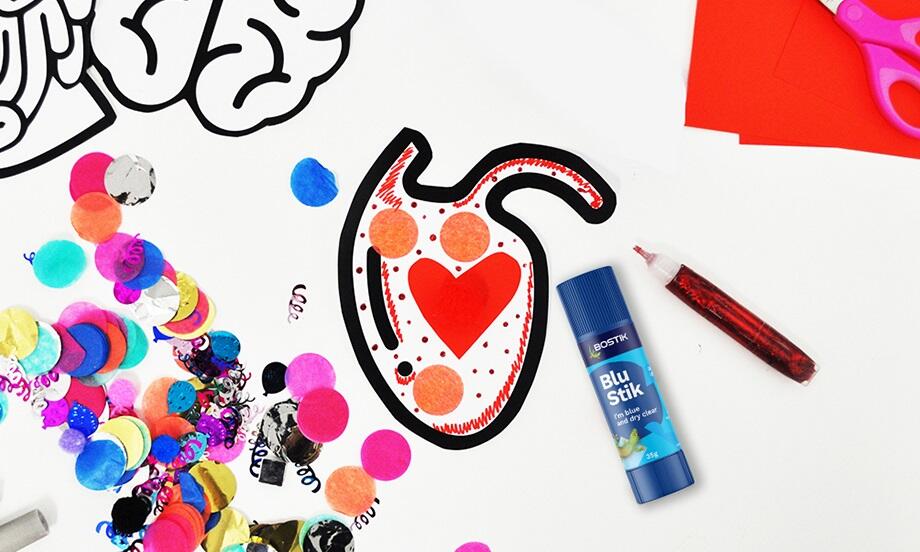
Human Body Project
Mechanical Gary Gecko
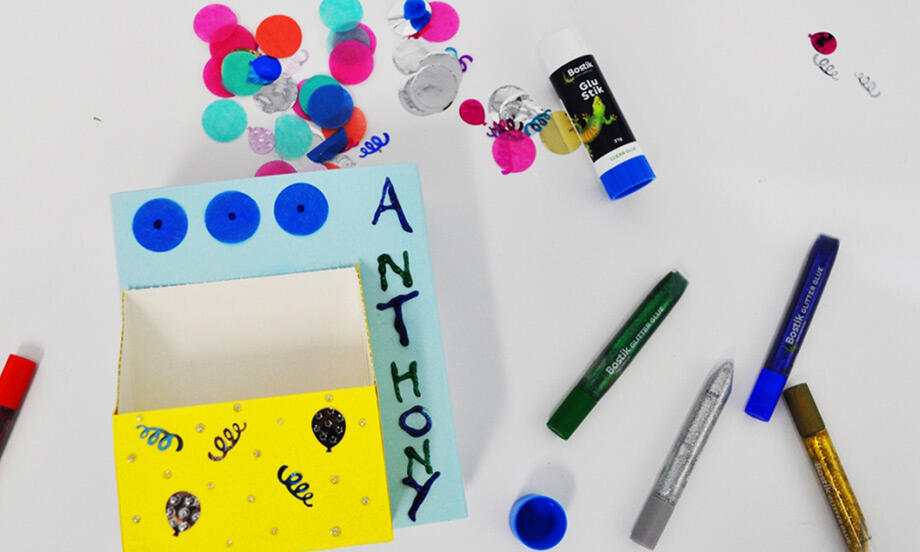
My name is
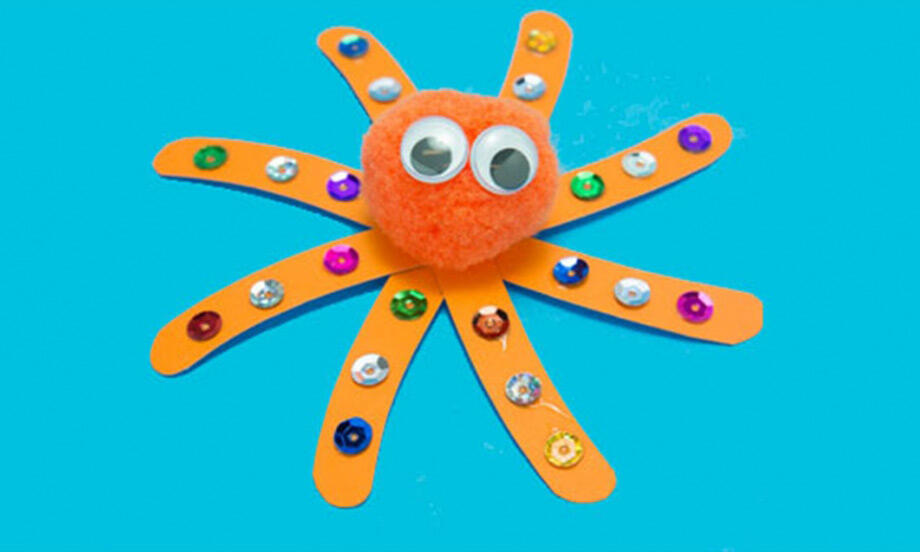
Octopus

Papier Mache World Globe
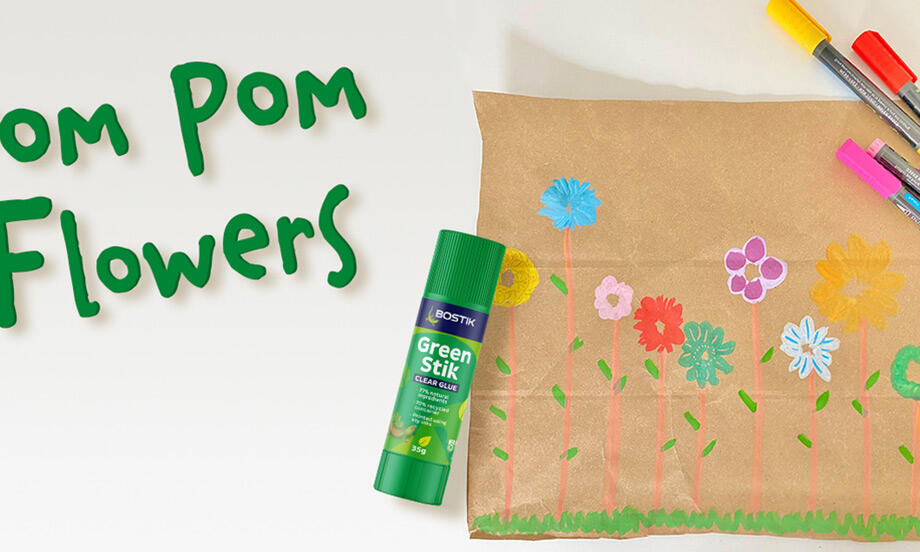
Pom Pom flowers
Round of applause card holder
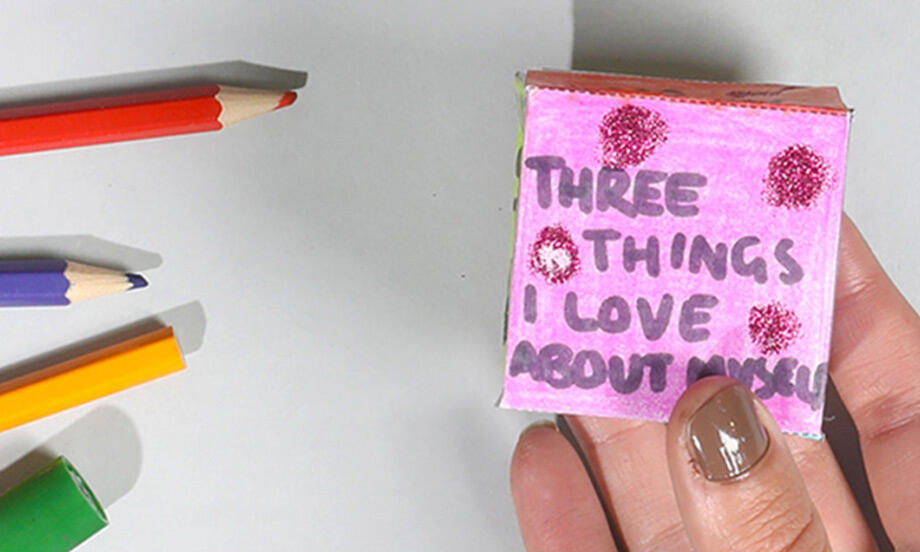
Self esteem die
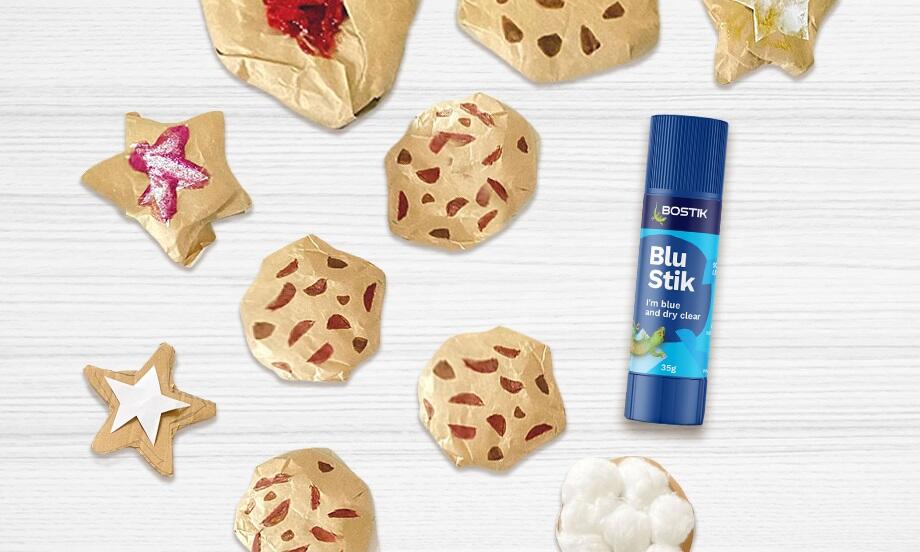
Smart cookie
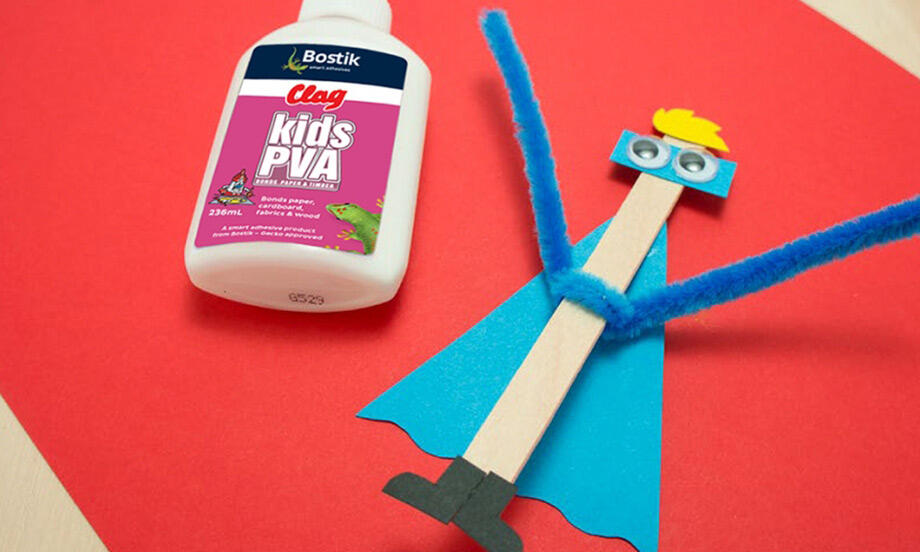
Superhero
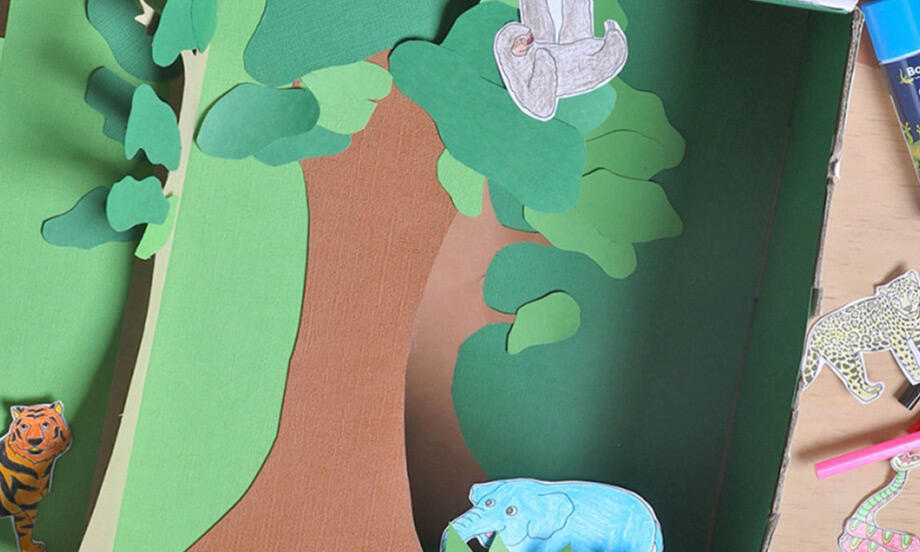
Tropical Rainforest Diorama