DIY solar oven
Harness the sun’s power ☀️ and enjoy a taste of science with this DIY solar oven craft. Using a cardboard pizza box, Bostik Mini Hot Glue Gun & Sticks, Blu Stik, black paper, aluminum foil, and plastic wrap, you can cook s’mores with sunshine, no fire required. 🔥 Line your box with black paper and add reflective foil to a flap that directs sunlight into the box. Cover the opening with plastic wrap to trap heat, then skewer your s’more inside and place the box in direct sunlight for a delicious, eco-friendly treat. 🍫 This hands-on project is perfect for classrooms or backyard experiments, blending science, sustainability, and tasty rewards in one fun activity. It’s simple, safe, and a bright way to spark curiosity!
Instructions
BLU STIK
MINI HOT MELT GLUE GUN

Cherry Blossom Branch
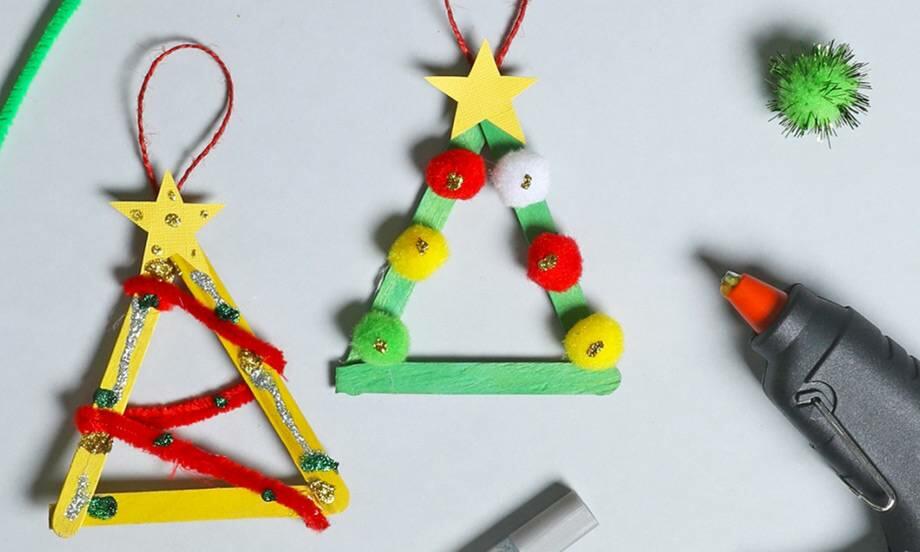
Christmas Tree Ornaments
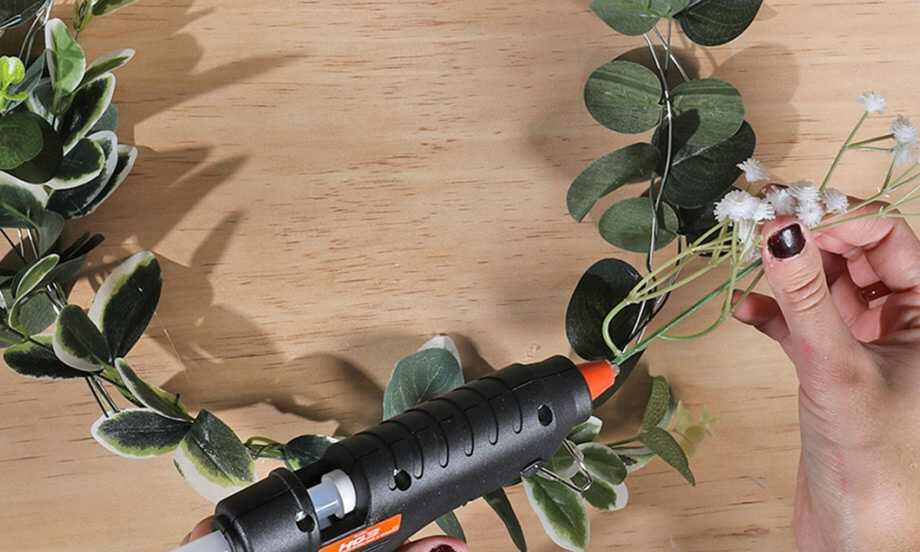
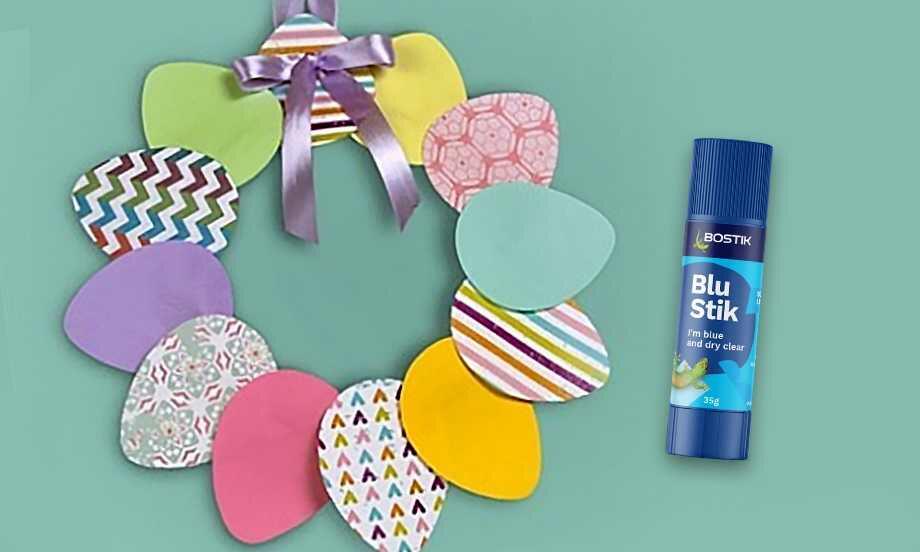
DIY wreath
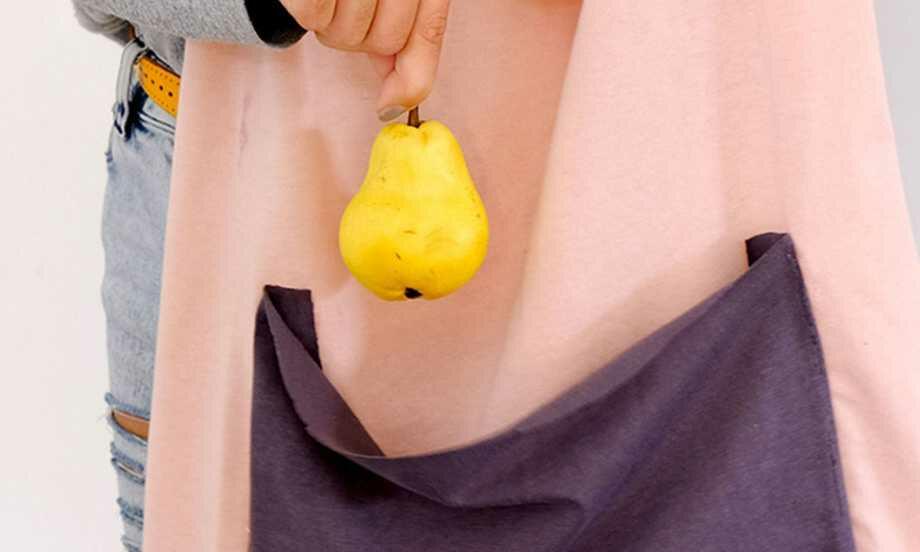
Eco Bag
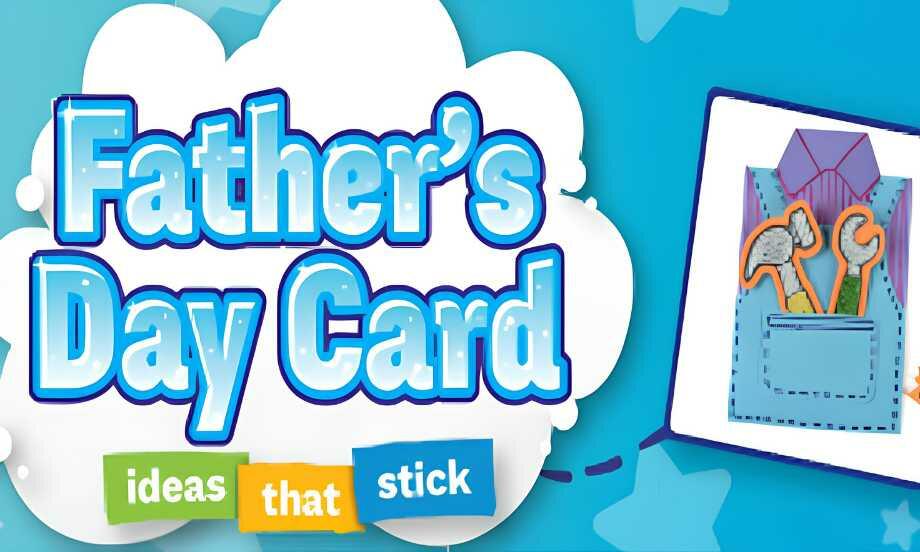
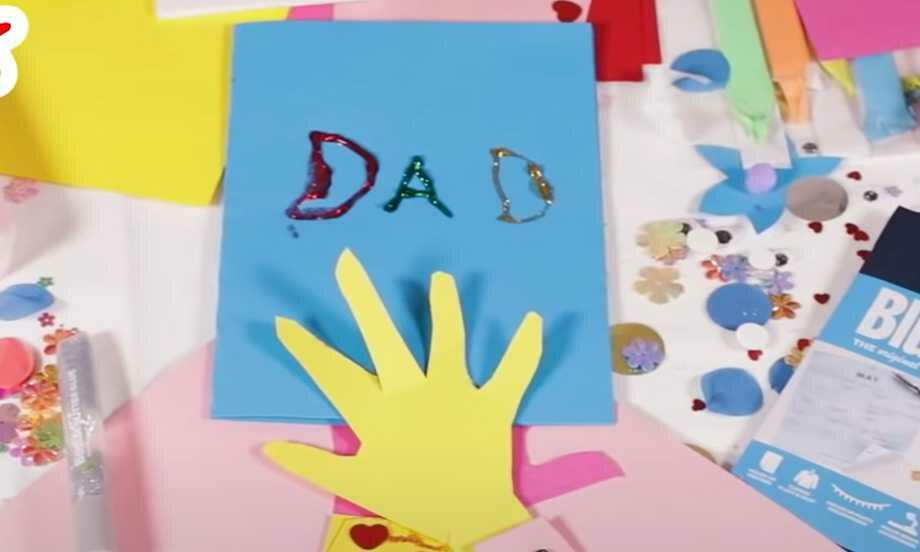
Father's day tradie card
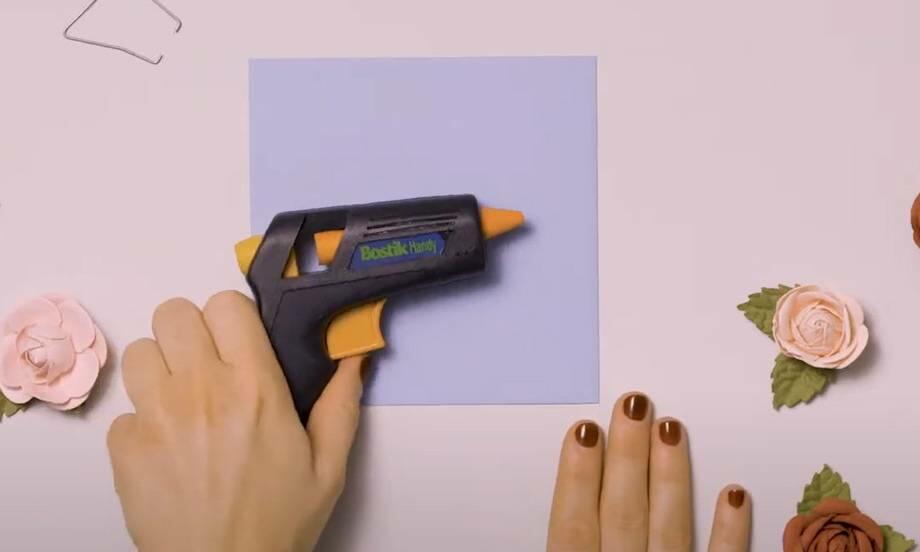
How to use a hot glue gun: step-by-step guide
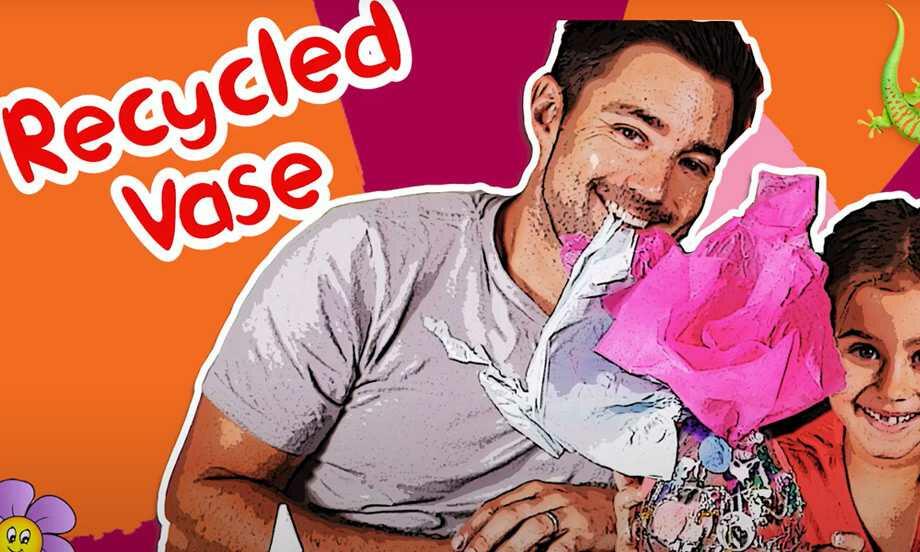
Recycled Vase
Animal Games
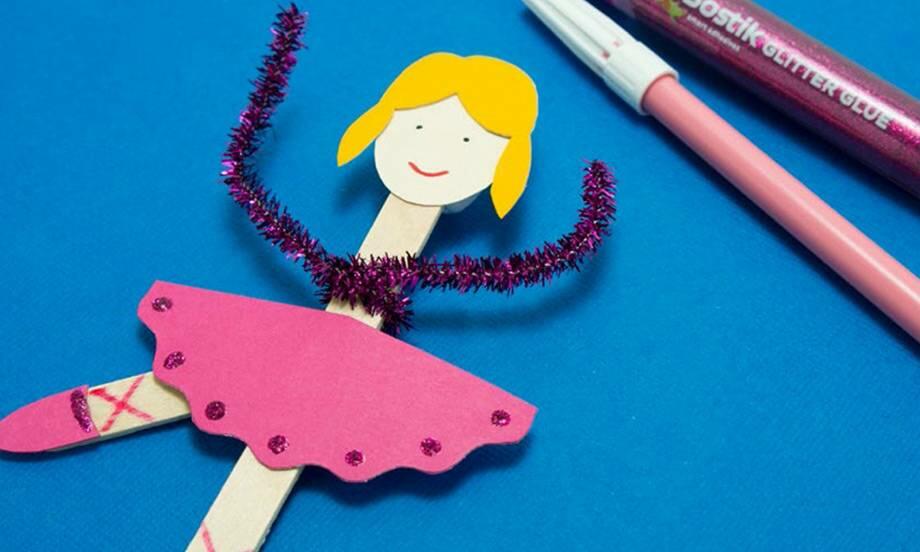
Ballerina
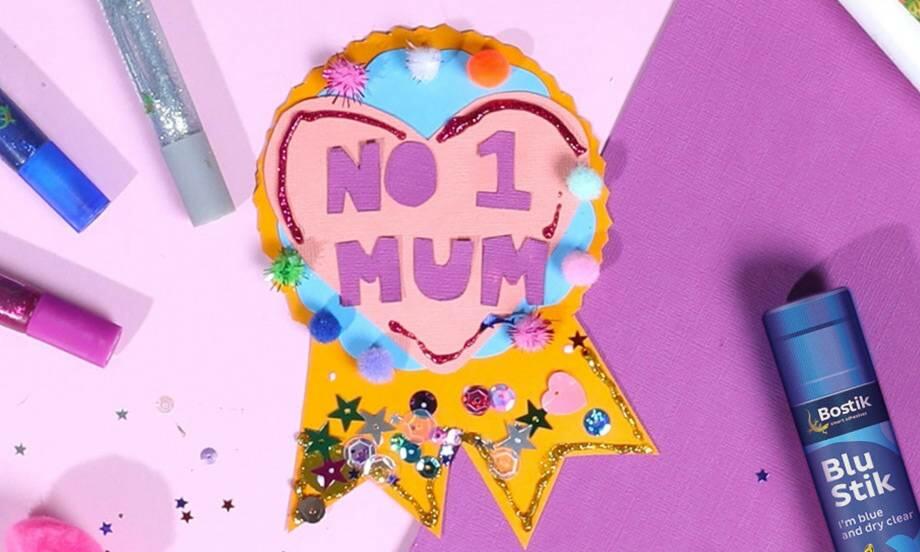
Best Mum Ribbon
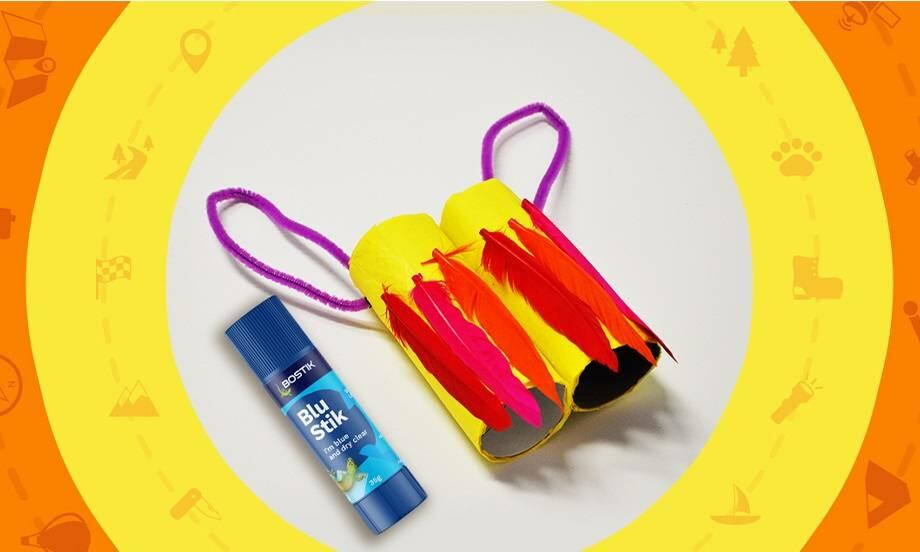
Binoculars
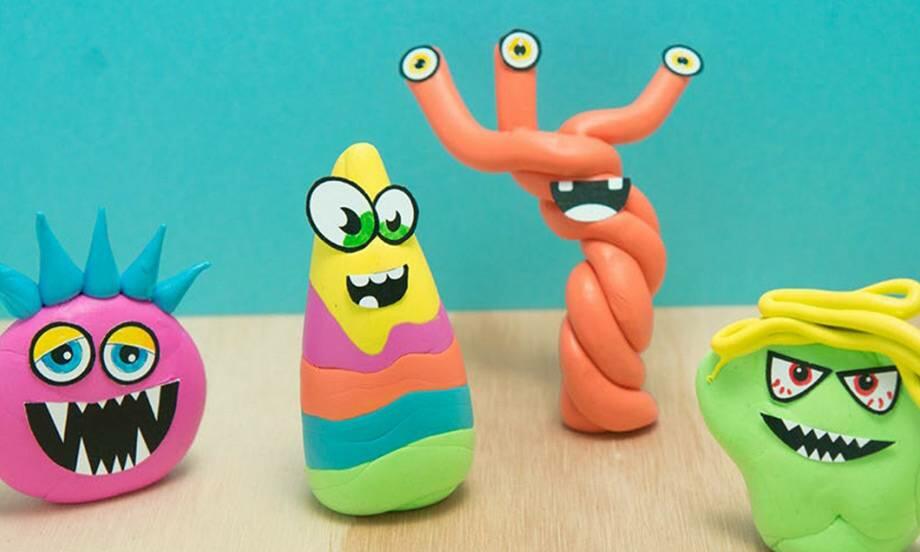
Blu Tack® Monsters
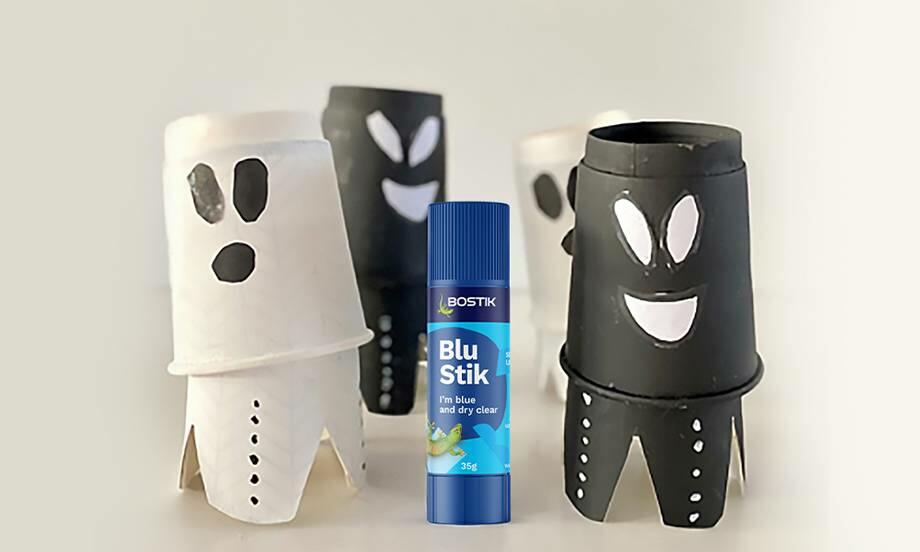
Bobbing ghosts
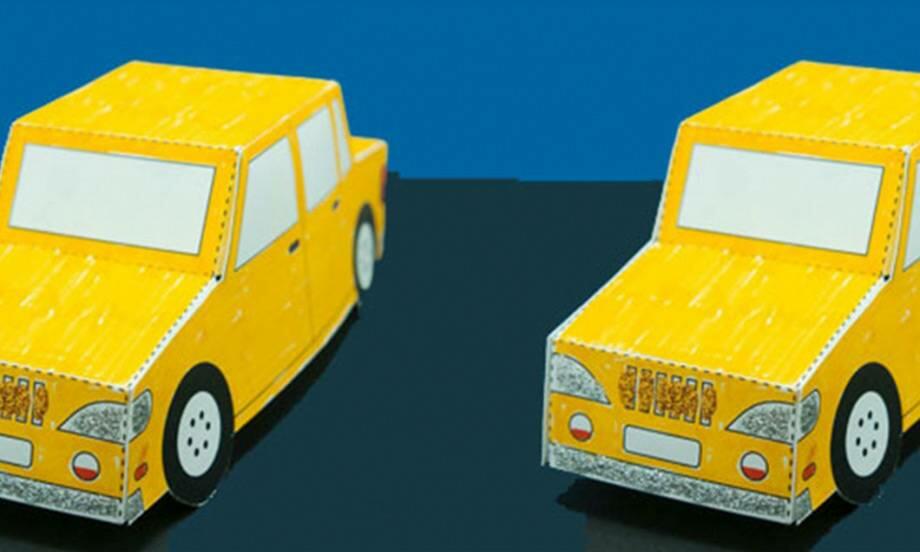
Bostik car
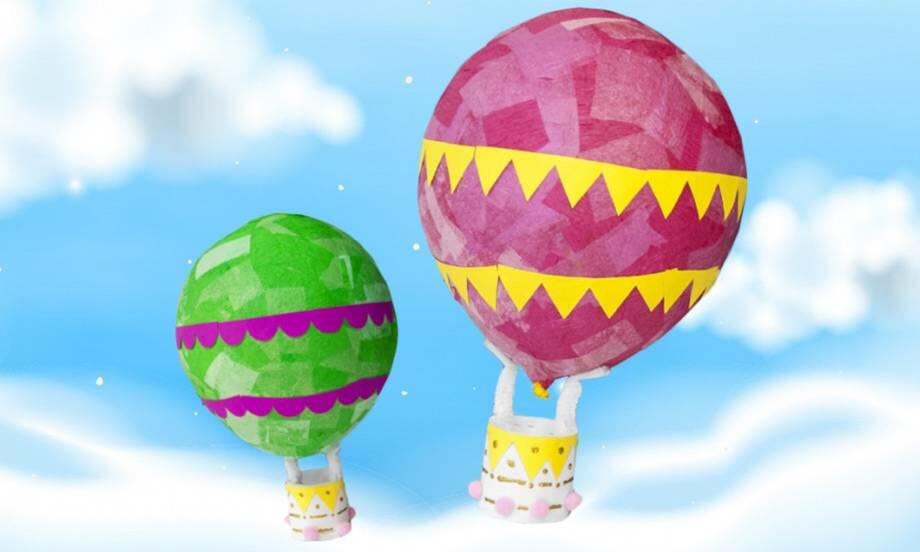
Bostik Hot Air Balloon
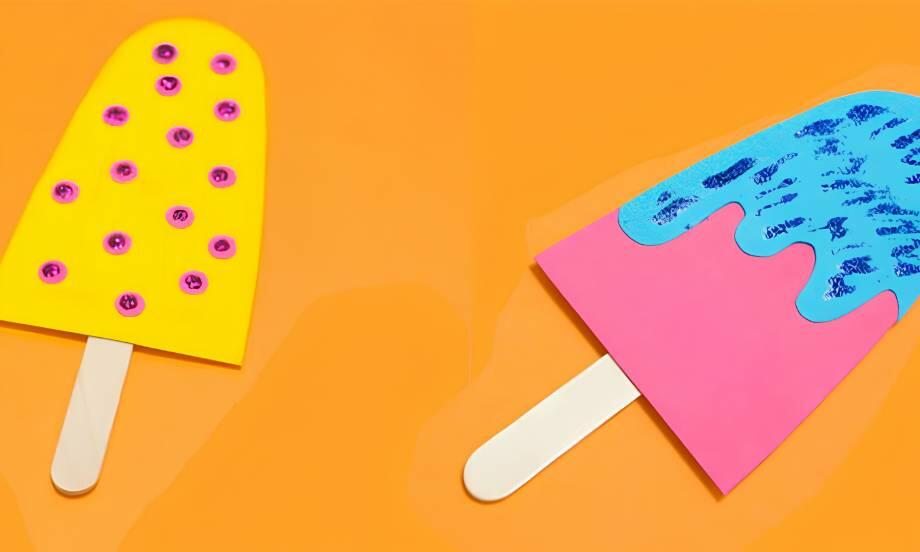
Bostik icy pole
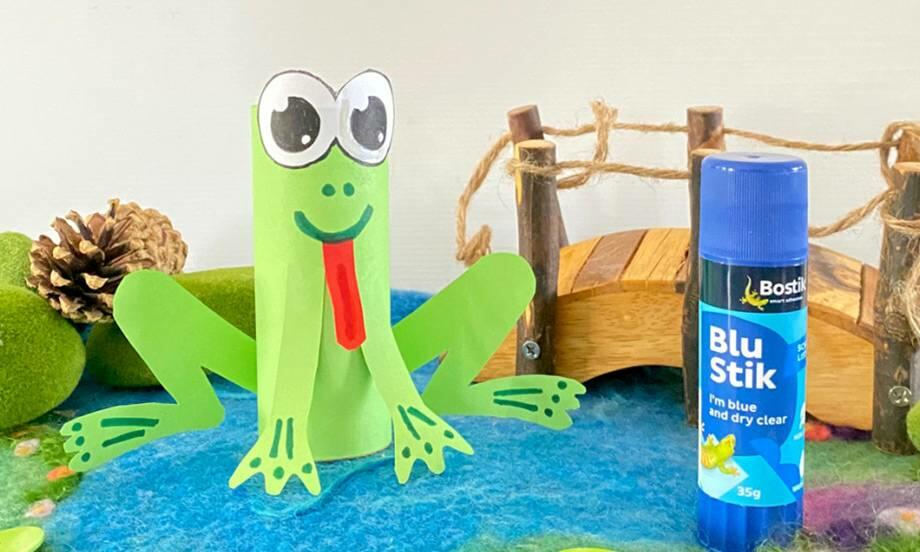
Cardboard Frog
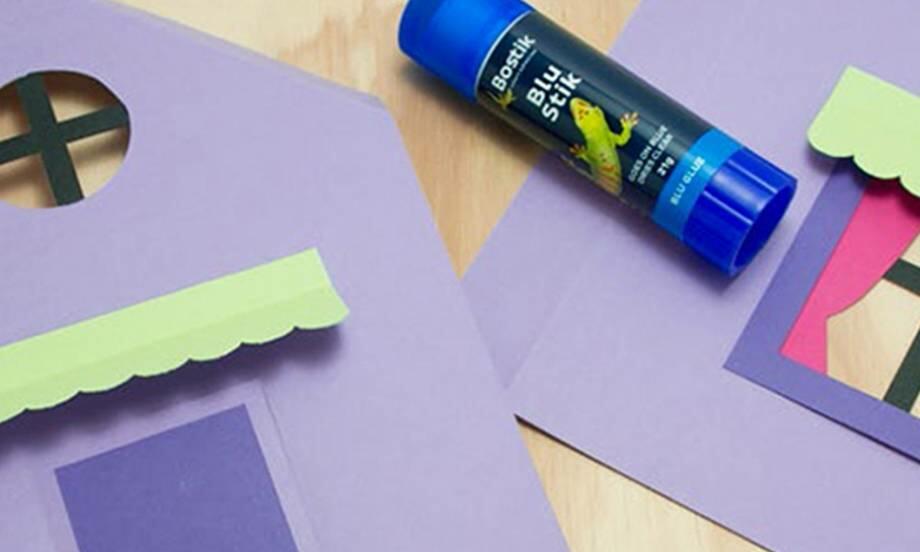
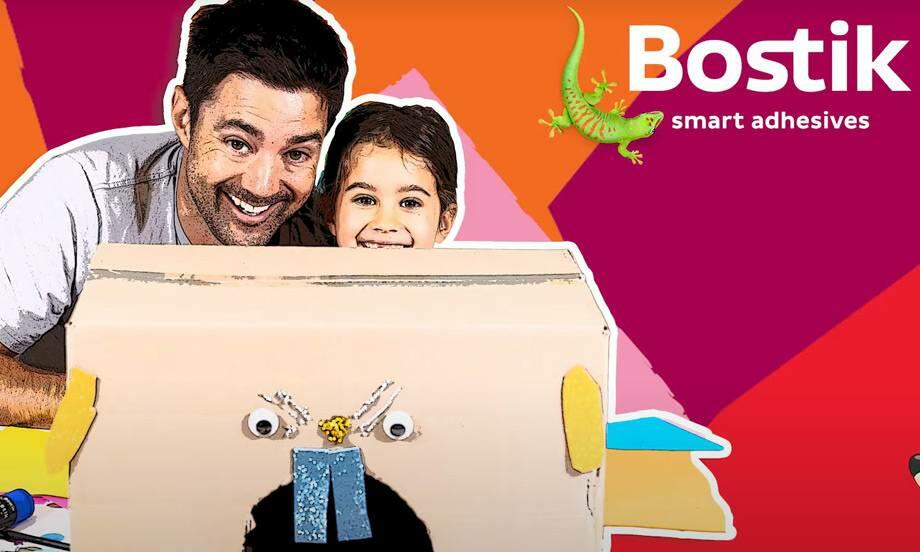
Cardboard House
Christmas lanterns
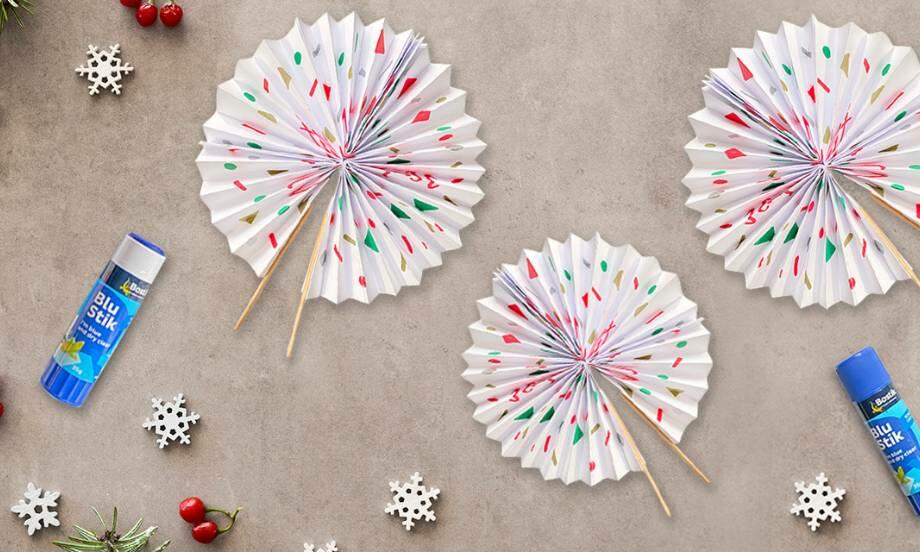
Christmas party fan
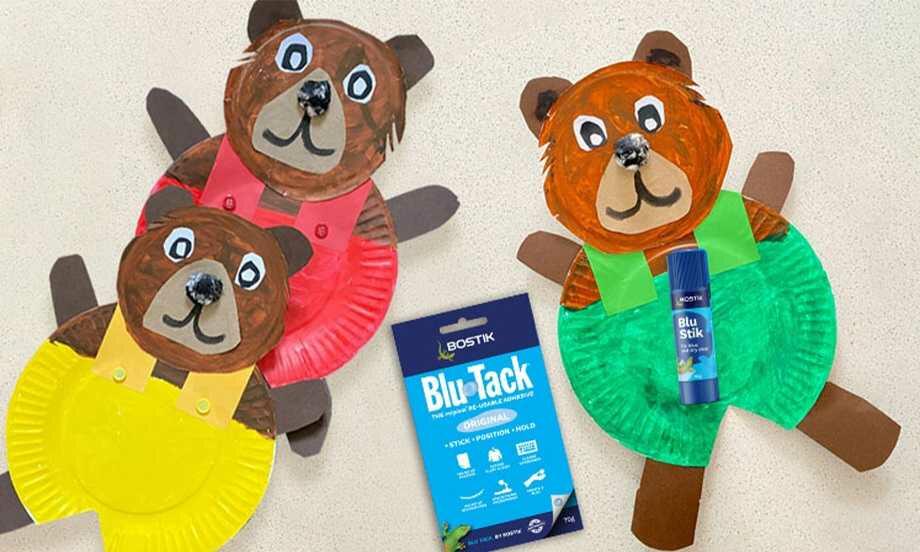
Corduroy the bear
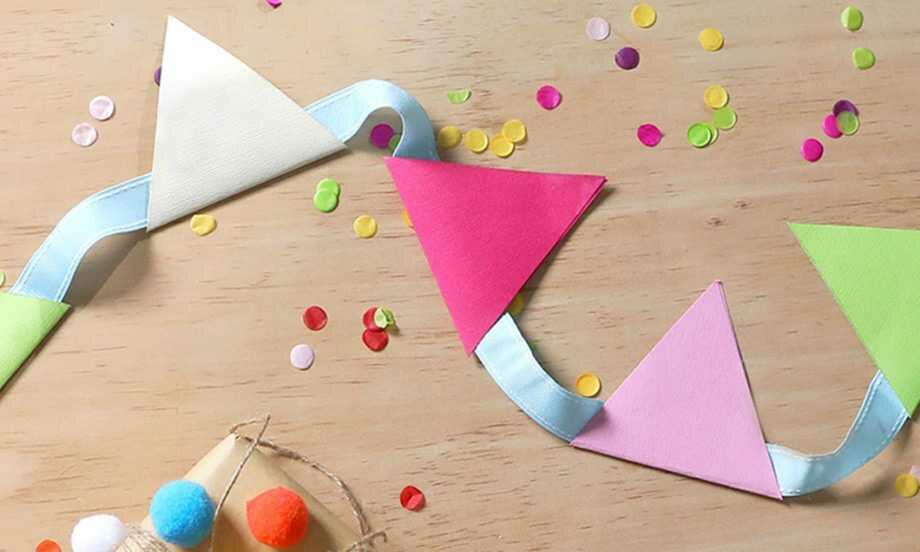
DIY bunting

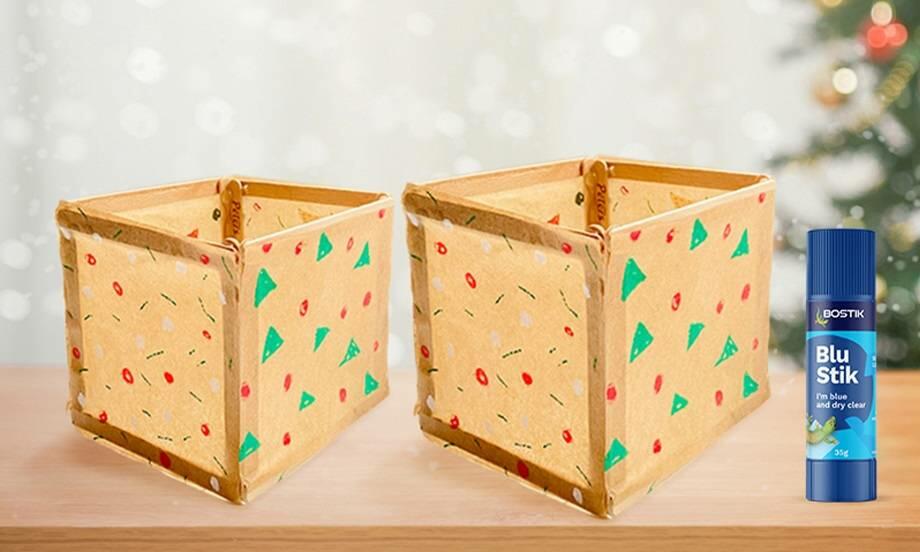
DIY Stationery Holder

Easter cup bunnies
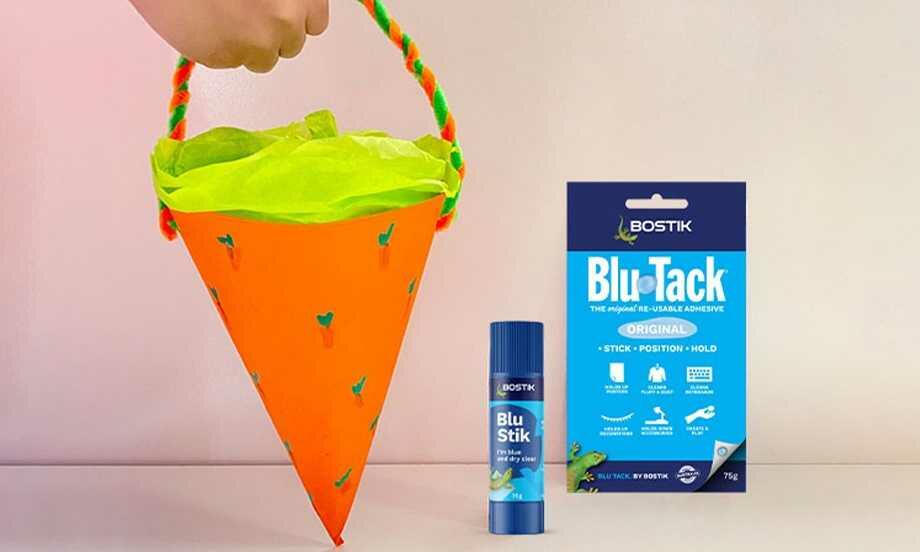
Easter Egg Basket
Easter Garland
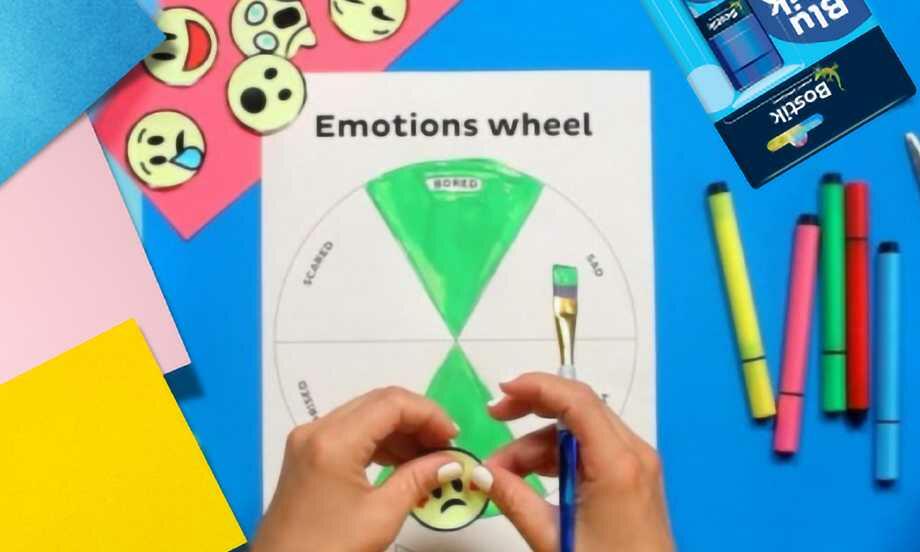
Emotions wheel

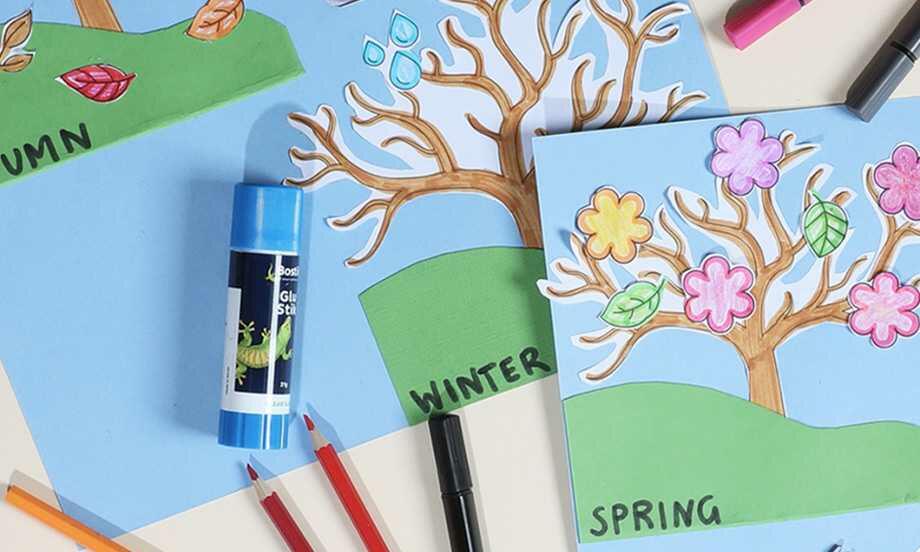
Family tree project
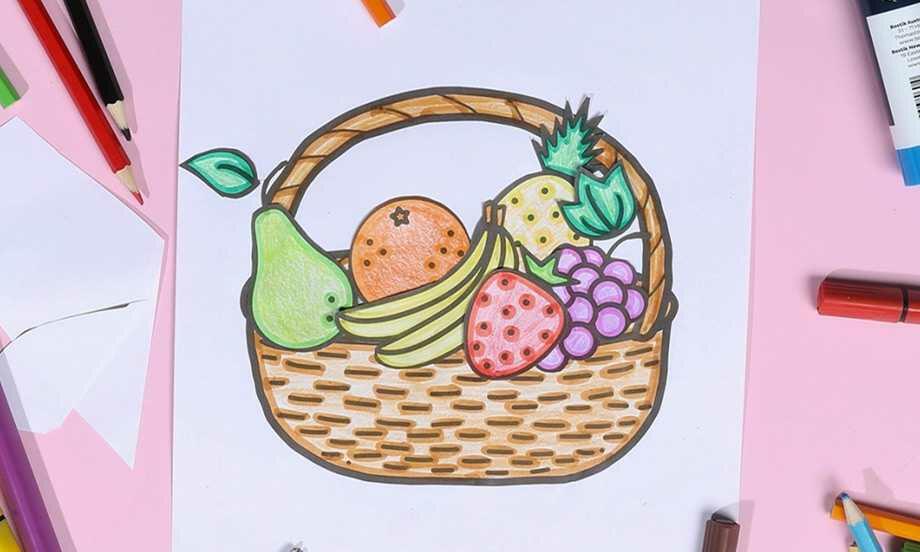
Fruit basket
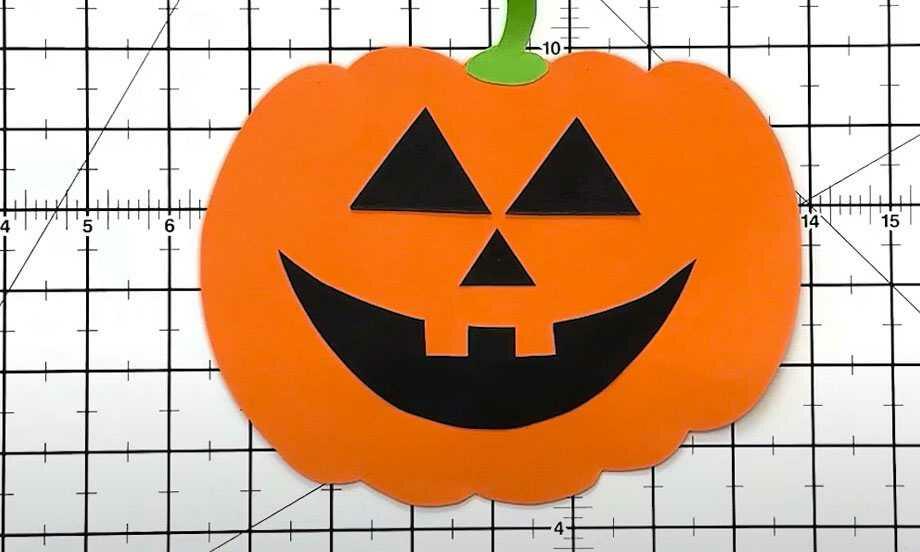
Halloween decoration pumpkin craft
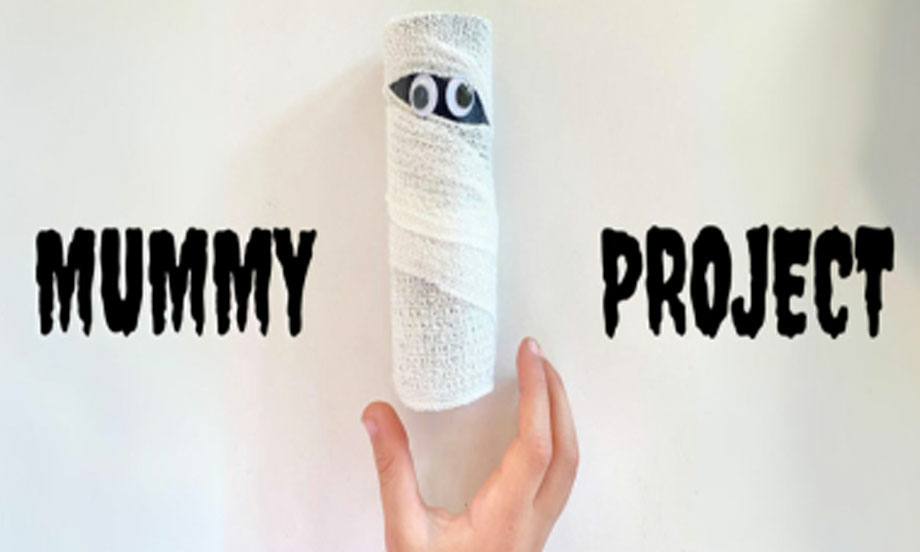
Halloween mummy
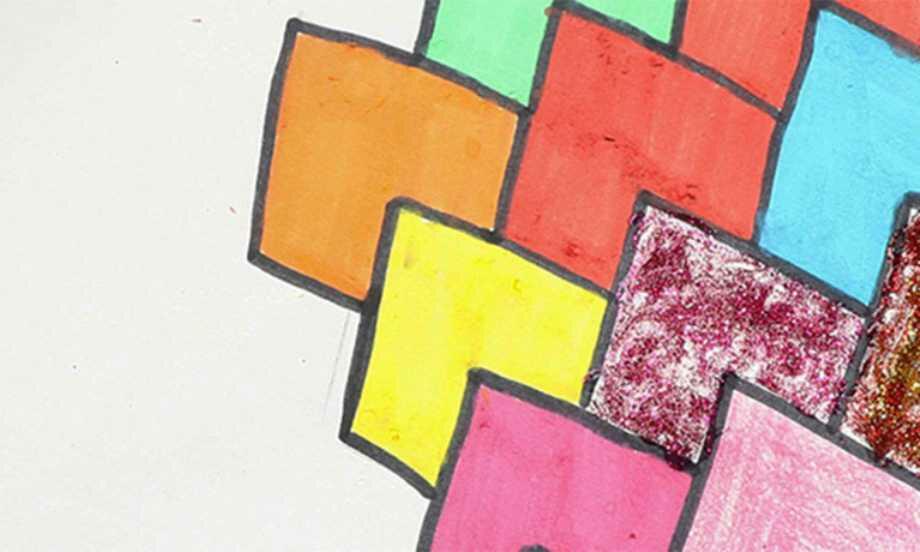
Heart tessellations

Human Body Project
Mechanical Gary Gecko
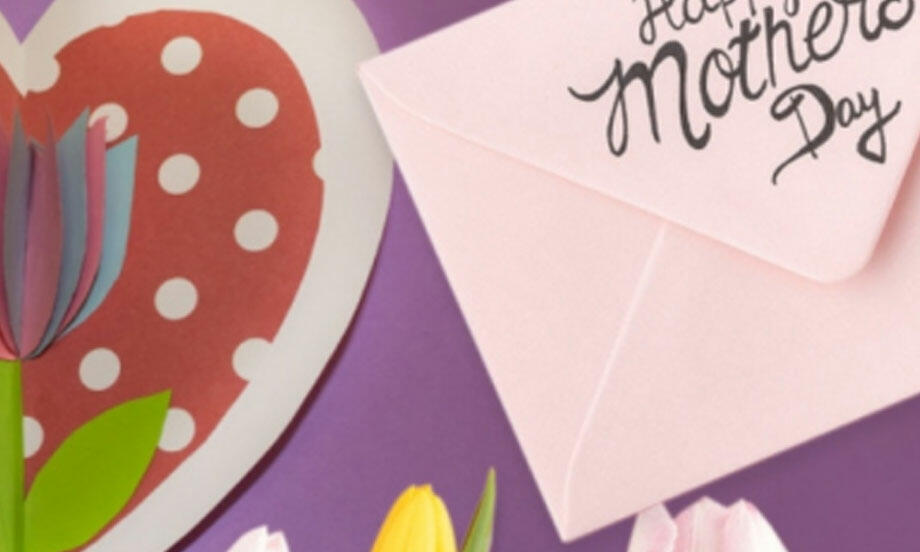
Mother's day card
My name is
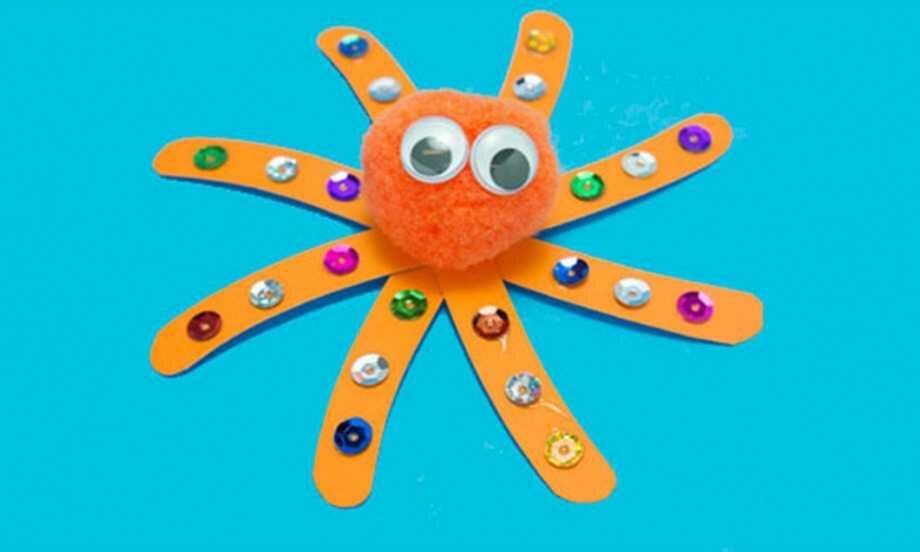
Octopus
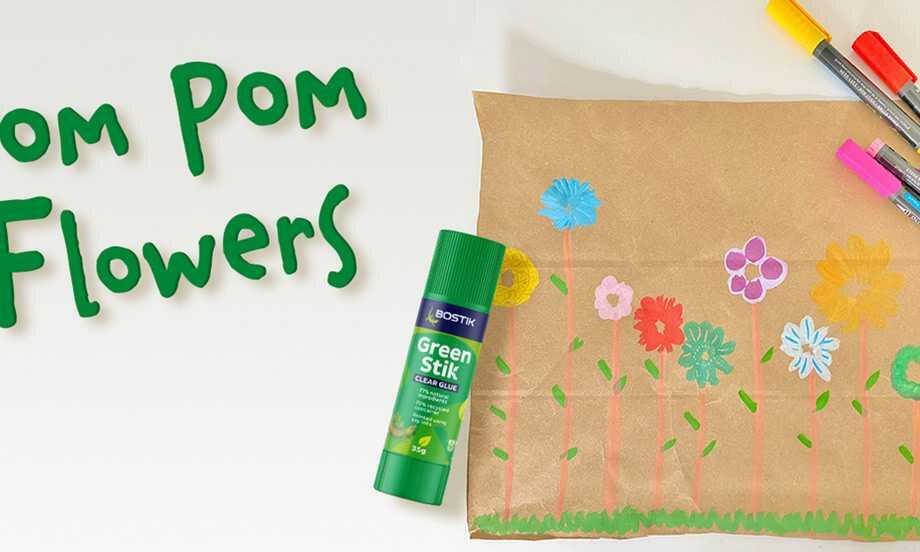
Pom Pom flowers
Round of applause card holder

Self esteem die
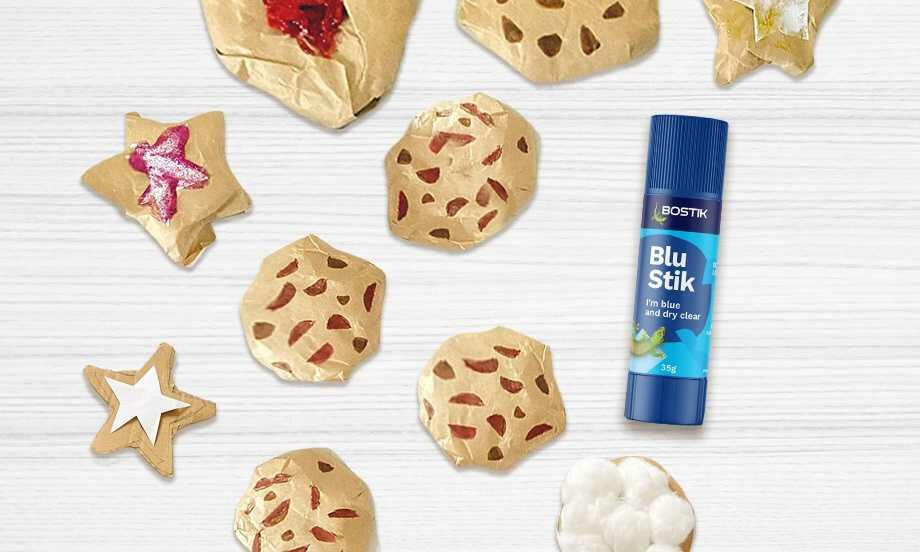
Smart cookie
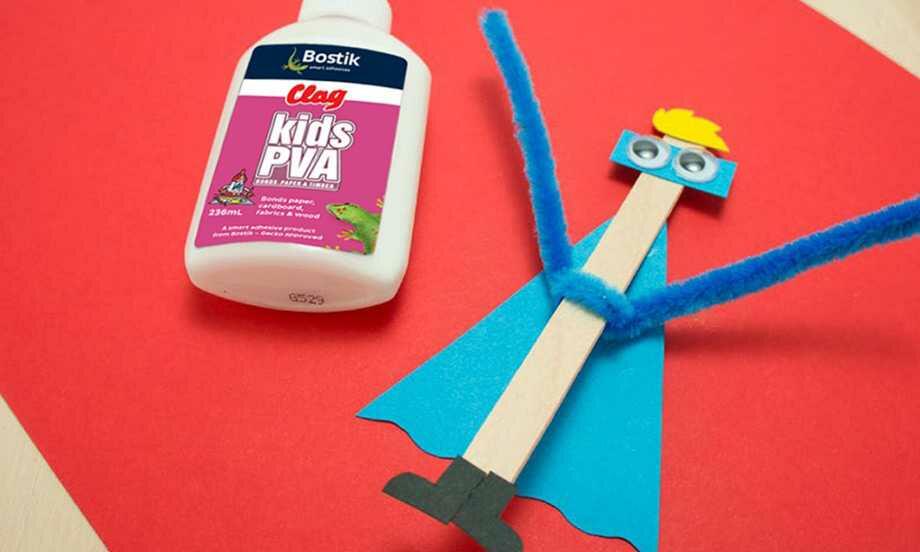
Superhero
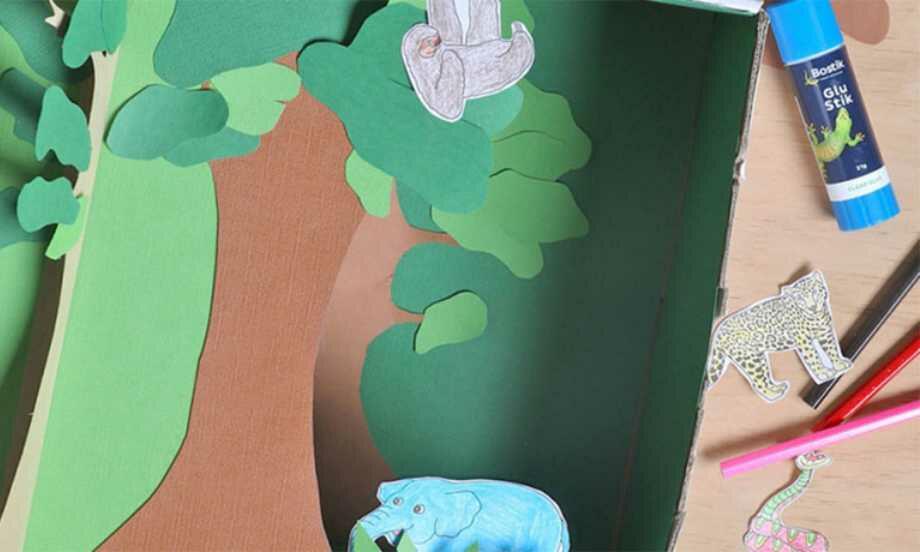
Tropical Rainforest Diorama