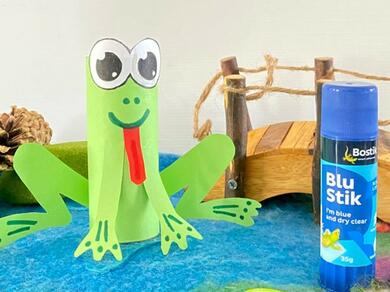
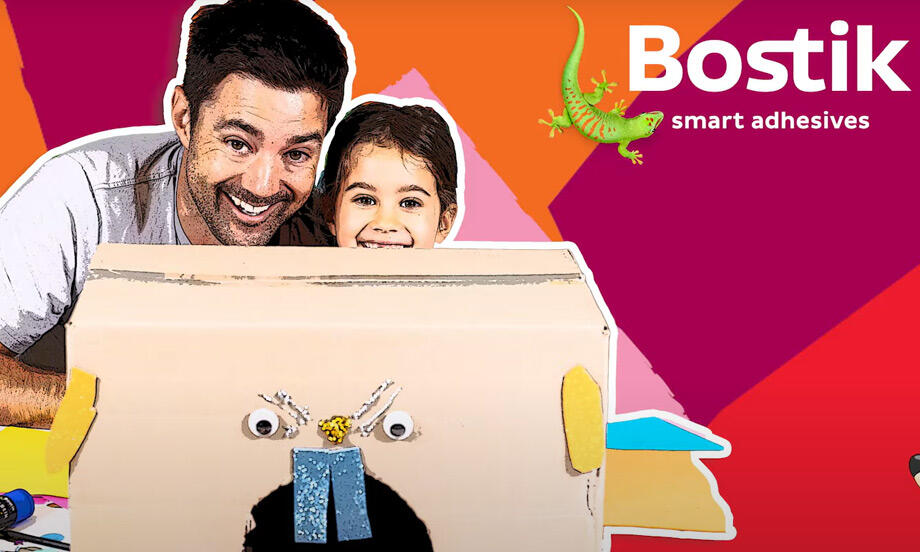
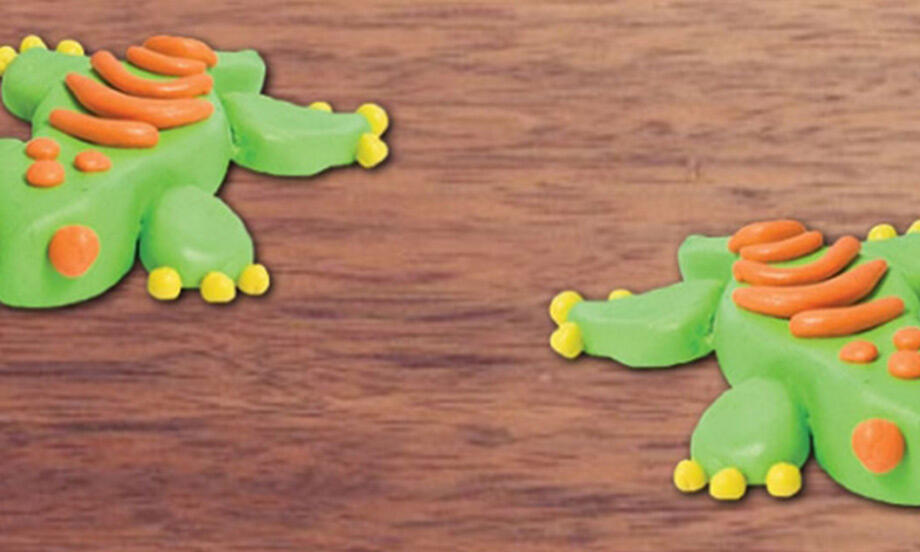
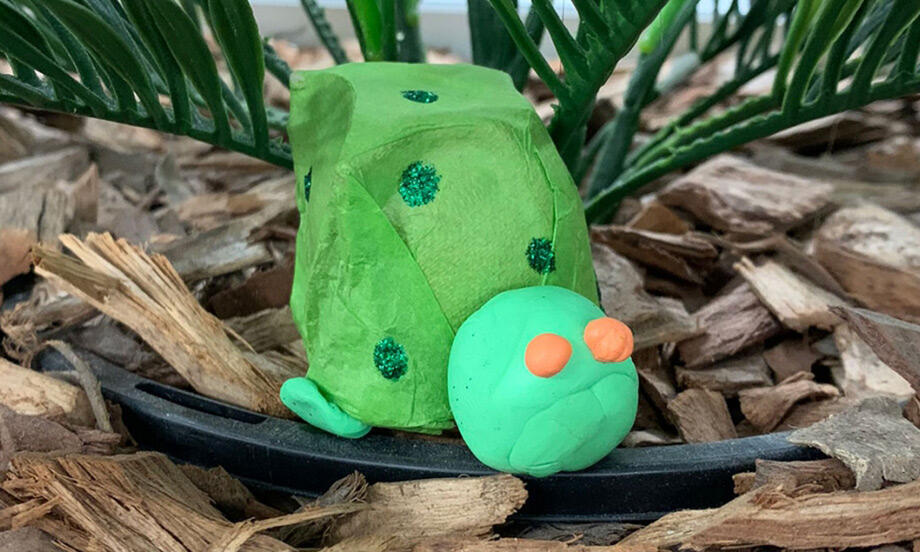
Cardboard Frog
Leap into creativity with this adorable DIY Cardboard Frog🐸 project! Upcycle a toilet roll by wrapping it in green card using Bostik Glu Stik, then use Blu Tack® to attach and trace the leg and tongue templates, cut these out and add finishing details with a black marker. Secure the legs onto the front and back of the roll using Glu Stik, then stick the curled red tongue and googly-eyes on top for a quirky, playful character. This charming frog is perfect for kids’ activities, classrooms, and colourful decor, it’s fun, easy, and eco-friendly!🌿
This project was made by our Bostik Buddy, Sonia - follow her on Instagram
Instructions
BLU TACK®
BLU TACK® COLOUR
BLU STIK
GLU STIK
GREEN STIK
Animal Games
Ballerina
Best Mum Ribbon
Binoculars
Blu Tack® Monsters
Bobbing ghosts
Bostik car
Bostik Hot Air Balloon
Bostik icy pole
Cardboard House
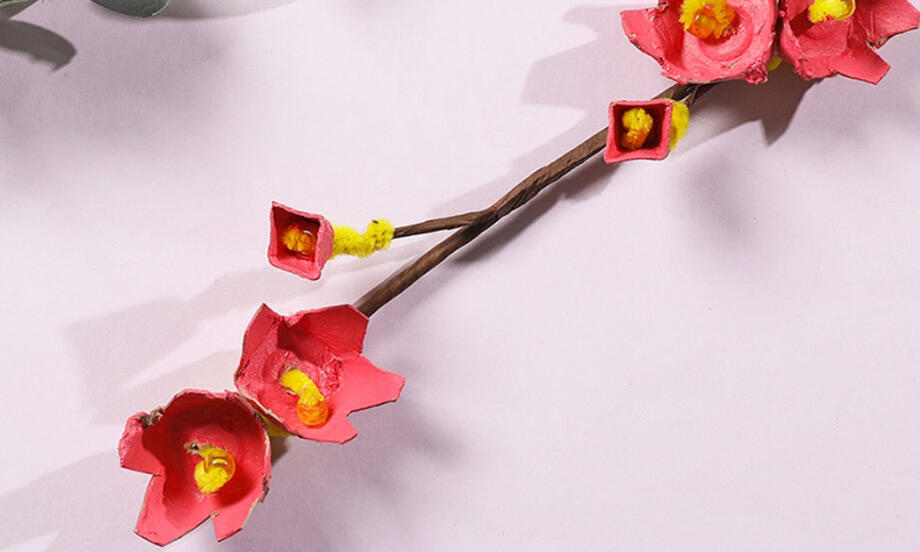
Cherry Blossom Branch
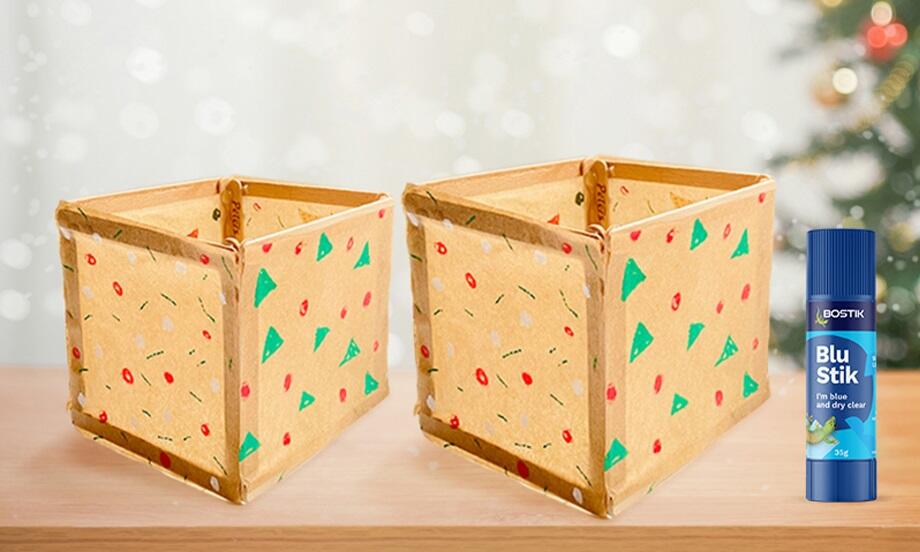
Christmas lanterns
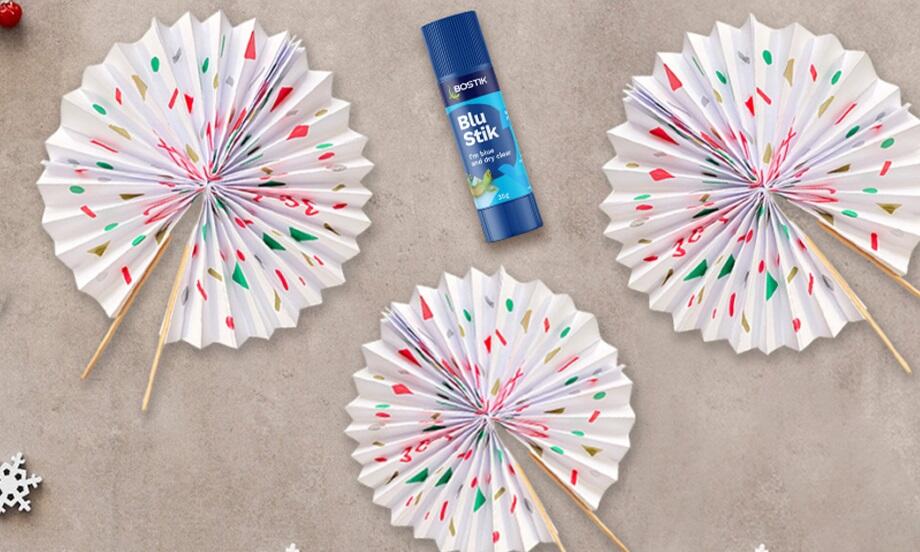
Christmas party fan
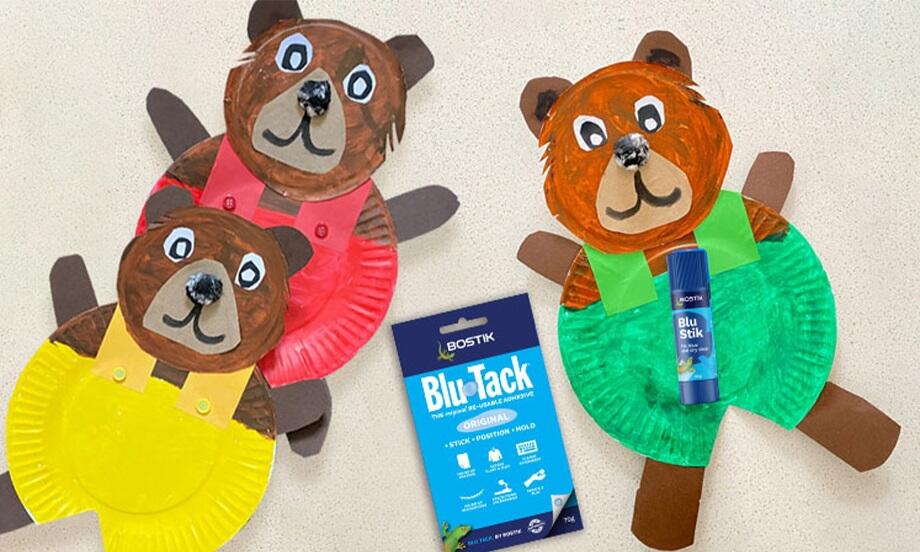
Corduroy the bear
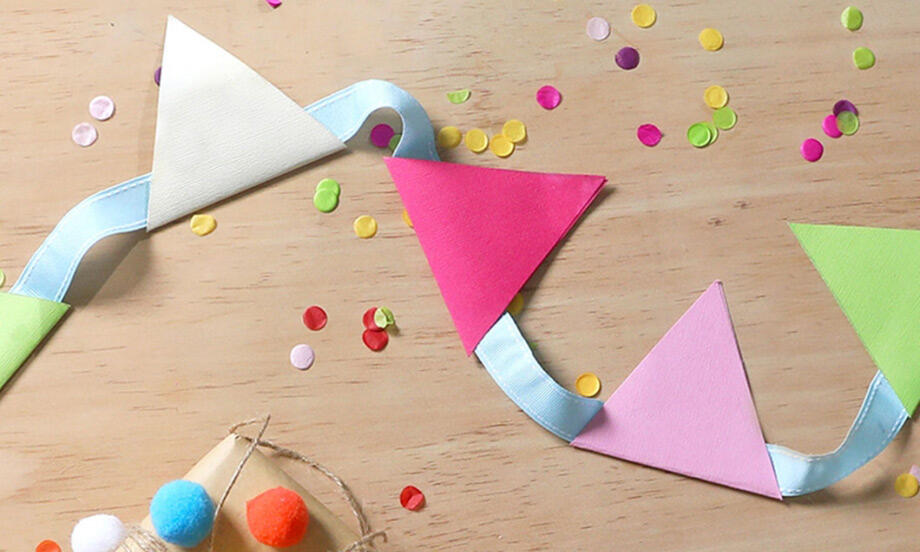
DIY bunting
DIY solar oven
DIY Stationery Holder
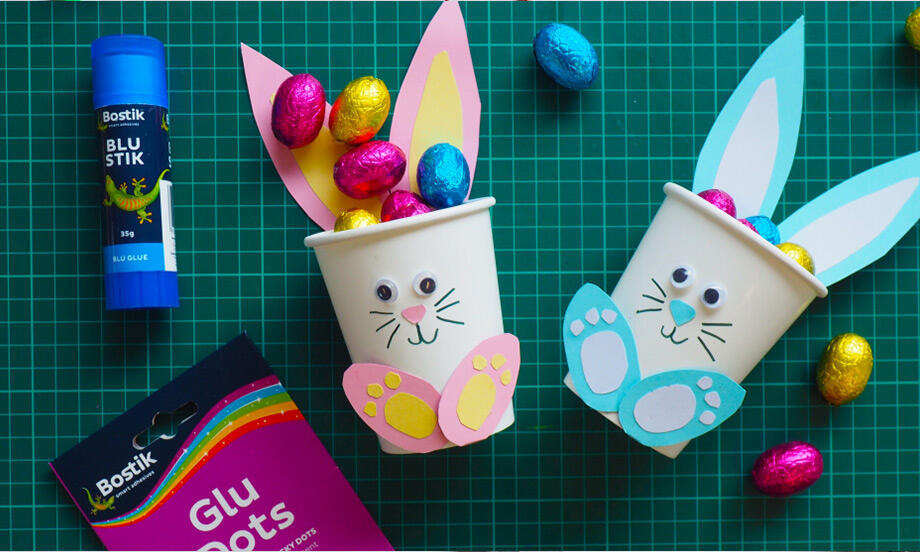
Easter cup bunnies
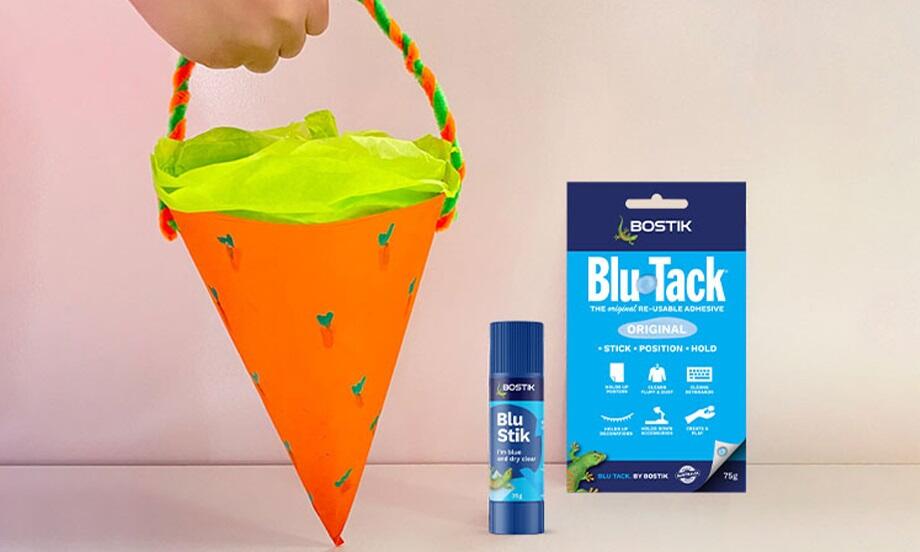
Easter Egg Basket
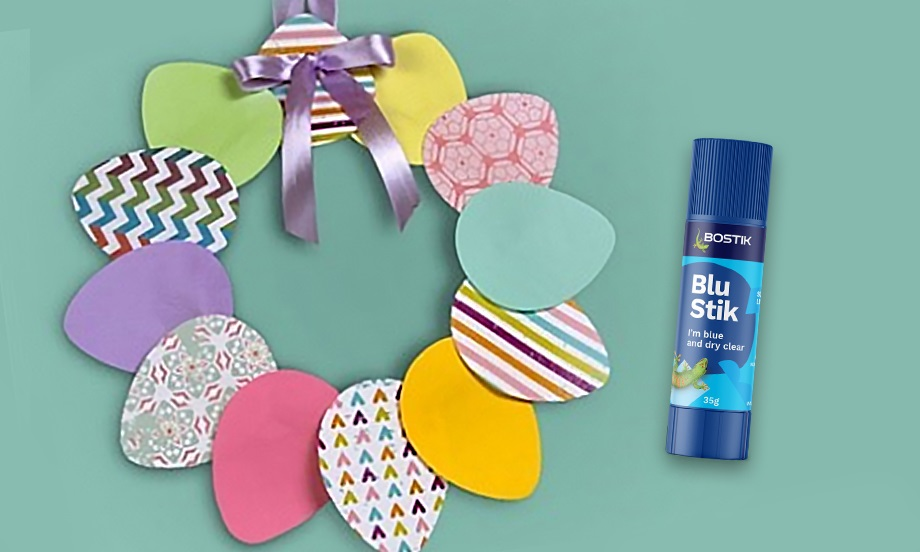
Easter Garland
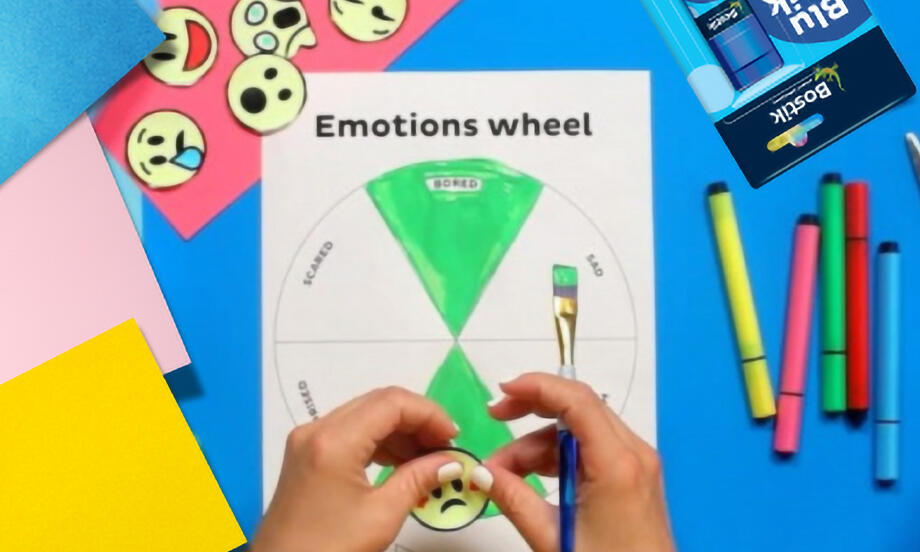
Emotions wheel
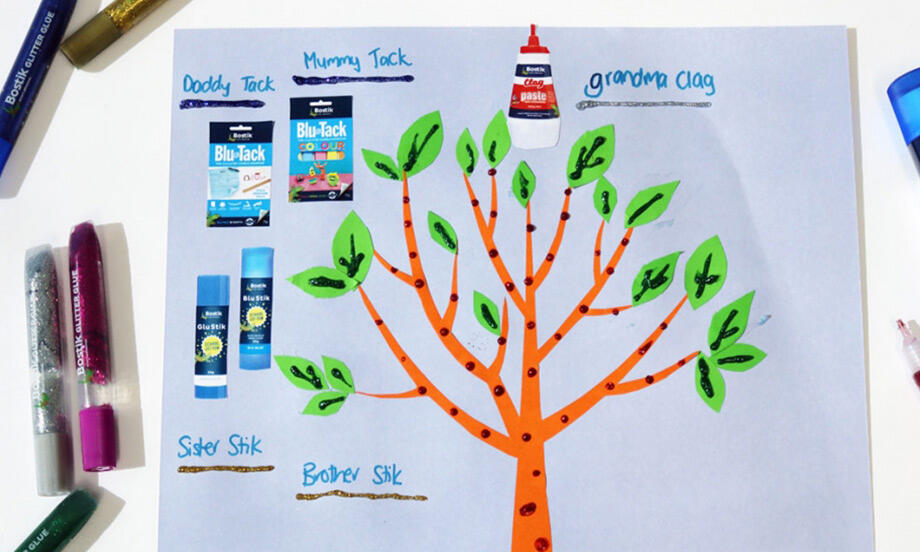
Family tree project
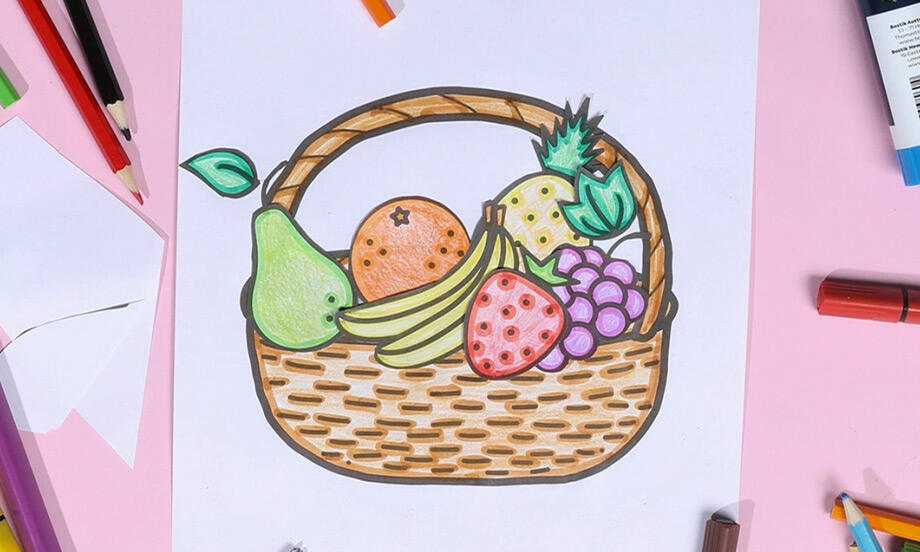
Fruit basket
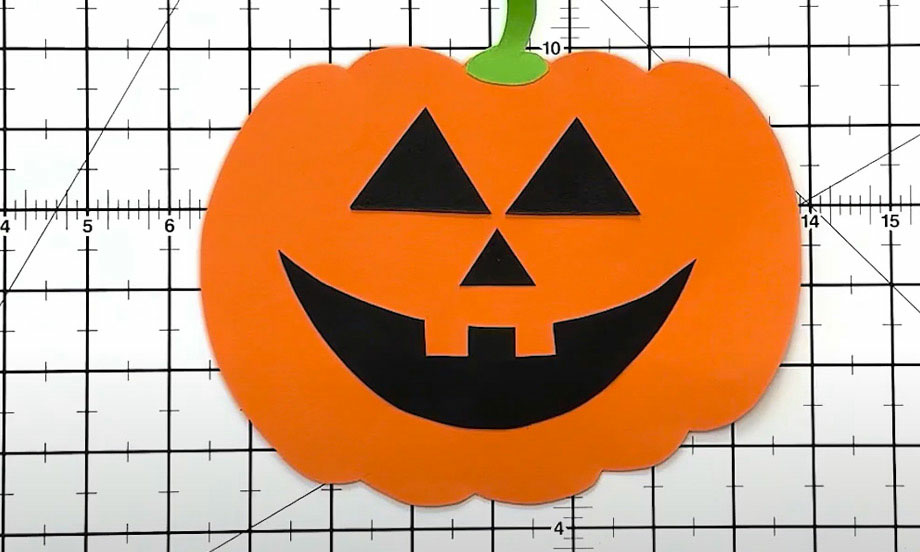
Halloween decoration pumpkin craft
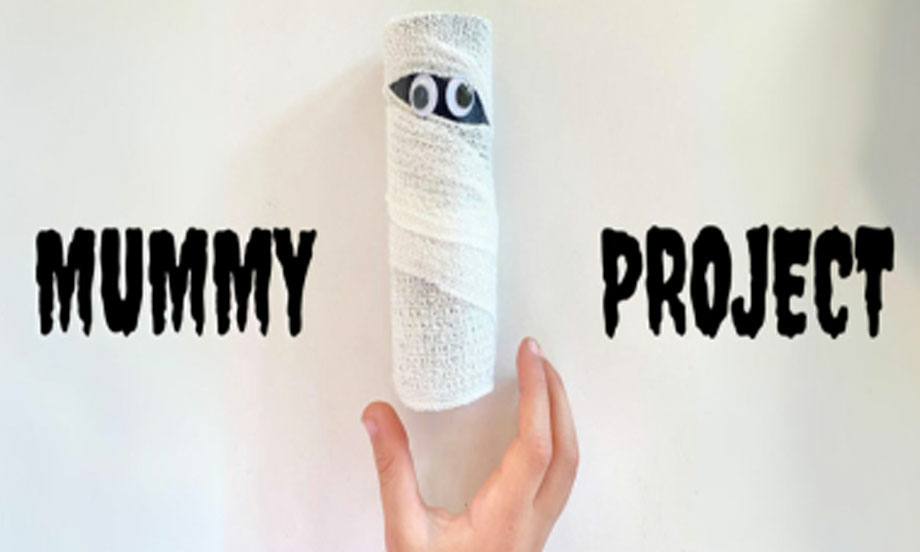
Halloween mummy
Heart tessellations
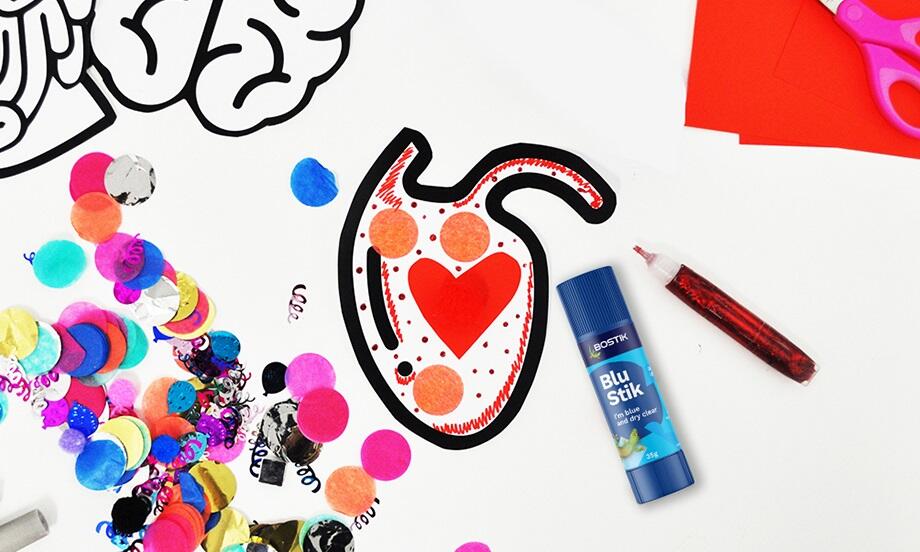
Human Body Project
Mechanical Gary Gecko
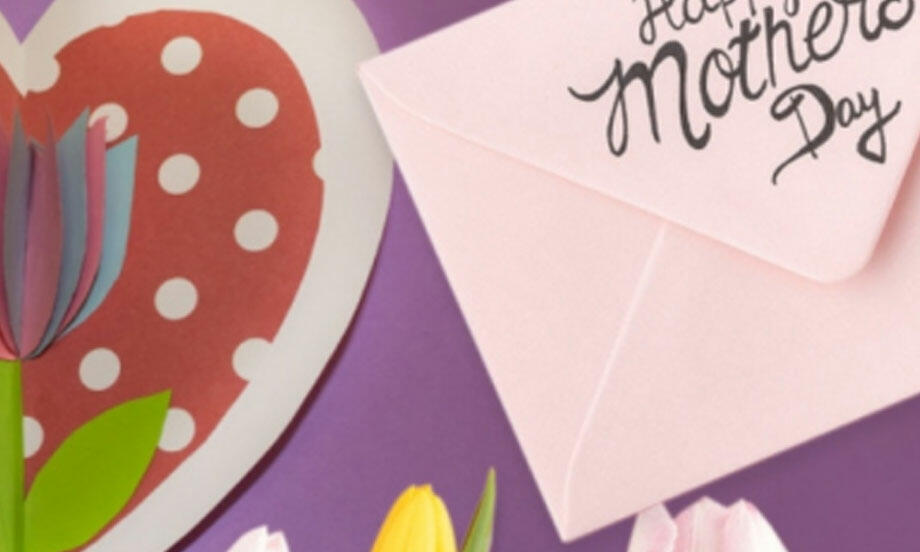
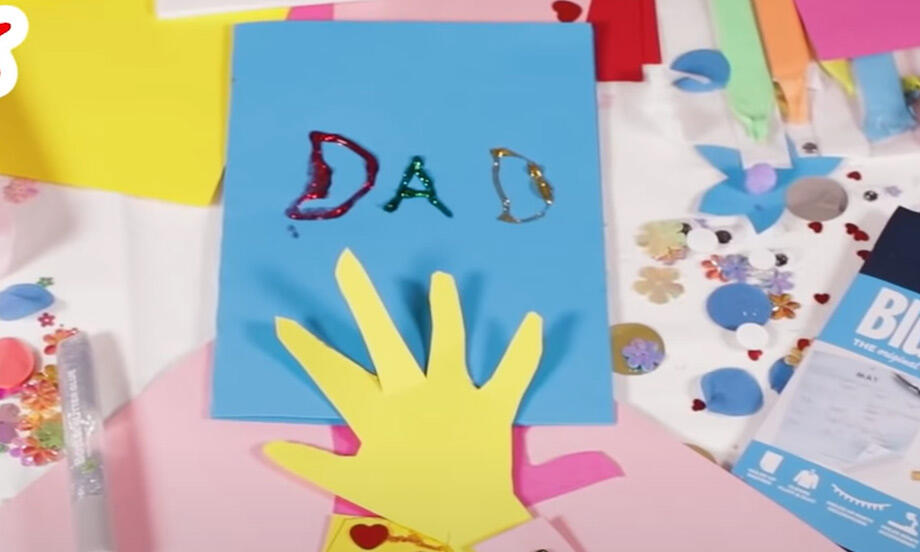
Mother's day card
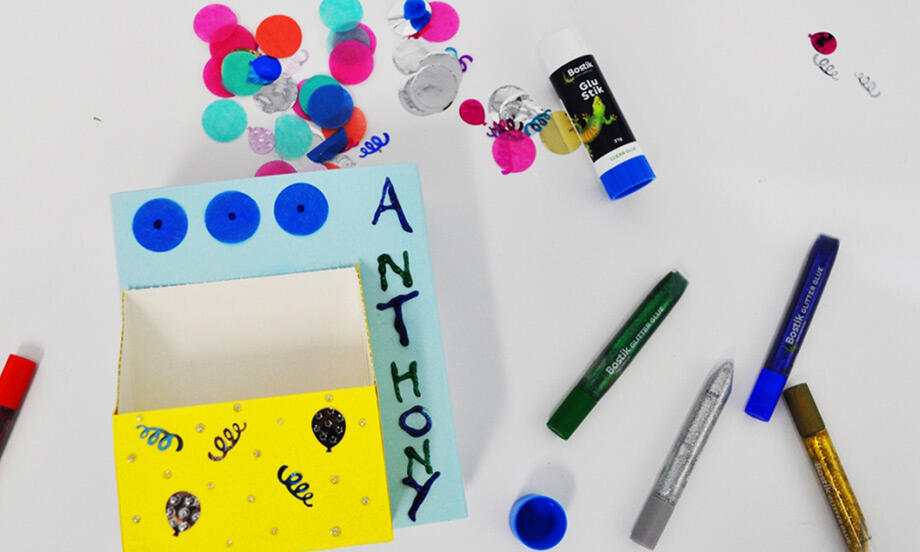
My name is
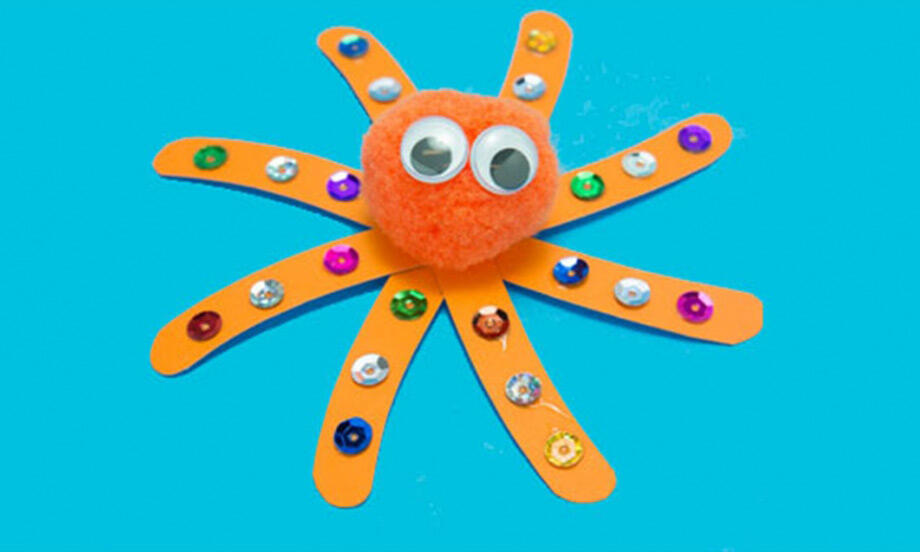
Octopus
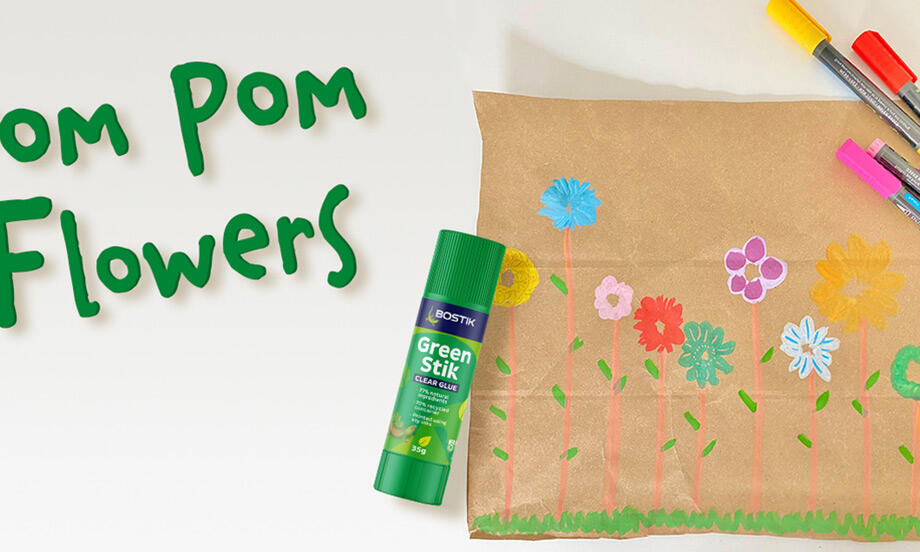
Pom Pom flowers
Round of applause card holder
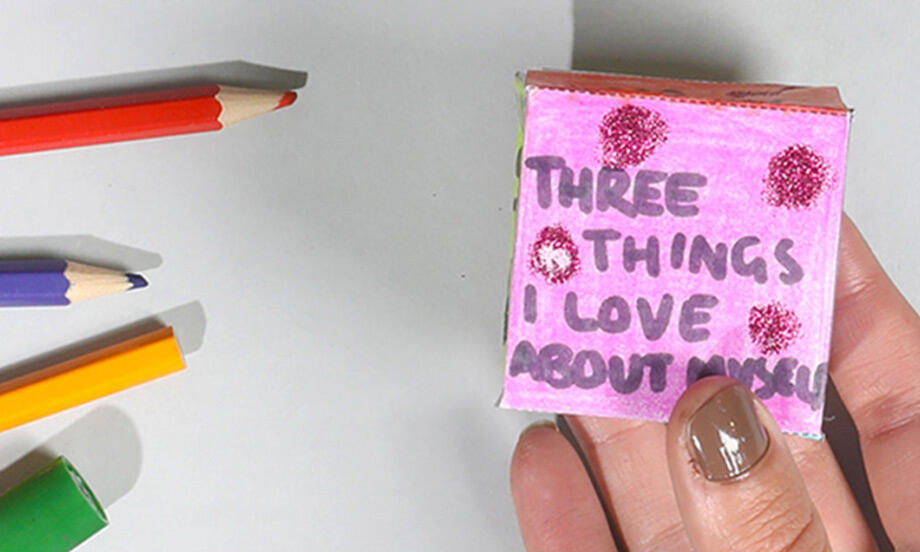
Self esteem die
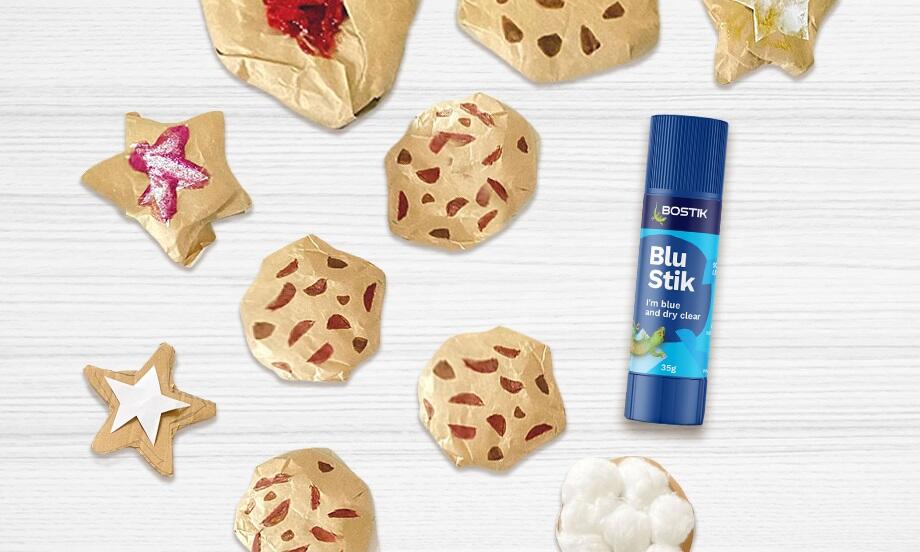
Smart cookie
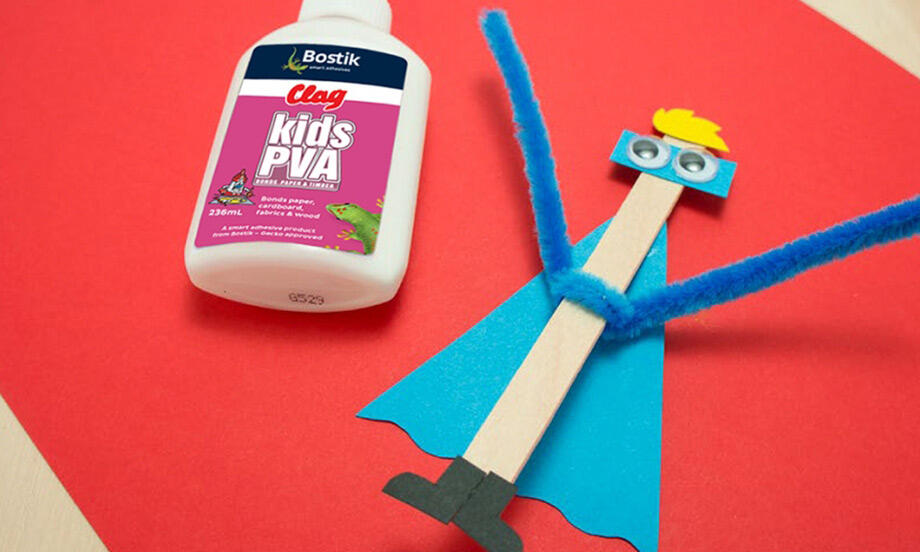
Superhero
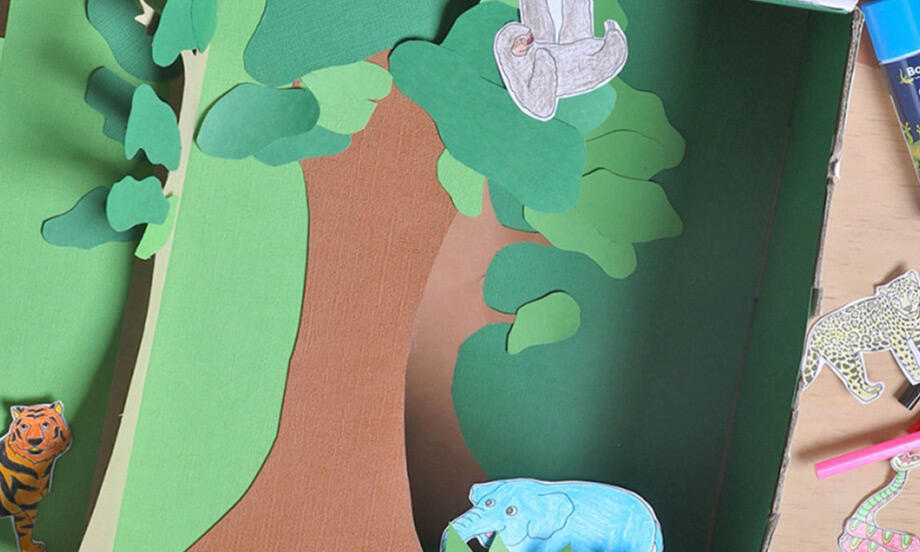
Tropical Rainforest Diorama
Weather Tree
Balloon monsters

Blu Tack® Animals
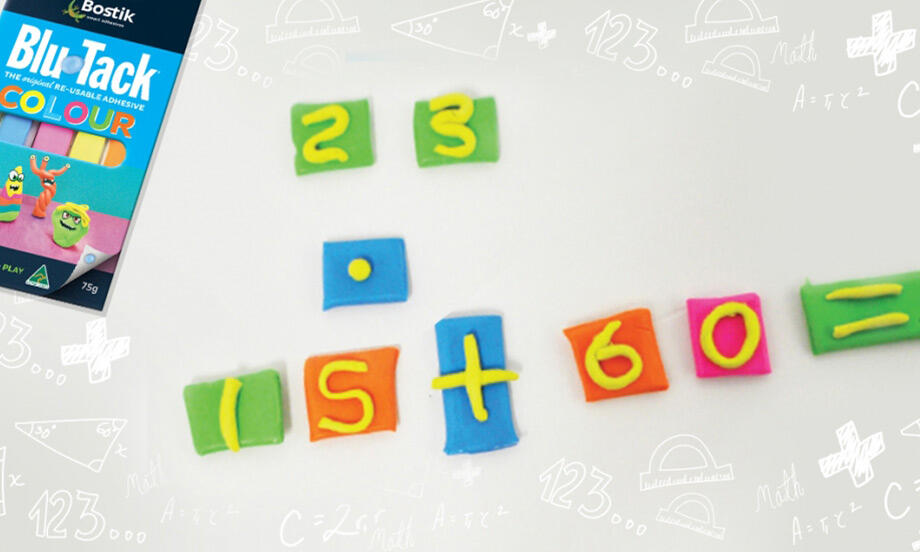
Blu Tack® Calculator
Blu Tack® Gecko
Bottle Plane
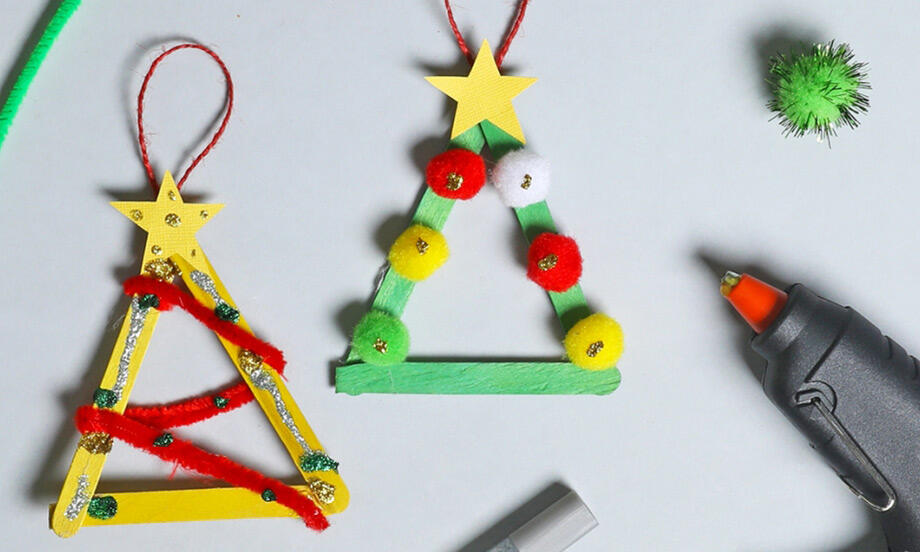
Christmas Tree Ornaments
Dino Piggy Bank
Egg Carton Turtles
How to protect your floor from scratches
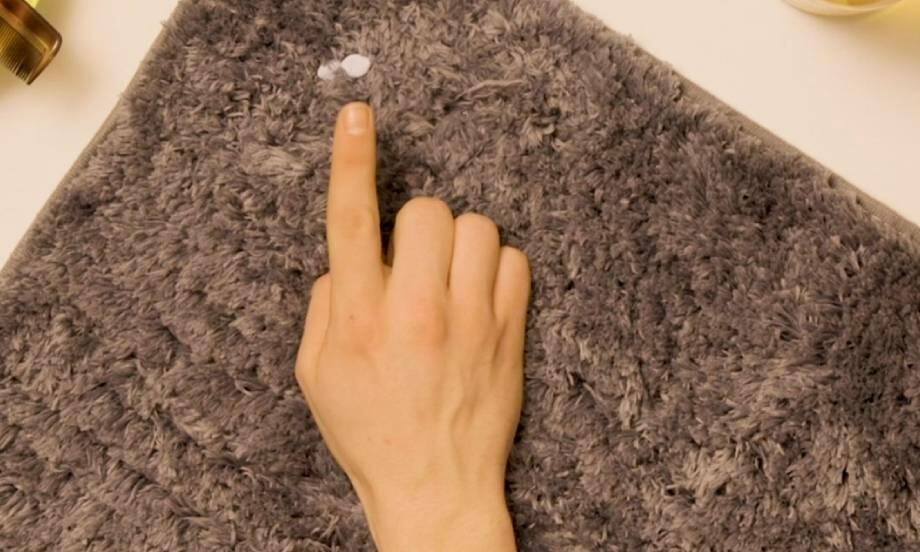
How to remove Blu Tack® from carpet
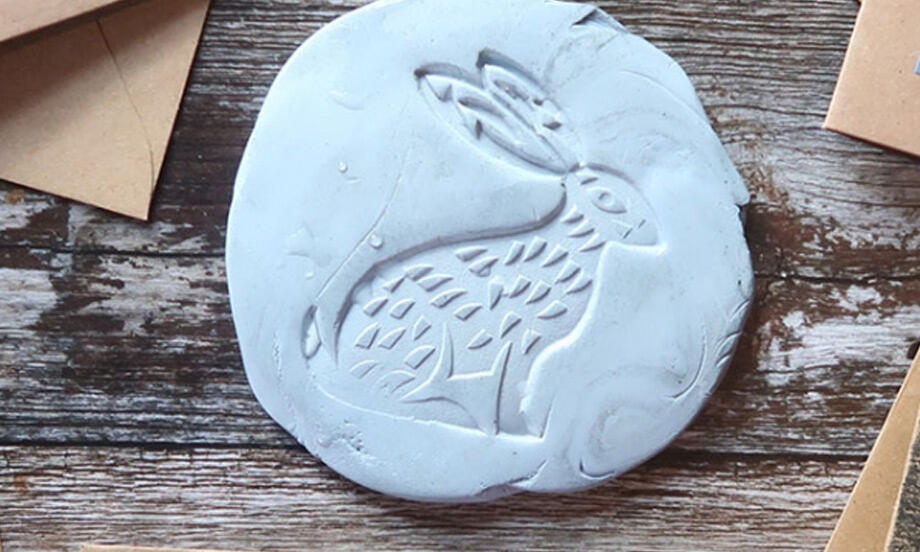
Simple Reverse Prints