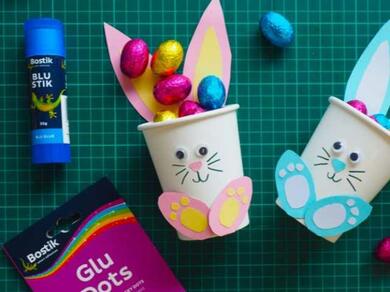
Easter cup bunnies
Give your Easter décor a cute, handmade touch with this DIY cup bunny craft. 🐰 Start with plain paper cups and cut simple ears and feet from coloured card ✂️, then stick everything together using Bostik Blu Stik and Bostik Glu Dots for clean, kid-friendly adhesion. Draw whiskers and a smile, add googly eyes or a pom-pom nose, and your bunny is ready to hop onto the table. Fill the cups with chocolate eggs or small surprises 🥚 for an instant treat holder, or add paper “grass” for centerpiece charm. The steps are low-mess and perfect for classrooms or rainy-day crafting at home. This project encourages creativity and fine-motor skills while keeping supplies simple and budget-friendly. Display a whole family of bunnies to brighten shelves, party tables, and Easter baskets. ✨
Instructions

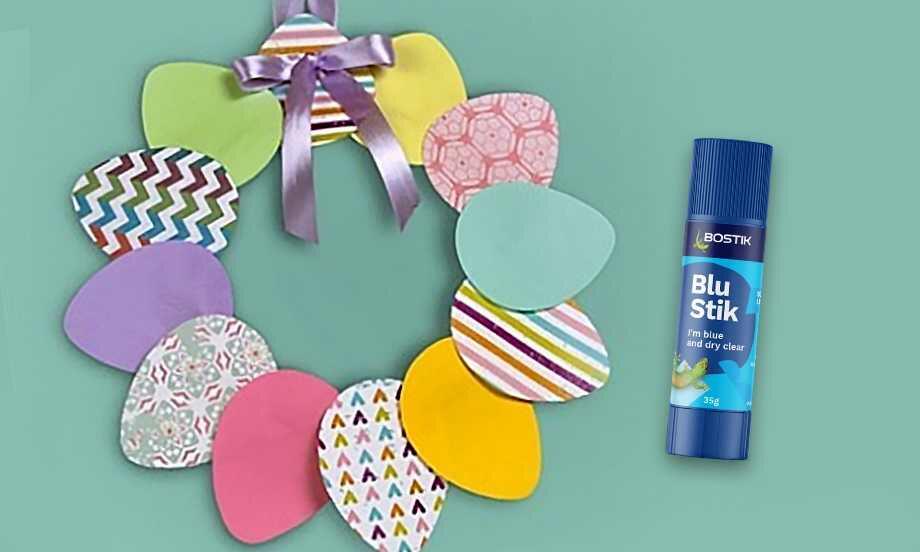
Easter Garland
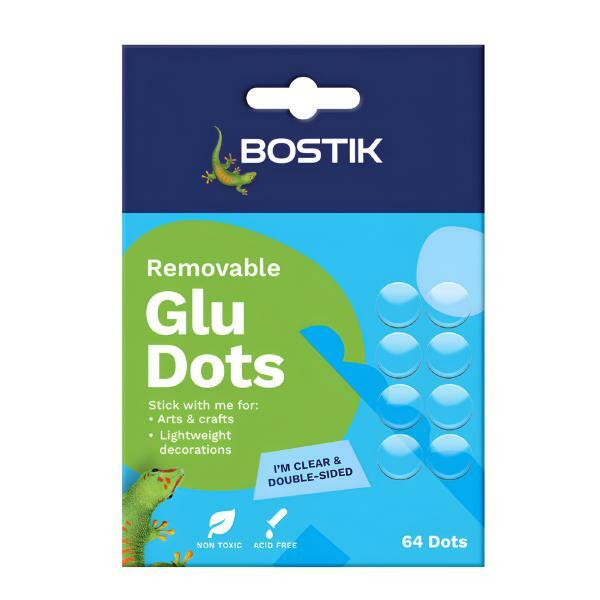
Everything you need to know: Glu Dots
Mechanical Gary Gecko
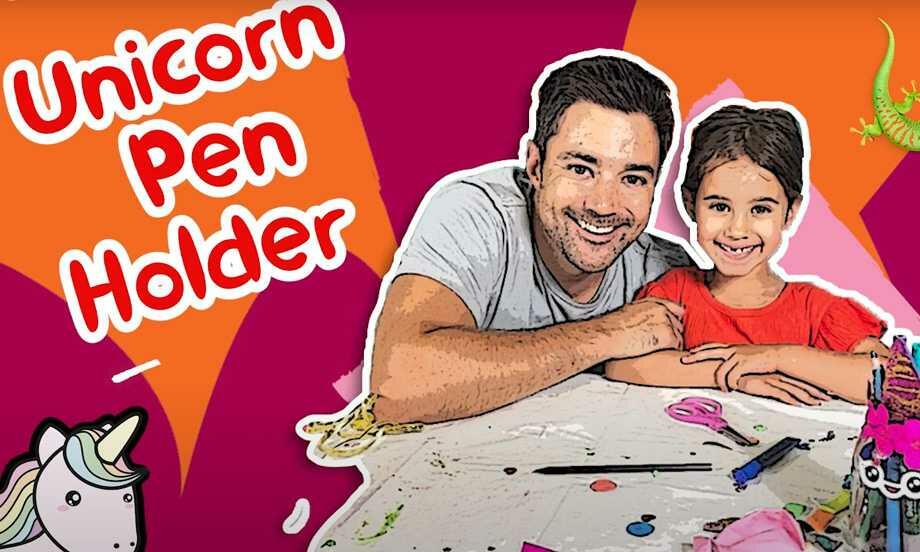
Unicorn pen holder
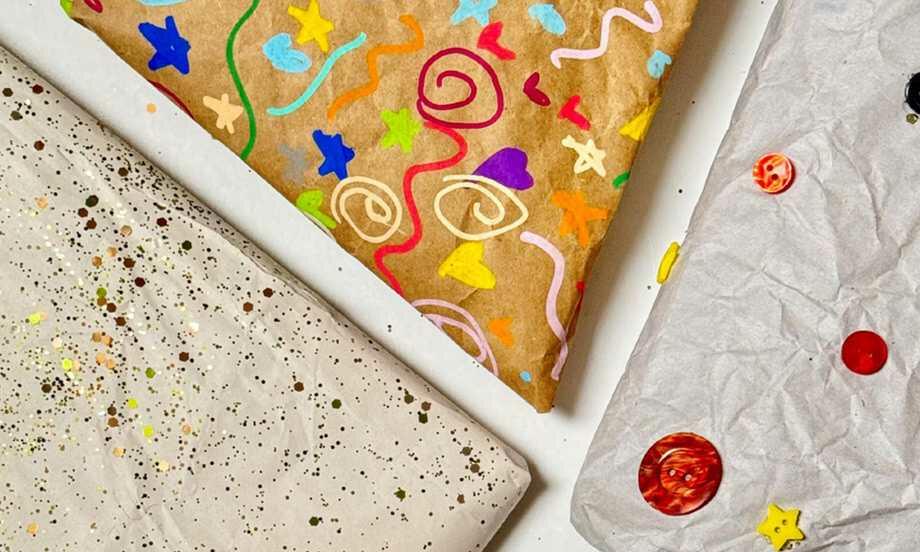
Wrapping paper project
Animal Games
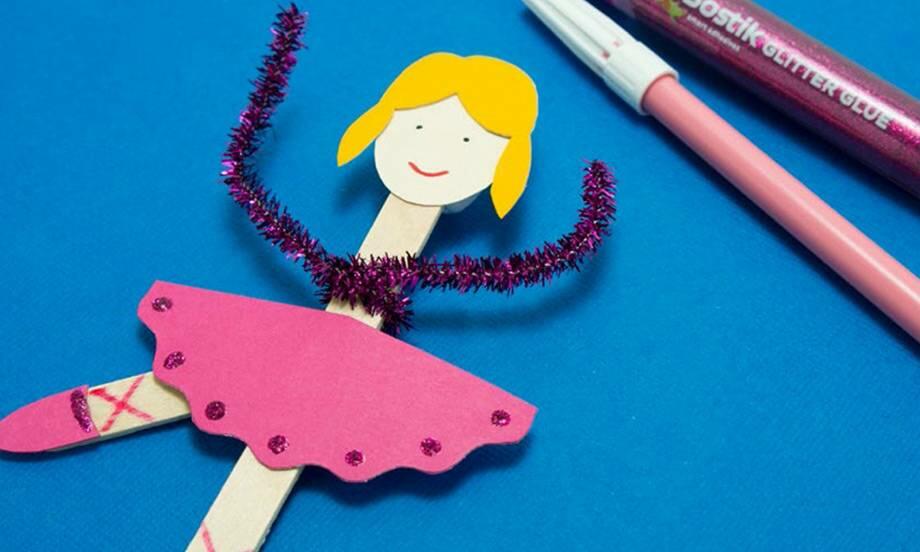
Ballerina
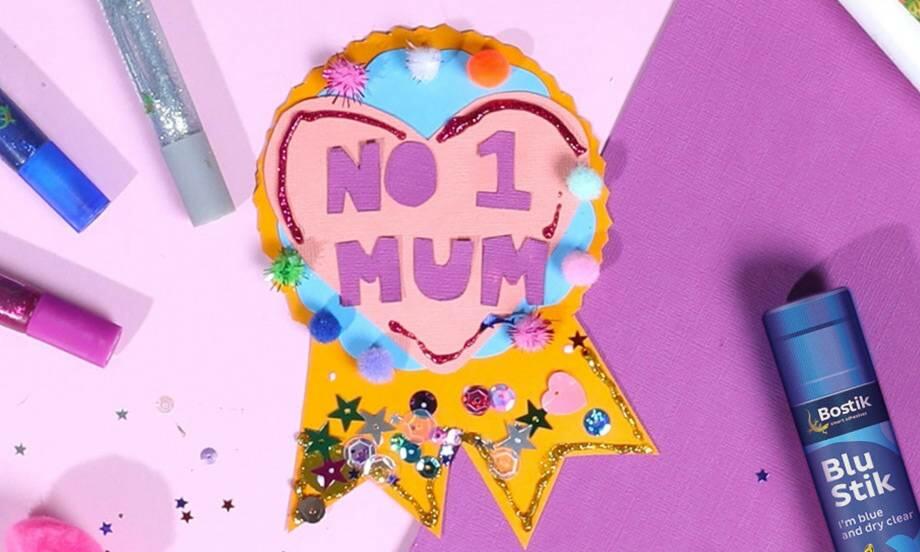
Best Mum Ribbon
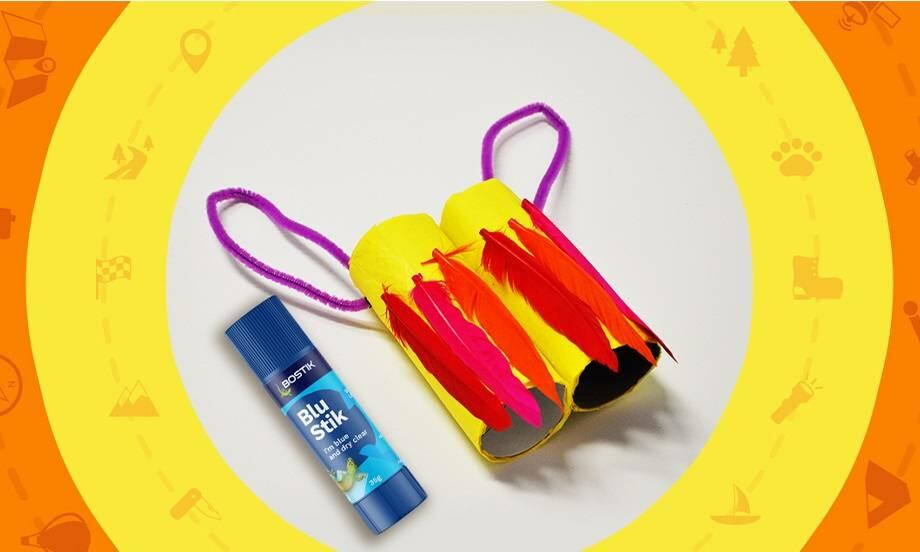
Binoculars
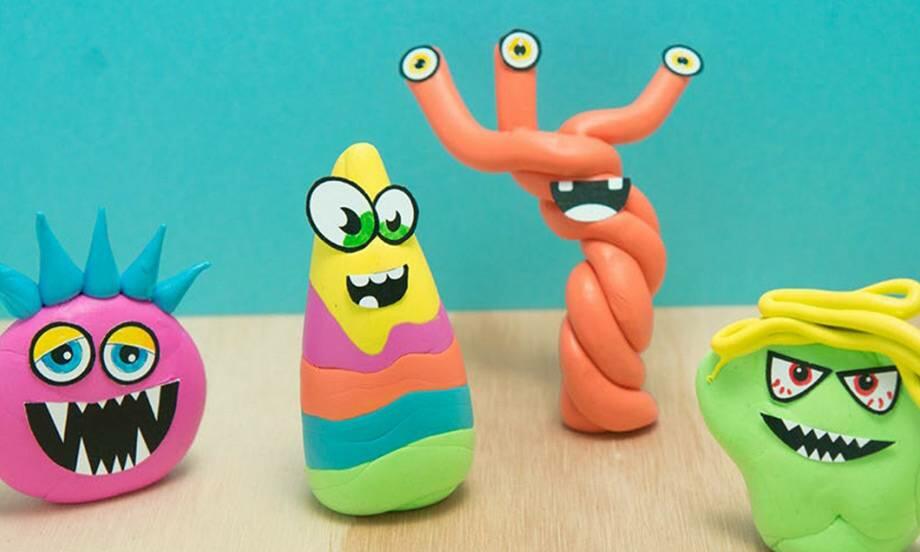
Blu Tack® Monsters
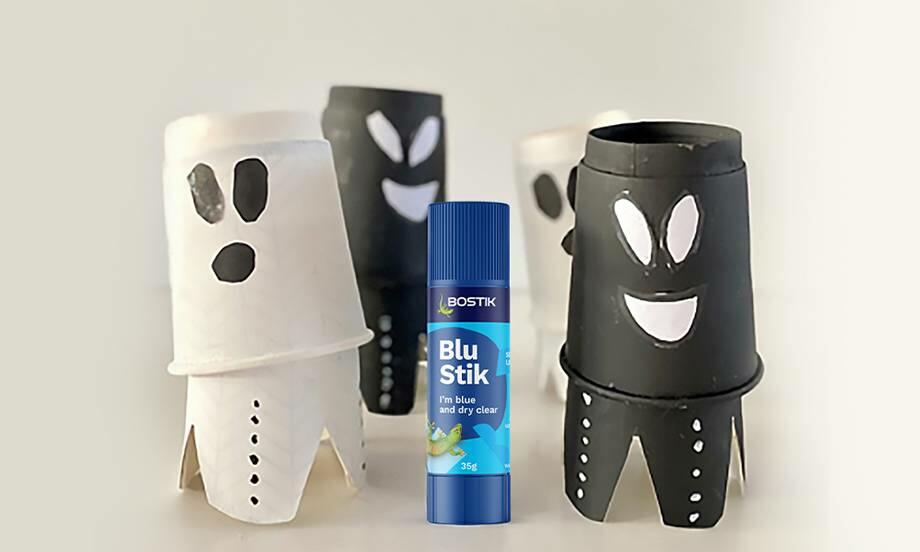
Bobbing ghosts
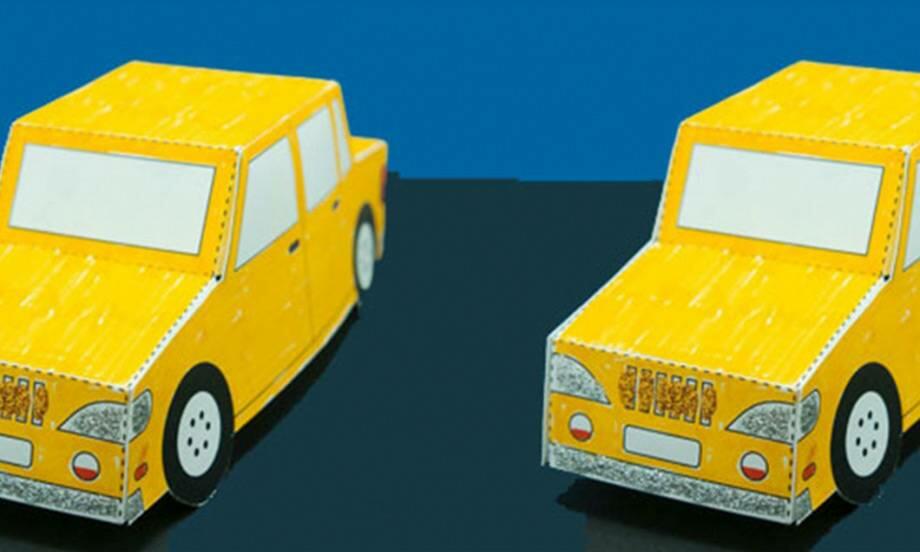
Bostik car
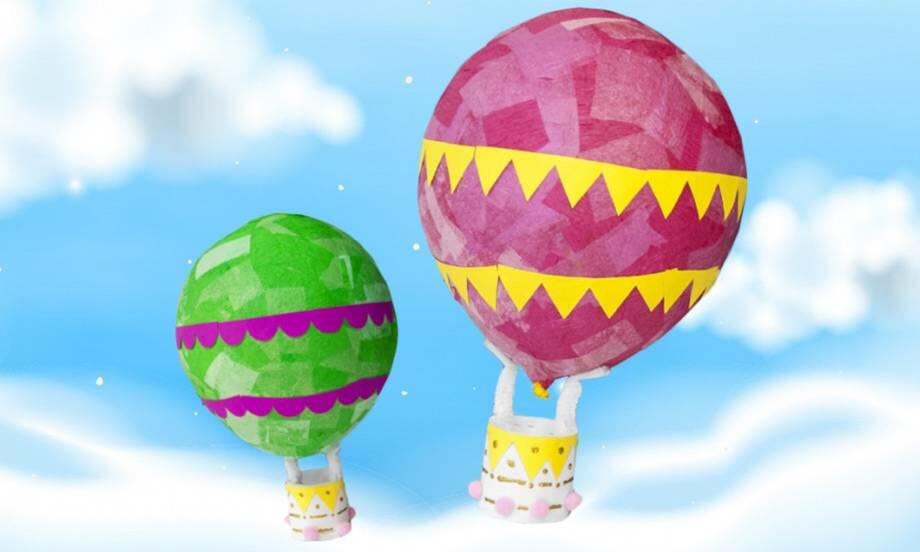
Bostik Hot Air Balloon
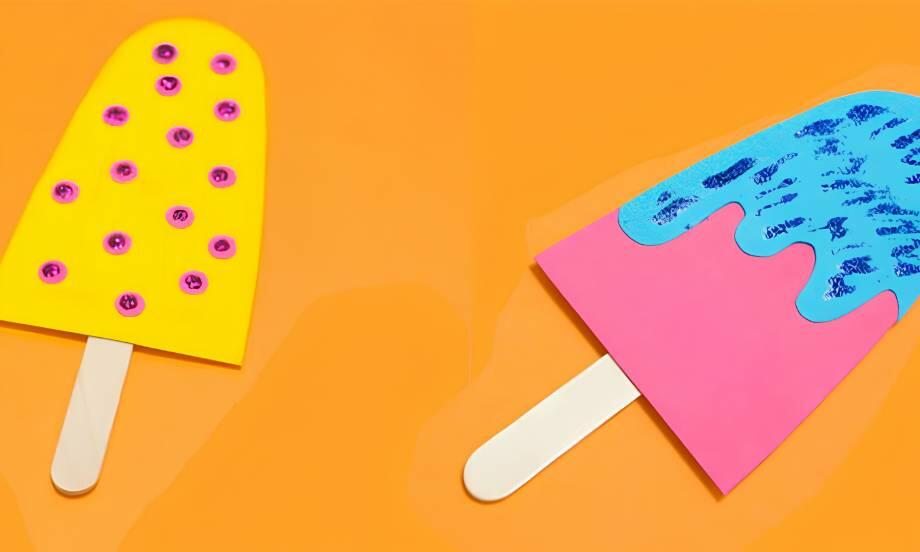
Bostik icy pole
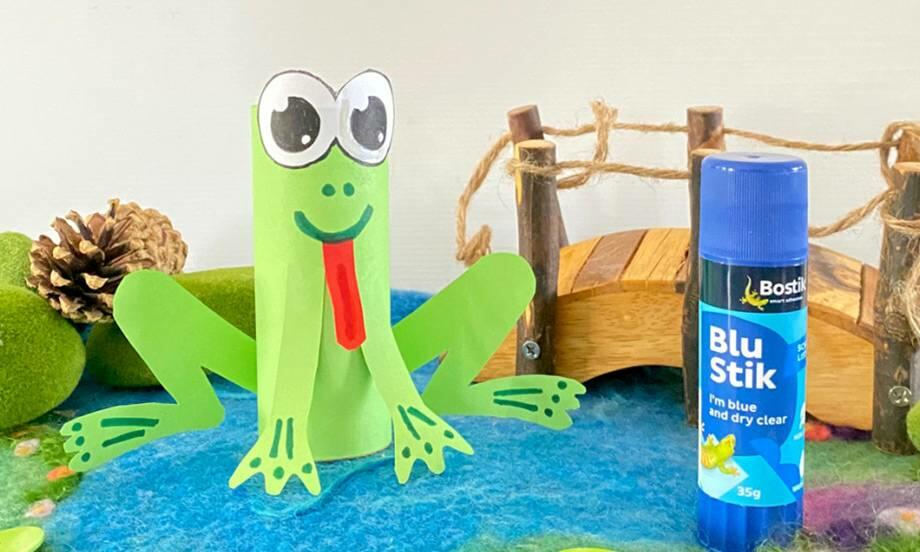
Cardboard Frog
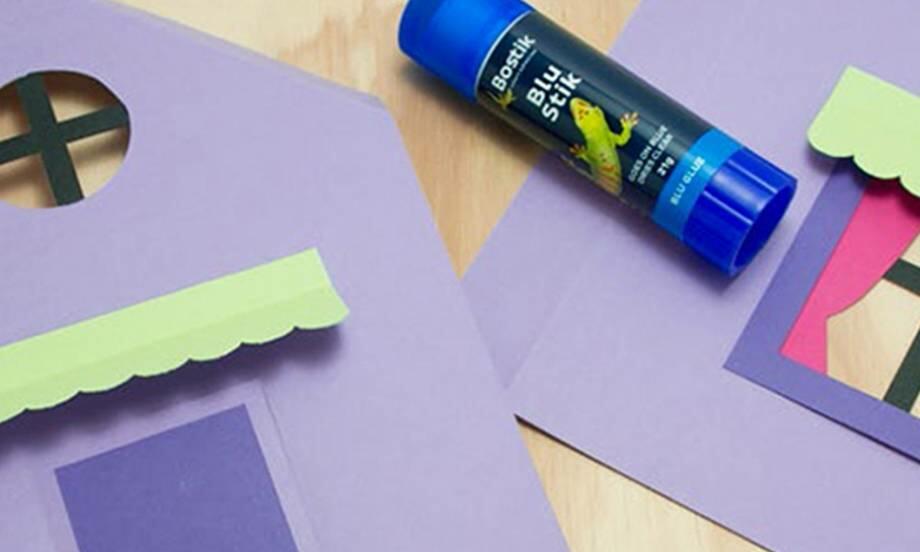
Cardboard House
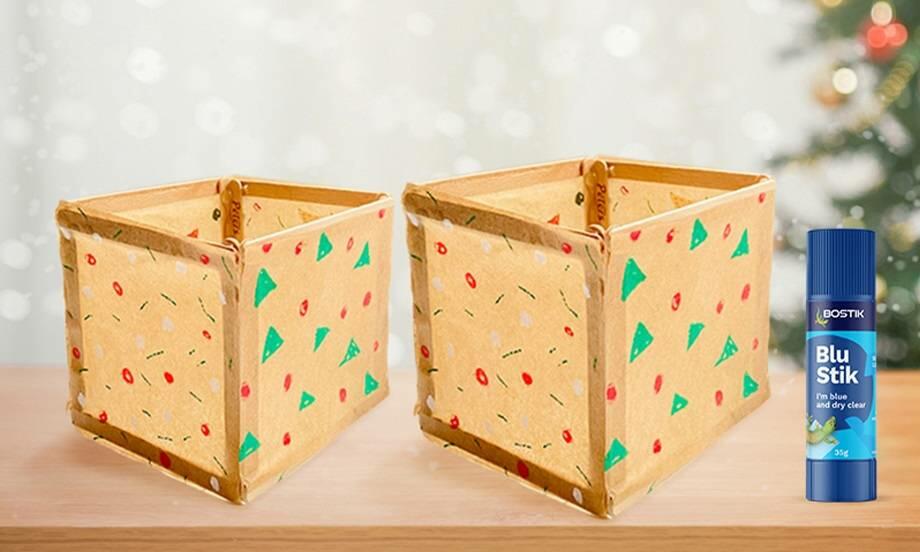
Christmas lanterns
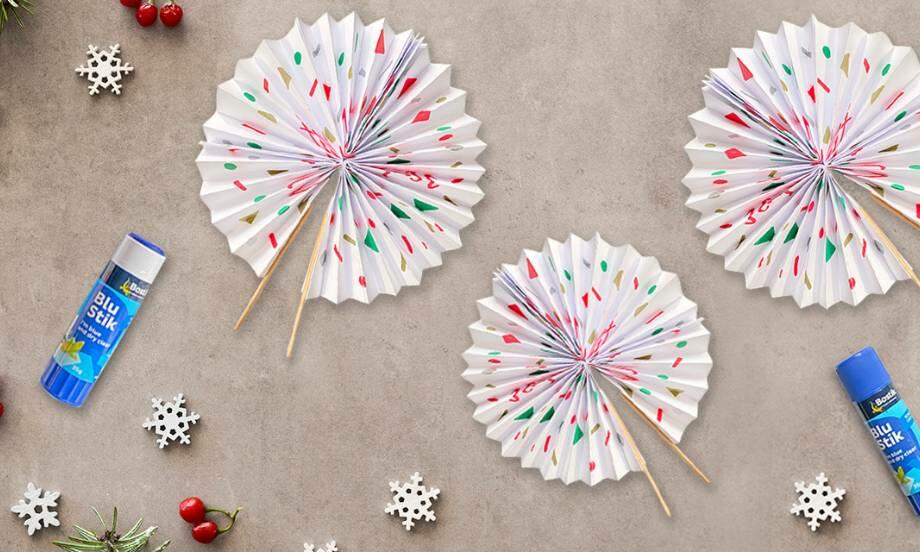
Christmas party fan
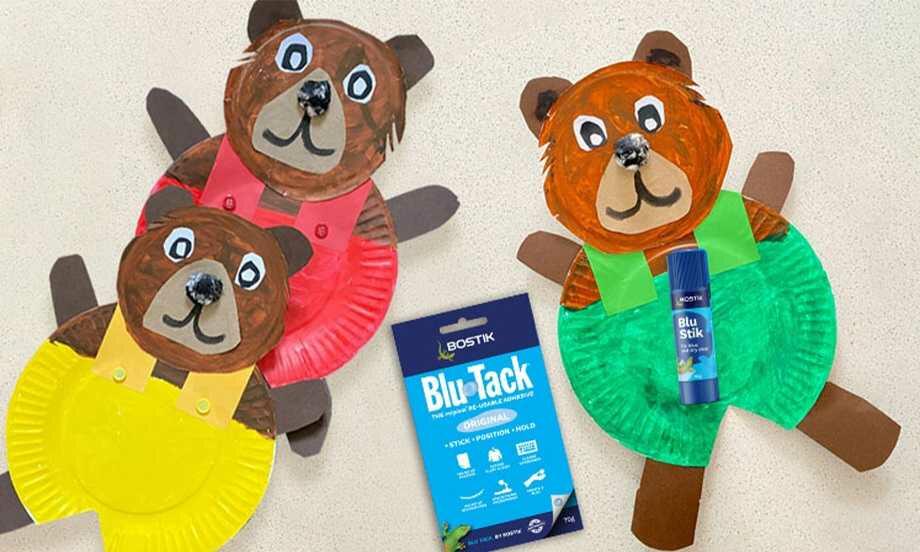
Corduroy the bear
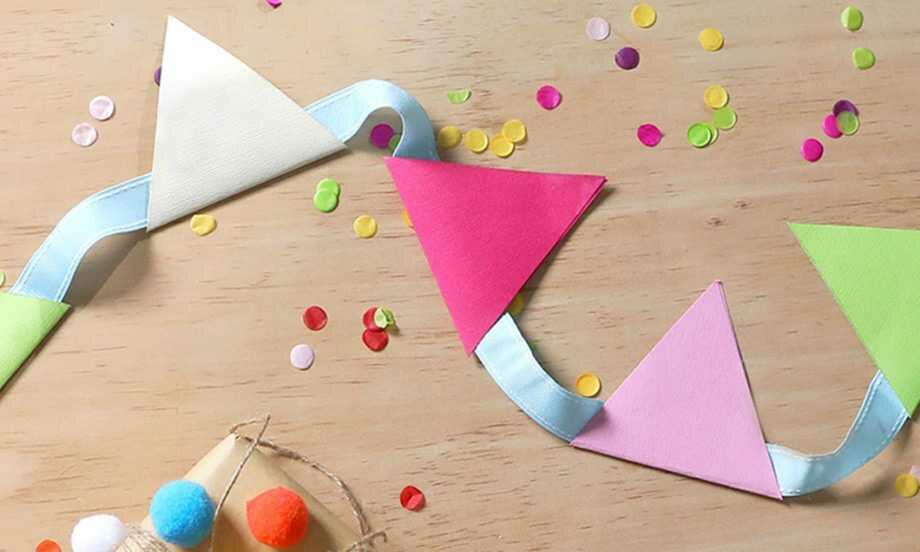
DIY bunting
DIY solar oven

DIY Stationery Holder
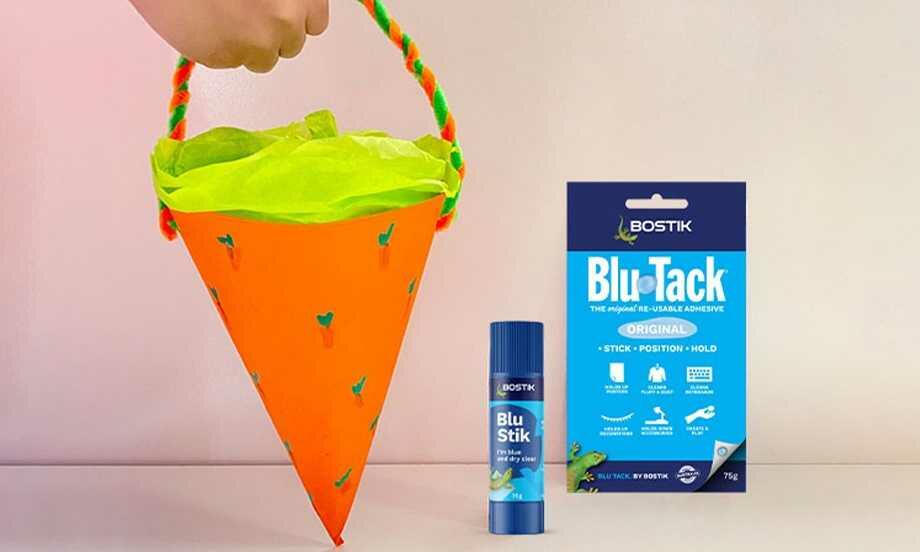
Easter Egg Basket
Eco Bag
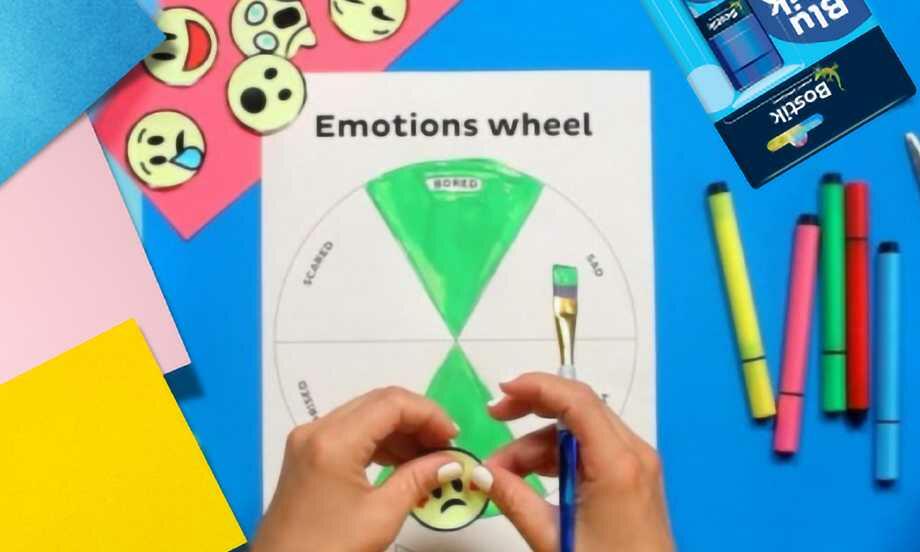
Emotions wheel

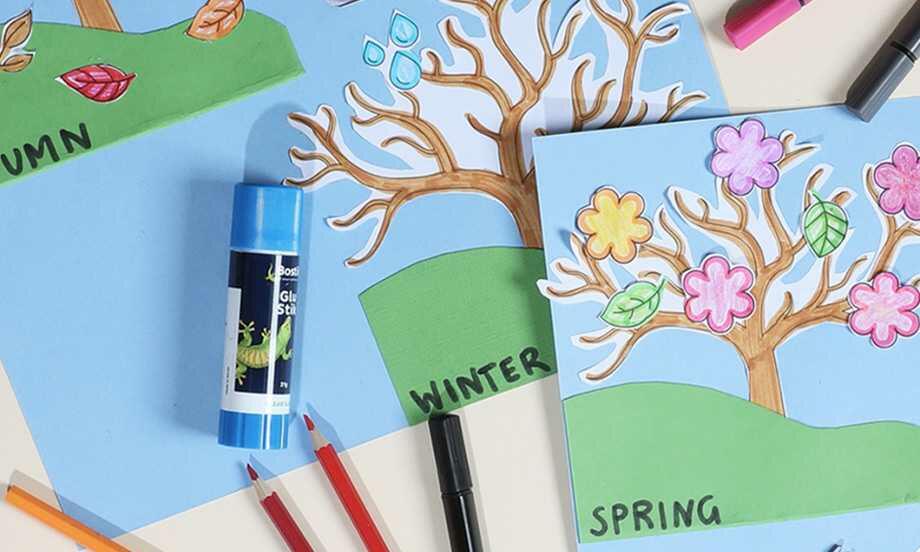
Family tree project
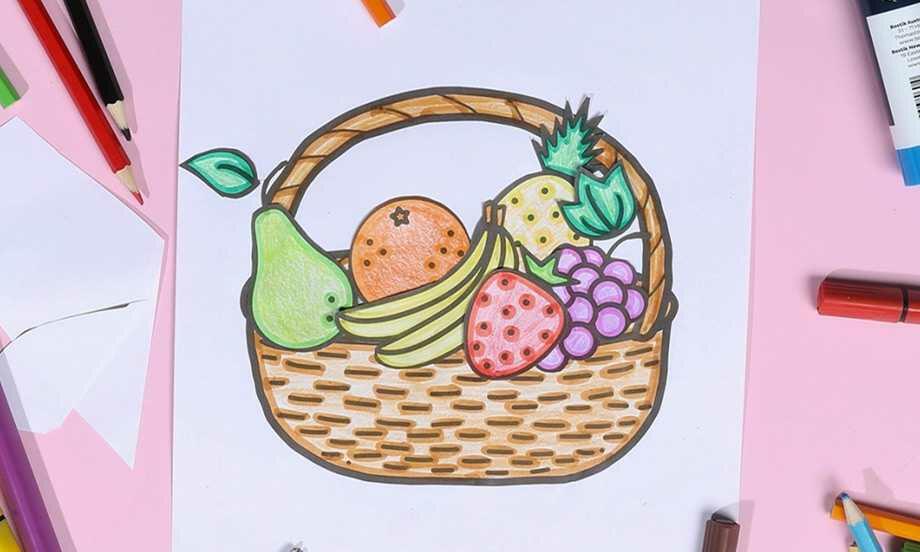
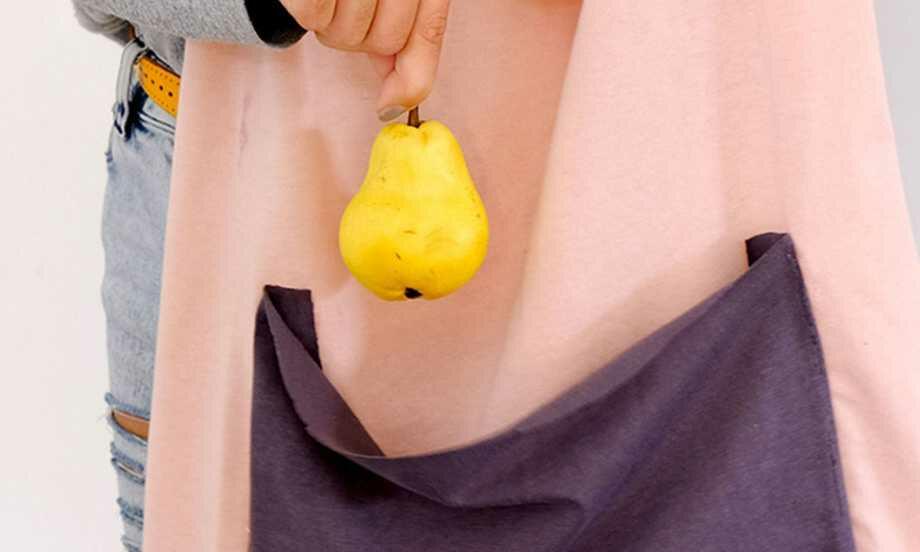
Fruit basket
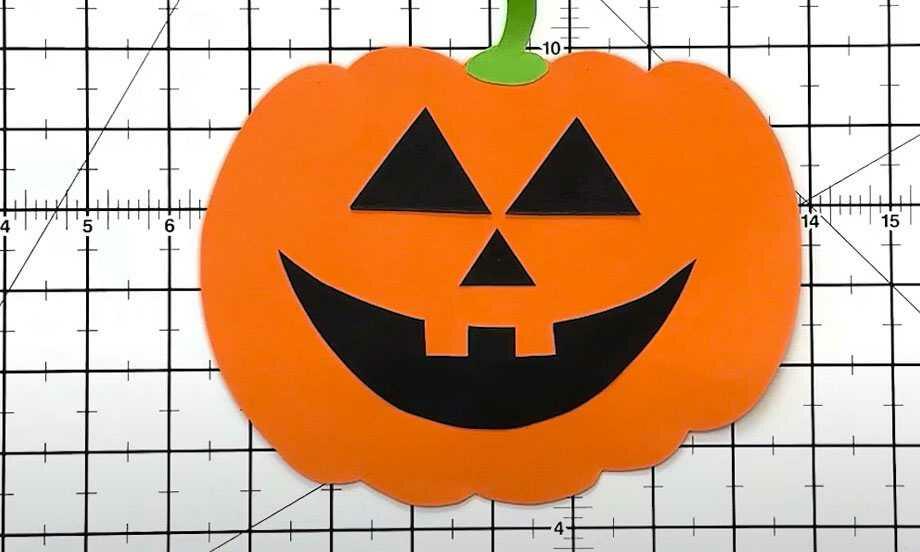
Halloween decoration pumpkin craft
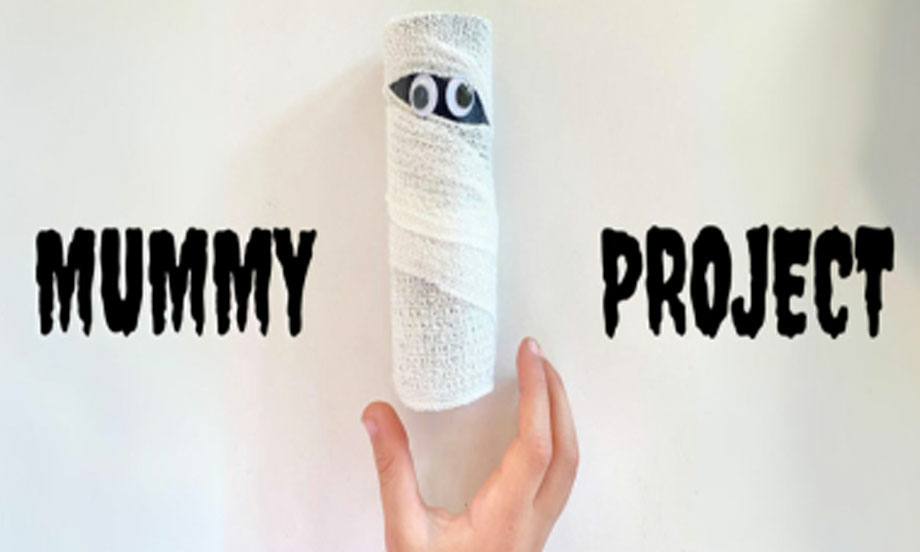
Halloween mummy
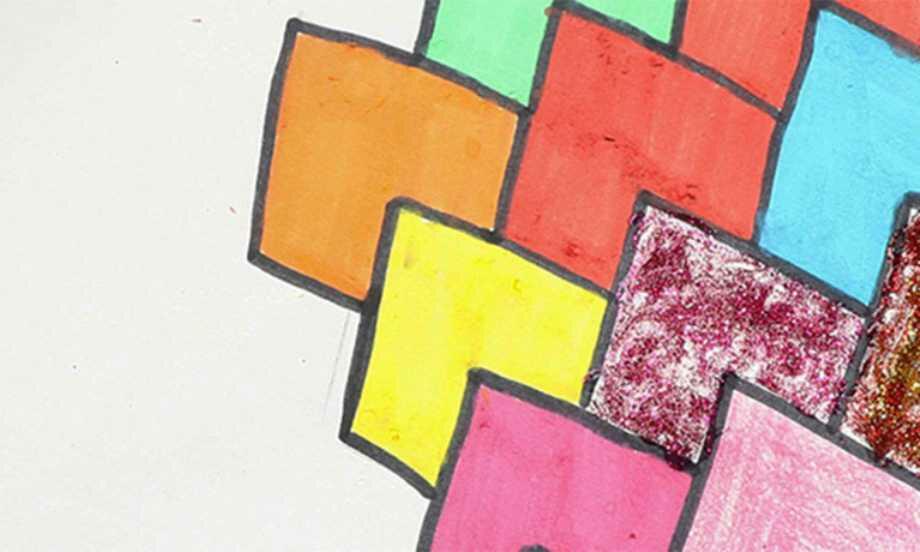
Heart tessellations
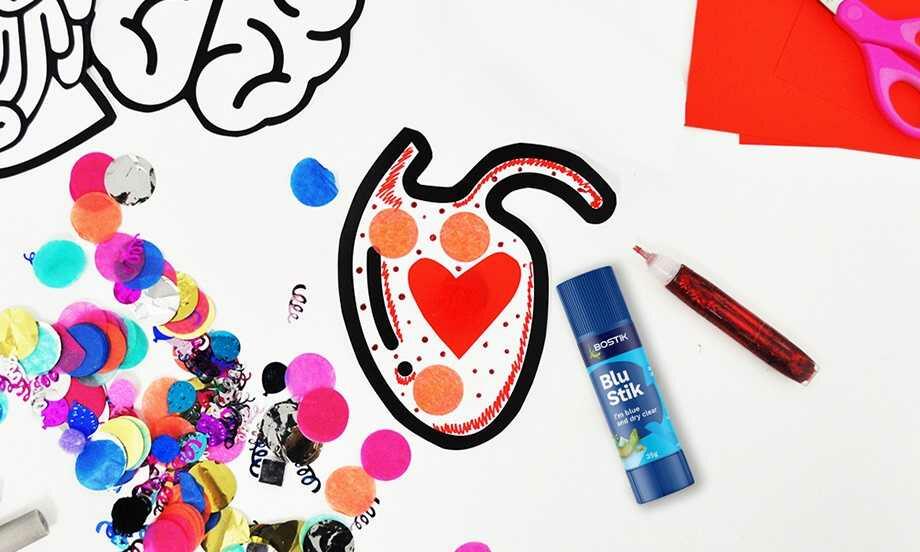
Human Body Project
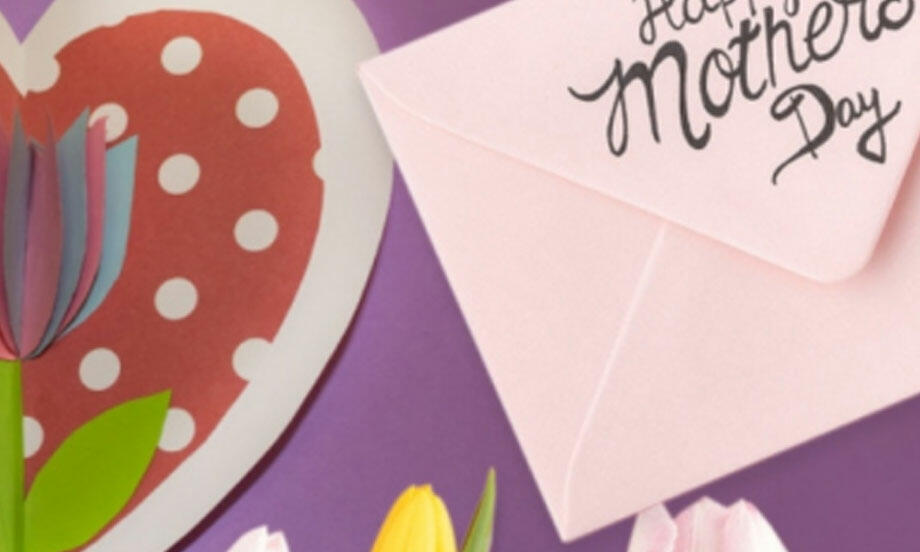
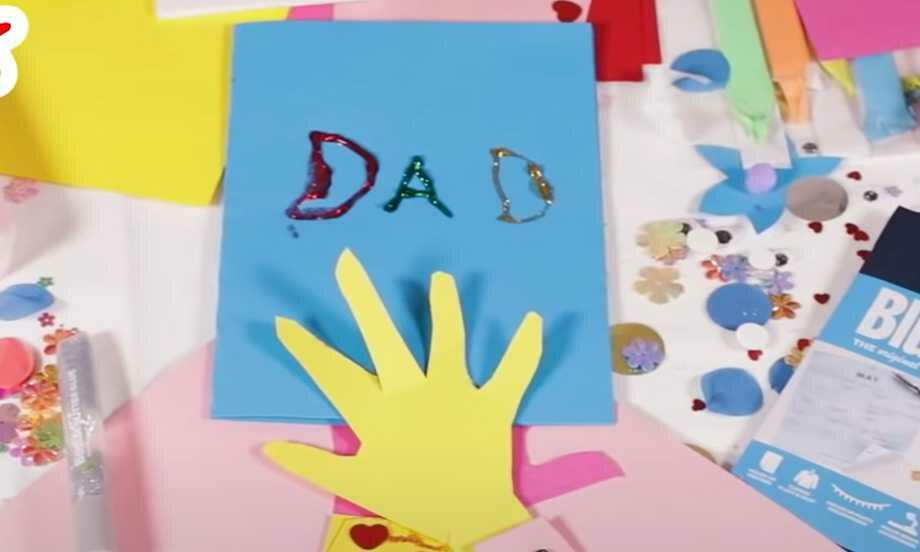
Mother's day card
My name is
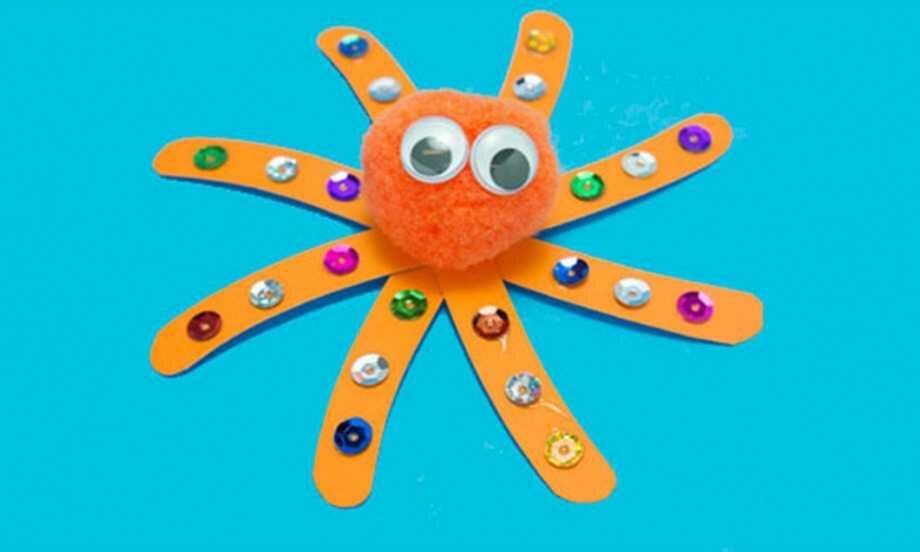
Octopus
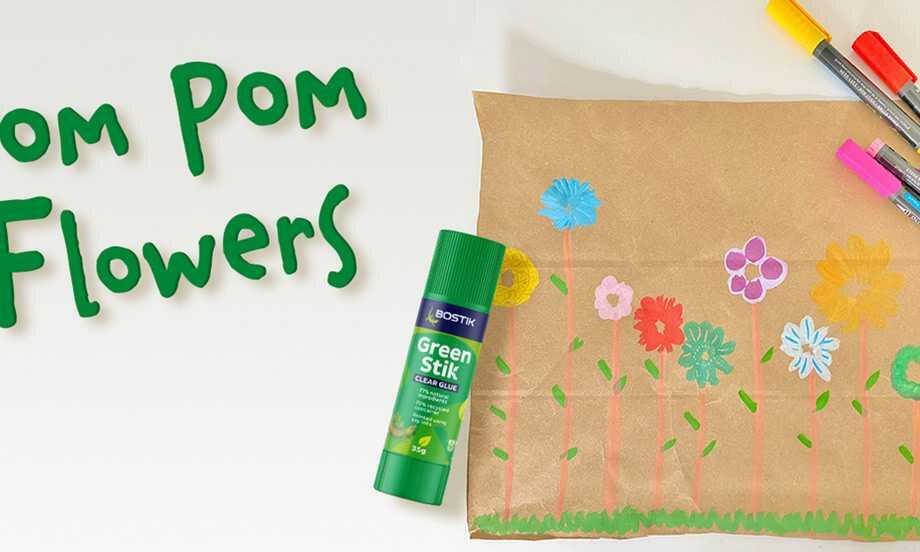
Pom Pom flowers
Round of applause card holder

Self esteem die
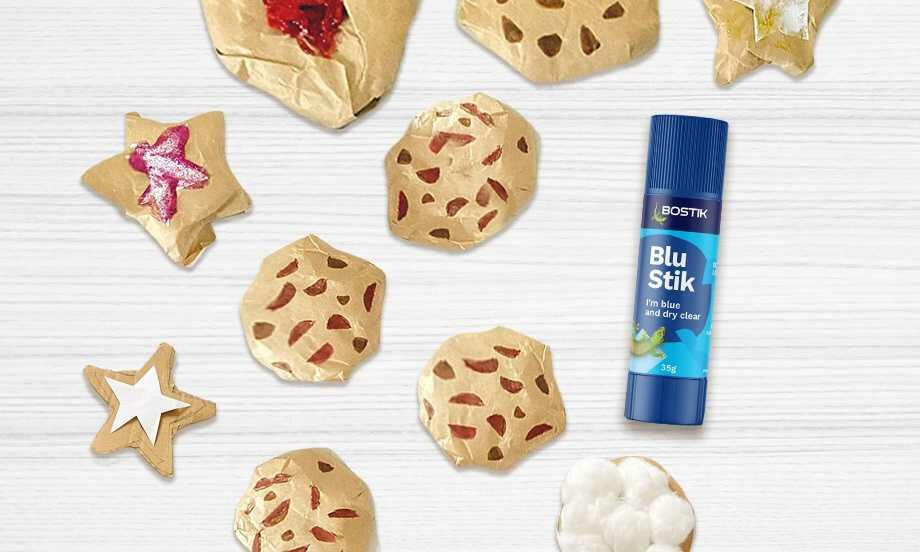
Smart cookie
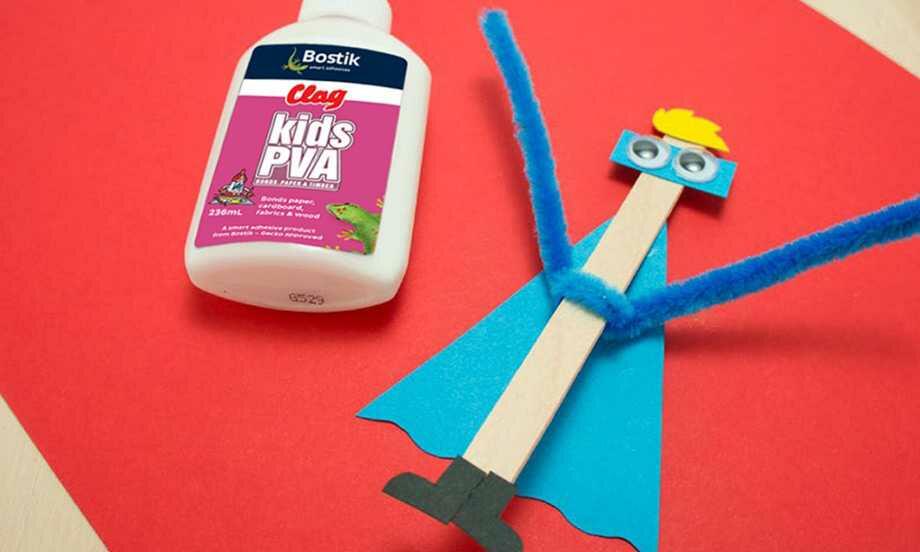
Superhero
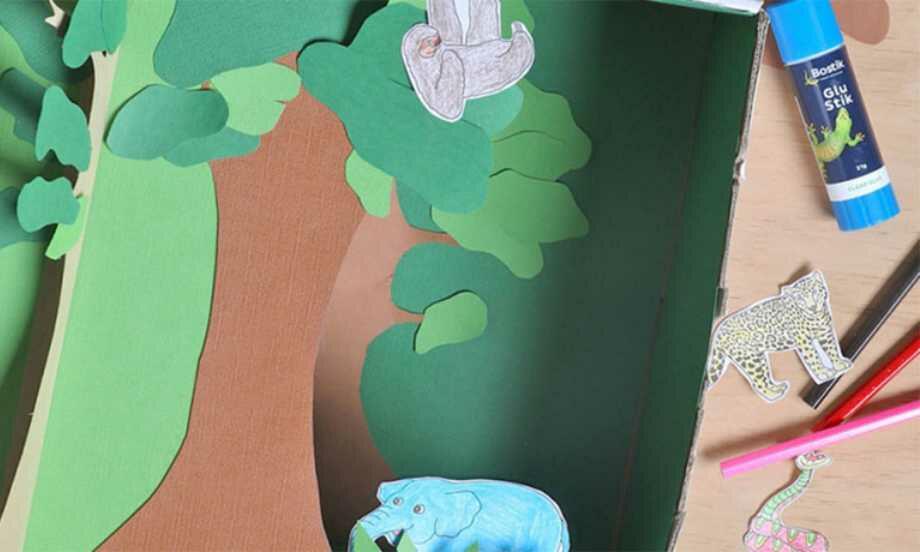
Tropical Rainforest Diorama