Wrapping paper project
Brighten up your wrapping paper with these decorative ideas ✨
This tutorial will walk you through various artistic techniques and the use of everyday materials to craft unique, eye-catching gift wraps. Whether you're preparing for a special occasion or just want to add a personal touch to your presents, this guide provides all the necessary steps to ensure your wrapping paper impresses. Let's begin your journey into creative and thoughtful gift-giving with our easy-to-follow project instructions.
This project was made by our Bostik Buddy, Sonia - follow her on Instagram!
What you will need
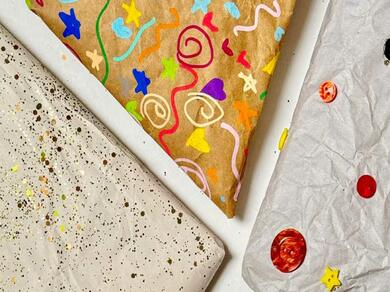
- Paint pens
- Glitter
- Paper packaging
- Buttons
Instructions
STEP 1: Prepare
Gather your supplies and find a clear space to work.
STEP 2: Create glitter paper
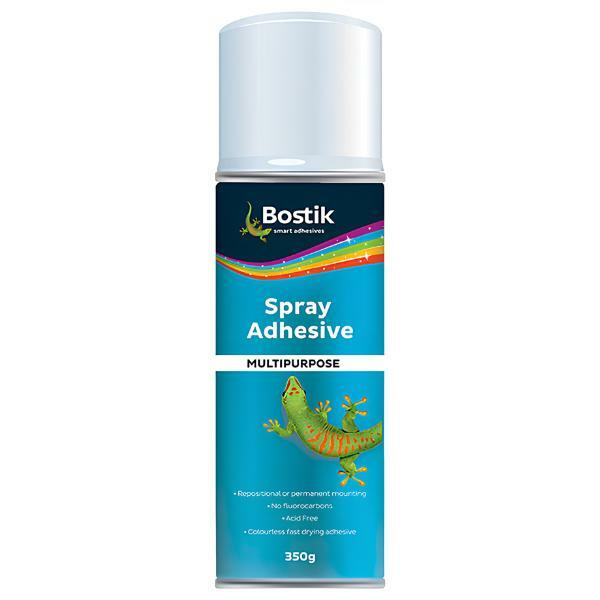
Lightly spray packaging paper with Bostik Spray Adhesive. Add glitter as desired around the packaging and leave to dry.
TIP
Cover your workspace with scrap or packing paper before spraying, and follow spray instructions.
STEP 3: Decorate the paint pens paper
Draw and colour your paper as desired.
STEP 4: Create button paper
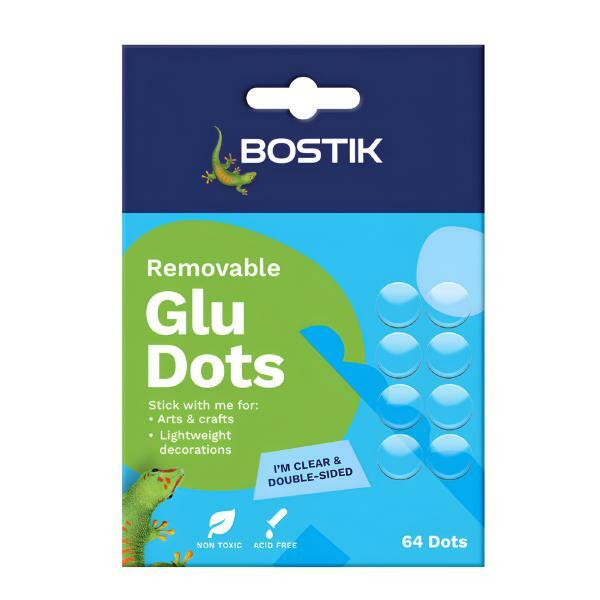
Place Bostik Glu Dots behind your chosen buttons and glue onto the paper packaging.
STEP 5: Wrap your presents
Wrap your presents as normal, using Bostik Glu Dots on the folds you want held down/together. The dots can be safely removed without damaging the artwork or packaging.
Glu Dots Removable
Related products
Highlighted tutorials
Dino Piggy Bank
DIY wall art
Everything you need to know: Glu Dots
Unicorn pen holder
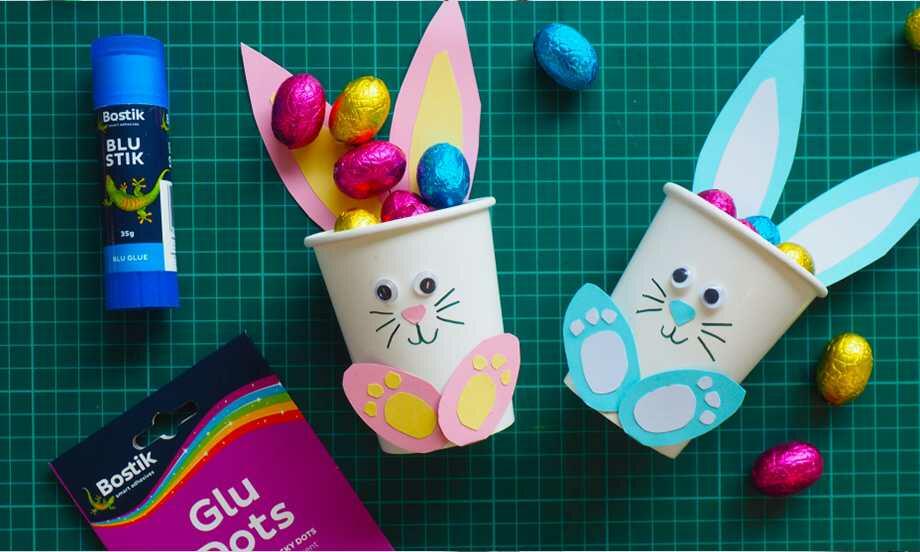
Easter cup bunnies
Easter Garland