Make your own Halloween monsters using our printable template
To celebrate the spooky season, make your own Halloween monsters and transform your home into a haven of horror. This is a super simple Halloween paper craft, perfect for all ages. Let us guide you step-by-step to create these creepy faces…
Using our Halloween monster template, you can transform a white piece of a card into your unique take on Frankenstein, Dracula, or a wicked witch. The perfect addition to a windowsill, side table, or shelf, or to decorate a table at your annual Halloween get together.
Grab your pens and paints, it's time to get spooky!

Instructions
BLU GLU STICK
PVA WHITE GLU
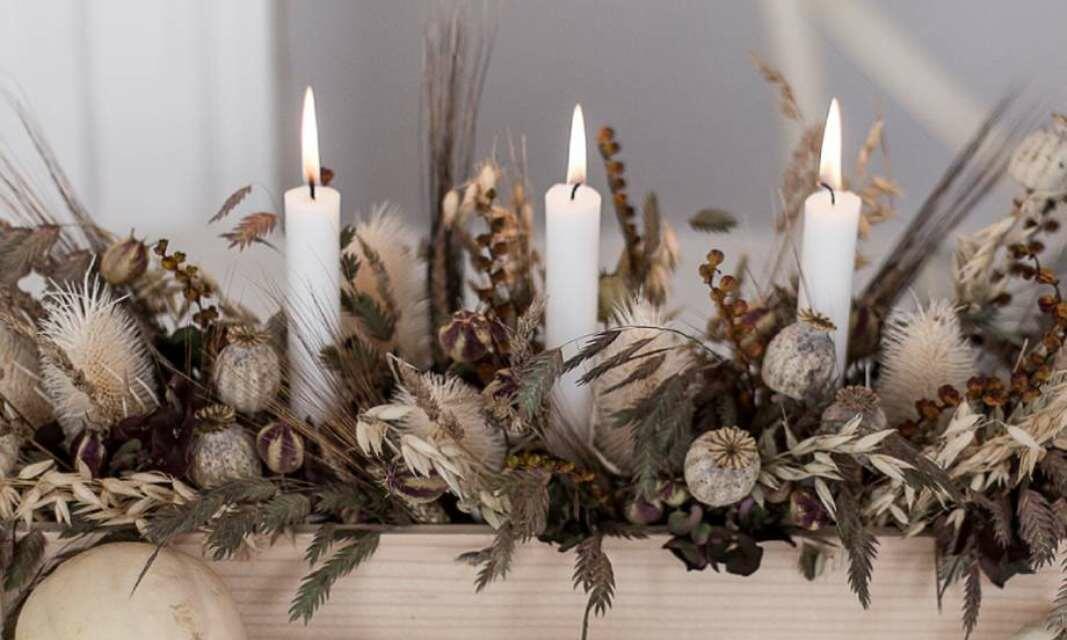
6 steps to create a DIY flower candle holder
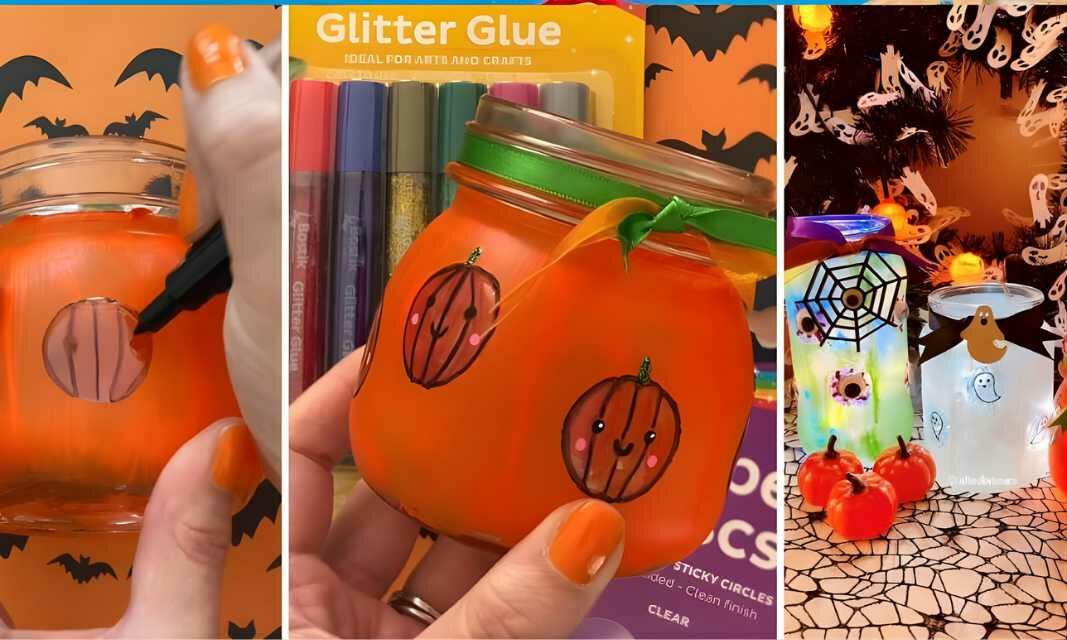
How to create DIY Halloween jar lanterns
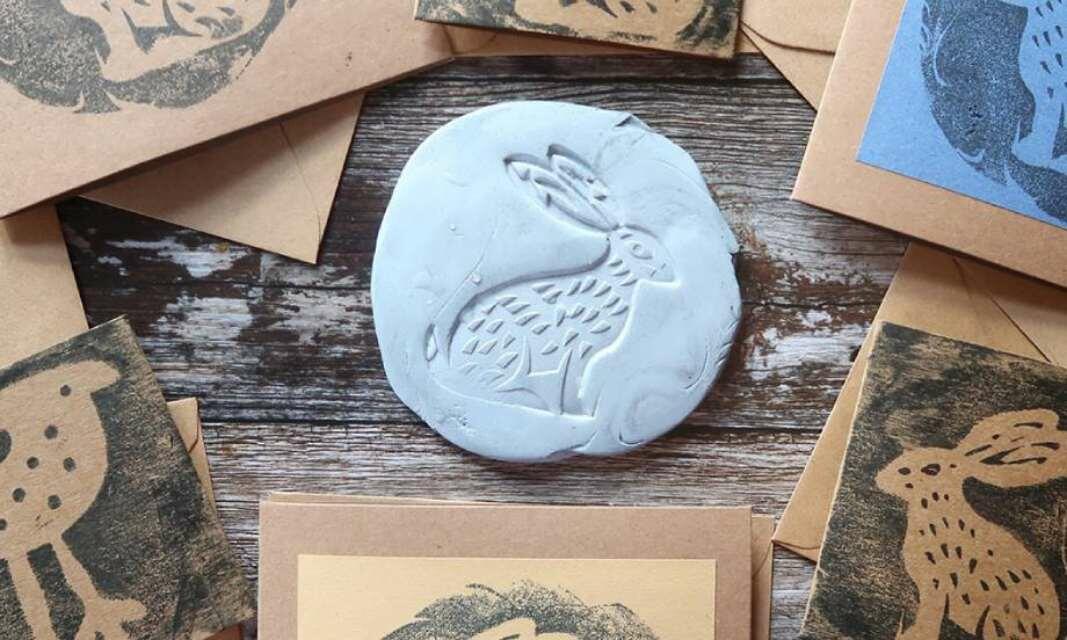
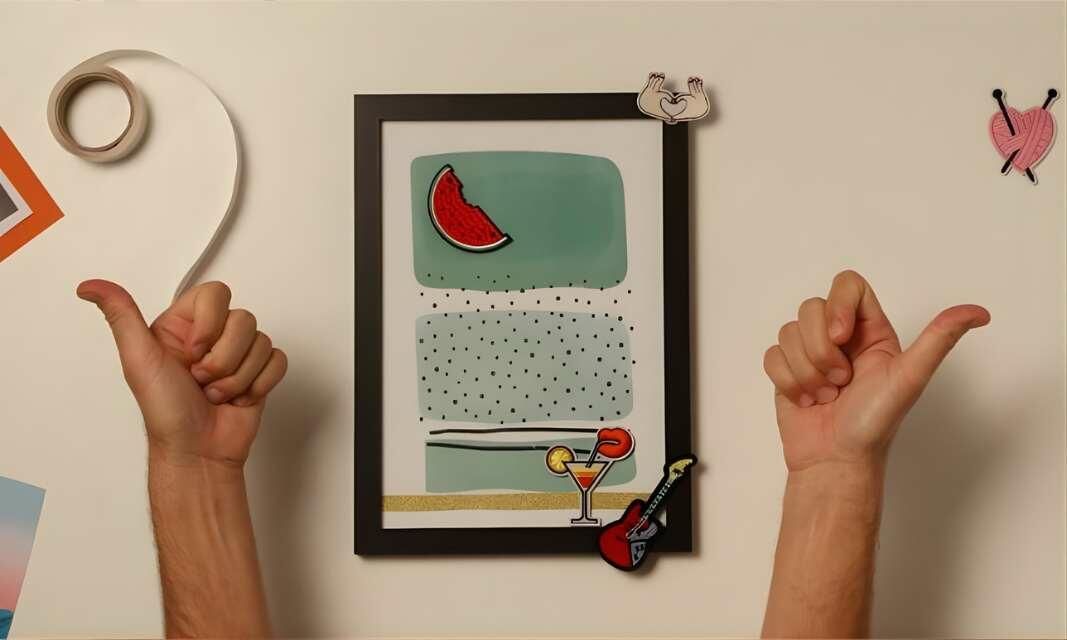
How to create reverse prints using Blu Tack®

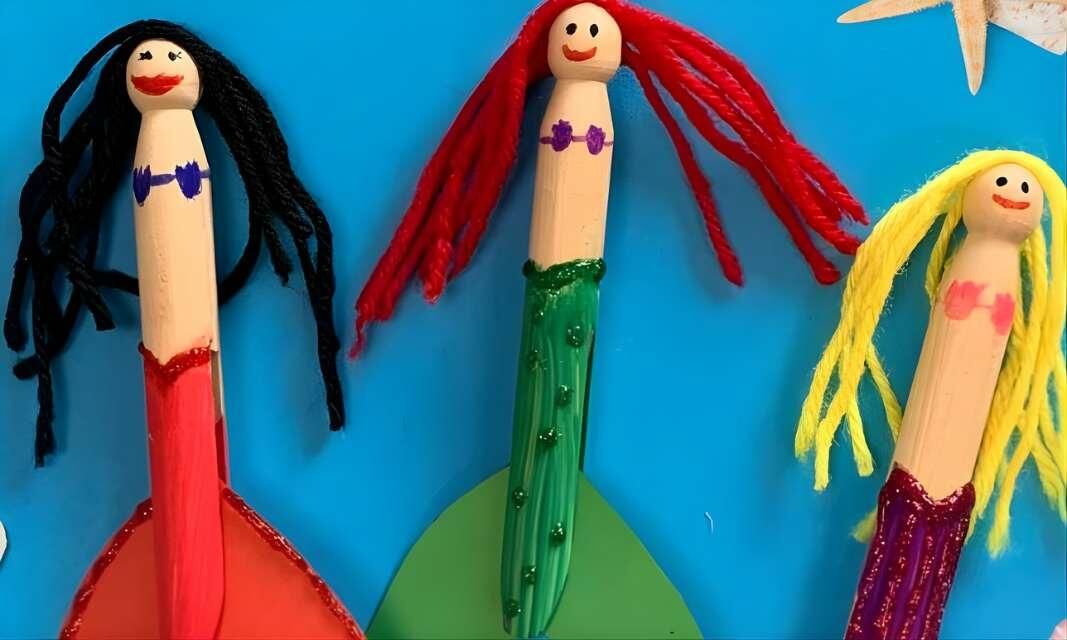
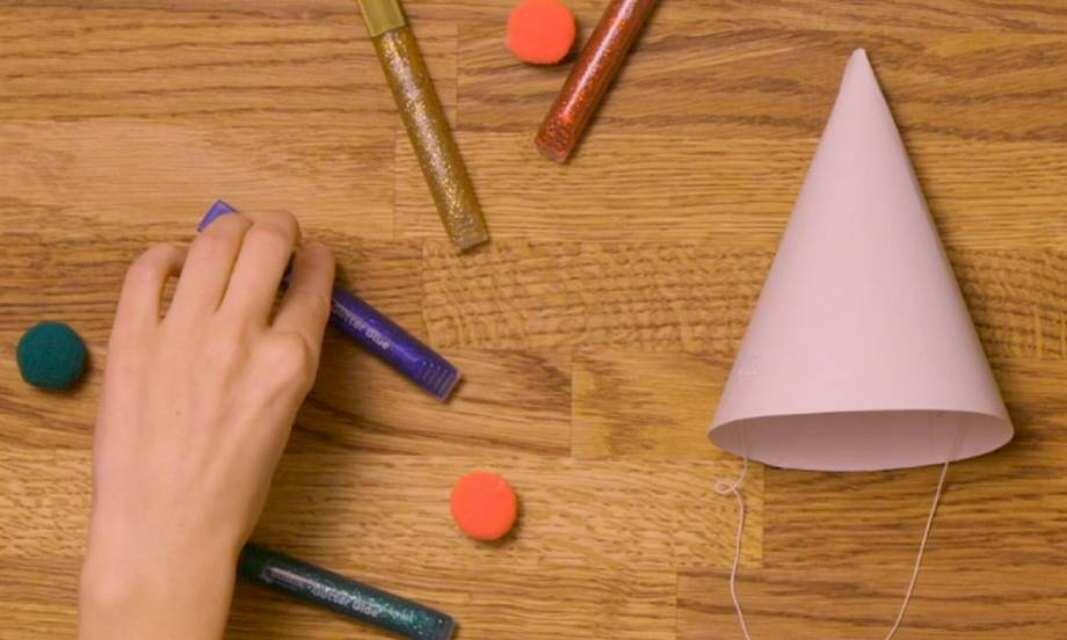
3 simple things to make with lolly sticks
6 easy glitter glue craft ideas
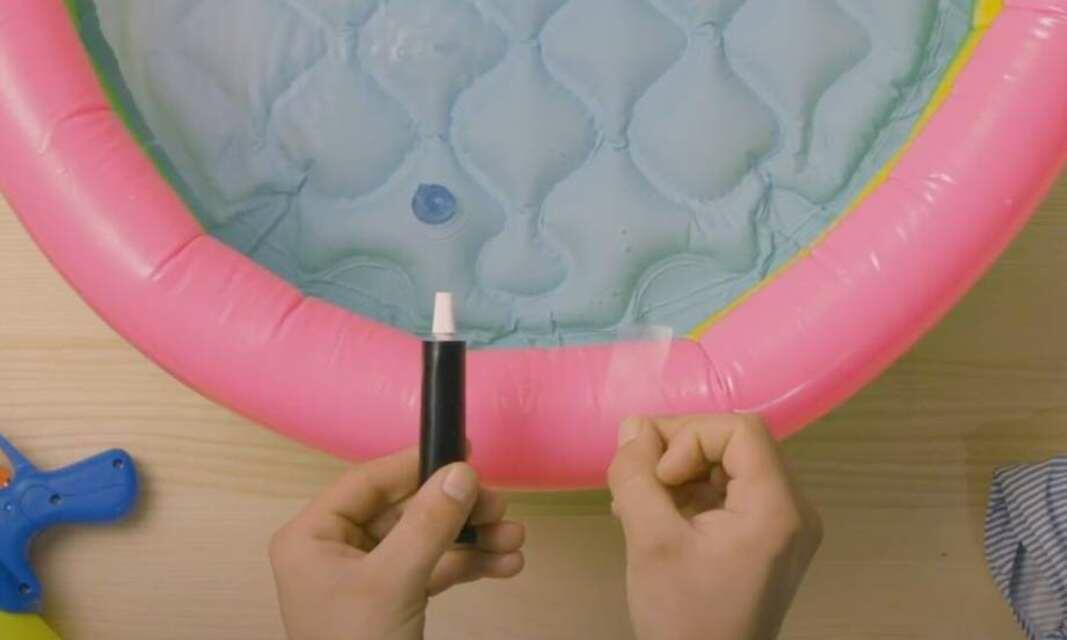
How to repair a child's paddling pool using plastic glue
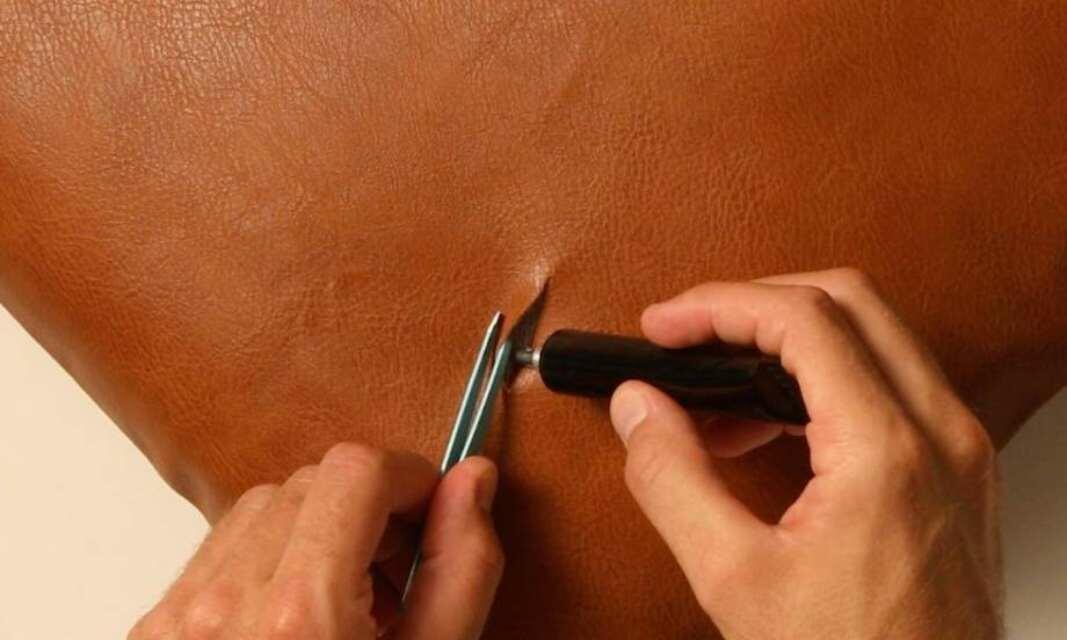
How to repair a leather sofa cushion
4 super easy children's craft ideas to do at home
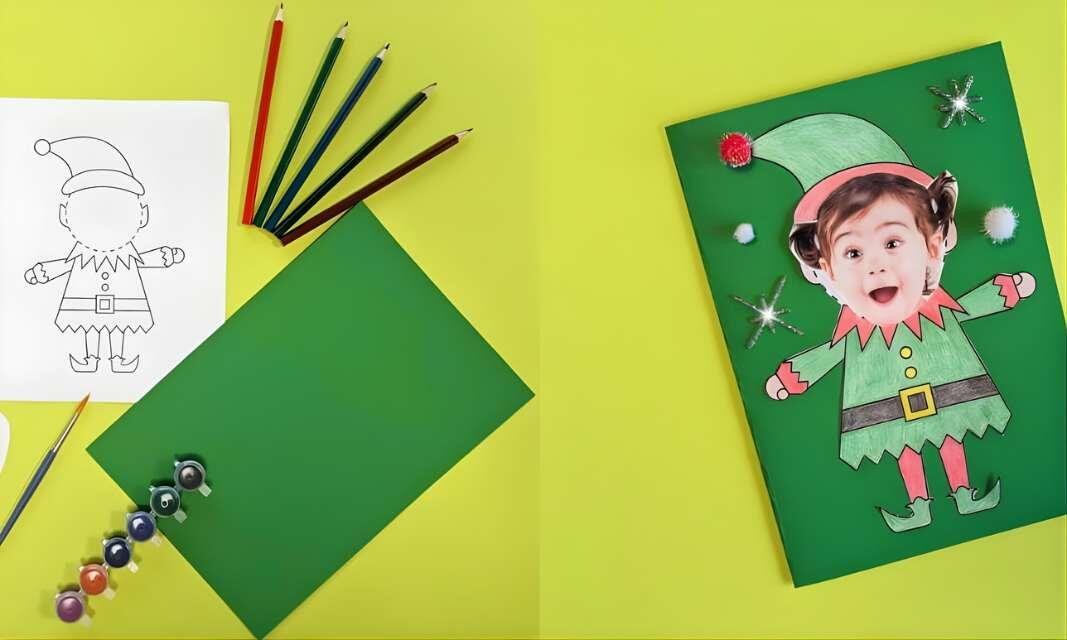
6 steps to make a handmade elf card using our printable template
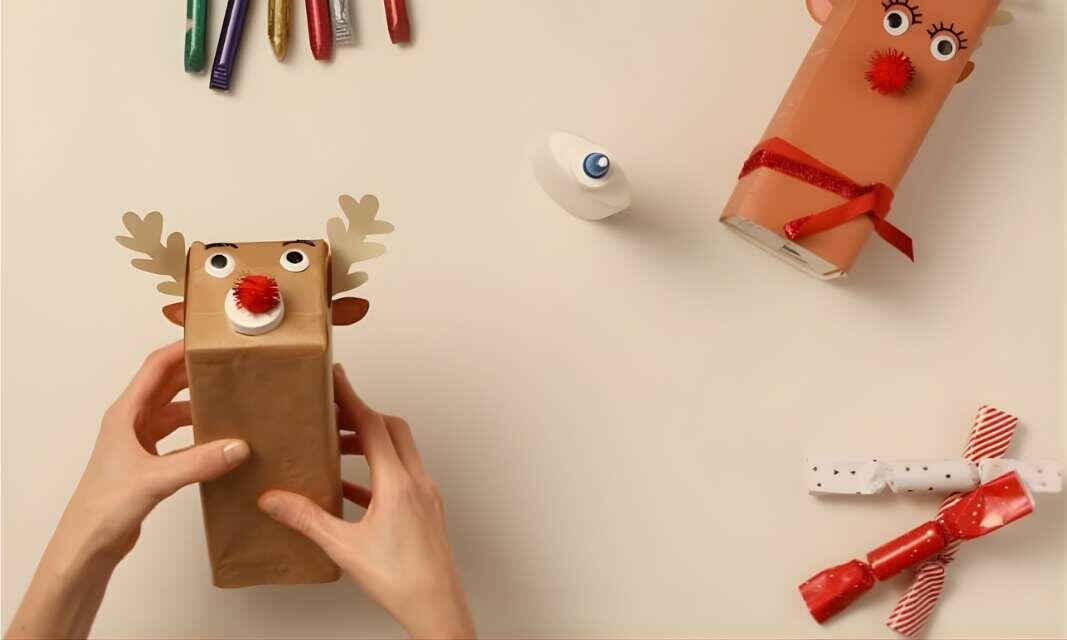
DIY Christmas reindeer using old cartons

How to make animal pencil pot holders
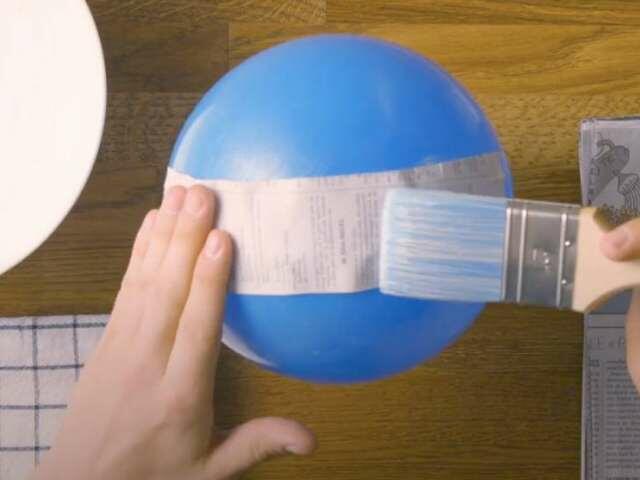
How to make paper maché with Bostik PVA glue
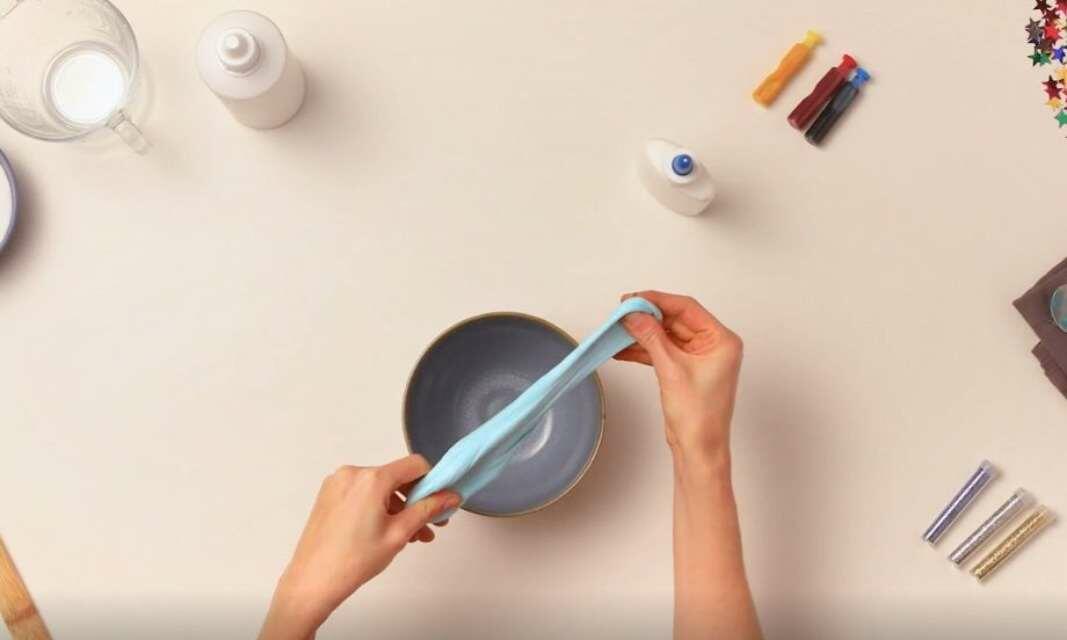
How to make slime using PVA glue
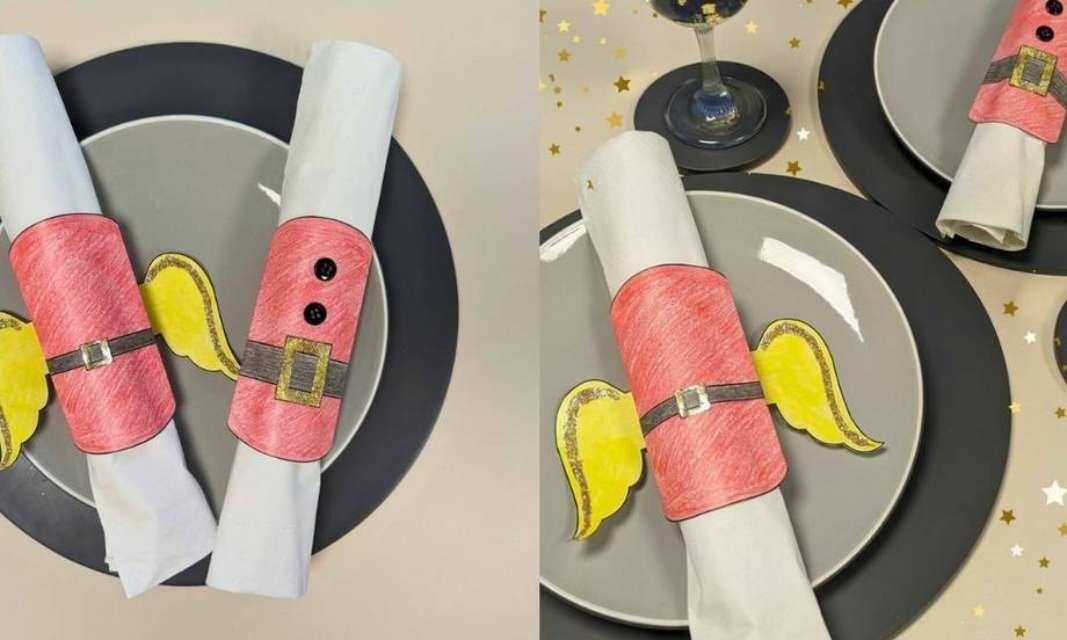
How to make your own Christmas napkin rings
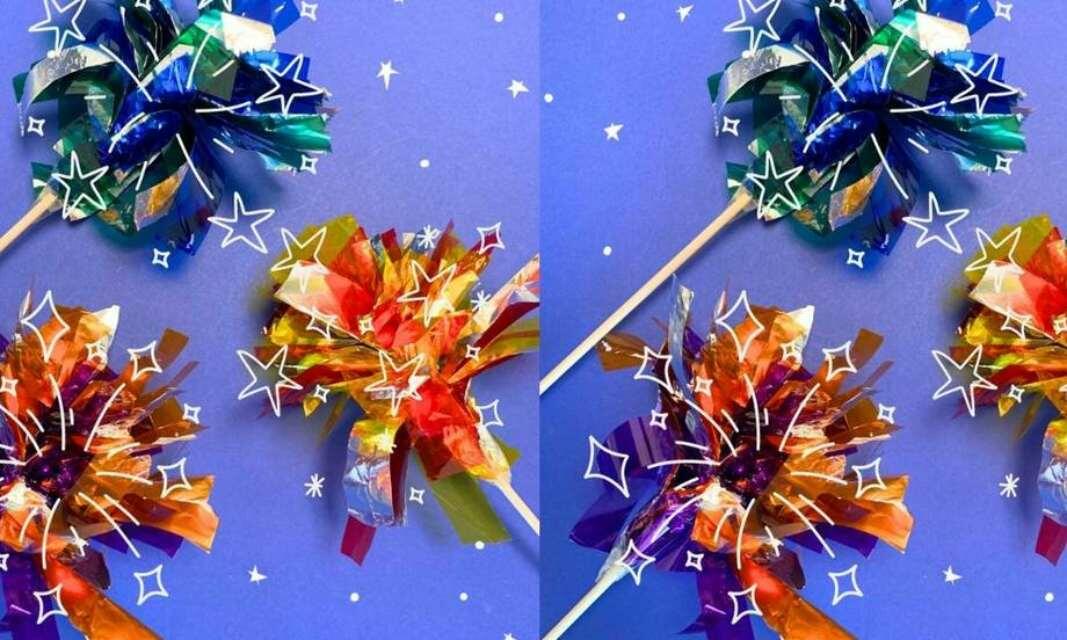
How to make your own sparklers