Our main brands website
Main countries

HOW TO MAKE A HANDMADE 3D CARD CRAFT WITH FOAM PADS

Cards are the perfect way to send love and thanks, but a handmade card often has the upper hand on shop bought due to the extra sentiment they offer. By making your own 3D DIY card, you can create a unique and personal design, which can make the card more meaningful for the recipient.

Whether you're wanting to create a 3D card craft for a birthday, Christmas, celebrating a first home, new born baby or anything else, you can easily achieve a professional finish with our three key must-haves: double-sided adhesive Foam Pads, a handful of small craft decorations and your own creative flair.

Follow our step-by-step tutorial in collaboration with craft and children's play ideas influencer, Creative Mama Che and with our Foam Pads for card making, you can create a 3D card masterpiece.

Step 1: Create the front of your card

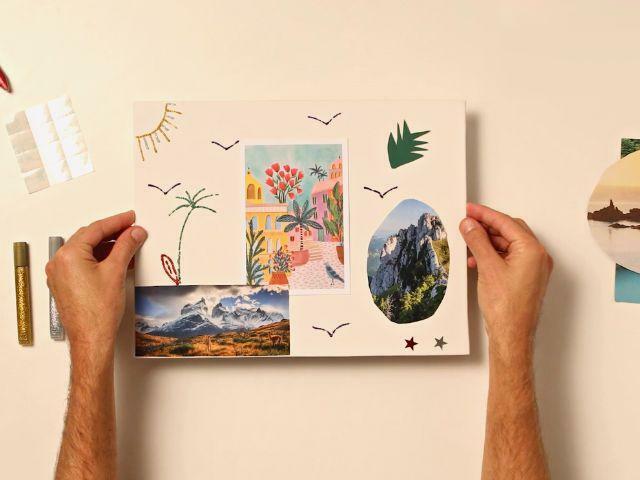
Before you add your 3D effect to your handmade card, it's good to first map out the design and add the 2D elements. For this simple DIY thank you card, we used a black pen to write 'thank you' in a calligraphic style.

To help map out the 3D craft items, we suggest adding small dots with a pen or pencil to where you want your decorations to sit to ensure the spacing between your items is even and there is no overlapping.

Tip

Use Bostik Glitter Glu pens to enhance your card with colour and sparkle.

Step 2: Applying Foam Pads to the decorations

Now that you've mapped out your design, you're ready to apply your craft decorations.

First, you want to adhere one side of the Foam Pads to the back of the craft item before securing it in place on your card.

To do this, simply peel the paper backing from one side of the Foam Pad and place the sticky side to the centre of your craft item.

Tip

For a professional finish, its best to ensure that the Foam Pads cannot be seen behind your craft decoration. Try to ensure that the Foam Pad is not visible when attached to your craft item.

Step 3: Stick your decorations in place

Once you have added your Foam Pad to your decoration, peel the paper backing away from the second side of the Foam Pad and line up your craft item in place on your card.

Gently press the decoration onto your card to ensure that there is a strong, secure bond.

Repeat steps 2 and 3 until you have all of your craft items attached to your card.

Step 4: Write your message

Now that the front of your card is complete, it's time to write your message. Depending on the type of card you are writing, there are plenty of great standard sayings that you can add, such as:

  • Birthday - Congratulations! You're half way to [Double their age e.g. if 30 put 60]
  • Christmas - Merry Christmas and a Happy New Year!
  • New baby - Welcome to the world! We're so glad you're finally here
  • First home - Wishing you a lifetime of happiness in your new home
  • Wedding - Best wishes on your wonderful new journey together
  • Thank you - Thank you from the bottom of our hearts
  • Leaving - We're really sad to see you go

Or go rogue and write something unique and personal to you and the recipient. This is often the best avenue to go down for a handmade card.

Step 5: Add internal decorations

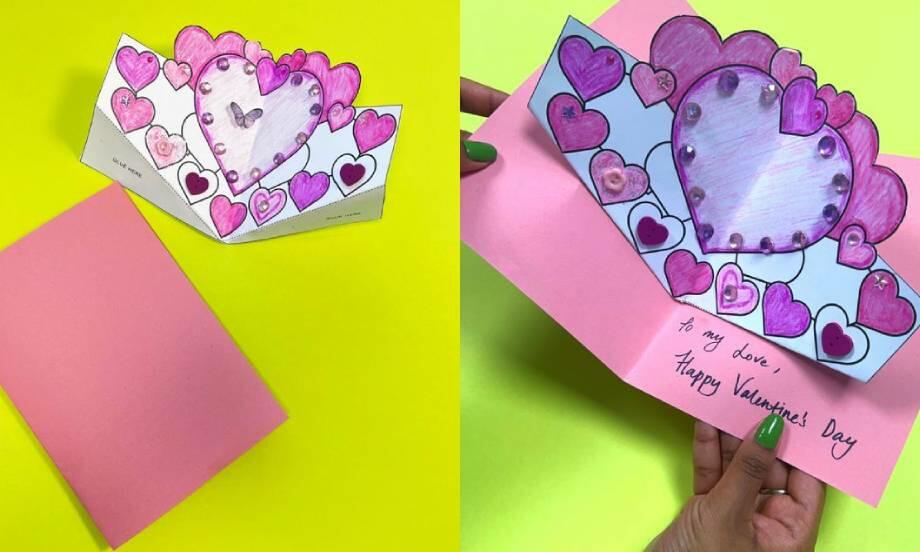
Don't forget that with a DIY card you have free reign to decorate it however you want, which includes adding your stamp to the inside as well as the front.

We suggest adding in mini gems, creating borders with Glitter Glue or simply using multi-coloured pens to add interesting shapes.

Tip

If you use Glitter Glu inside your card, make sure the product is dry before you close and send it.

Step 6: It's ready to send

Once you've added your message and internal decorations, your 3D DIY card is ready to send.

If you are able to, deliver your card by hand. Of course, hand delivery is not a necessity - it's simply another added bonus for the recipient.

If you cannot hand deliver your creation, pop it in a large envelope (as large as you need to comfortably fit your DIY card creation in) and add your recipient's details as normal.

More 3D card ideas

One of the main reasons people opt for a handmade card is because you can create whatever design you like. However, if your creative juices have stopped flowing, use our other 3D card ideas to inspire your next handmade card creation:

  • Birthday - Cut and stick different pieces of coloured card into the shape of a cupcake and use vibrant pipe cleaners on Foam Pads as the candles
  • Christmas - Cut the shape of a Christmas tree from festive gift wrap and add mini pompoms using Foam Pads to mimic baubles on the branches
  • New baby - Stick a copy of the baby scan and create a 3D frame using Foam Pads and old (but washed) lollipop sticks and gems
  • First home - Draw a house and garden scene and add items such as cotton wool to make clouds using Foam Pads
  • Wedding - Draw a bride and a groom on the card (or use real photos of the couple) and stick on dried flowers using Foam Pads to create a 3D wedding bouquet
  • Thank you - Cut out all of the letters to 'thank you', and stick alternating letters in each word using Foam Pads

For more craft ideas, explore our full list of #CraftWithBostik articles.