Be inspired our glitter glue craft ideas
If you're looking for arts and crafts projects with glitter glue, you've come to the right place. We have 6 super simple glitter glue craft ideas for you using Bostik Glitter Glue Pens.
But, why use Glitter Glue Pens instead of regular, loose glitter? Craft projects often involve a little mess, but if you’ve ever used pots of regular glitter you’ll know that those little bits can take mess to a whole new level. It can take months to finally clean up the many tiny specks of glitter that end up getting everywhere. It’s always a trade-off, because glitter can bring the sparkling finishing touch to many projects.
That’s why Bostik Glitter Glue pens are the perfect solution. The flakes of glitter in our glitter glue pens are suspended inside the glue, so there’s no mess to sweep up.
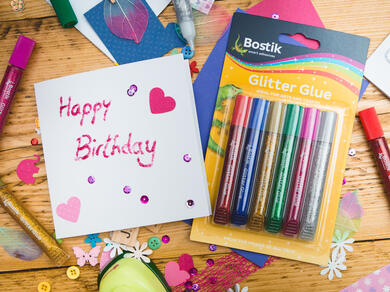
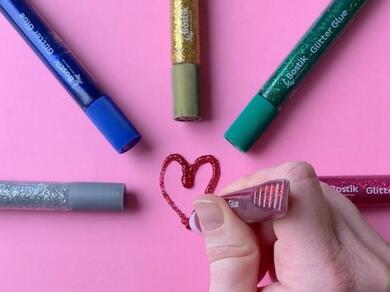
Bostik Glitter Glues come as a collection of six pens in red, blue, pink, green, gold and silver. You can use them to fill shapes, write words and draw fancy borders on cards, pictures, posters, party stuff and lots more. Plus they’re solvent-free, UKCA and CE approved and they wash out of clothes, so they are great for both children and adults alike.
Applying your glitter glue
Preparation
Before creating your glitter glue art, it's important to remember to open and use your glues on a protected work surface and ensure that anything you plan to use the glue on is clean, dry and dust-free.
Application
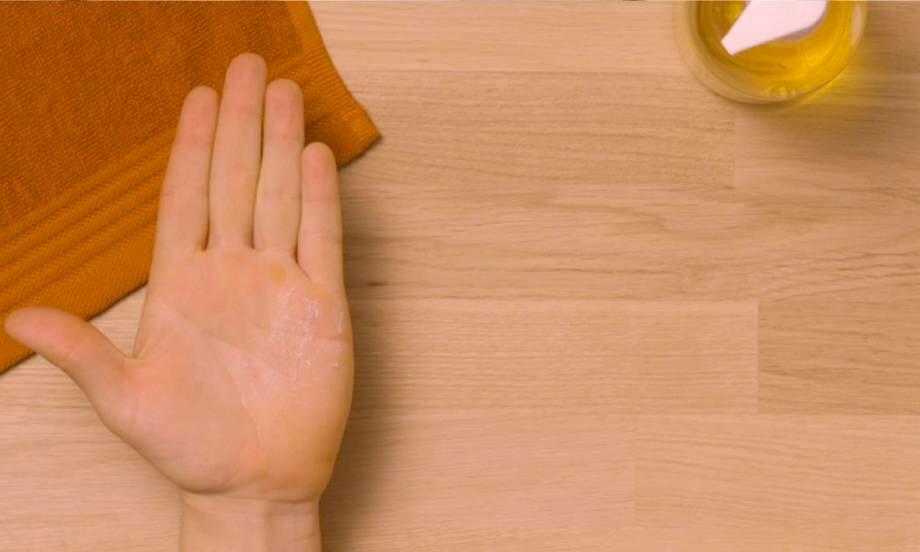
Remove the top of the glue pen, squeeze the tube gently and apply the glitter glue to your chosen surface. If you put on more glitter glue than you need, you can wipe it off with a damp cloth.
Your glittery design will be dry in around half an hour, or less if you have spread it thinly. To get the very best results, leave it for 24 hours.
Now that you know how to use our Glitter Glue pens, take a look at our 6 easy glitter glue craft ideas…
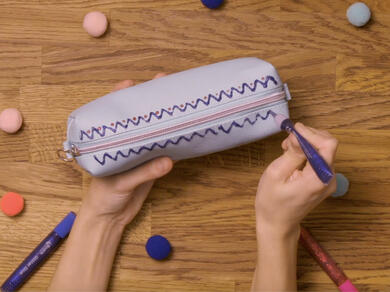
1. Decorate a pencil case
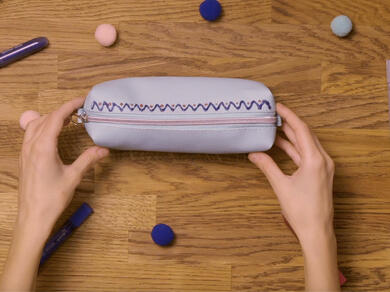
Our first glitter glue art project is to transform an ordinary pencil case to something sparkly and special.
Easily add decoration to an existing pattern or create fun motifs to reflect your own personality - think hearts, sprinkles, stars or stripes - and apply them in different coloured Glitter Glue pens.
2. Personalise a tote bag
Canvas tote bags have become the eco-friendly alternative to single use plastic bags and are great for shopping, as well as school gym bags, sport and dance bags and more. Bring some personality to a boring bag with some Bostik Glitter Glue customisation.
Think about a design that suits the shape of the bag, for example zig zags, circles, swirls or even firework patterns. Decorating a tote bag is a great glitter glue craft idea for a child's party or playdate - it is quick, easy and affordable too!
3. Add sparkle to colouring projects or cards
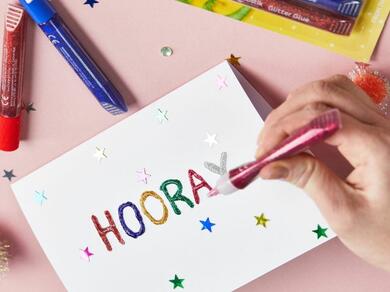
One of the most popular uses is to apply glitter glue on paper. Drawing and colouring is a relaxing pastime for adults and children alike, and a great way to get lost in the moment.
To add extra depth and dimension to your art work, you can apply Bostik Glitter Glue pens either in place of a colouring pen or to accentuate certain shapes or colours.
Tip: Use our glitter glues for card making to turn a 2D handmade card into something really special and personalised.
4. Pimp up your party ware
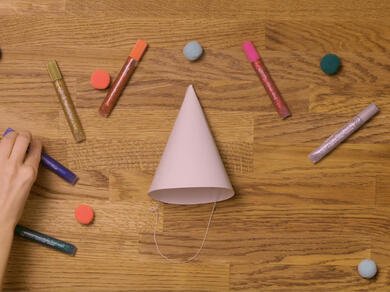
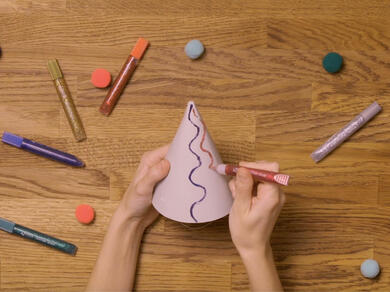
Use Bostik Glitter Glue pens to jazz up party ware like cardboard hats or paper tablecloths. You can even turn this glitter glue craft into a pre-party activity to build up the excitement or for younger children, use it as the main event to keep little ones busy.
We recommend creating simple spots and stripes – or you could use the glitter glue pens to attach plastic gems so you can create crowns fit for a birthday king or queen.
5. Make a place setting
Create a place setting that doubles as a talking point – and a lovely memento. Choose smooth, flat pebbles and use Bostik Glitter Glue pens to mark out names or initials on the pebble. Or you can use a permanent marker to write and then embellish over it with glitter glue.
6. Create a bedroom door sign
Kids love to personalise their space, so get them to create bedroom door signs using coloured card and glitter glue – it is a super easy glitter glue craft idea!
Encourage your little ones to cut their card into shapes such as clouds or stars and then write or embellish their names using Bostik Glitter Glue pens. They can also add shapes and squiggles in glitter glue to help bring their new bedroom sign to life.
After you've glued
Cleaning
Once you’ve finished gluing, clean the nozzle and screw threads, then replace the pen cap tightly so that it’s ready for your next glitter glue project.
If the application nozzle becomes blocked with glitter, carefully unblock it by inserting a piece of wire – such as a paperclip – into the opening.
Removal
For the easiest way to remove your glitter glue, we recommend to wash any glitter glue off clothes or surfaces before the glue has dried.
However, if this isn’t possible, you can wipe at the glue stain using a damp, hot cloth as this will help to melt and loosen the glue. Then use the cloth to wipe away the product. Repeat until the glue is fully removed.

Let's sum up
That’s it. You’ve now created six super simple glitter glue crafts. We’d love to see them – share your glitter glue art with us on Instagram and Facebook with the hashtag #CraftWithBostik and you could be featured on our social feed.
Alternatively, browse more #CraftWithBostik tutorials and be inspired!

