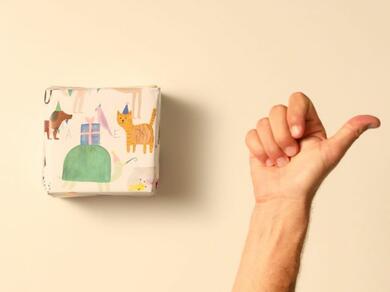
How to wrap a present like a professional
There’s nothing worse than spending time and money on choosing the perfect present, only to poorly wrap it and spoil the impact. Gift giving is one of life’s pleasurable rituals – bound up in all the good stuff; friends, family, kindness, generosity, smiles, hugs – it has the lot.
Spending your time to wrap a present and taking care to do a good job only adds to the whole experience. But sometimes it can be so fiddly and tricky. Luckily, we have some simple gift wrapping ideas that can make the whole thing easier and more rewarding.
If you want to wrap gifts in a professional and stylish way, Bostik Tape Discs and Bostik Sticky Tape are essential pieces of kit to keep handy at home. Discover the best ways to wrap presents in our step-by-step tutorial. Whether it’s a box, round object or an awkward shape, explore our top tips to up your gift wrapping game…

What are Tape Discs?
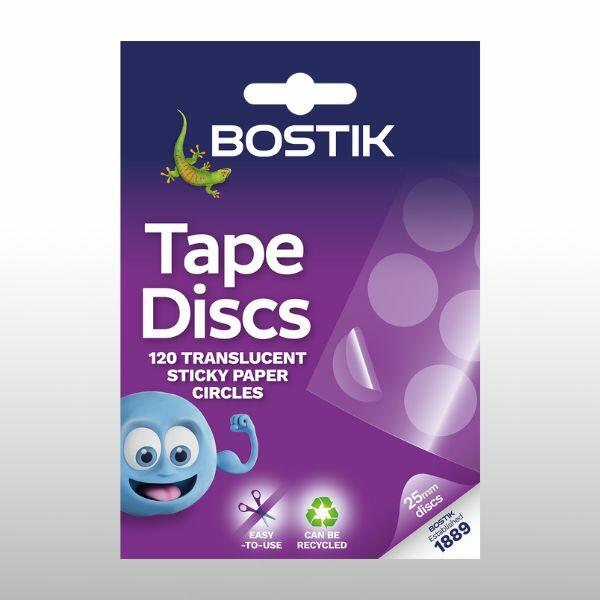
Bostik Tape Discs are handy, 25mm translucent paper discs, available in sheets of 120 discs. They provide a 'no scissors' way of wrapping presents and sealing bags, fixing ribbons and tags, envelopes and much more - you simply peel them and stick.
Tape Discs are also acid and lignin-free, and odourless, so they're safer for children. As they're made from paper, they're recyclable too, so they’re better for the planet.
You can even write on them, which is great if you've forgotten your gift tags!
Tip: If you're wondering 'how to wrap without tape', Tape Discs are your answer. Check out our guide to sustainable gift wrapping. However, for the most professional finish, we suggest a combination of both.
What is Sticky Tape?
To accompany your Tape Discs, you will need Bostik Sticky Tape - a classic, high-quality, strong, clear adhesive tape, suitable for everyday use around the home, office and school.
Our clear sticky tape roll is clean and easy-to-tear, and can be used on almost anything including paper, card, gift wrap and much more. Plus, our handy 50 micron sticky tape is complete with a visible end tab, so no frustrating starts.

How to wrap gifts - a step-by-step guide
Everything you will need:
- Bostik Tape Discs
- Bostik Sticky Tape
- Sharp scissors
- Ribbon or coloured string
- Pens
- Roll of wrapping paper - enough to cover your gifts
Now that you have your tool box of gift wrapping essentials ready, it’s time to explore the best present wrapping ideas in our step-by-step guide.
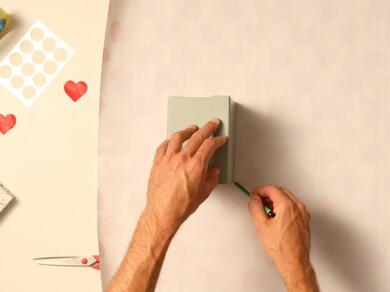
Size up your paper
Step 1: Measure the length of paper required
Lay the item that you want to wrap at one edge of a roll or piece of wrapping paper. Ensure that the paper is blank side up.
Then to see how much paper you need for the length, roll or rotate your item across the paper so that each side makes contact in turn.
It is important that you allow some extra paper, approximately 3-5cm and then cut the paper at this point.

Step 2: Measure the width of paper required
To work out the width of wrapping paper you need, start on the other side of the paper. Turn your gift by 90 degrees and then this time, you only need to rotate your gift along the paper so that only the first two sides of the gift make contact.
Again, allow a little spare paper, approximately 2-4cm and then cut the paper so that it leaves you with the correct size sheet for wrapping your item.
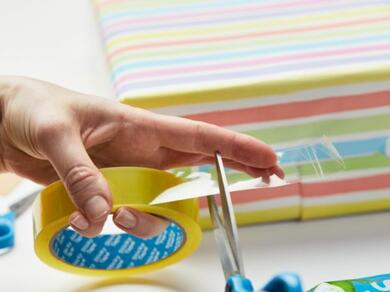
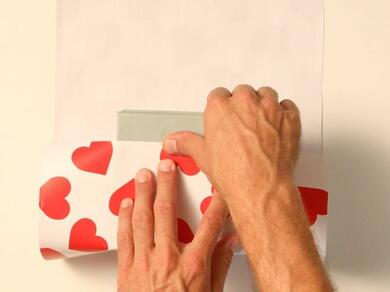
Secure with Sticky Tape
Step 3: Stick the longer sides of paper together
Place your present in the centre of the paper, then fold the long sides of the gift wrap across the length of the item on two opposite sides.
Where there is a flap of excess paper, crisply fold the paper over so that the fold sits on a lower corner of the present. Secure in place with a length of sticky tape.
Secure with Tape Discs
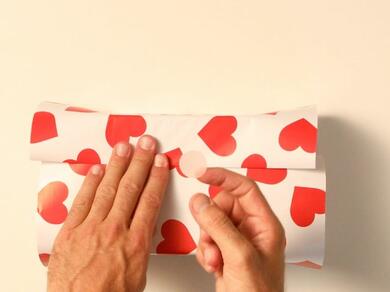
Step 4: Stick the wider sides of paper together
Now to wrap each end of the present. Press the two sides of paper inwards to cover the present, then fold the bottom flap up over them.
Bring the top flap down and then crisply fold over the top flap to create a neat edge, aiming to position the top flap at the centre of each end of the present.
Secure the top flap in place with a Tape Disc and repeat for the other end of the gift.
Decorate your gift
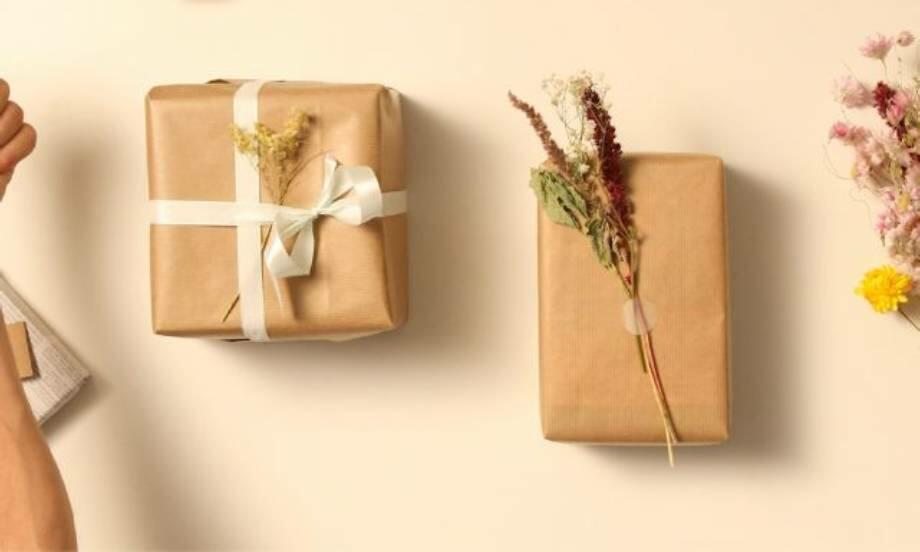
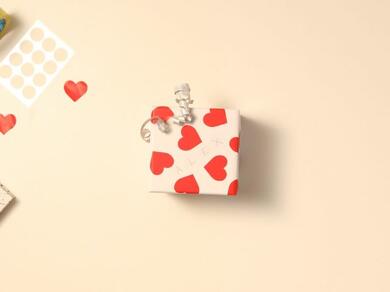
Step 5: Attach ribbons and labels to decorate
Use Tape Discs to attach your ribbon and other gift accessories in place.
As you can write on Tape Discs, you could also place one in the top corner or centre of your present - wherever looks best - and neatly write the name of the recipient on the Tape Disc.
Alternatively, you can use a gift tag instead of writing on the Tape Discs - both options will help to achieve a personalised, professional look. And that’s it, you’re done!
Clean up time
- Both Bostik Tape Discs and Bostik Sticky Tape can be carefully peeled away from a hard surface.
For full cleaning information, please refer to the technical data sheets for Bostik Tape Discs and Bostik Sticky Tape.
Do you wrap gifts regularly?
If you're planning on channelling your inner professional gift wrapper on a regular basis, follow our top tips to make your life that little bit easier:
- Invest in a well-made pair of scissors and a gift wrap cutter – both will save you lots of time.
- A heavy-duty tape dispenser for your Bostik Sticky Tape will also speed up the process.
- Keep your Sticky Tape, Tape Discs and scissors together with your wrapping paper, ribbon and tags for maximum efficiency.
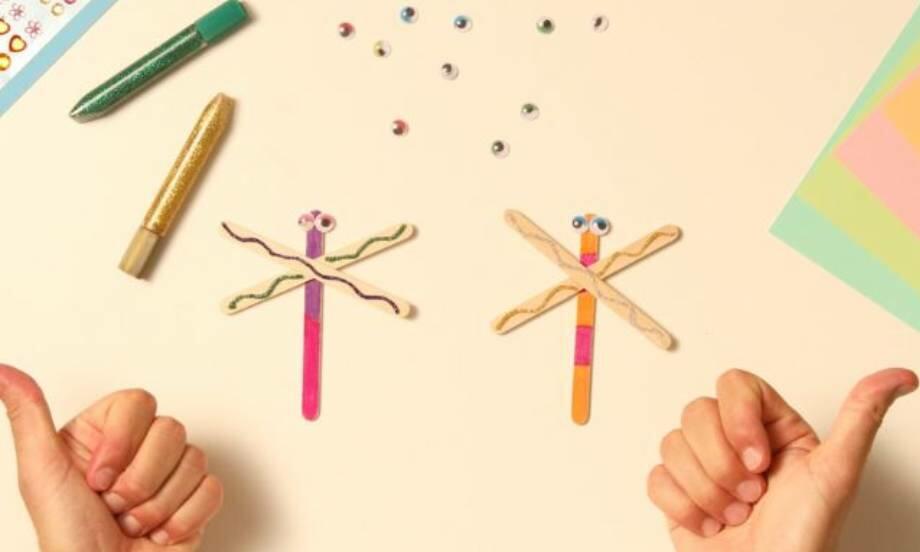
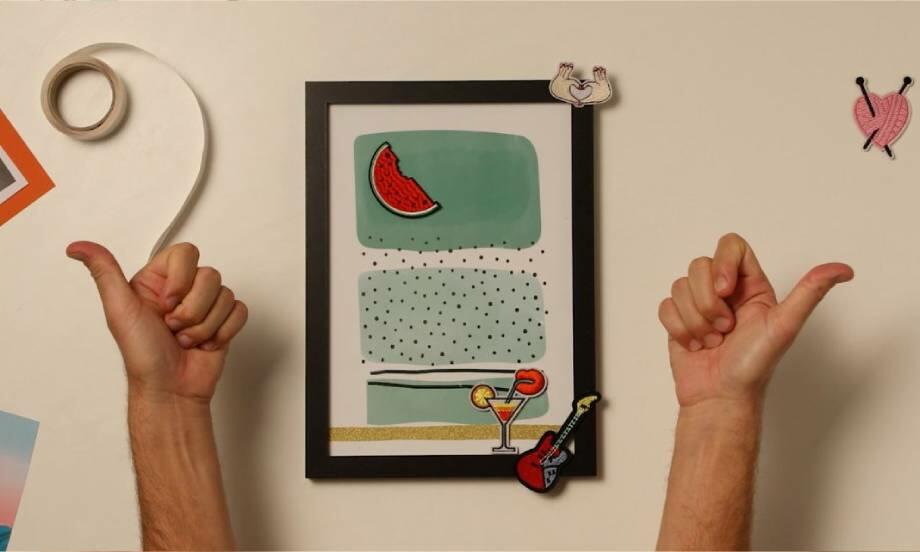
Bostik offers a wide range of stationery and craft adhesives so no matter how complicated your next craft project may be, there's a stationery glue at hand to help.
Plus, if you're looking for some craft inspiration you can browse our blog and filter #CraftWithBostik for all Bostik arts and crafts ideas.
TAPE DISCS