How to make a 3D snowman out of paper

Building a snowman is a fun, go-to activity to entertain the little ones during the winter months in the UK. Not only does it keep children amused for a while, it is often an exciting sign to all that Christmas is on its way.

However, with the snow comes the cold which isn't always to the whole family's taste. Whether you and your children love playing in the snow or not, you can always appreciate the beauty and fun it can bring with a simple, DIY paper snowman - from the comfort of your home!

Discover our guide for how to make a 3D snowman out of paper using our FREE snowman template.
Instructions

Step 1: Print your paper snowman template

Print your FREE snowman template onto white card.

Step 2: Colour in your snowman

Colour in your snowman template as you'd like. You could go traditional with a black hat, orange carrot nose and black buttons down the body.

Or, get creative and be unique. You could create a rainbow coloured jacket and add some heart-shaped glasses to the snowman's face.

Tip

However you colour in your snowman, remember to stay within the lines and to shade carefully so that there aren't any white gaps which could affect the overall finish of your DIY snowman craft.

Important

Steps 3-7 include using scissors. Please ensure children are supervised when using scissors and if necessary, an adult should complete the cutting on behalf of a child.

Step 3: Cut your snowman's lower body

Carefully cut out shapes A and B using scissors. Create an additional cut on shape A, along the centre line as far as the line goes.

Then, slide shape A onto shape B to form a cross. You have now formed the lower body of your snowman.

Step 4: Cut your snowman's upper body

Next, carefully cut the two smaller circles, shapes C & D. Again, cut along the centre line in shape D and slide this onto shape C. You have now formed the upper body of your snowman.

Then, make a small cut in shape C, using our line as a guidance. This will allow you to slide the upper body (shapes C & D), onto the lower body of your snowman (shapes A & B).

Step 5: Cut your snowman's face

Now onto your DIY snowman's face. Carefully cut out the face using scissors and make an additional cut at the bottom of the head as indicated in the template.

Slot your snowman's head into place on the upper body (parts C & D).

Step 6: Cut your snowman's arms and hat

Finally, cut out the snowman’s arms and hat and secure these in place using Bostik Blu Glu Stick.

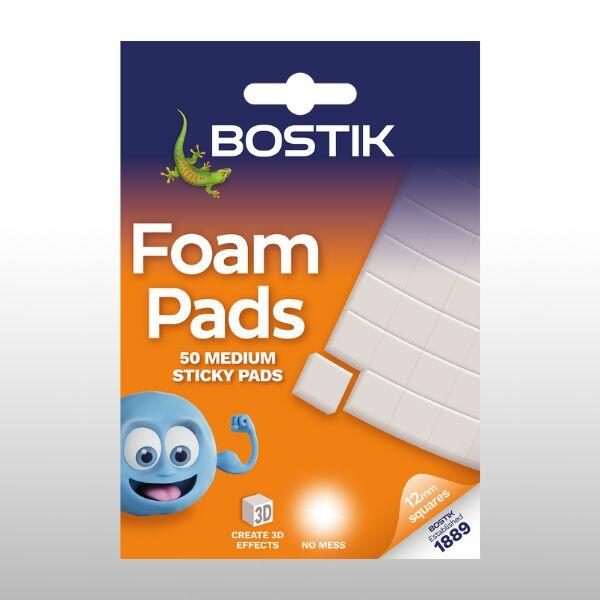
Alternatively, to enhance your 3D effect, try using Bostik’s Foam Pads.

Step 7: That's it - you've created a DIY paper snowman

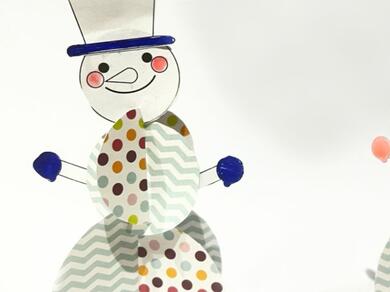
And you're done! You've now learnt how to make a 3D snowman out of paper.

Tip

Repeat steps 1 to 6 to create more than one DIY paper snowman. You can then group these together to create a wonderful, winter display on windowsills, side tables or anywhere you'd like!

See all products