Be inspired our craft and diy glue gun ideas
Whether you need to repair a broken piece of furniture, you want to add jewels to a plain headband, or the strap to your favourite leather bag is falling off – a glue gun is the perfect tool to help.
Hot glue is perfect for securing your items in place whilst also providing you with a flexible bond – which many super glues or craft glues cannot achieve. Super glues can often be too strong and brittle to use in craft projects, while general craft glues may not provide as great strength as hot glue. A hot glue gun can be the perfect balance between the two!
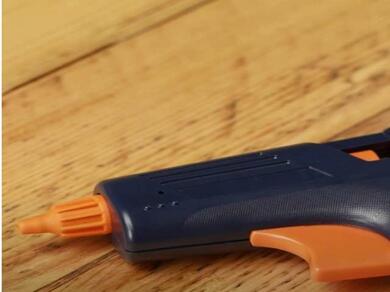
At Bostik, we have two types of hot glue gun, Bostik Handy Hot Melt Glue Gun and Bostik DIY Hot Melt Glue Gun. Both provide strong adhesion to most materials like paper, wood, metal, glass, card, as well as many craft materials, so you can repair or create almost anything.
If you're looking for crafts to do at home with a hot glue gun, we've got you covered. But before we get into it, it's important to understand what hot glue guns are used for.
What is a hot glue gun used for?
What is a hot glue gun used for? A hot glue gun has many uses and as it dries in minutes, it's a great bonding agent for many things such as crafting, woodworking and for general trade or DIY repairs. Use a hot glue gun to:
- Bond heavy craft items in your art projects
- Create spider webs to be used as Halloween decorations
- Help you open a jar by adding grip to a slippery lid
- Stick the insole of your shoe back in place
- Rebind loose pages in your diary
- Fix a leather bag strap
- Stick a broken plastic toy back together
- Secure joints when woodworking
The possibilities are endless! Here are our six essential hot glue gun uses that can easily be completed around the home…
Did you know? Bostik also offers a cool melt glue gun, which is perfect for more delicate materials in craft projects and floristry.
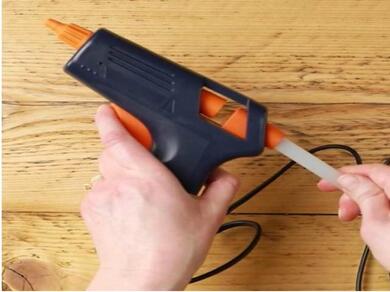
Note: Please ensure you follow our step-by-step guide to safely set up your hot glue gun before following our tutorial for easy craft ideas using hot glue.
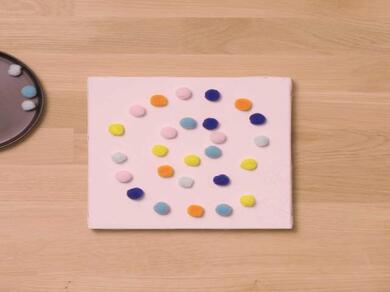
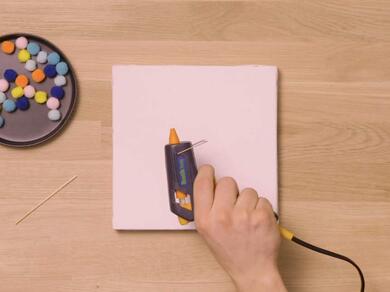
1. Create a 3D canvas using pompoms
Our first, simple hot glue craft is creating a 3D canvas to bring depth and dimension to your walls.
- Take a small, square artists’ canvas and whatever materials inspire you. We’ve chosen colourful pompoms but it might be colourful badges, buttons or ribbons, or natural materials like tiny shells, dried flowers or leaves.
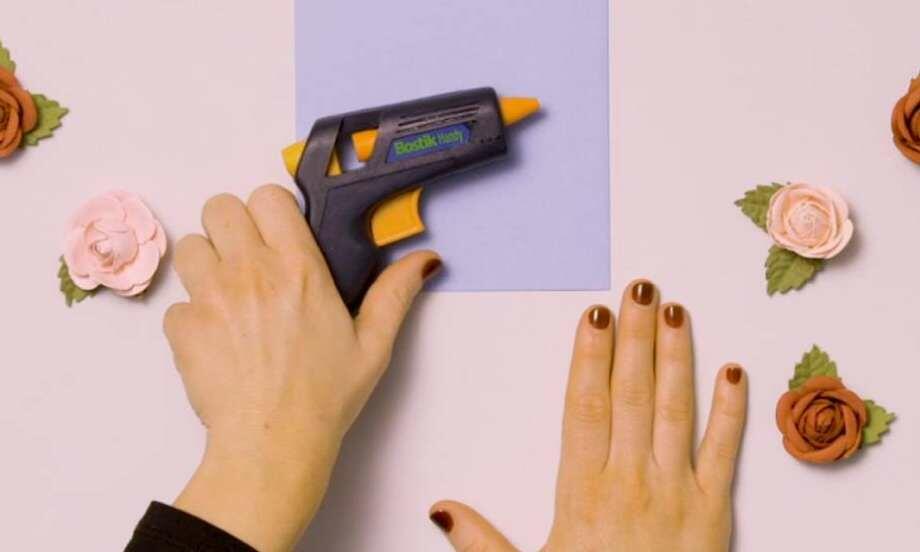
- Spend a little time arranging them on the canvas and then lift each one to add a dot of glue to the canvas underneath using your Bostik glue gun.
- Place your glue gun onto its stand and gently press each object into the dot of glue, securing it in place.
- Voila, your very own miniature work of art.
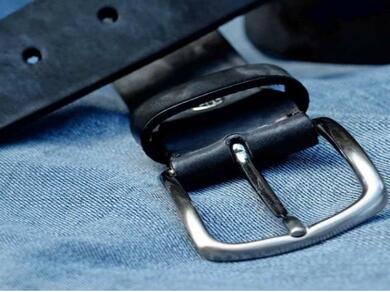
2. Fix a strap, bag or belt
Our hot glue guns are great for minor household repairs and work brilliantly on leather, denim and many other fabrics. So, if your purse, wallet or watch strap is starting to fray, it’s easy to keep it in place with a drop of hot glue.
- Create a fine line – or dots – of hot glue along the underside of the stitched area of your item.
- Press the leather or fabric back into place, ideally 15 seconds after the glue has been applied.
- Ta-da, your fabric goods live on.
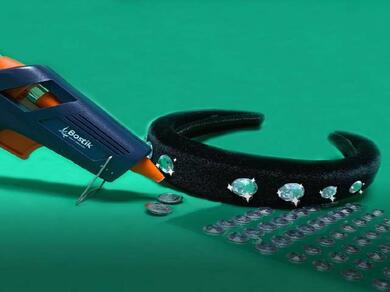
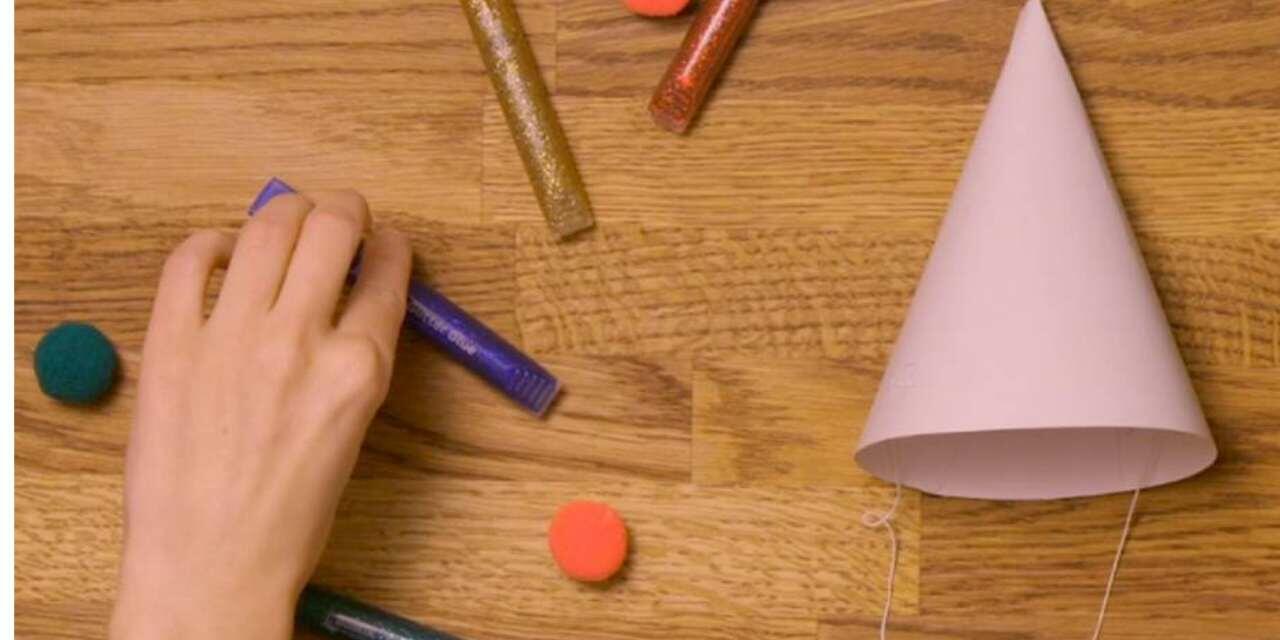
3. Glamorise anything with jewels
Reach for your Bostik hot glue gun when you want to liven up your accessories – it’s great for most fabrics. This simple, hot glue craft can easily turn a plain bag, headband, pencil case or pair of jeans into something far more attention-grabbing by adding jewels or gems.
- Place your item of choice flat on your work surface and spend some time laying your jewels out. We suggest organising your gems into a heart shape or a simple circle.
- Then lift each decoration to add a dot of glue from the hot glue gun to the item before pressing each piece into place.
- You’ve just created your own bespoke accessory.
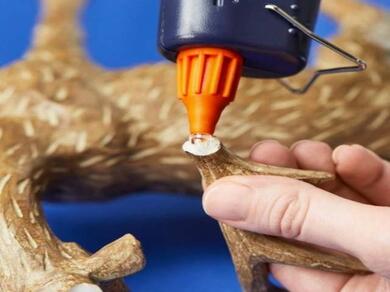
4. Save a heirloom or broken ornament
Hot melt glue works brilliantly on ceramics, which comes in handy when someone has knocked a piece out of your favourite hand-me-down pottery bowl.
- Run a fine line of glue around one broken edge.
- Line up the pieces and press them together for a few seconds to create a strong, long-lasting bond.
- You’ve just saved a family treasure for the next generation!
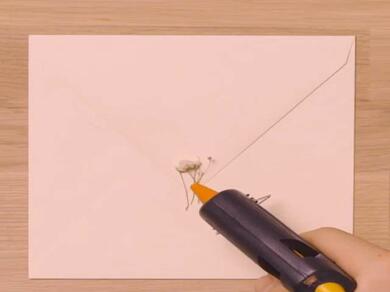
5. Personalise your post
Create a beautiful and unique adornment for special cards and invitations.
- Simply place a dried flower or two onto the flap of a sealed envelope.
- Then place a generous blob of glue over the flower and press it down with a metal wax stamp.
- And you’ve just made your mark on something.
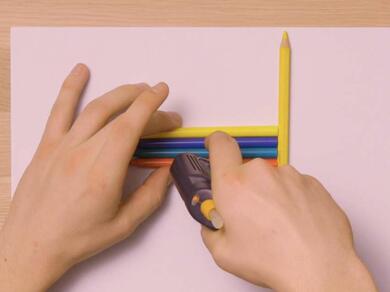
6. Create a multi-coloured pencil or pen and colour the rainbow
Our final, easy glue gun craft encourages you to get playful with your hot glue gun.
- Choose a selection of your favourite shades of colouring pencil or pen and carefully position them in a row.
- Use the hot glue gun to place two or three lines of glue across the row of pencils to join them – going back and forth to create thick lines of glue.
- Allow the glue to cool - this usually takes 5 to 10 minutes depending on how much and how thick the glue you have applied.
- Once dry, use your new rainbow pens to decorate cards, create a new artistic masterpiece and much more.
Let's summarise
You're now equipped with six easy craft ideas to do with a hot glue gun, so plug in your hot adhesive gun and get creating or repairing.
The possibilities are (almost) endless with a hot glue gun, so you can create or repair whatever you desire - let your imagination run wild!
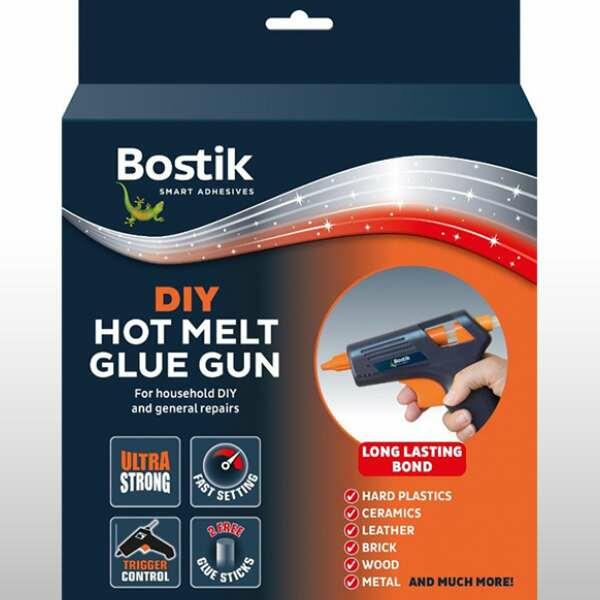
DIY HOT MELT GLUE GUN
Be inspired our glitter glue craft ideas
How to fix broken hard plastic items
How to remove Blu Tack® from carpet
How to remove Blu Tack® stains from a wall

How to remove super glue from skin