Discover how use glue gun our simple step step guide
Glue guns are great for almost every craft or DIY job. Use them to repair a few things around the home, help your child with a school project or perhaps express yourself by making something creative.
Whether you have used a glue gun before or not, we've got you covered. This guide will take you step-by-step through how to use a glue gun, including the initial set up, how to apply the glue without making a mess, and how to clean the gun properly after use.
What is a glue gun?
If you're here to learn how to use a glue gun for the first time, it's important to first know what a glue gun is…
A glue gun is a portable hand-held device, which features a continuous heating element used to melt sticks of solid glue. Once the adhesive is melted, it flows through the nozzle of the gun onto the object of choice.
What's in the box?
At Bostik, we have three different types of glue guns available that are great for different things, but each comes with:
- 1 x Glue Gun of choice
- 2 x Glue Sticks
- 1 x metal stand - only available with our DIY Hot Melt Glue Gun
Which glue gun do I need - hot melt or cool melt?
Handy Hot Melt Glue Gun
Our Handy Hot Melt Glue Gun is perfect for arts and crafts, as well as light household repairs - the best of both worlds. It’s compact and comes with a retractable stand and safety warning light.
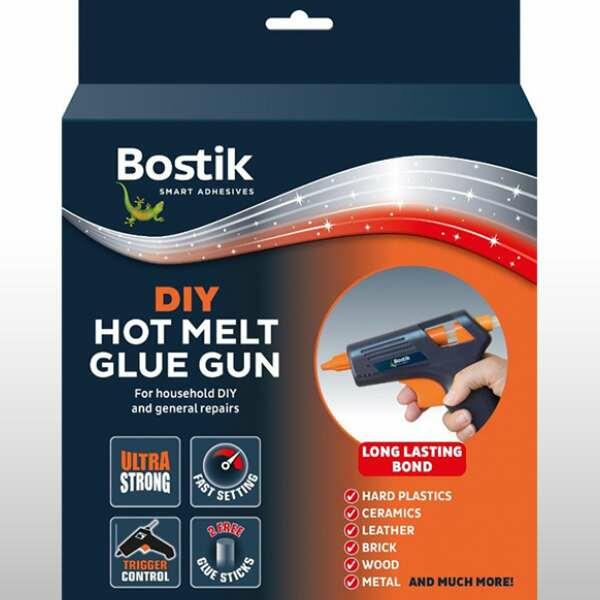
DIY Hot Melt Glue Gun
The Bostik DIY Hot Melt Glue Gun is the ultimate heavy-duty glue gun for DIY tasks, household repairs and crafts. It will bond most household materials including ceramics, wood, leather, fabric and metal cleanly and easily - great for tackling the most demanding jobs.
Craft Cool Melt Glue Gun
Our Bostik Craft Cool Melt Glue Gun is ideal for delicate arts and crafts projects like model-making and floristry, where more fragile materials are used. It offers the lowest possible glue-melt temperature but still provides a strong bond in seconds
Setting up your glue gun
Now that you know which glue gun is for you, it's time to set up your device.
- If your device comes with a metal stand, fit the stand onto the slots by the nozzle at the front of the glue gun
- Load a glue stick through the grip ring at the rear of the gun Press the trigger several times until the stick is positioned firmly in the gun
- Plug in the gun and a light will come on at the rear to indicate that it is in operation
- Rest the gun on its stand and allow it to warm up for around five minutes
Applying glue with your glue gun
PREPARATION
Often when you use any type of glue, mess can be involved. But with Bostik, you can learn how to use a glue gun without making a mess, as each of our guns are built with a precision nozzle for accurate application.
First, ensure the surfaces to be glued are clean and dry. Surfaces should also be at room temperature to prevent the adhesive from cooling too quickly.
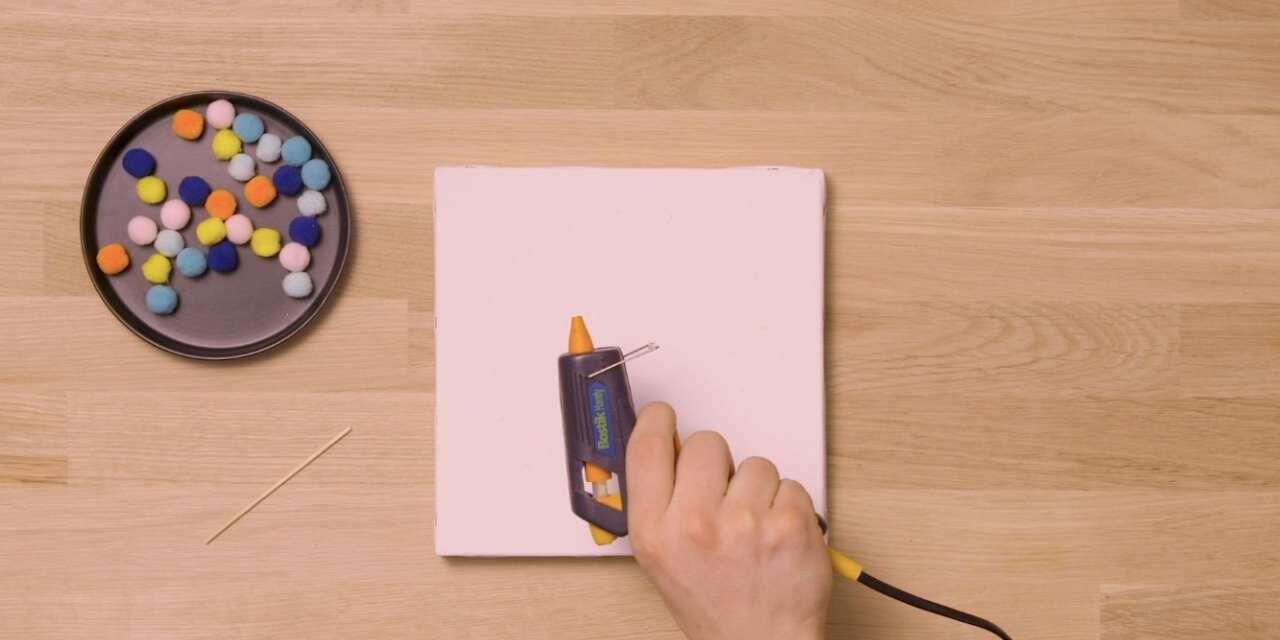
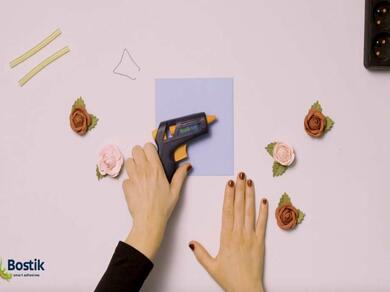
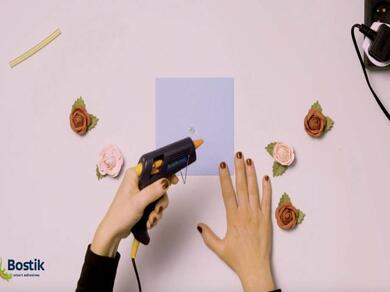
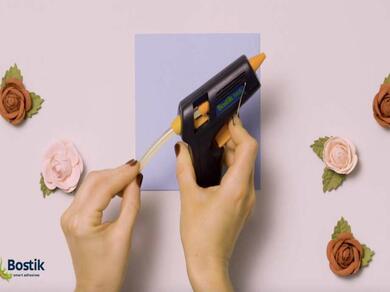
APPLICATION
- Press the trigger slowly until the glue flows from the nozzle
- Squeeze the adhesive onto the surface that is the most difficult to bond (in general, metal, hard and smooth surfaces are more difficult to bond than rough, porous surfaces). There’s no need to spread the glue
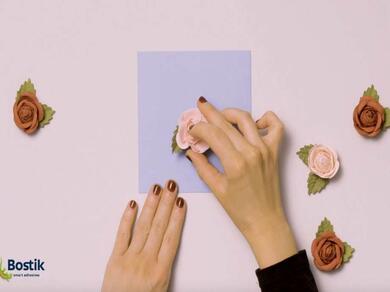
- Press the surfaces together as soon as possible after application (within 15 seconds for best results), and apply pressure
- To ensure a continuous flow of glue, insert further glue sticks into the rear of the gun and wait a few minutes until the stick has heated to the correct temperature – never force the trigger
After you've glued
CLEANING
- Unplug the gun when you’re finished and allow it to cool before storing
- Don’t pull the glue stick from the rear of the gun, as damage may occur. Surplus glue sticks may be trimmed off using a sharp knife
- The glue will set as soon as it has cooled and appears dry and hard. However, you may want to put your items aside for a couple of hours to ensure maximum adhesion
GLUE REMOVAL
- Excess glue can be removed mechanically once dried by scraping carefully with a blade edge. A residual thin film may remain, which can then be removed using a solvent cleaner
- Sensitive surfaces may be damaged by the hot adhesive or by the solvents used in the cleaning process. Always carry out a test before use
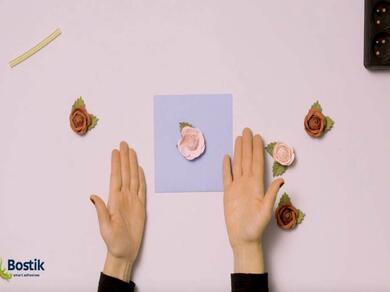
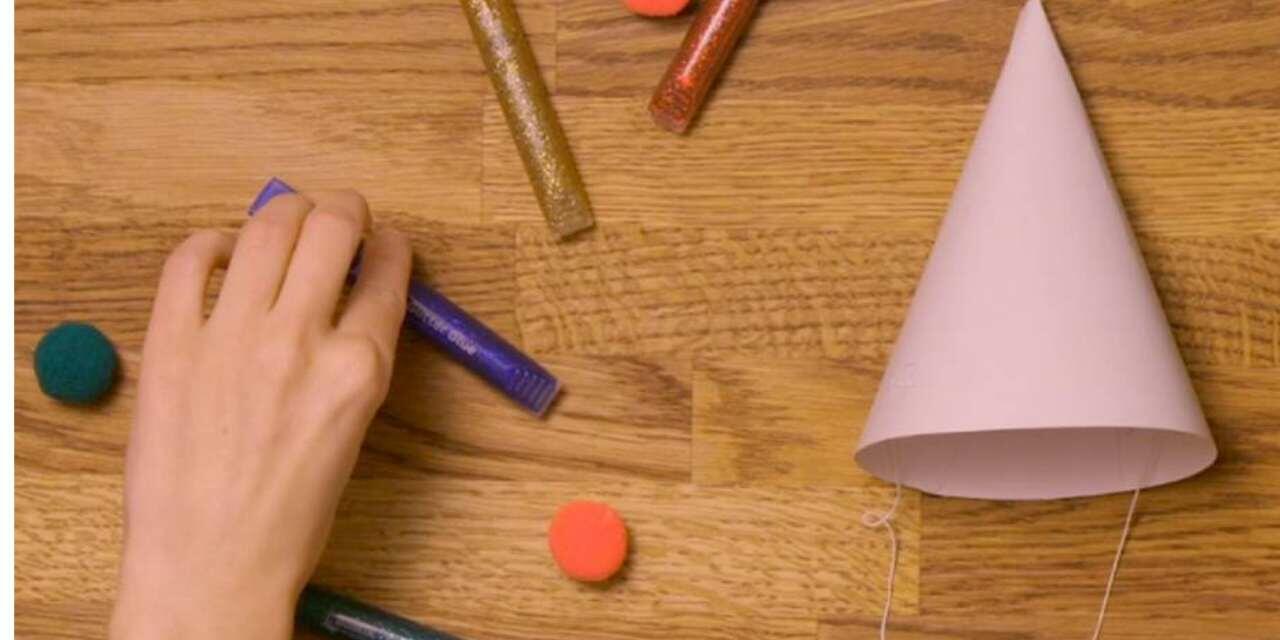
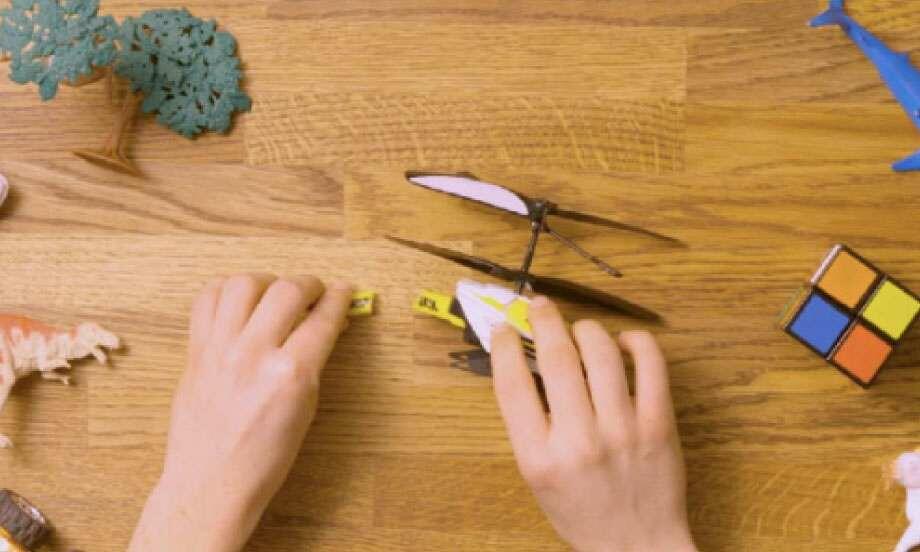
Ways to use a glue gun
Now that you know how to use a glue gun, take a look at some of our craft tutorials to take your glue gun skills to the next level.
From adding a touch of elegance with delicate flowers to an envelope, turning a painting canvas to a 3D masterpiece with pompoms, or sticking a selection of colourful pens together for efficient drawing of rainbows and waves - plus more!