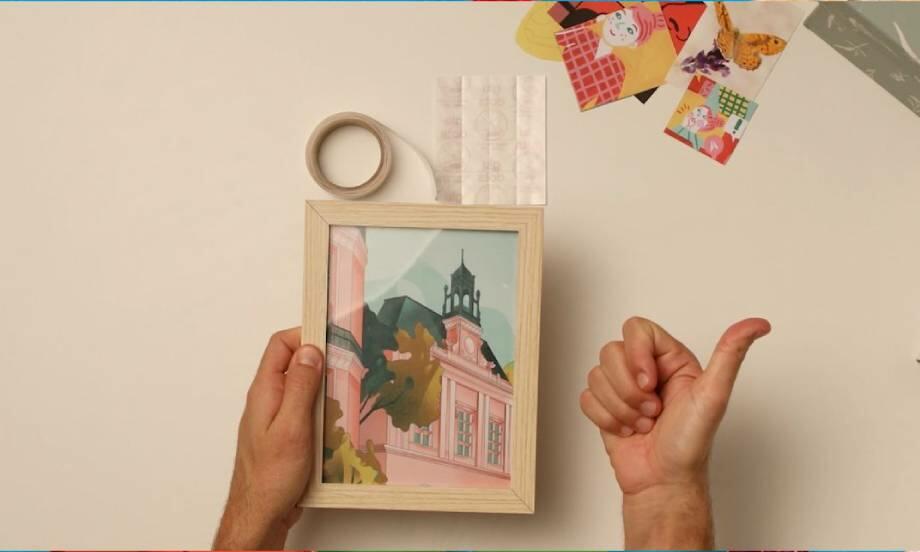
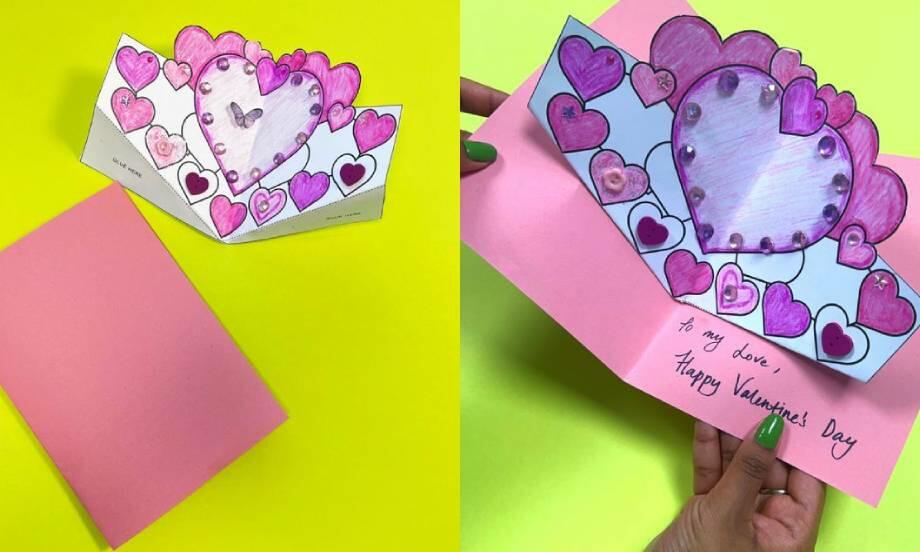
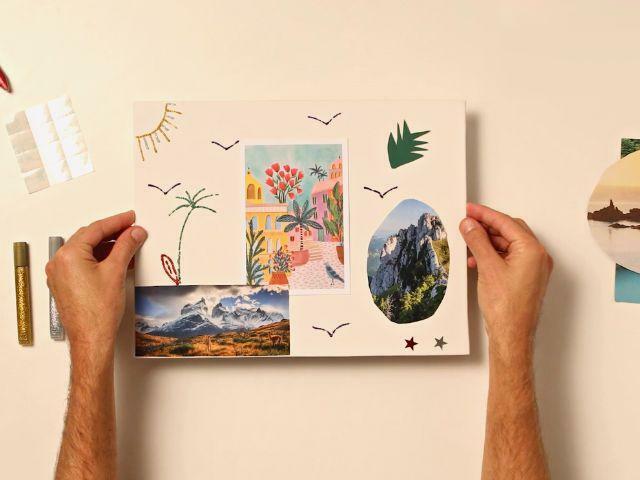
Our main brands website
Main countries

HOW TO CREATE SMALL SQUARE POTS USING BOSTIK POWER REPAIR GLUE

Create your own stylish pots that are perfect for displaying mini cactus plants and other succulents on window sills using Bostik Power Repair glue. Follow this tutorial by Craft Invaders for the step-by-step instructions!

STEP 1 : PREPARING TILES

If your tiles come as a sheet, start by removing them from the backing. They pull off easily, and the residue glue left behind can be washed off in warm water.

STEP 2 : APPLYING GLUE

Apply Bostik Power Repair glue in a line along one side on each tile using the small nozzle, and bring four tiles together to stick. Since the adhesive is repositional for up to 3 minutes, you can get all four sides in place, then make any adjustments you need to make a perfect cube.

STEP 3 : LEAVE TO DRY

Once you have made three cubes out of tiles, leave them to dry for about two hours. The Bostik Power Repair glue will fully set in this time and achieves full strength after 24 hours. It is the perfect choice for making these planters as the glue used needs to be both strong and waterproof.

STEP 4 : COMBINE

Position the three square pots on the base tile by eye. Once you are happy with the spacing, use a marker pen to mark out the inside of each cube to use as a guide when you stick each one down on the base.

STEP 5 : PLANTING

Before planting, give your plants a good drink of water. This helps soften the compost around the roots making it easy to insert them into the square pots. It is always advisable to use some gravel in the bottom of pots when planting succulents to prevent excess water from escaping. A chopstick can be useful to push the miniature plants down into place and to firm the soil around them.

STEP 6 : DISPLAY

If you like, you can add a layer of decorative gravel on top as a finishing touch. Your DIY square pots for miniature plants are now ready to be displayed by the window to give them plenty of sunlight!