How to install floating shelves without drilling using No More Nails
A quick, reliable method to mount no drill shelves at home. No mess, no damage
Installing floating shelves doesn't have to mean holes in the wall. With the right adhesive, you can mount no drill shelves securely and cleanly, without any tools or wall damage. Whether you are refreshing a room or adding storage without leaving a mark, this method gets it done quickly and reliably. Here is how."
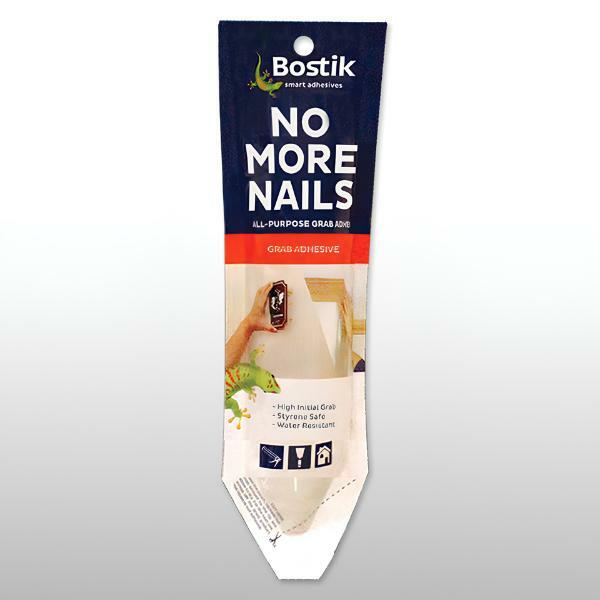
What is Bostik No More Nails?
Bostik No More Nails is a multi-purpose construction adhesive based on synthetic rubber. It delivers high bond strength with excellent initial grab, meaning it holds firmly from the moment you press. It is water resistant and performs well across a wide temperature range, from -30°C to +80°C, making it suitable for both interior and exterior use. Its good slump resistance also means it stays in place on vertical surfaces during application, which is exactly what you need when mounting floating shelves.
Instructions
A few tips before you start
Before committing to the full installation, always test the adhesive on a small, hidden area of your wall surface first. Some surfaces may react differently, and a quick test saves you from any surprises.
Keep the surface temperature in mind. The substrate should not exceed 30°C during application for the best bonding result. Bostik No More Nails contains flammable solvents. Always work in a well-ventilated space and keep the product away from open flames or sparks.
If any excess adhesive spills during application, remove it immediately with a scraper while it is still wet. Once dried, it can still be removed with a scraper or by sanding, but it takes more effort. After handling, wash your hands thoroughly with soap and water.