How to make a stool with no more nails

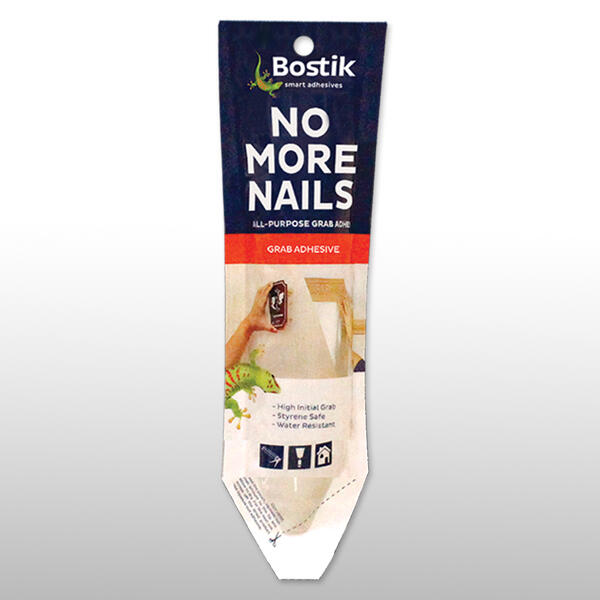
Create a functional and stylish stool, without using a single nail, thanks to Bostik No More Nails! Begin by measuring and cutting a flat wood panel to a 12–15-inch square. Drill holes into it using a hole saw, then chisel matching wooden pegs from 2×2 lumber to fit as the stool legs. Apply a generous layer of No More Nails to each peg, insert them into the holes with a slight outward angle, and let it bond securely. A quick sanding smooths out any rough edges, and you’ll be left with a reliable, DIY seat that looks great and performs even better. Ready in just a couple of hours—no hardware needed! 🪑⏱️✨

Instructions

Step 1: Measure

Measure 12–15 inches on the flat wooden palette. Cut with an electric or regular saw.

Step 2: Mark

Lay the flat wood horizontally. Measure 1 inch from each side and 3/4 inch from the top. Mark where you will drill holes, which should be the same size as your hole saw (32 mm).

Step 3: Chisel away

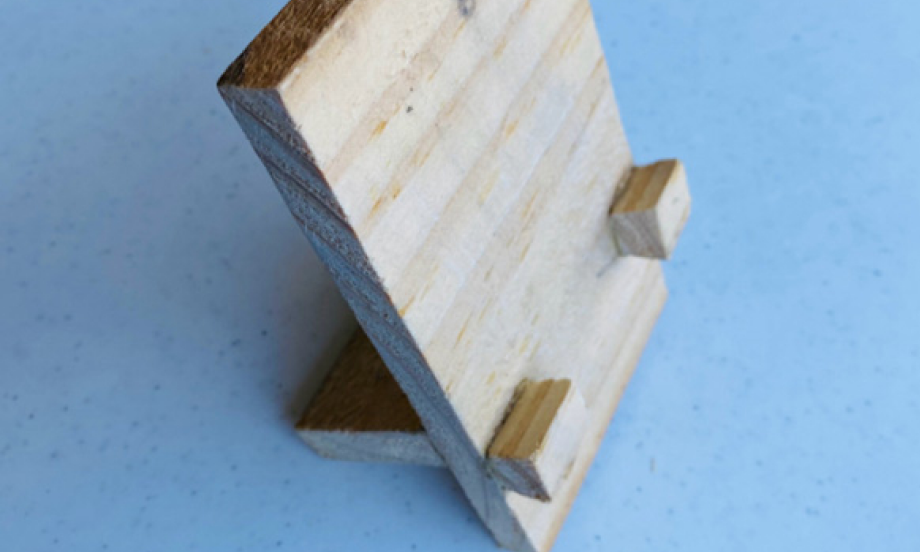
For the stool’s legs, measure 5 inches each on the 2 x 2 wood. Using a saw, cut the wood at a slight angle. Match the height of the round peg with the thickness of your flat wood. Be sure to use a bigger-sized hole saw (38 mm). Chisel away at the wood around the round peg.

Step 4: Plug in

Put Bostik No More Nails all over the round pegs of the stool’s legs. Plug the legs into the holes, slightly slanted outward.

Step 5: Sand down

Sand down rough areas and paint the stool, or keep it rustic.

Step 6: Liven up

Use the stool for dad’s stuff.

Tip

Sprucing up your home should be easy with No More Nails. No More Nails is available in our ecommerce stores.

See all products