How to make your own hanging sign
Ready to bring some personalized charm to your home or event? This DIY Hanging Sign🪧 project uses Bostik No More Nails to glue together three wooden lengths, add a stylish rope for easy hanging, and custom cardboard letters to spell out your favorite word or message. Simply cut the wood, drill balanced holes, thread the rope with a barbecue stick, apply adhesive between the stacked pieces, and press firmly. Once the glue sets, paint and attach your message with more adhesive. In just a handful of steps, you'll have a unique, durable sign that’s ready to hang with pride! 📐
Instructions
NO MORE NAILS
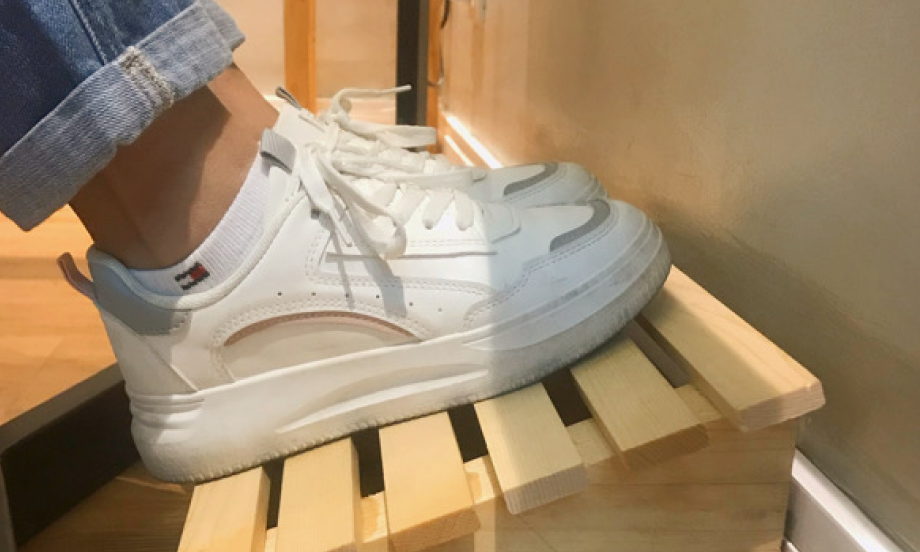
Create a simple, ergonomic, footrest, with no more nails
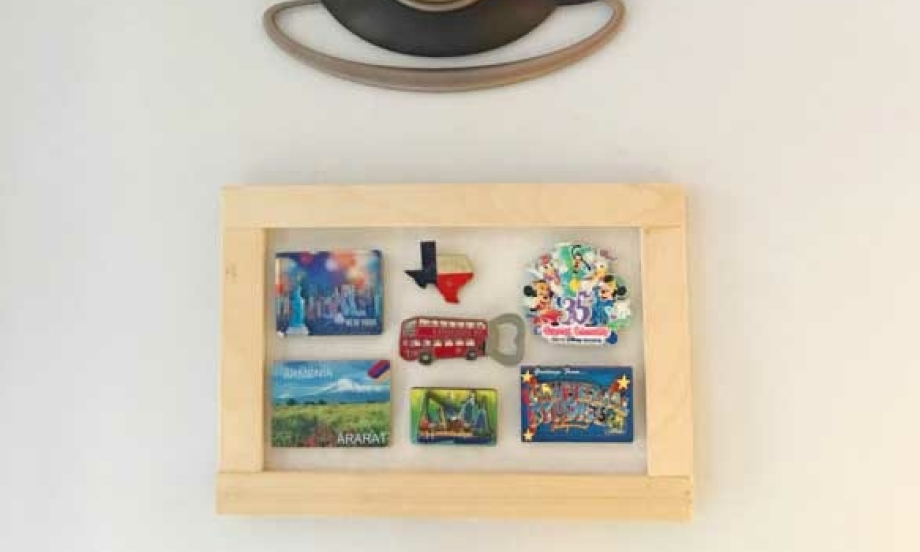
Create your own decorative magnetic board
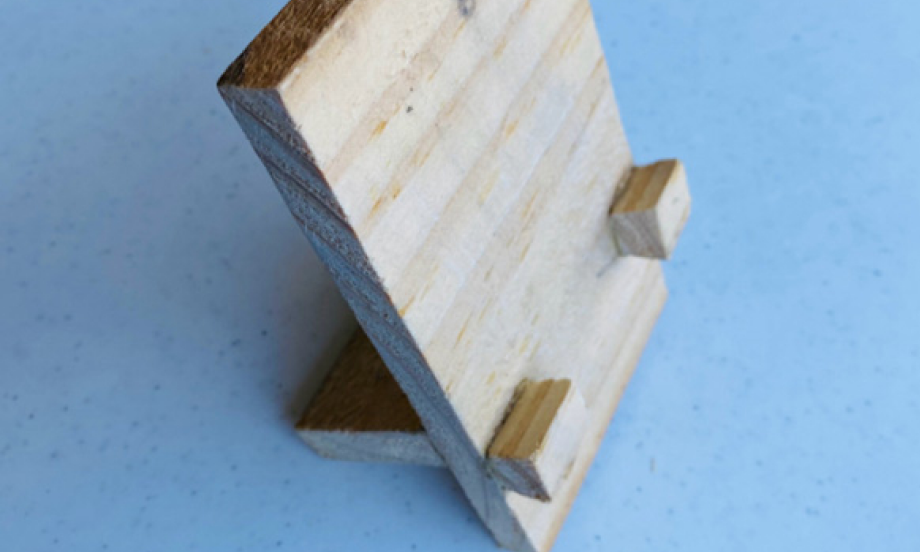
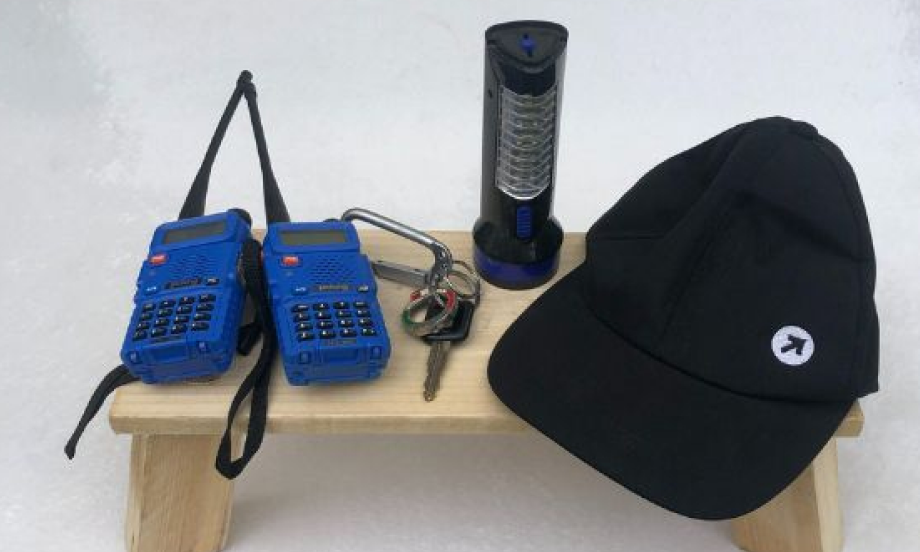
Create your own phone holder
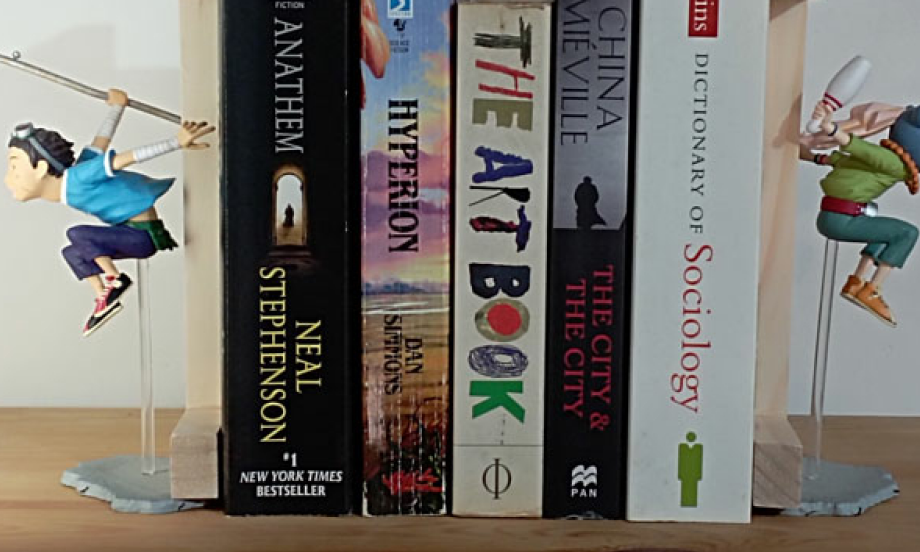
How to create unique action figure bookends with no more nails
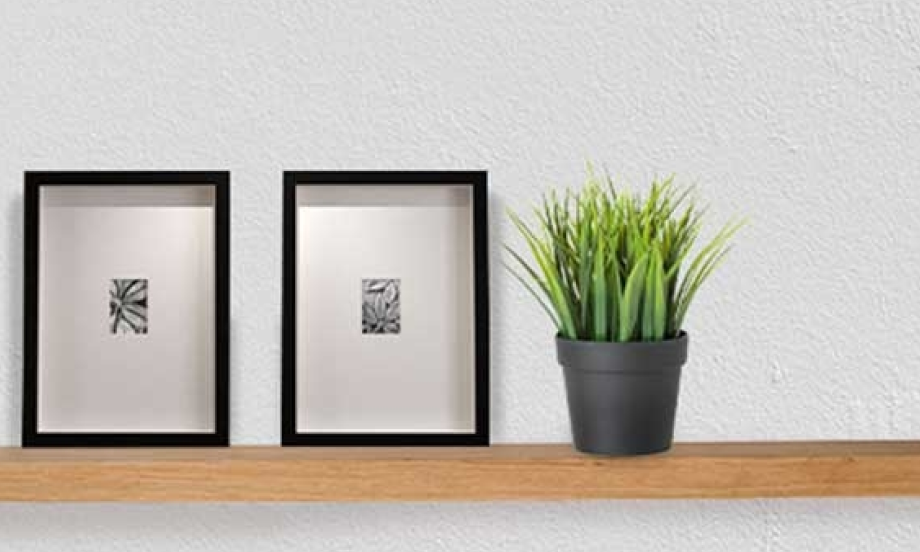
How to install floating shelves with no more nails