How to build a foot rest under a desk at home without nails
A simple foot rest DIY project for better posture and daily comfort
Sitting at a desk for long hours puts strain on your legs and lower back. A foot rest under desk helps ease that tension and encourages a healthier seated posture. The good news is that you can build one yourself in about an hour, using just a few wooden pieces and a strong construction adhesive. No nails, no fuss.
Why a foot rest under a desk makes a real difference
Spending several hours a day seated without proper support can lead to poor circulation, leg fatigue, and tension in the lower back. When your feet rest flat on the floor, especially on a chair that sits too high, the pressure on your thighs increases and your spine tends to curve forward over time.
Raising your feet slightly, at a gentle angle, redistributes that pressure and helps keep your hips and knees at a more natural position. It also reduces the tendency to slouch, which can make a noticeable difference during long work or study sessions.
A wooden footrest is a practical and affordable solution for any home office, study corner, or desk setup. Built at the right angle and height, it supports your feet consistently throughout the day, without requiring any permanent changes to your furniture.
Bostik No More Nails
For the bonding step, No More Nails is a general-purpose construction adhesive with high bond strength and excellent adhesion to timber. It replaces the need for nails or screws, making assembly cleaner and simpler. The surfaces to bond must be clean, dry, and free from dust or grease before applying. It is suitable for interior use and easy to apply, even if you haven't done this kind of project in a while.
Instructions
Happy sitting
A wooden foot rest under a desk is one of those small additions that can genuinely improve how you feel at the end of a working day. Built at the right angle and held together with a strong, reliable adhesive, this footrest requires no nails, no complex tools, and no prior expertise. The result is a durable, functional piece that fits under any desk and supports better posture from day one. A straightforward project with a lasting impact on your daily comfort.

NO MORE NAILS
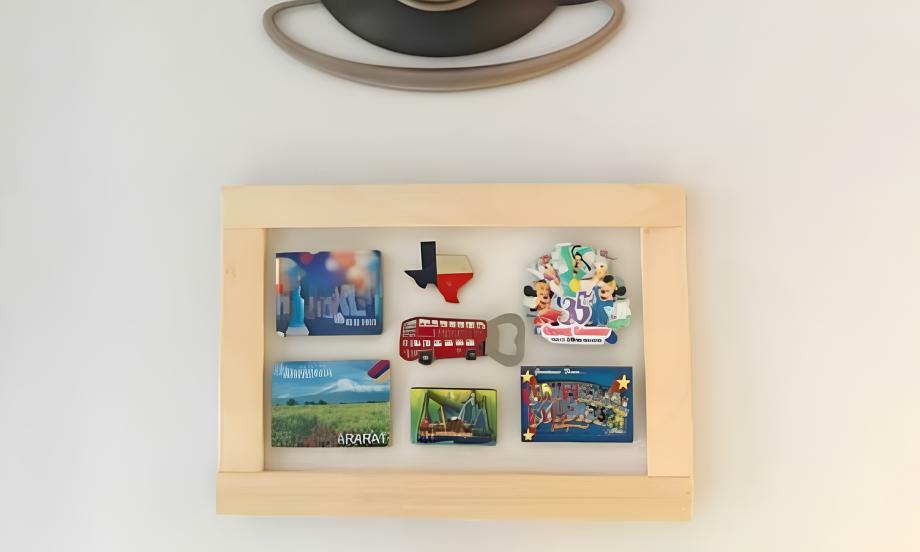
Create your own decorative magnetic board
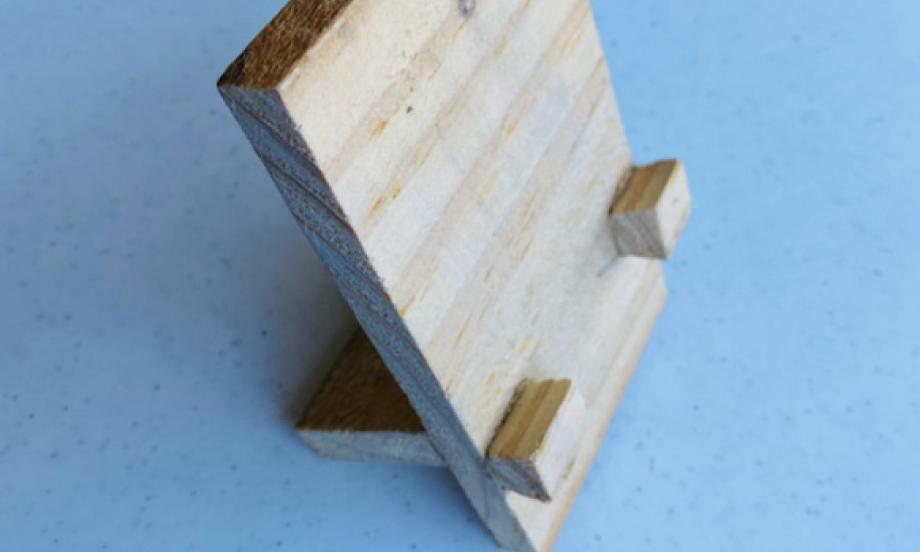
Create your own phone holder
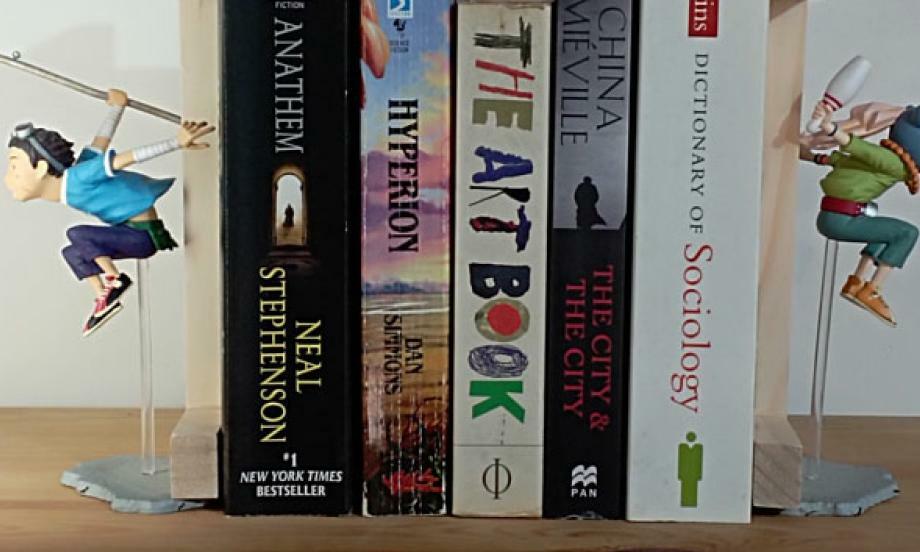
How to create unique action figure bookends with no more nails
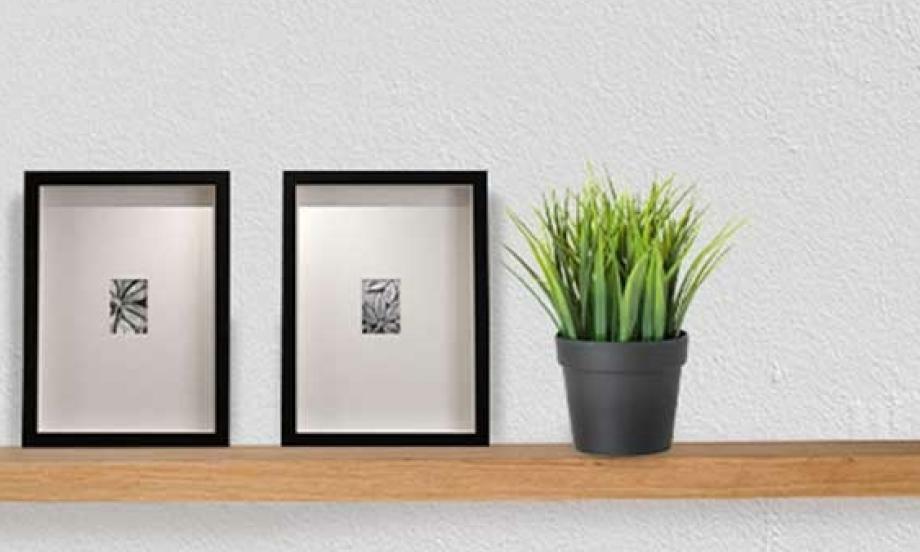
How to install floating shelves without drilling using No More Nails

How to make a stool with no more nails