Valentine's day card
Show someone special how much they mean to you with this charming DIY Valentine’s Day Card💌❤️ tutorial! First, fold a piece of A4 cardboard to form the card base. Next, create festive accordion-style sides using folded red paper, and secure both halves together using Bostik Art & Craft School Glue and Double‑Sided Tape for durable adhesion. Embellish the front with heart-shaped cut-outs or foam decorations to reflect your style. Finally, tuck in a sweet message using the internal hinges, held in place with Prestik or paper glue if needed. With just paper, tape, and a dash of creativity, you’ll craft a sentimental keepsake that speaks from the heart. ✂️
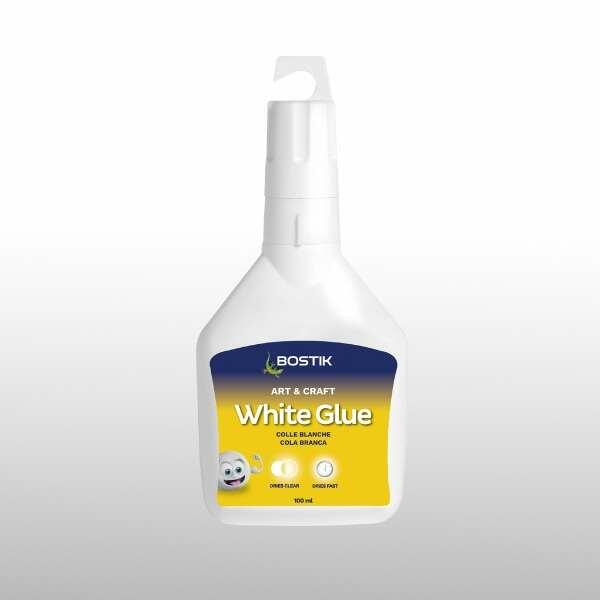
What you will need
- 1 x A4 Cardboard paper
- 2 x A4 Red paper
- 1 x White paper (to write/print message on – decorate however you choose)
- Decorations for your card (we used heart-shaped cut-outs)
- Scissors and pencil
Instructions
STEP 1: Fold
Fold your cardboard paper in half (A5 size) and leave aside.
STEP 2: Fold
Take your A4 red paper and fold lengthways in half, keep folding in half until you reach the desired fold width. Unfold and then fold according to the fold-lines, make sure to turn the sheet over with each fold to make a fan effect. Repeat process with the 2nd piece of red paper.
STEP 3: Fold
Fold the fan shape in half. (Repeat for both sides)
STEP 4: Glue
Now glue your 2 halves together with Craft glue to create an accordian style hinge. Repeat for the other side.
STEP 5: Glue
Apply Bostik Double Sided Tape to the inner edges of the card and stick down the hinges on both sides.
STEP 6: Decorate
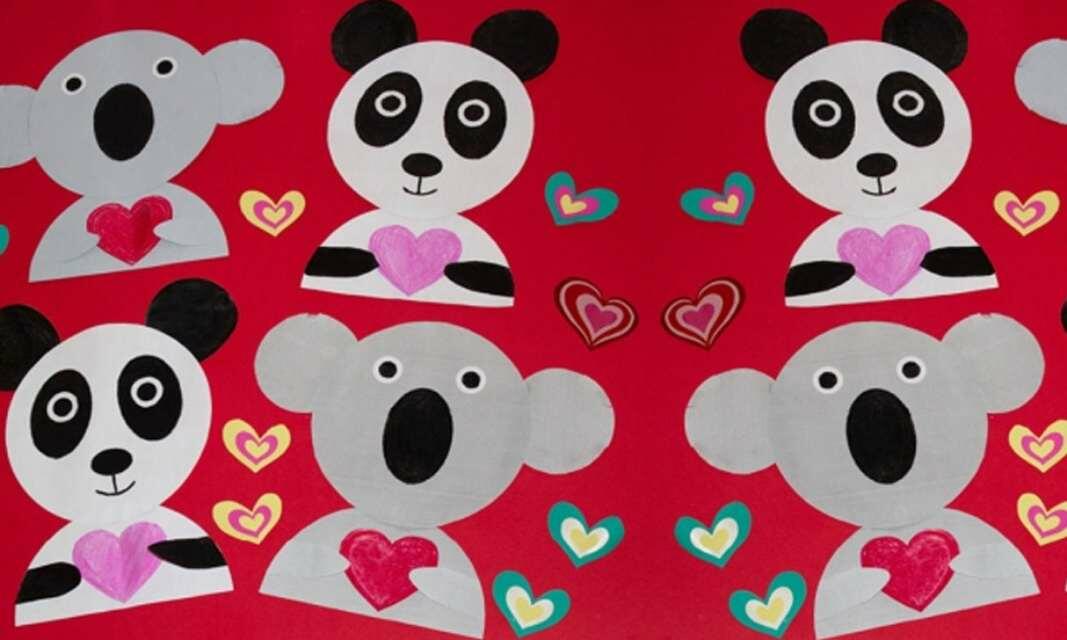
Decorate the front of your card. We have chosen some lovely foam heart cut-outs, but you may decorate however you see fit.
STEP 7: Insert
Insert your notes into the card, slotting them into the hinges. You may use Prestik or a Paper Glue to keep them in place if you find that they move around.
Double Sided Tape