Halloween lantern
Light up your Halloween with this fun DIY Halloween Lantern🎃🕯️ craft! Start by printing or drawing out your spooky pattern onto thick paper. Trace the design onto a second sheet using true-to-shape cut-outs as your guide. Use Bostik Glu Stik to attach both layers together, sealing in the details. Then, pop in a battery-operated tea light (always safe and mess-free), and watch your lantern glow with eerie delight. Fast, festive, and perfect for playrooms, porches, or party mood-setting, this paper lantern brings Halloween spirit in style. ✨
What you will need
- Clear Jar
- Fairy Lights (or similar)
- Orange tissue paper
- Black paper
- Scissors
- String
Instructions
STEP 1: Glue
Add glue to the side of the jar and stick one end of the tissue paper to the jar. Roll the jar on the tissue paper to cover the entire jar.
STEP 2: Wrap and tie
Leave slight excess paper on both ends of the jar. Fold the bottom ends together and glue to cover the bottom. Just fold the top excess into your jar. Use your string and wrap it around the opening until covered and the tissue paper is tightly fitted onto the jar.
STEP 3: Decorate
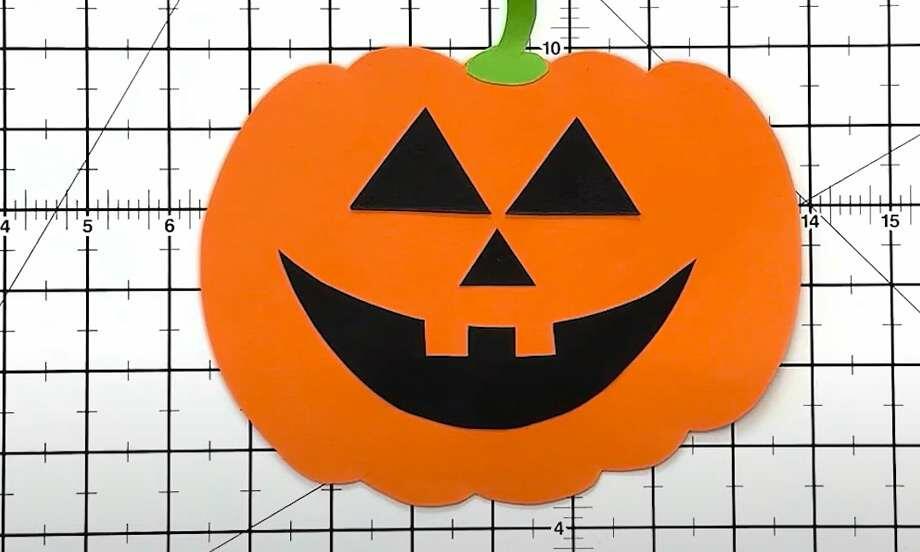
Use the black paper and draw a Jack face of your choice with mouth, eyes and nose.
STEP 4: Glue
Stick your black paper Jack face to the jar using the glue stick.
STEP 5: Add fairy lights
Add your fairly lights to your jar.
Glue Stick
Related products
Related tutorials