Halloween decoration pumpkin craft
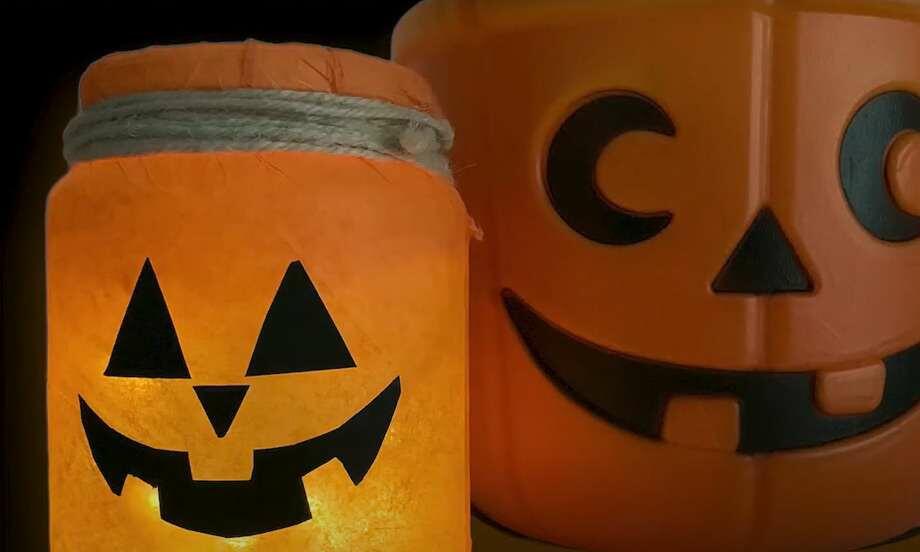
Unleash your Halloween spirit with this quick and crafty DIY Halloween Pumpkin Decoration🎃! Start by tracing the pumpkin body shape onto orange paper, then cut it out along with facial features from black paper and a stem from green. Use a Bostik Glue Stick to stick on the eyes, smile, and stem for a clean and easy finish. Add your personal twist, maybe a cheeky grin or angular eyes, to make it your own. With just paper, glue, and a bit of imagination, you’ll have a spooky-yet-cute pumpkin perfect for walls, windows, or party décor. No carving required, just crafty fun! 🕸
What you will need
- Coloured Paper (Orange, Black & Green)
- Scissors
- Pencil
Instructions
STEP 1: Trace & Cut Body
Using your pencil trace out the shape of the pumpkin's body on the orange paper sheet and cut it out.
STEP 2: Trace and Cut Face
Take your pencil and use it to draw a smile, a nose, and some eyes on the black paper. Then, use the pencil to draw a stem on the green paper. After that, carefully cut out these shapes.
STEP 3: Glue Down
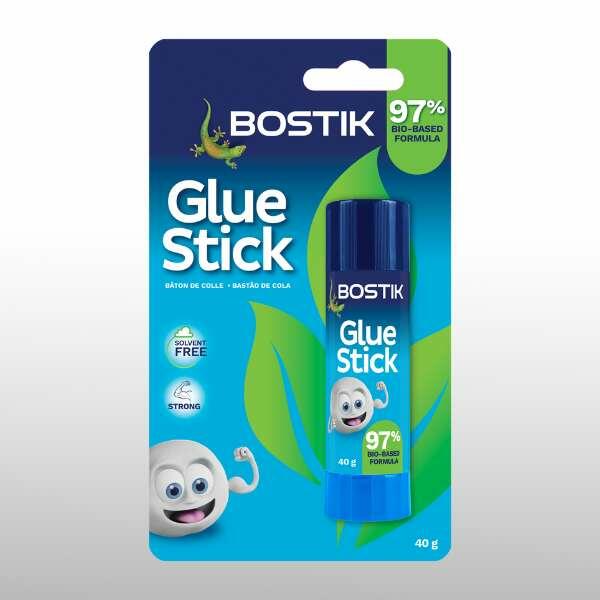
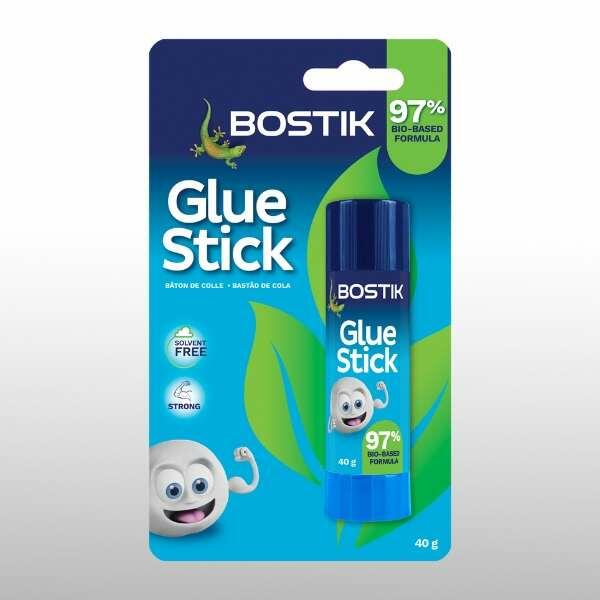
Using your Bostik Glue Stick, simply stick on the smile, eyes, and nose.
STEP 4: Add The Stem
Finally, just stick the green stem onto the top of the pumpkin.
STEP 5: Finishing Touches
Make sure you glue everything down really well, so it doesn't fall off the pumpkin. Just press it down firmly. Viola! You have a Spooky and unique Halloween decoration.
Glue stick
Related products
GLUE STICK
CUT 'N PASTE
GLU TAPE
PRESTIK
Related tutorials