Halloween party bags
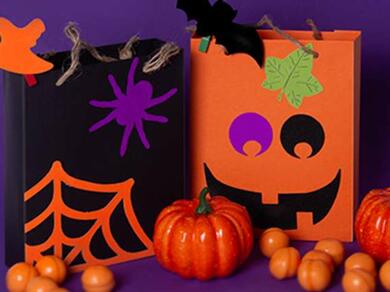
Make treat time extra special with DIY Halloween party bags that are as spook-tacular as they are stylish! Start by printing your bag template, and bring it to life using Bostik Cut ’n Paste and Extra-Strength Glu Dots for secure, clean adhesion. Add ribbons or twine for handles and fill with goodies—perfect for parties, trick-or-treating, or classroom fun. This craft combines creativity and practicality, adding a personalized twist to Halloween celebrations! 👻
What you will need
- A3 paper sheets in black & orange
- A4 paper sheets in Halloween colours
- Rope for the handles
- Little pegs
- Punch
Instructions
STEP 1: Print & Cut
Print & cut the party bag out on your black & orange papers (black on black works).
STEP 2: Paste
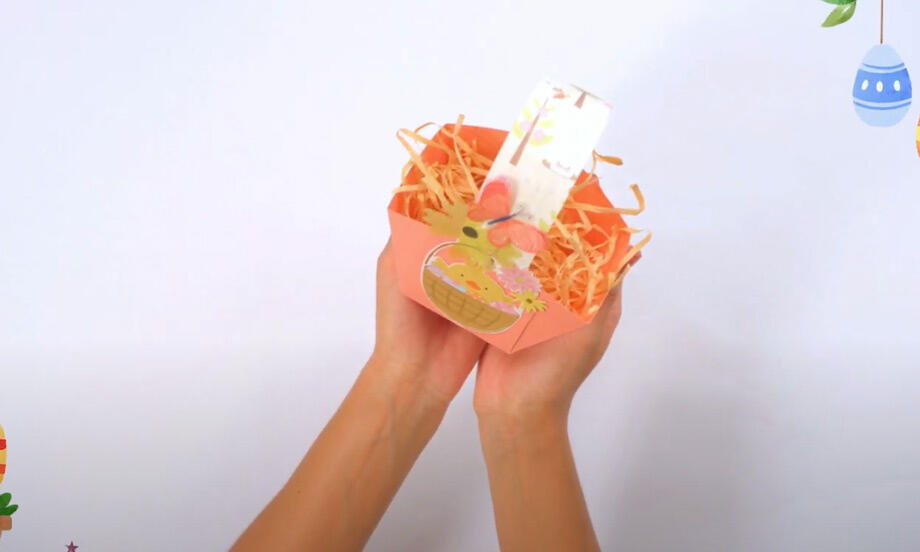
Fold & stick the party bag using Cut 'n Paste and the double sided tape. Use a punch to make holes and string the handles.
STEP 3: Decorate
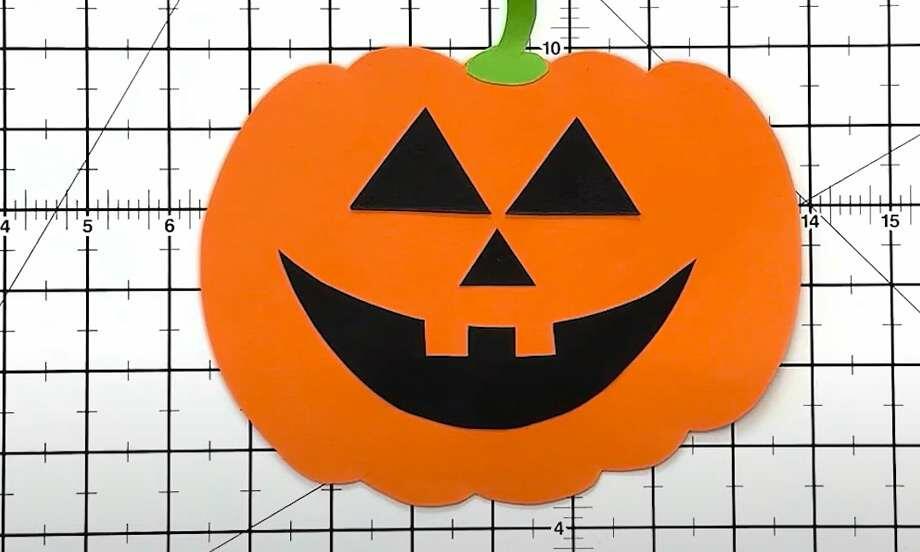
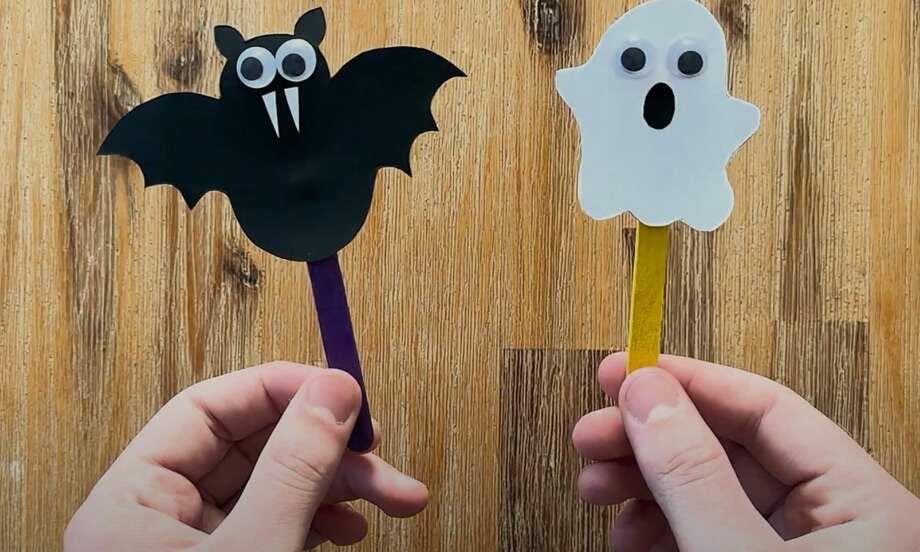
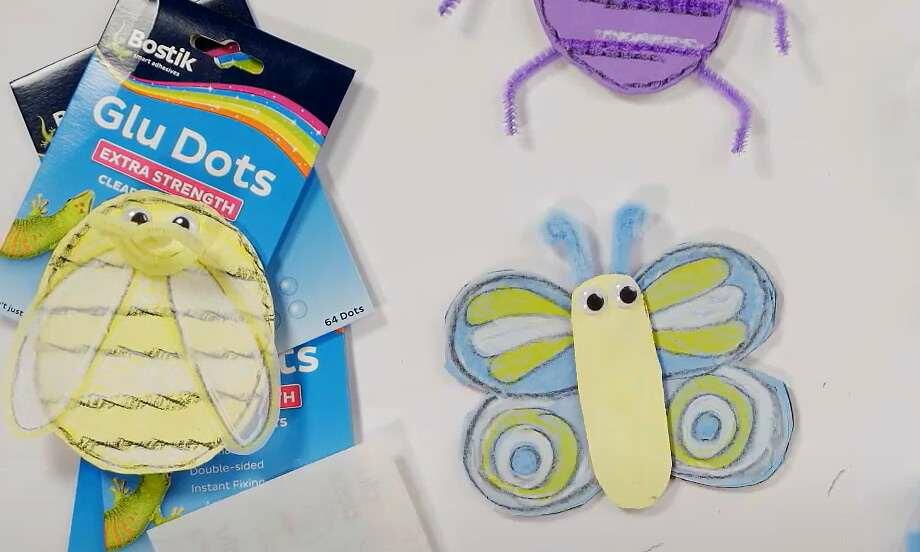
Print & cut out all your elements. Stencil & cut the decorations using your Halloween coloured papers. Have fun decorating your bag. Use Bostik Glu Dots to stick your elements onto the little peg and “peg” onto your bag.

Cut ‘n Paste
Related products
Related tutorials