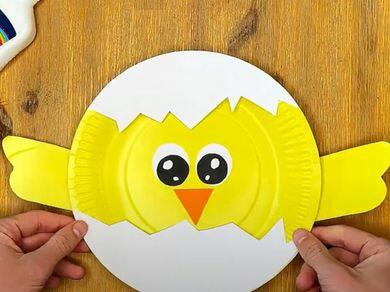
Easter chick paper plate craft
Get ready to spring into action with a cute seasonal craft - a DIY Easter chick paper plate craft! Perfect for classrooms, rainy days, or creative afternoons at home, this chirpy little chick is guaranteed to brighten any craft table.
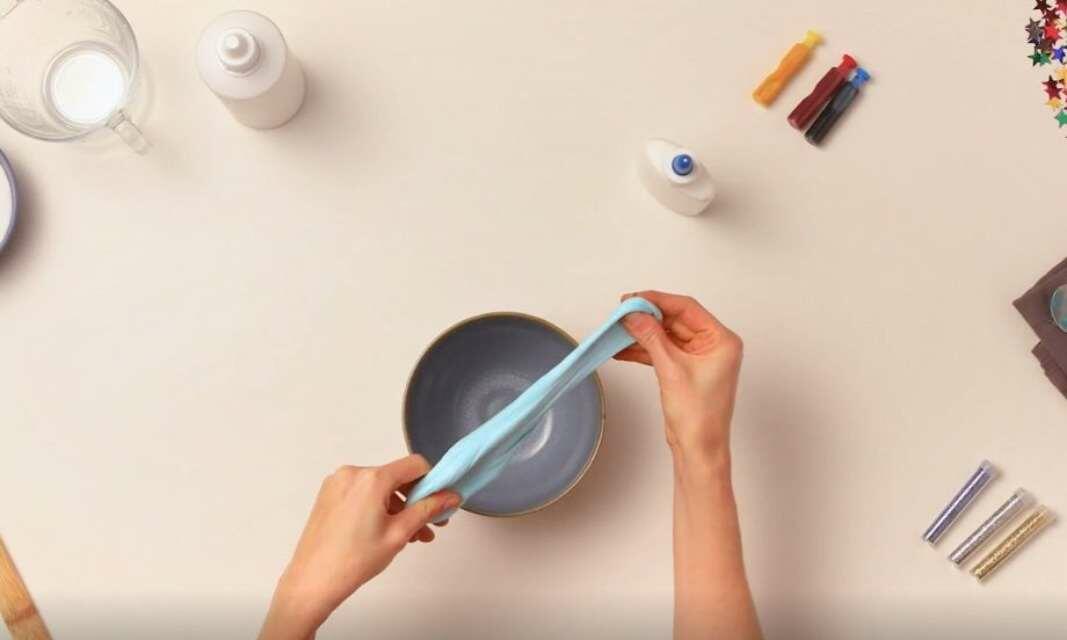
Using just a handful of materials like paper plates, card and Bostik's craft glues, you’ll transform a paper plate into a delightful Easter spring chick that's simple to make and that the kids will love!
Instructions
Why this paper plate chick is perfect for spring
This cheerful Easter chick paper plate project isn’t just adorable to display - it’s a wonderfully hands-on learning experience that combines creativity with skill building. As children cut, glue, layer, and assemble their paper plate chick, they naturally develop:
- Cutting and layering skills that support fine motor development
- Understanding of how different craft glues work
- Colour matching and shape recognition through bright yellows, whites, and orange details
- Seasonal creativity, exploring themes of spring, Easter, and new beginnings
On top of all that, this Easter craft uses simple, budget-friendly materials, making it ideal for primary classrooms, home crafting sessions, seasonal activity tables, and more! Display your finished chicks on walls, windows, or Easter-themed bulletin boards - they bring instant spring cheer wherever they go.
BLU GLU STICK
EXTRA STRONG GLU DOTS
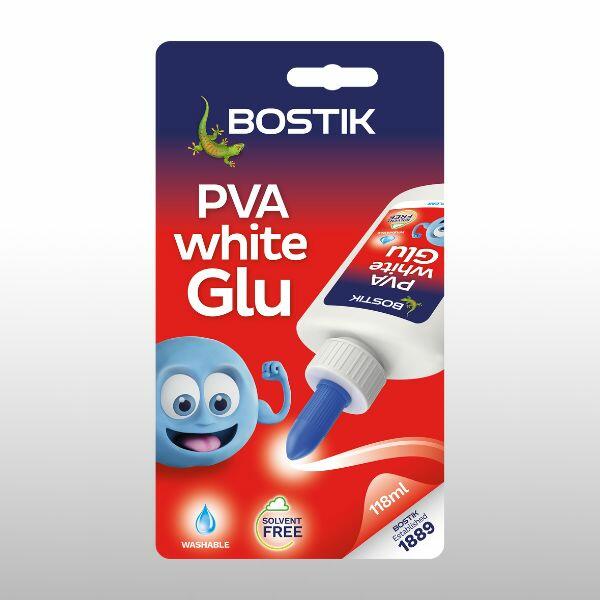
PVA WHITE GLU
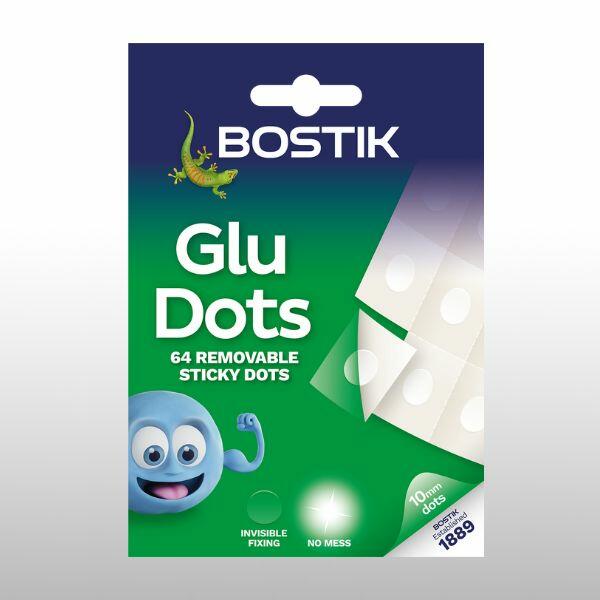
REMOVABLE GLU DOTS
#BluHacks around the home
#BluHacks to simplify summer

3 simple things to make with lolly sticks
4 super easy children's craft ideas to do at home
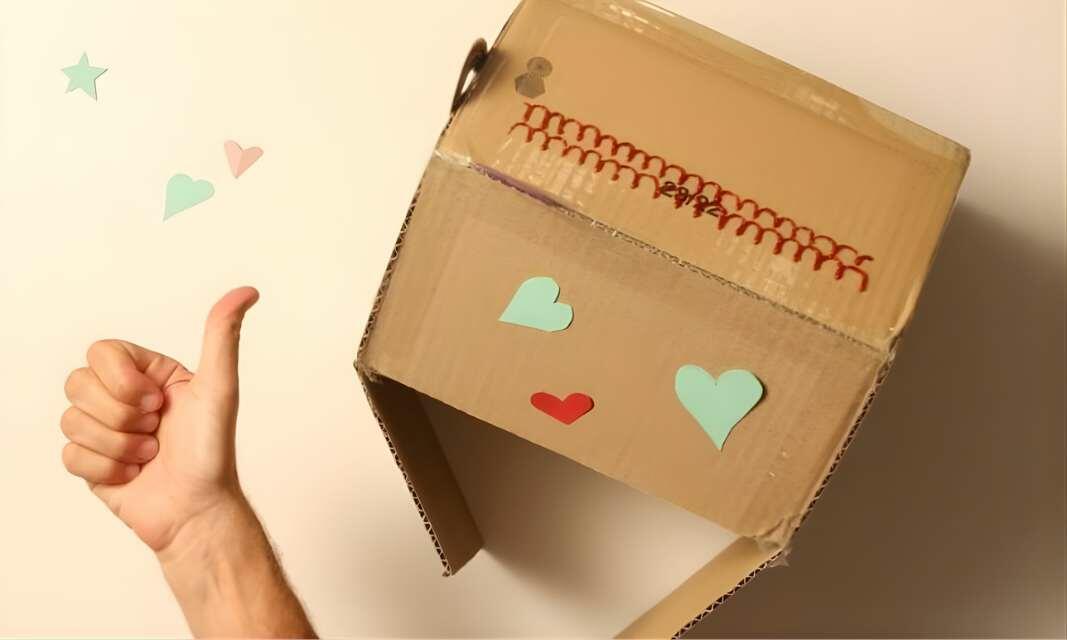
How to build your own DIY cardboard dollhouse

How to create a mood board in 5 simple steps
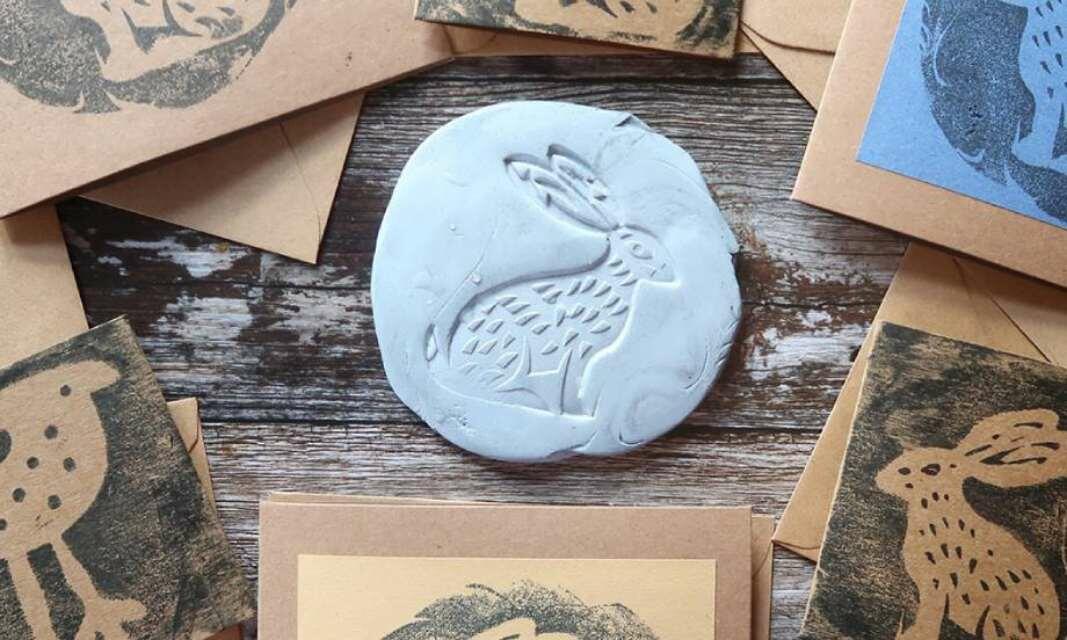
How to create reverse prints using Blu Tack®
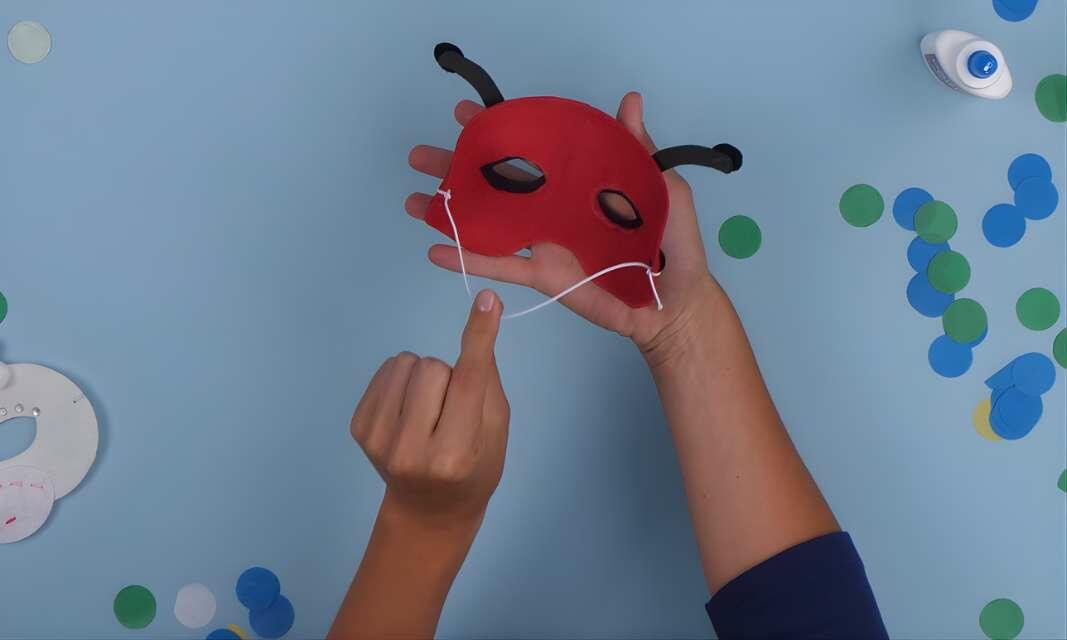
How to make a DIY animal mask
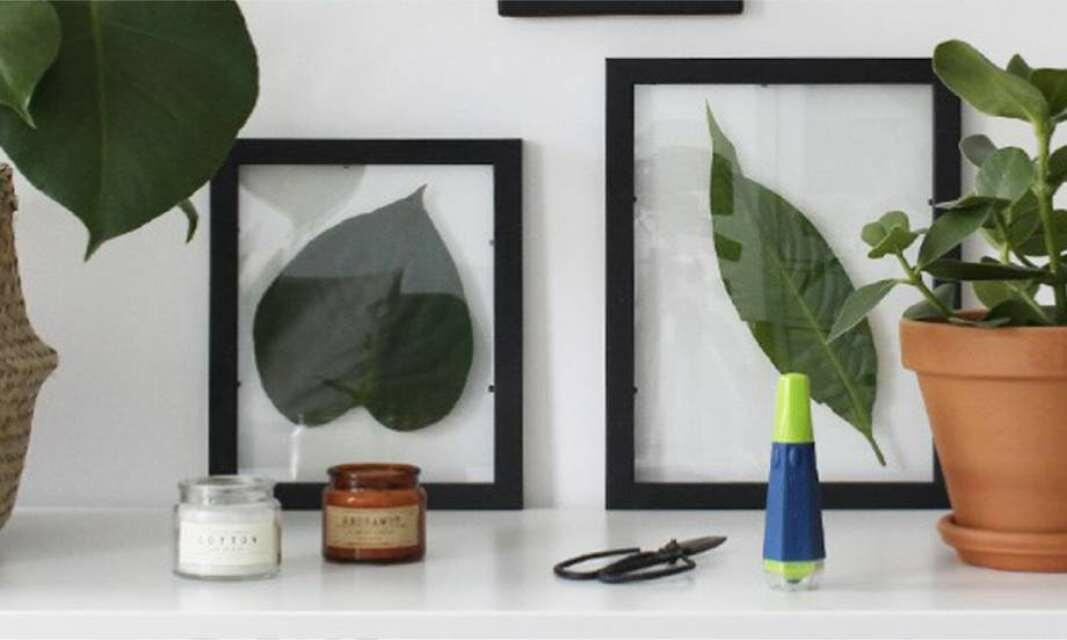
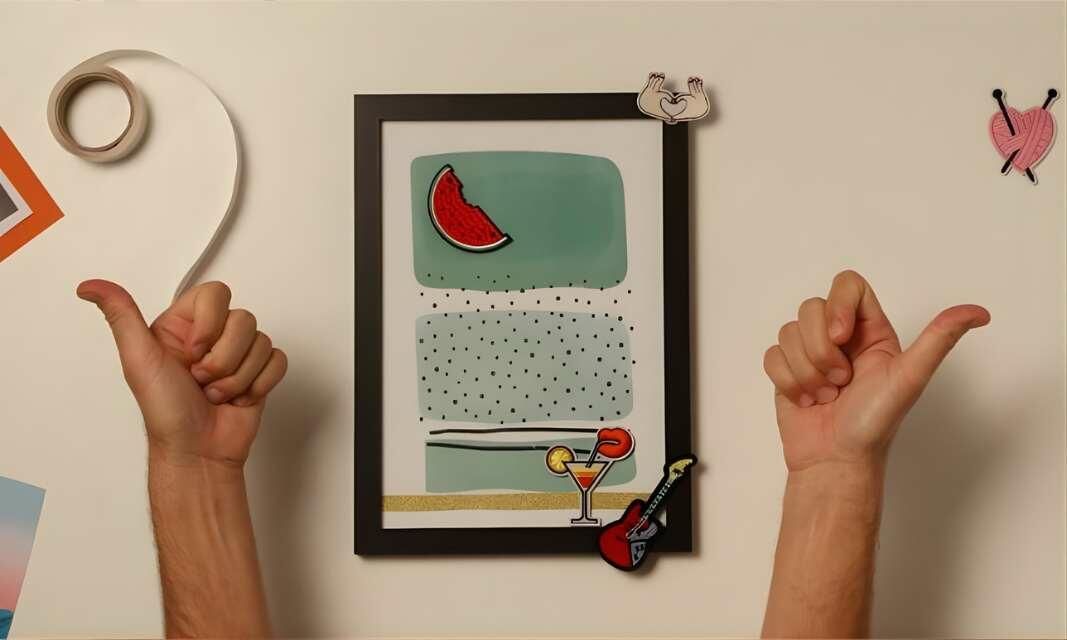
How to make a DIY plant frame