How to make a DIY animal mask
Calling all little explorers and creative minds! If your kids love animals, they’ll have a blast making their very own DIY animal mask. The animal kingdom is full of fascinating creatures, and this fun craft is the perfect way to spark their curiosity about nature and wildlife. There’s no need to wait for a party or school event to dress up and learn - every day is a great day to buzz, hop, or crawl into character.
Creating a homemade animal face mask is not only exciting but also a great hands-on learning activity. Children can explore animal features, colours, and habitats while building their fine motor skills and creativity. All you need is some paper or colourful felt, a few trusty stickies, and plenty of imagination.
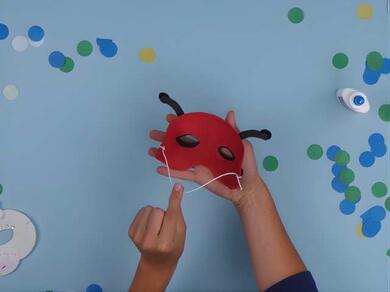
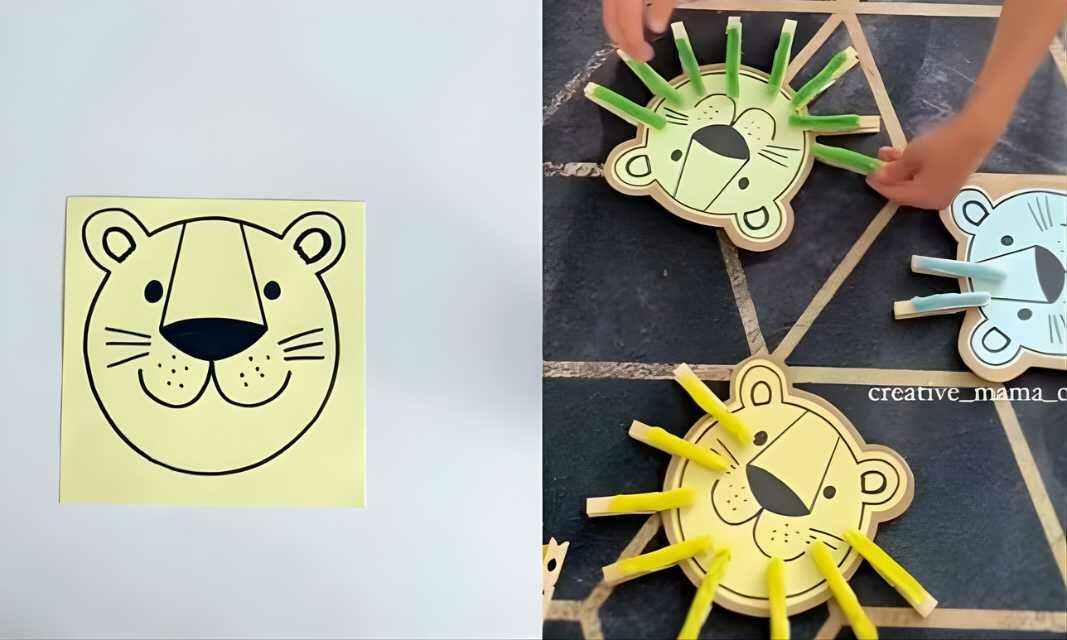
Follow our simple step-by-step guide to make a cheerful ladybug face mask - or use the same steps to design any creature your child loves.
Instructions
Let's recap!
Creating a homemade animal mask is a fun, creative, and educational craft that brings the wonders of the animal kingdom to life. With just a few simple materials like colourful felt, PVA white Glu, and your imagination, kids can design their favourite creatures while learning about their features, patterns, and habitats.
Whether it’s a ladybug, lion, or butterfly, this activity encourages hands-on creativity, develops fine motor skills, and sparks curiosity about nature. So, grab your craft supplies, follow the steps, and let your little explorers proudly show off their wild side!
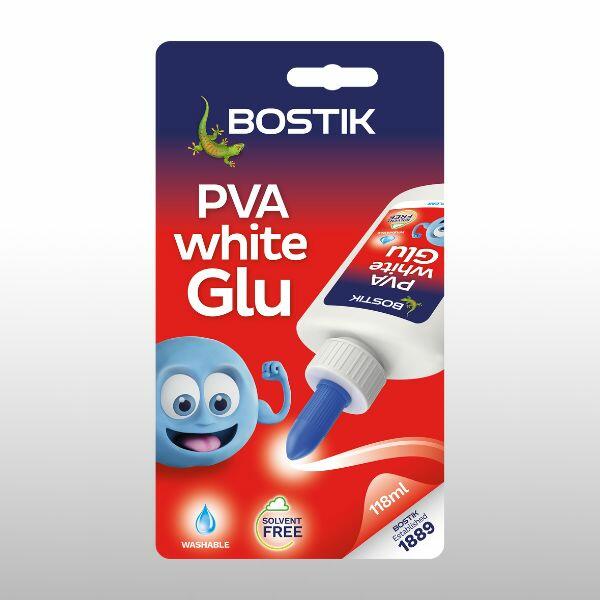
PVA WHITE GLU

#BluHacks around the home
#BluHacks to simplify summer
Easy lion craft activity with counting practice for kids
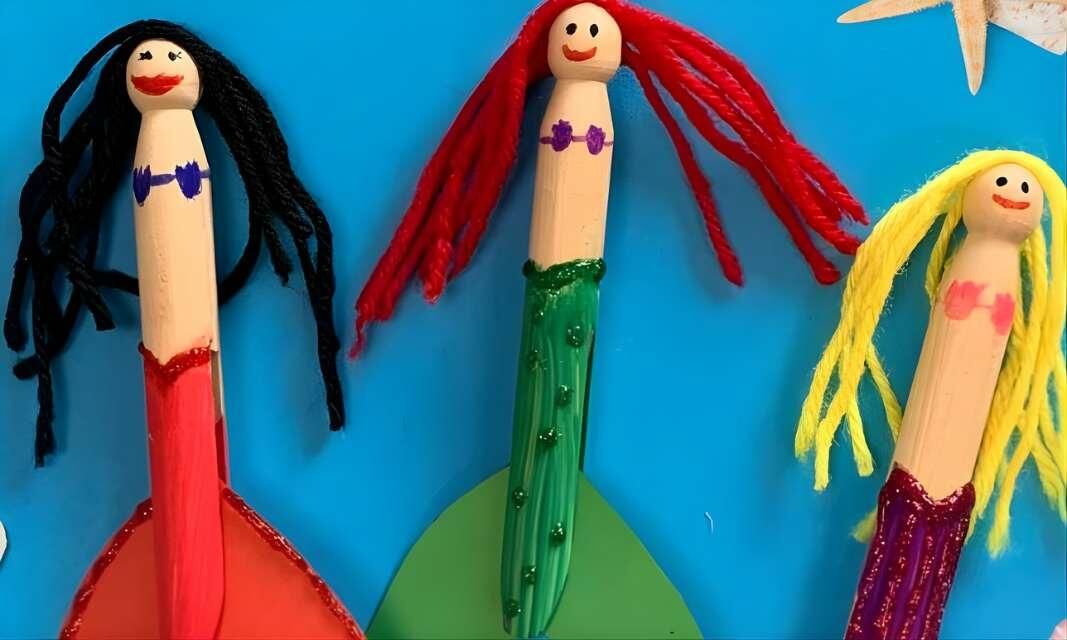
Easy mermaid craft using wooden clothes pegs
Everything you need to know: Glu Dots

How to create a DIY sun mirror
How to create a gallery wall
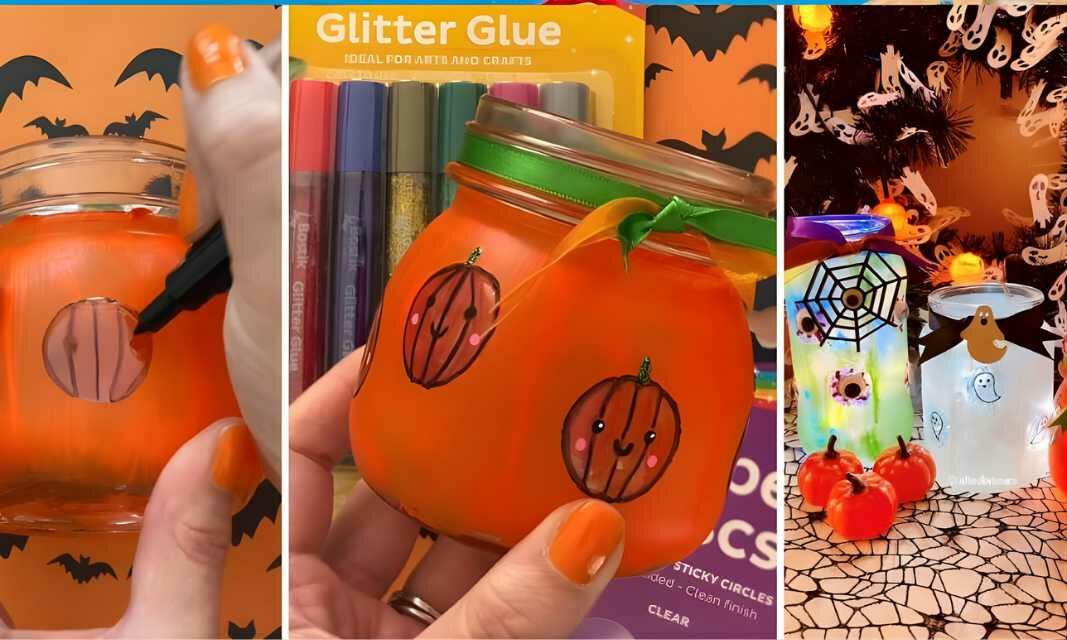
How to create DIY Halloween jar lanterns
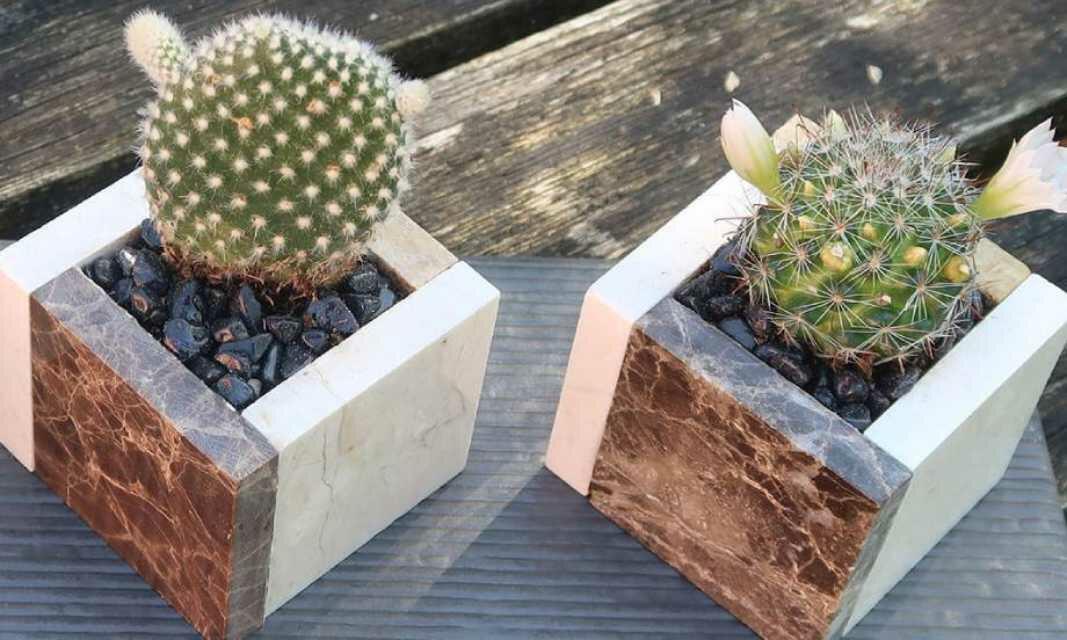
How to create your own DIY ceramic plant pots