How to make a DIY Halloween garland

Looking for an easy way to decorate your home for Halloween? This DIY Halloween garland is a fun family craft project that combines spooky ghosts, colourful pumpkins and playful bats to create a decoration that's perfect for the season.

Whether you're decorating for a Halloween party, adding a festive touch to your fireplace or creating a welcoming display by your front door, this homemade garland is a simple and affordable way to get creative with the kids.

Using everyday craft materials and a selection of Bostik adhesives, you can create a Halloween decoration that's both fun to make and impressive to display.
Why make a DIY Halloween garland?

Halloween decorations are one of the best ways to bring some seasonal fun into your home. Creating your own Halloween garland encourages children to use their imagination while developing creativity, fine motor skills and confidence.

It's also a great opportunity to spend quality time together as a family. Once finished, children can proudly display their creations around the home and enjoy seeing their handmade Halloween decorations become part of the celebrations.

Best of all, this Halloween garland can be customised to suit any space and reused year after year.

Where can you hang a Halloween garland?

A Halloween garland is one of the most versatile seasonal decorations you can make.

Try hanging it:

  • Above a fireplace
  • Across a doorway
  • In a window
  • Along a staircase
  • Around a party table
  • On a wall as part of a Halloween display

Combining ghosts, pumpkins and bats creates a classic Halloween look that's suitable for both children and adults.

How to make a DIY Halloween garland

Instructions

Step 1: Create the ghosts

Crumple a sheet of newspaper into a ball.

Layer three sheets of white craft paper and place the newspaper ball in the centre. Gather the paper around the ball and secure it at the top using a length of thread tied firmly into a knot.

Repeat until you have four ghost shapes ready for decorating.

Tacky's tip

If you don't have white craft paper, white fabric scraps work just as well.

Step 2: Add the ghost faces

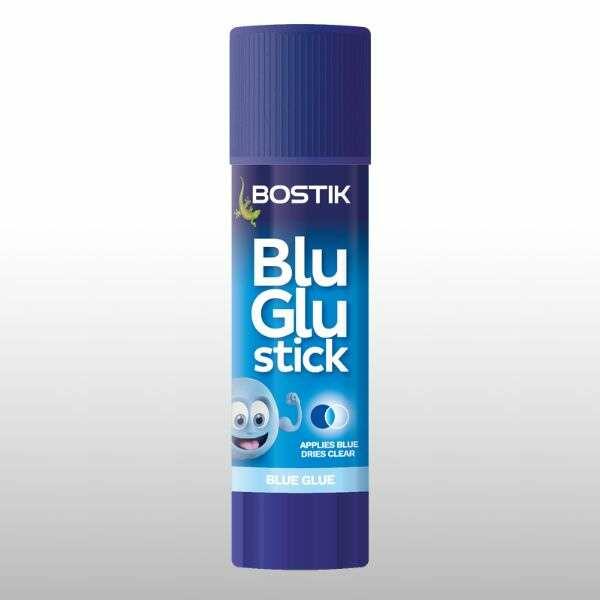
Use Bostik Glu Stick to attach googly eyes to each ghost.

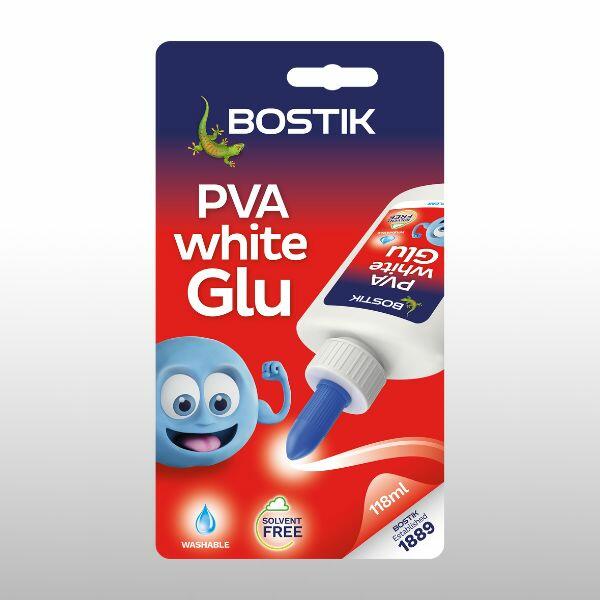
Cut a small mouth shape from black cardstock and secure it beneath the eyes using Bostik PVA White Glu.

Repeat for all four ghosts to create a set of spooky floating characters.

Important

Young children should always be supervised when using scissors and may need adult assistance.

Step 3: Prepare the pumpkin shapes

Using the bottom of a round glass as a guide, draw eight circles onto orange paper and cut them out.

Fold each circle in half and trim a small section from the top while they are stacked together. This will help create the pumpkin shape when assembled.
 

Step 4: Assemble the pumpkins

Place two folded circles together so they mirror each other and apply Bostik Glu Stick to the touching sides.

Continue adding the remaining folded circles until a three-dimensional pumpkin shape is formed.

Cut a small rectangle from green paper and attach it to the top of the pumpkin to create the stem.

Repeat to make three more pumpkins.

Step 5: Make the bats

Download and cut out the bat templates from the Bostik pattern sheet.

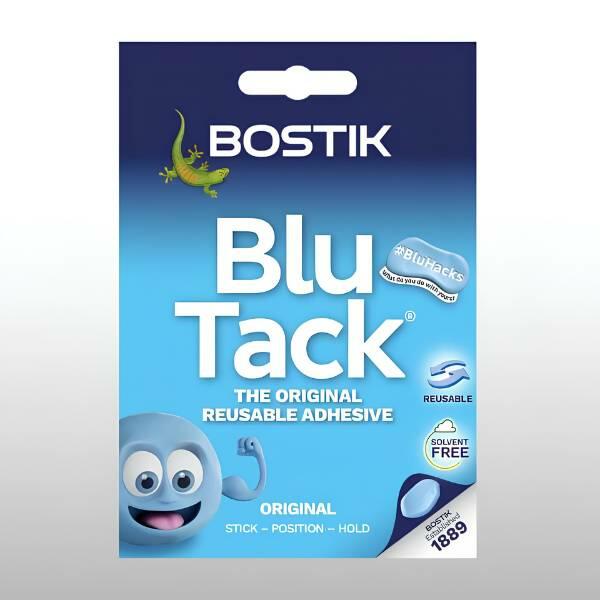
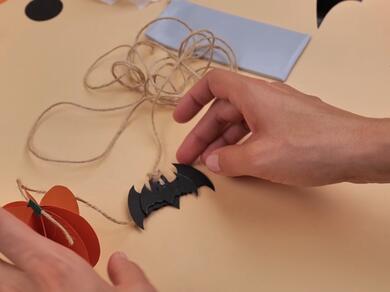
Trace the bat shapes onto black cardstock and cut them out. Use a small piece of Bostik Blu Tack® to attach the smaller bat shape to the centre of the larger bat, creating a layered 3D effect.

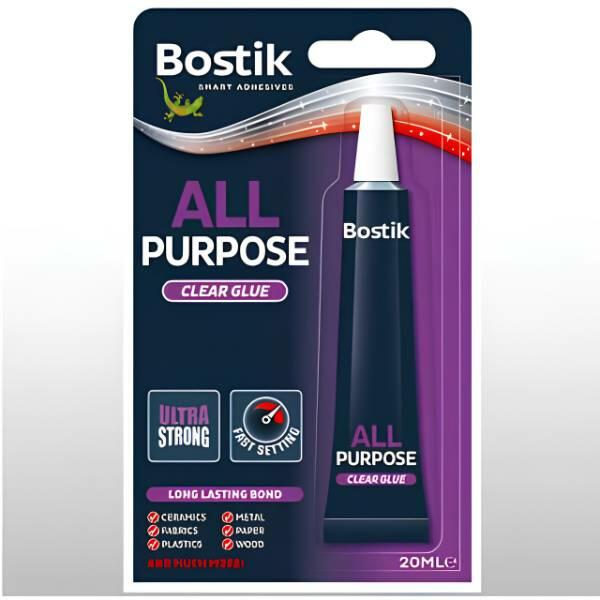
Attach a short piece of string to the bat using Bostik All Purpose Glu.

Repeat until you have four bats.

Tacky's tip

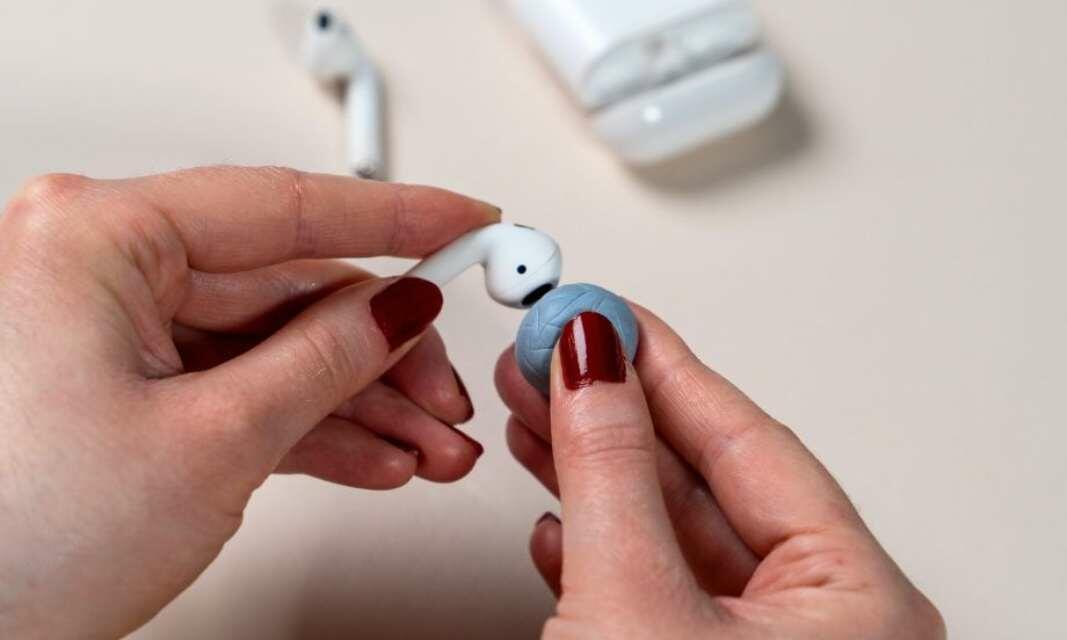
Blu Tack® is an easy-to-use putty adhesive that gives your craft projects a 3D effect. Unlike glue, it creates a gap between the two sheets being stuck together. Blu Tack® can always be reused. It’s waterproof too!

Step 6: Assemble your garland!

Lay a long piece of cord or string across your work surface and position the ghosts, pumpkins and bats approximately 10cm apart.

Tie the ghosts onto the cord using their attached thread and secure the pumpkins and bats using Bostik All Purpose Glu.

Allow everything to dry fully before hanging your finished garland.

Let's recap!

For a coordinated Halloween display, use the same colours and themes throughout your decorations. Pair your garland with paper pumpkins, handmade bats or spooky window decorations for maximum impact.

You can also personalise your garland by adding extra Halloween characters such as witches, spiders or black cats.

With a few simple materials and a little creativity, you'll have a handmade Halloween garland that's perfect for decorating your home year after year.
See all products