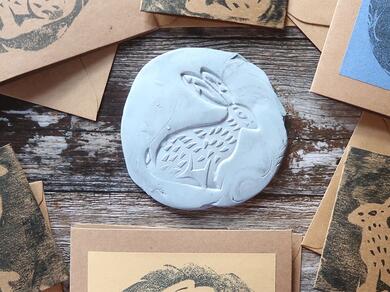
Simple reverse prints
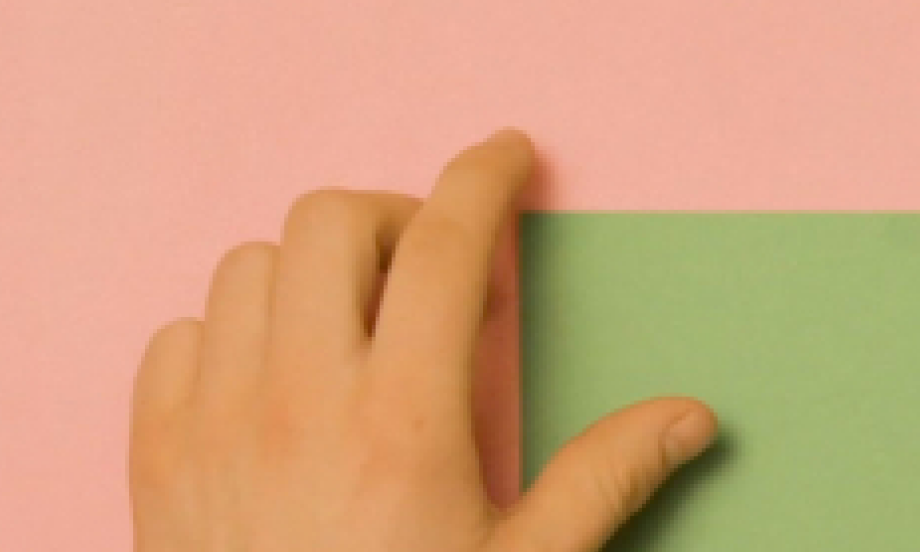
Explore the art of negative space with the DIY Simple Reverse Prints 🎨 tutorial, creating elegant, custom designs using just Blu Tack® and ink. 🖼 Begin by molding a circle of Blu Tack®, then press your decorative stamp into it to imprint a pattern. Apply ink using a pad or sponge, then press paper onto the design, revealing a beautifully reversed print unique in every way. Finally, decorate handmade cards, gift wrap, or seasonal décor with your bespoke prints for a creative, personal touch. This artistic technique is surprisingly simple, perfect for crafters of all skill levels, and adds a refined flair to your DIY projects. A lovely blend of texture, technique, and tactile delight - all made possible with basic supplies - and great for handmade gifting or home styling.
Instructions
Blu Tack animals
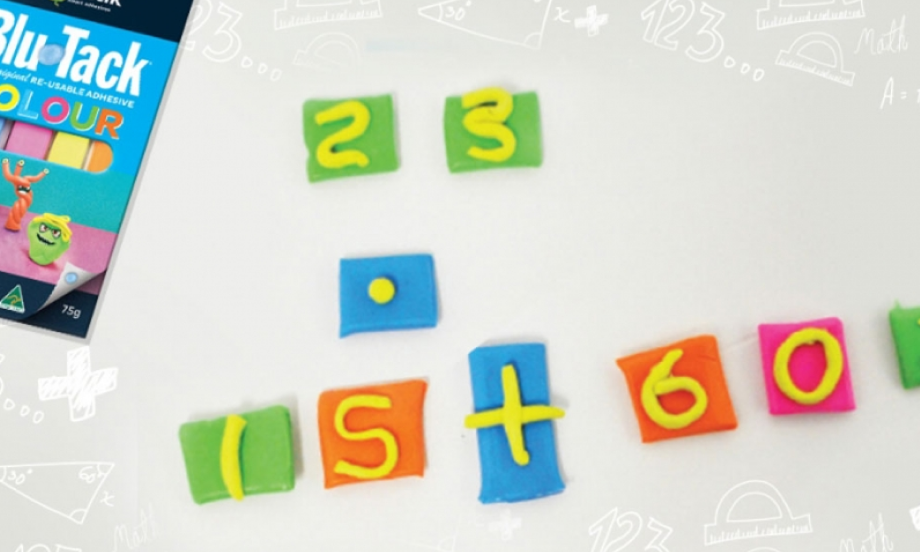
Blu tack calculator
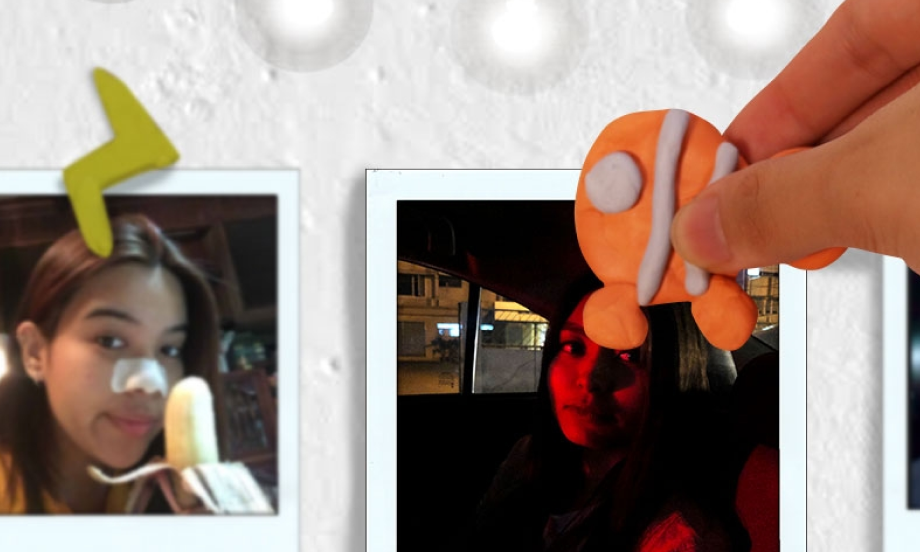
Easy way to display your photos using blu-tack
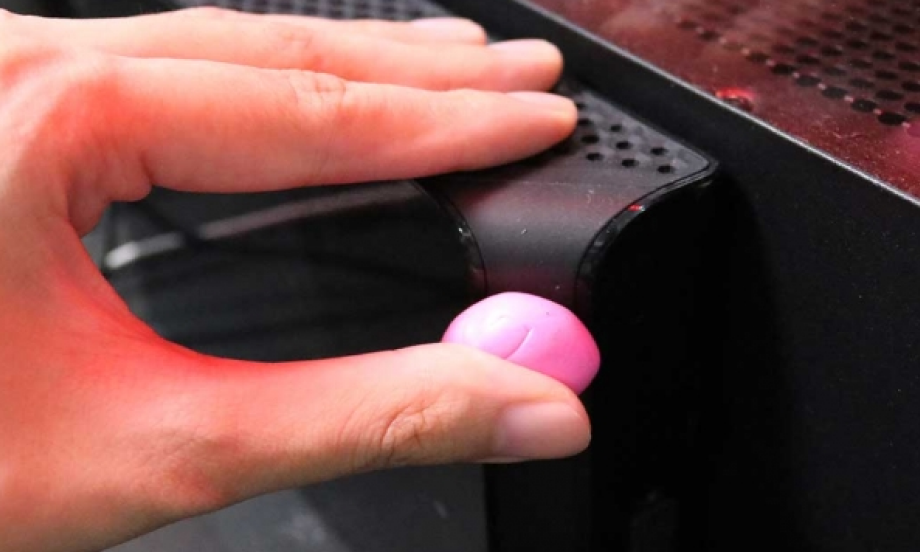
How to block unnecessary light with Blu-Tack
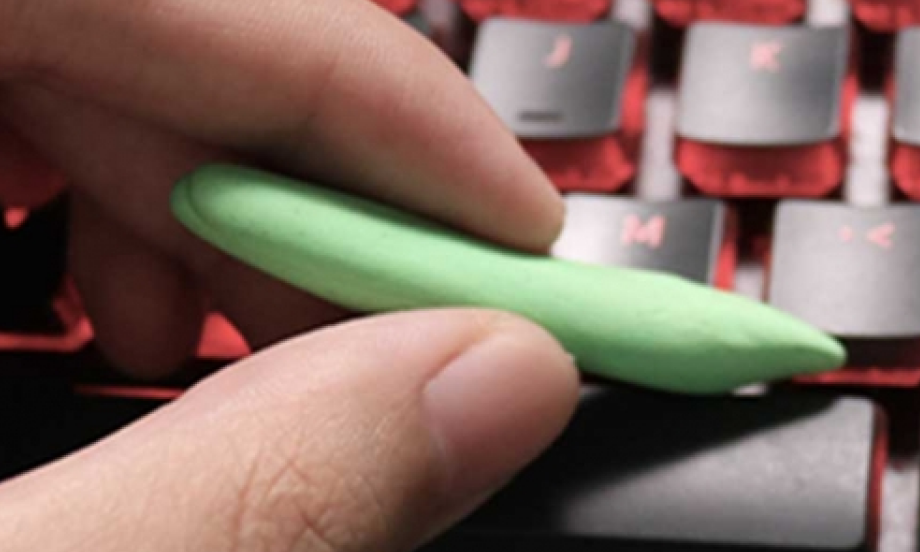
How to clean your keyboard with Blu-Tack
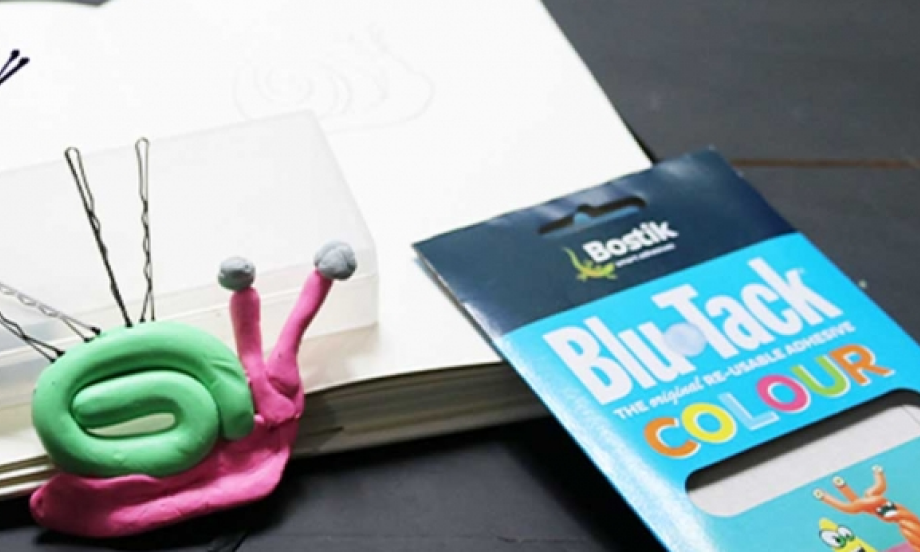
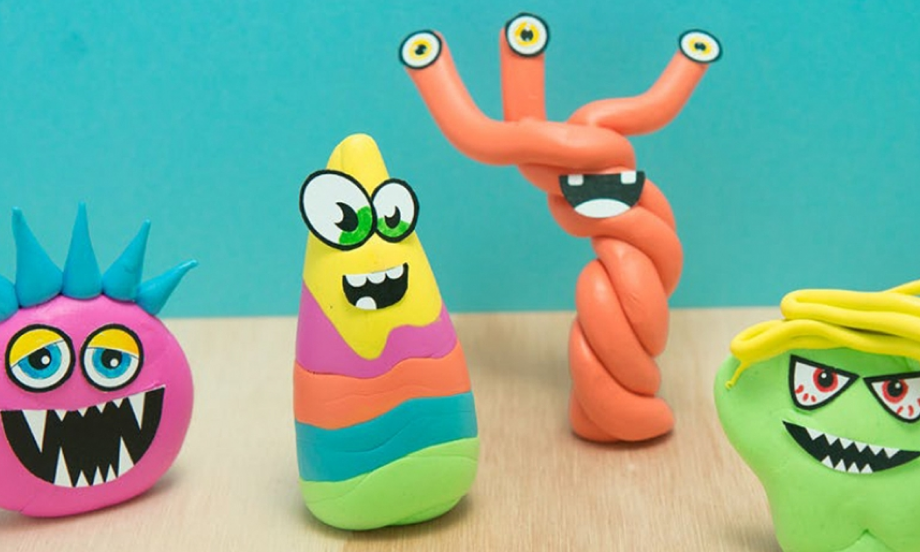
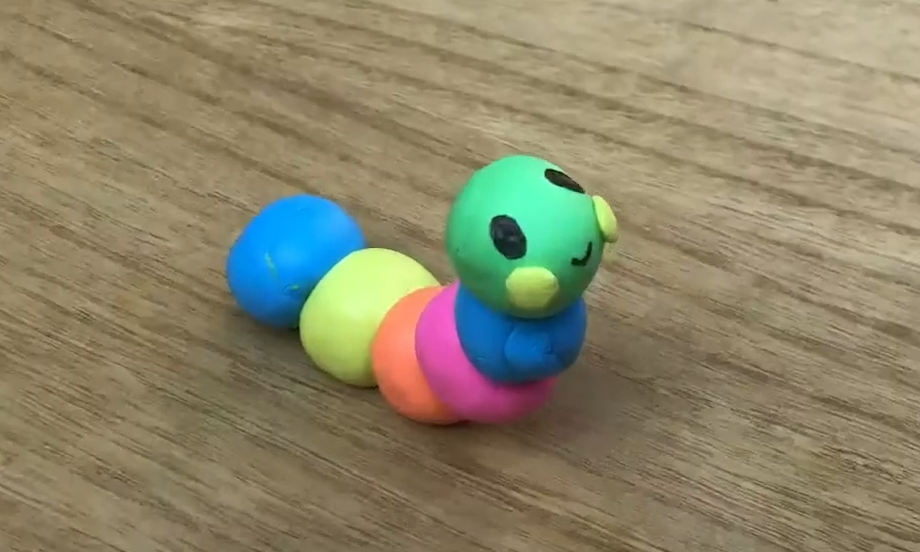
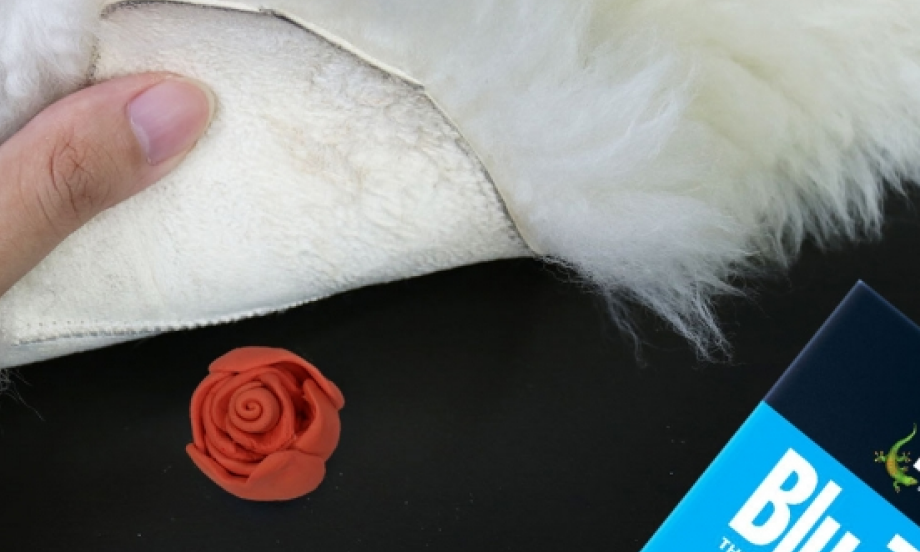
How to create mini sculptures with Blu-Tack
How to keep your floor rugs in place using blu-tack
How to keep your flowers in place with Blu-Tack
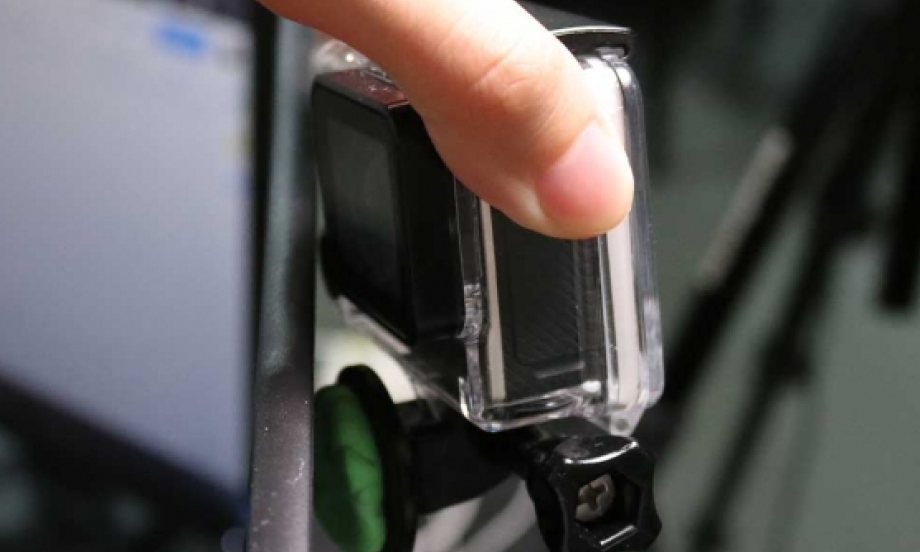
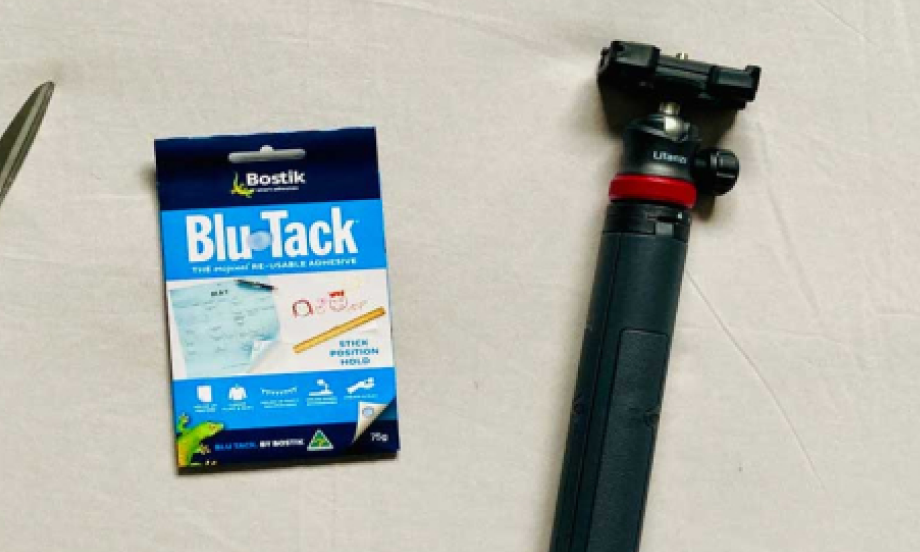
How to mount your camera using Blu-Tack
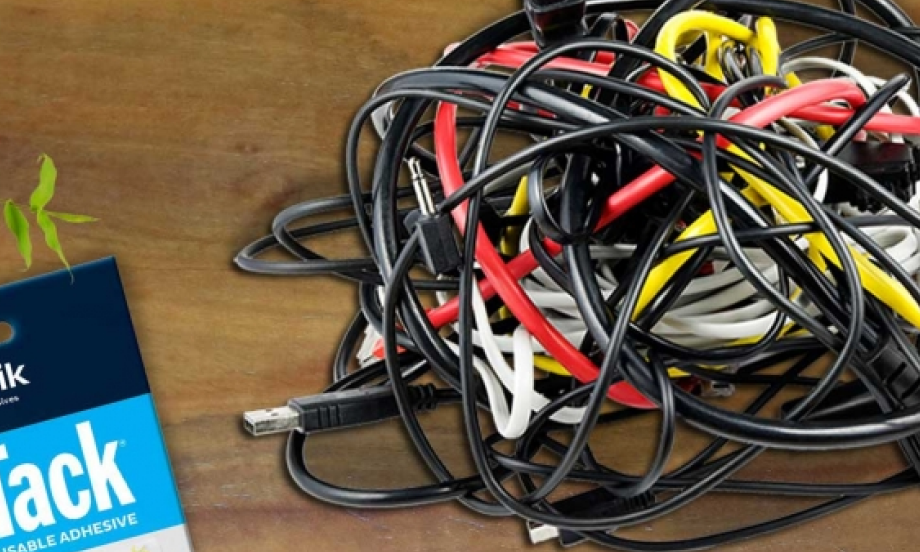
How to organize your power cords with blu-tack

How to remove blu tack® from carpet
How to remove blu tack® stains from a wall
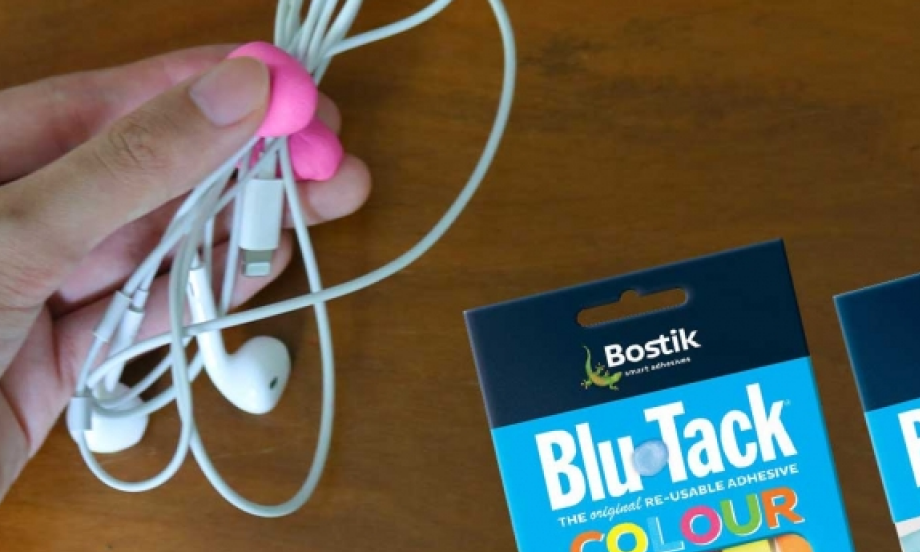
Quick and easy way to organize your earphones with blu-tack colour
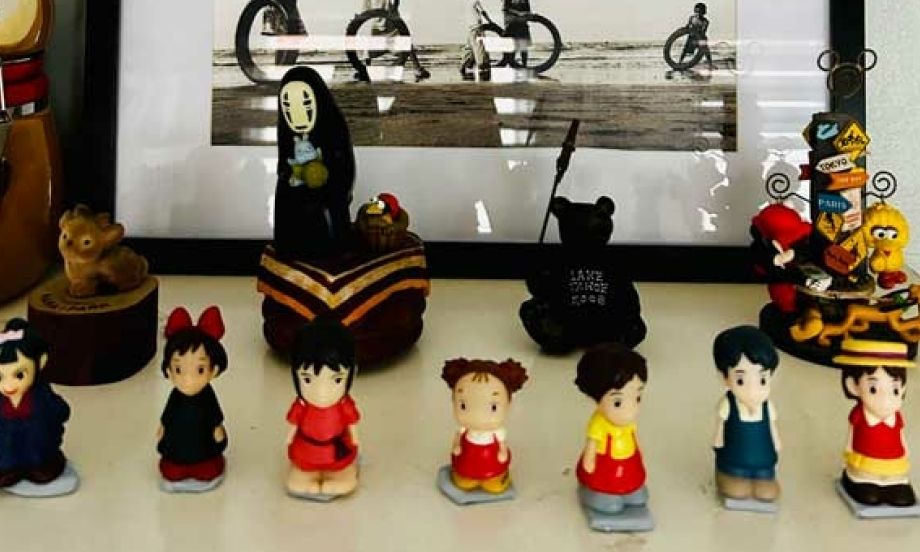
Shelf display hack with blu-tack
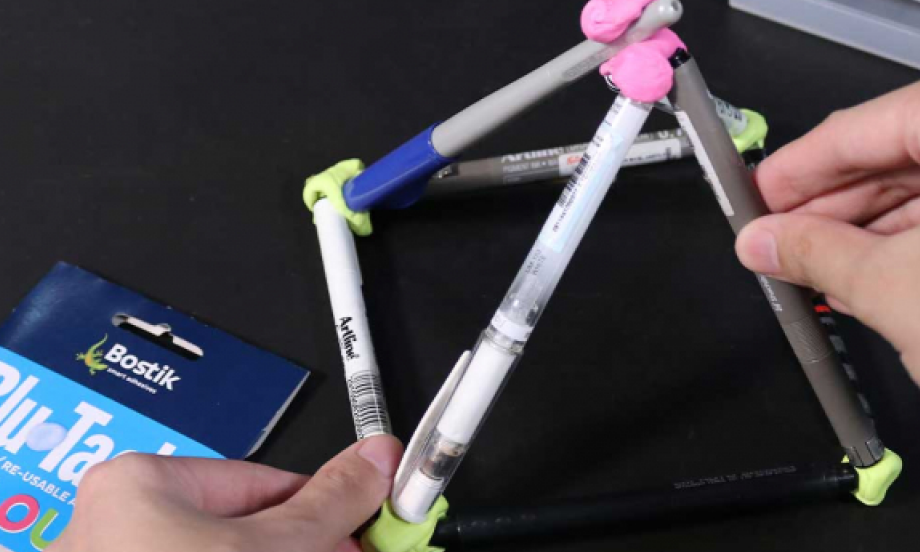
Simple teambuilding activity using Blu-Tack
Vlogging made easy with Bostik Blu-Tack

Bostik gecko
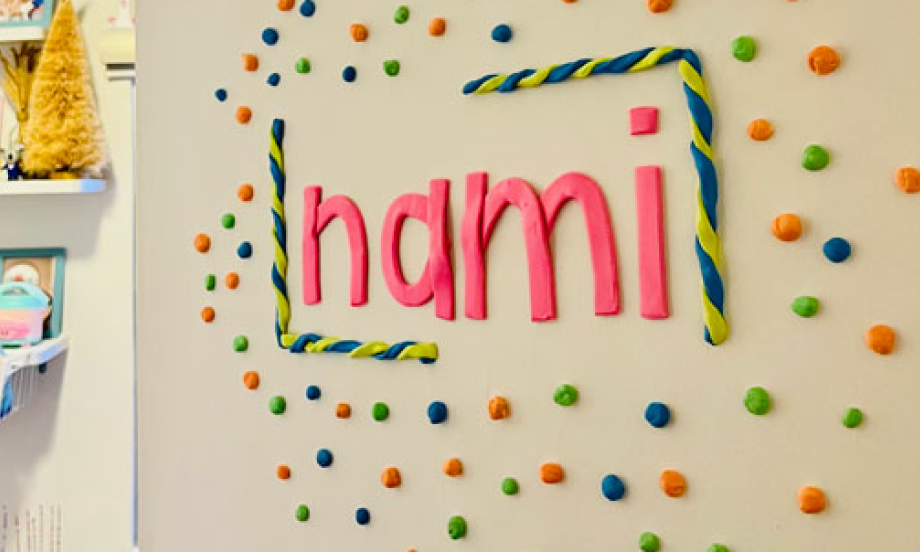
How to create sticky name designs

How to enjoy bedtime reading
How to protect your floor from scratches