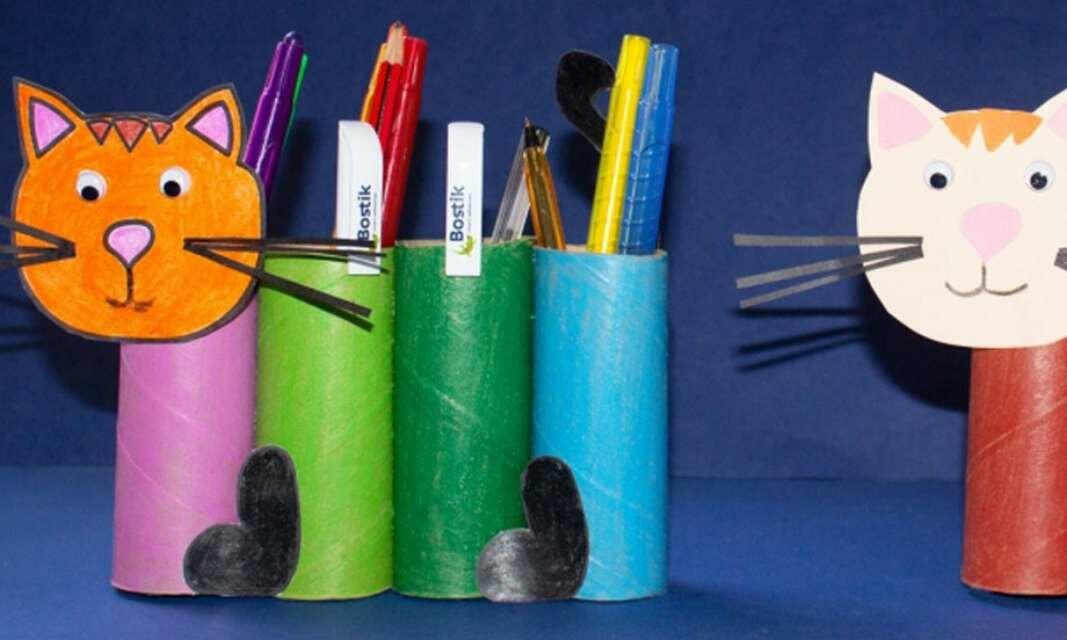
How to make a spring chicken
Spring into crafty delight with this cheerful DIY Spring Chicken 🐥project! Start with two yellow paper plates, one for the chick’s body and one for wings. Use the Bostik Glue Stick to layer cut-out circles in varying sizes for expressive eyes, then craft a beak from orange paper and secure it. Glue cracked egg-shell shapes to the top and bottom using Bostik Art & Craft White Glue, creating a hatching effect. Finish by attaching wings with Glu Dots for easy and precise placement. This playful, tactile project is perfect for celebrating spring, teaching craft techniques, or brightening up a classroom, even rainy days can come with sunshine! 🌼
Instructions
ART & CRAFT WHITE GLUE
GLU DOTS - EXTRA STRENGTH
GLUE STICK
ART & CRAFT SCHOOL GLUE
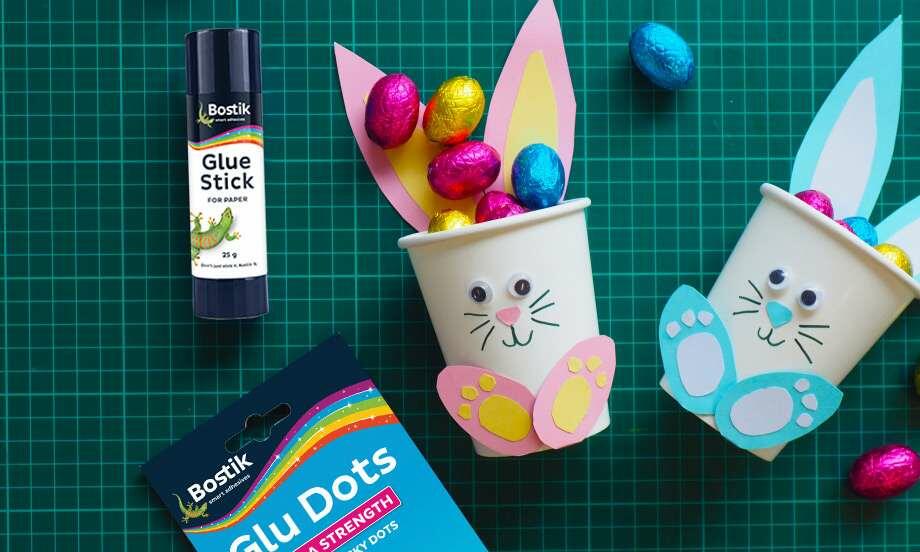
Easter cup bunnies

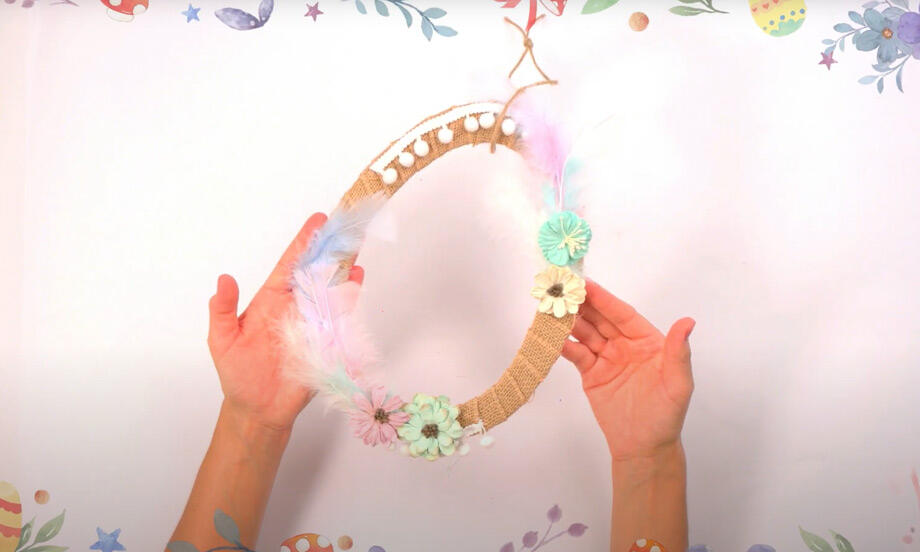
Easter garland
How to make a decorative easter egg
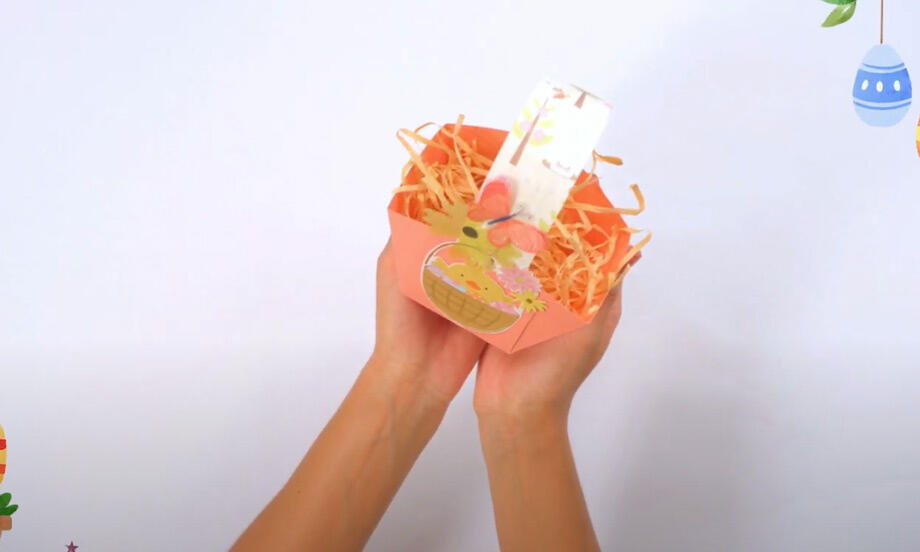
How to make an Easter basket

6 Easy glitter glue craft ideas
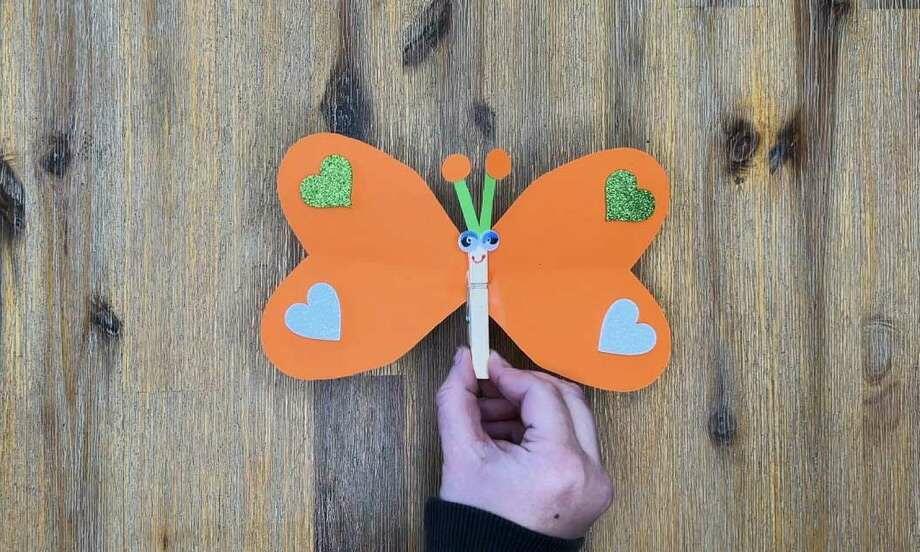
Butterfly craft
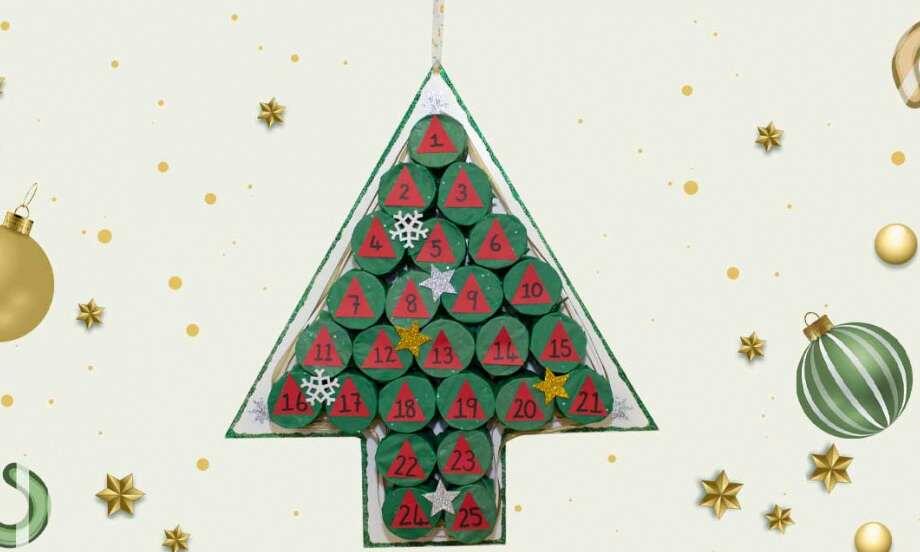
Christmas advent calendar

Christmas unicorn baubles
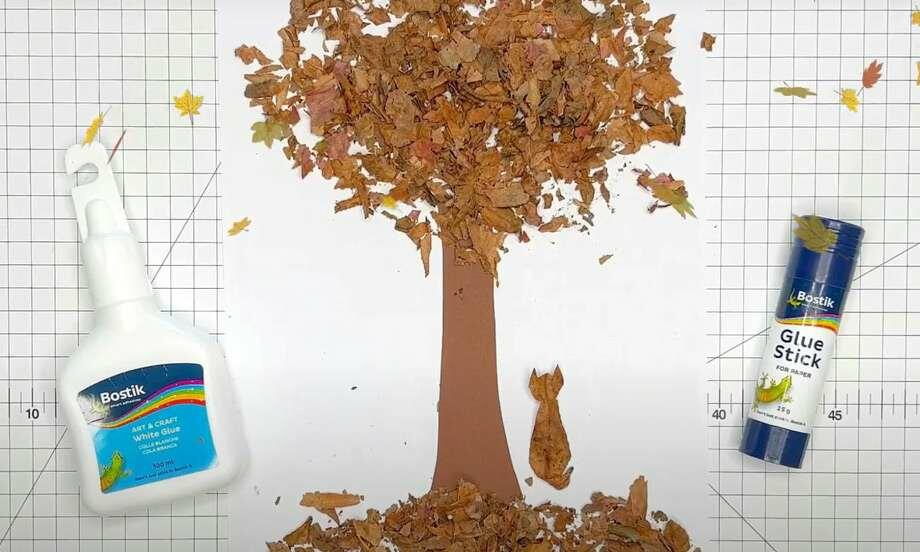
Crafting with leaves
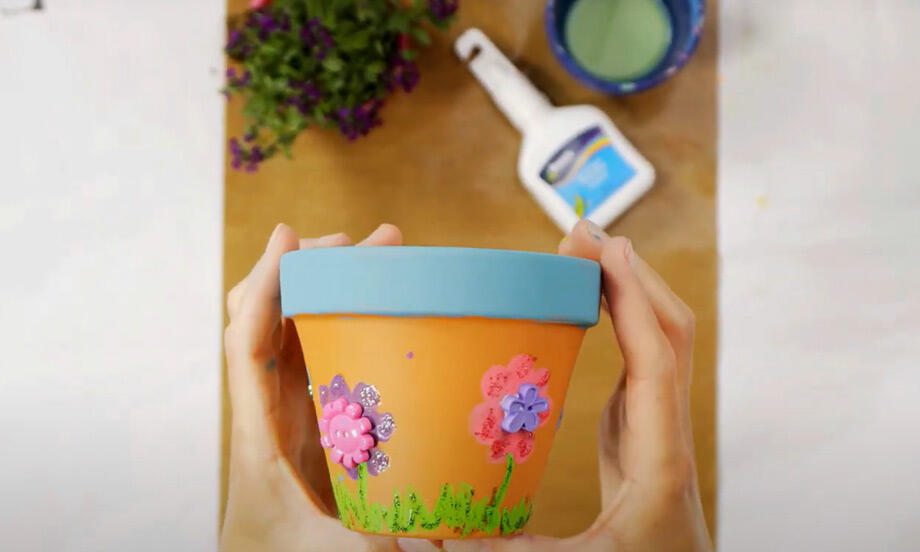
Flower pot decoration
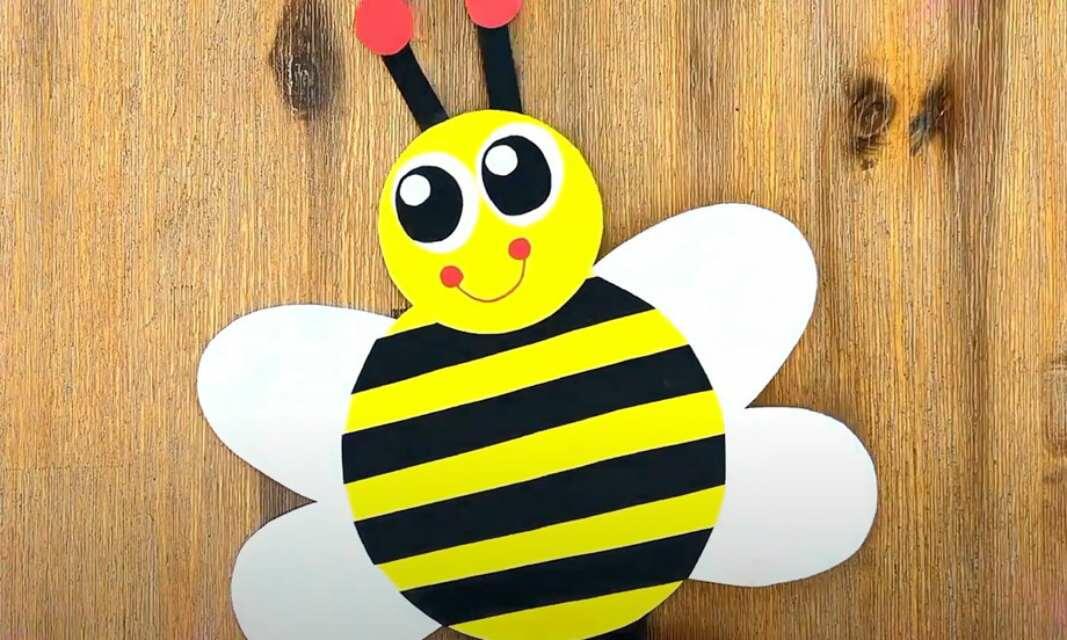
How to make a bumblebee craft: a fun DIY activity for kids
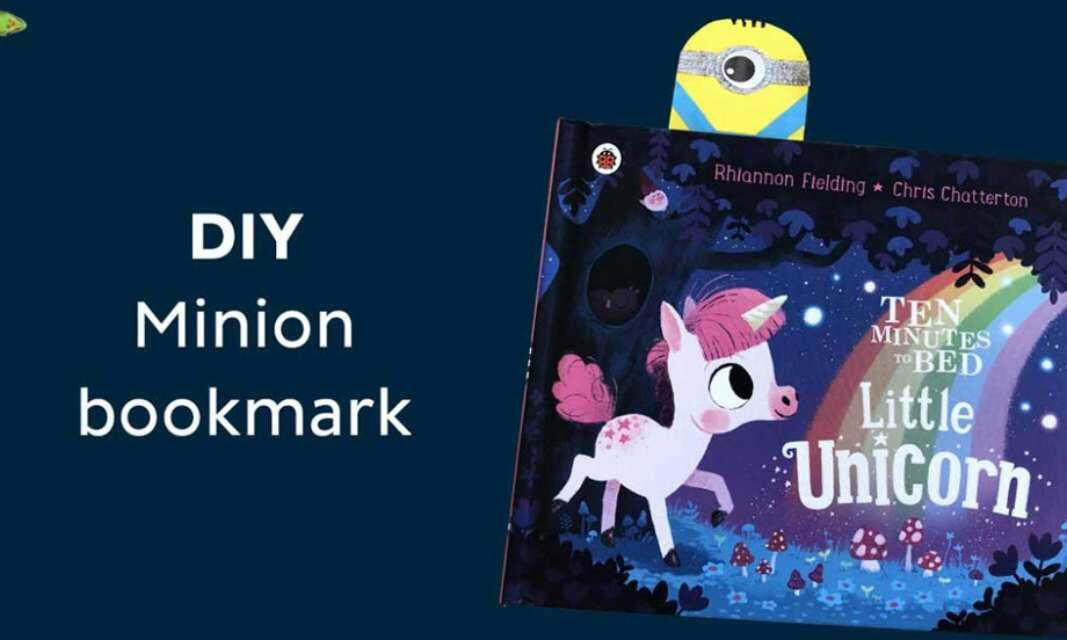
Minion bookmark
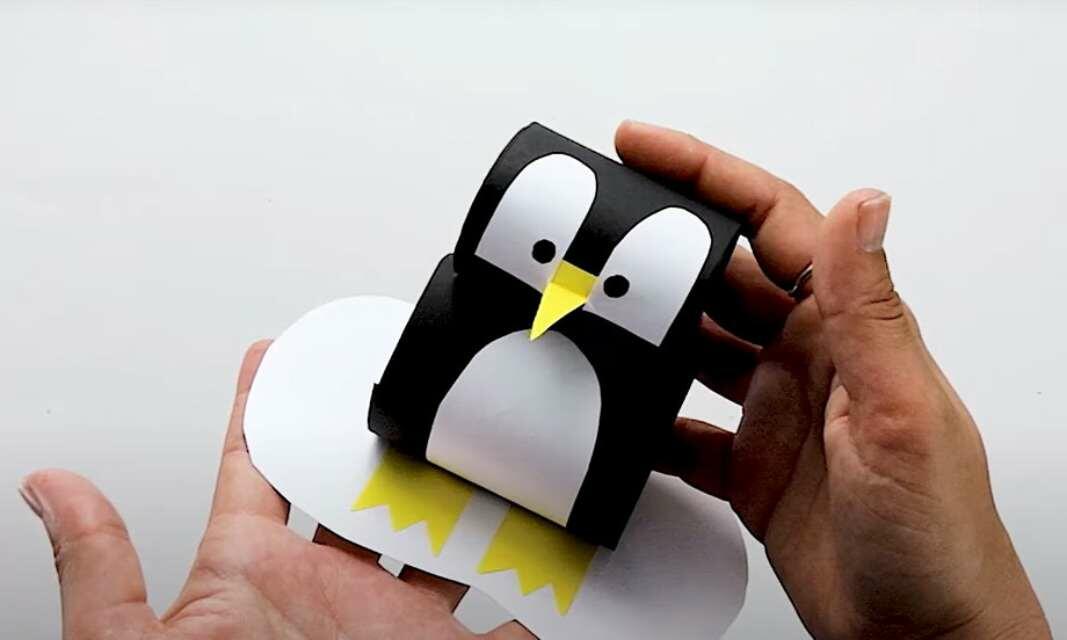
Penguin
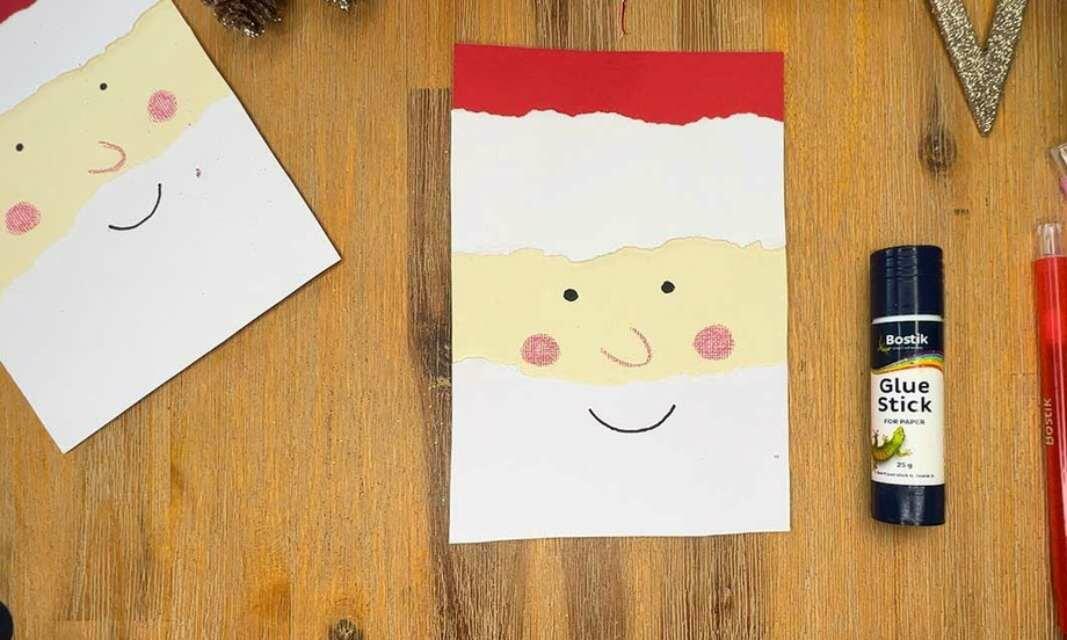
Santa Christmas card
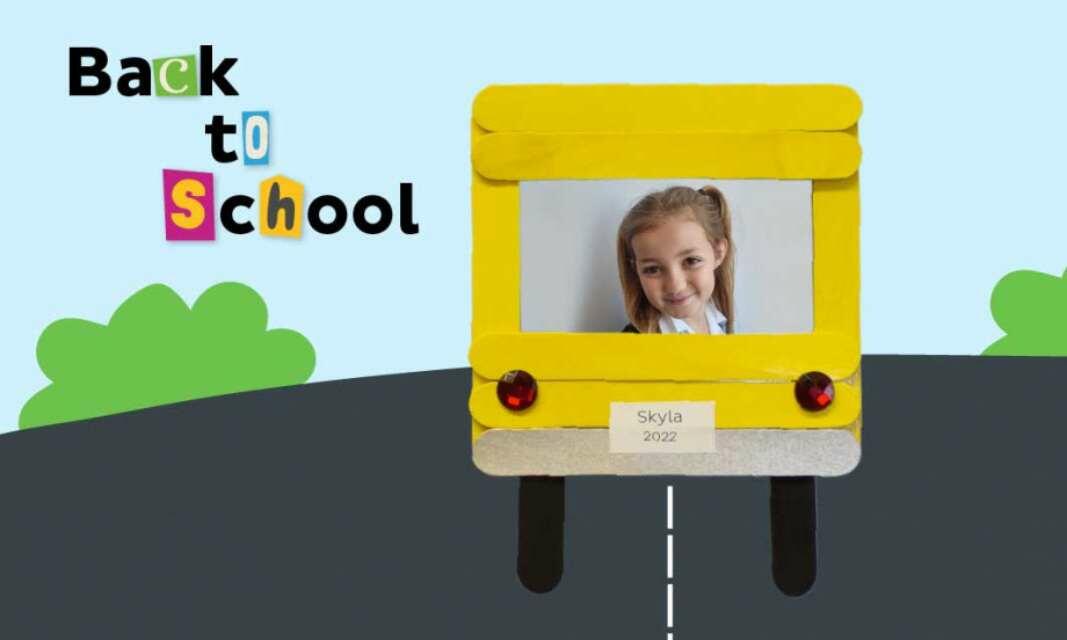
School bus magnet photo frame
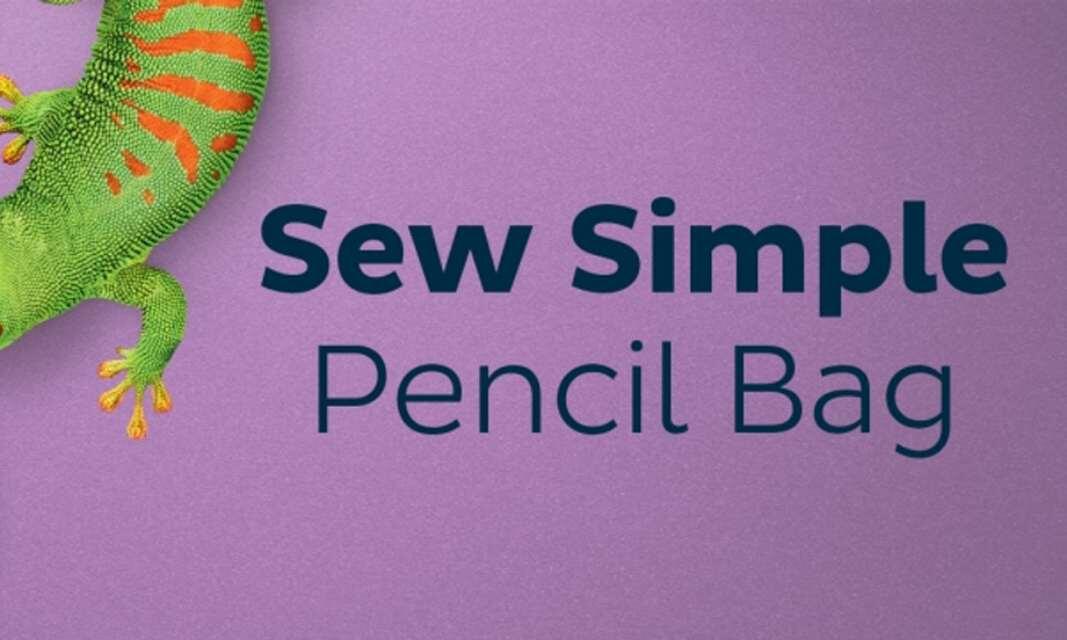
Sew simple pencil bag
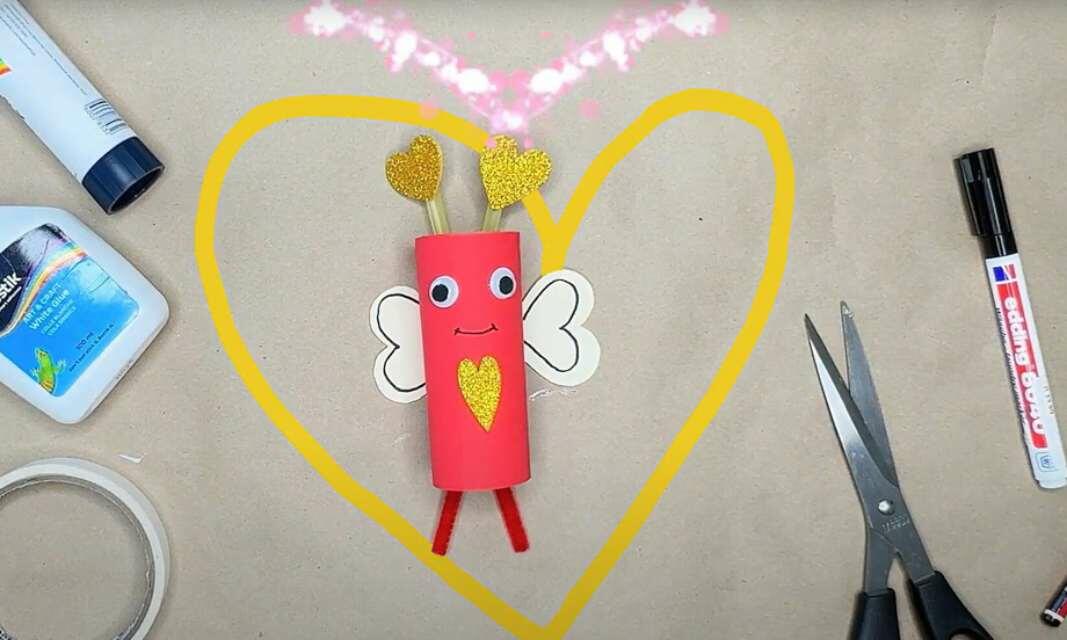
Valentine butterfly