Butterfly craft
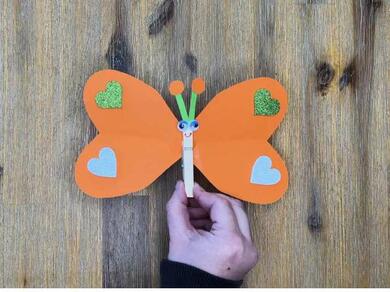
Let your creativity take flight with this cheerful DIY Paper Butterfly🦋 craft! Start by cutting petals or leaf shapes out of cardstock to form the wings. Position and gluing them at an angle onto another small cardstock piece using Bostik Glue Stick to bring the wings to life. Color the wings with pastels, chalks, or wax to add soft, vivid patterns. Finish by bending a paper strip into a spiral to serve as the butterfly's body, and glue it between the wings for a whimsical touch. Bright, simple, and endlessly charming, this butterfly is a beautiful project for all ages, bringing handmade décor to life! ✨
Instructions
ART & CRAFT WHITE GLUE
WAX TWISTERS
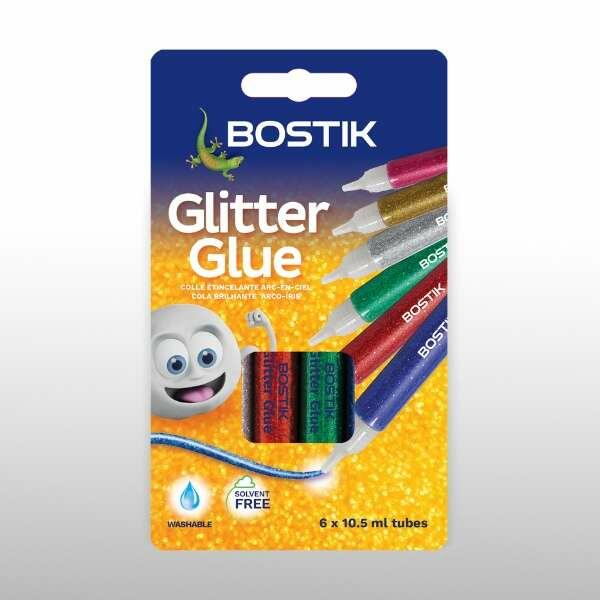
RAINBOW GLITTER GLUE
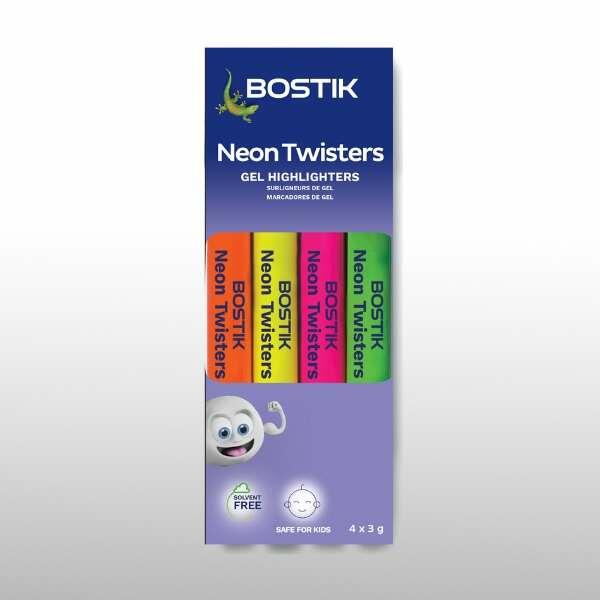
NEON TWISTERS
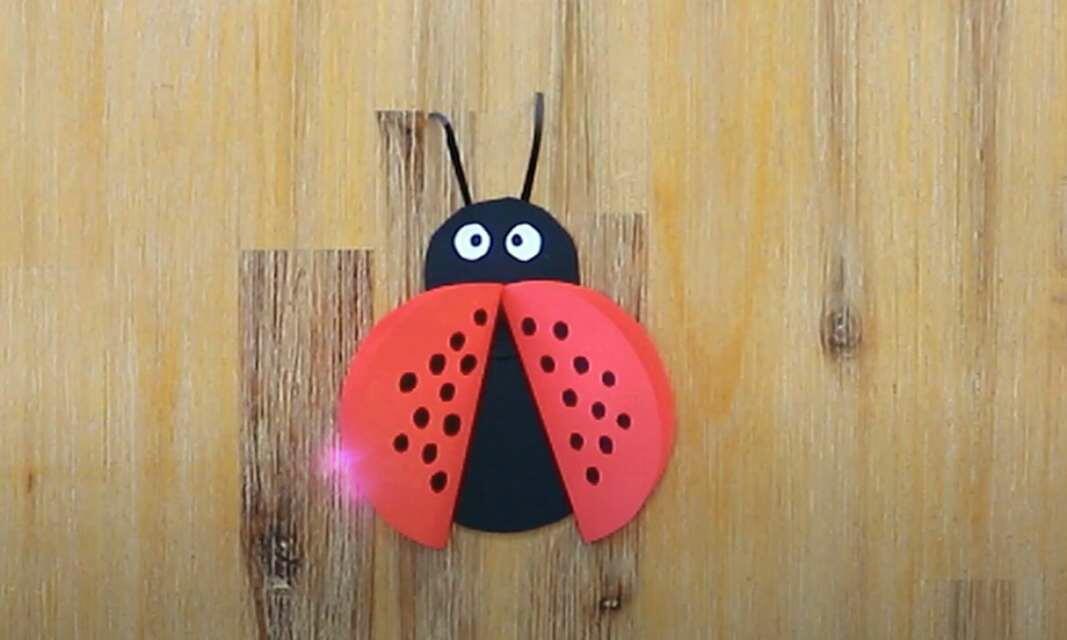
Ladybug
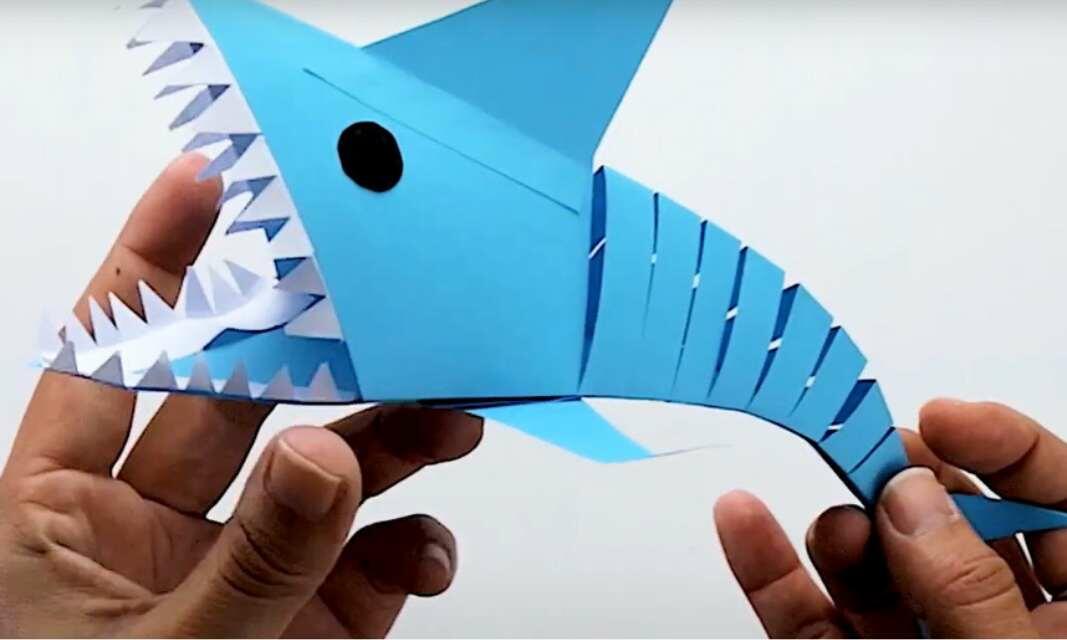
Paper shark
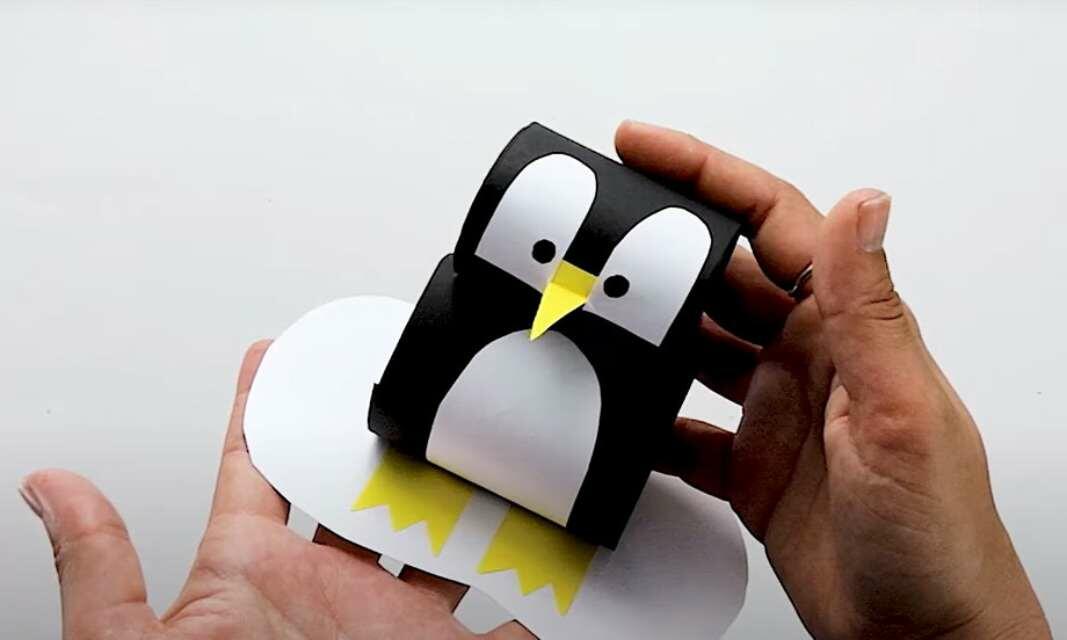
Penguin
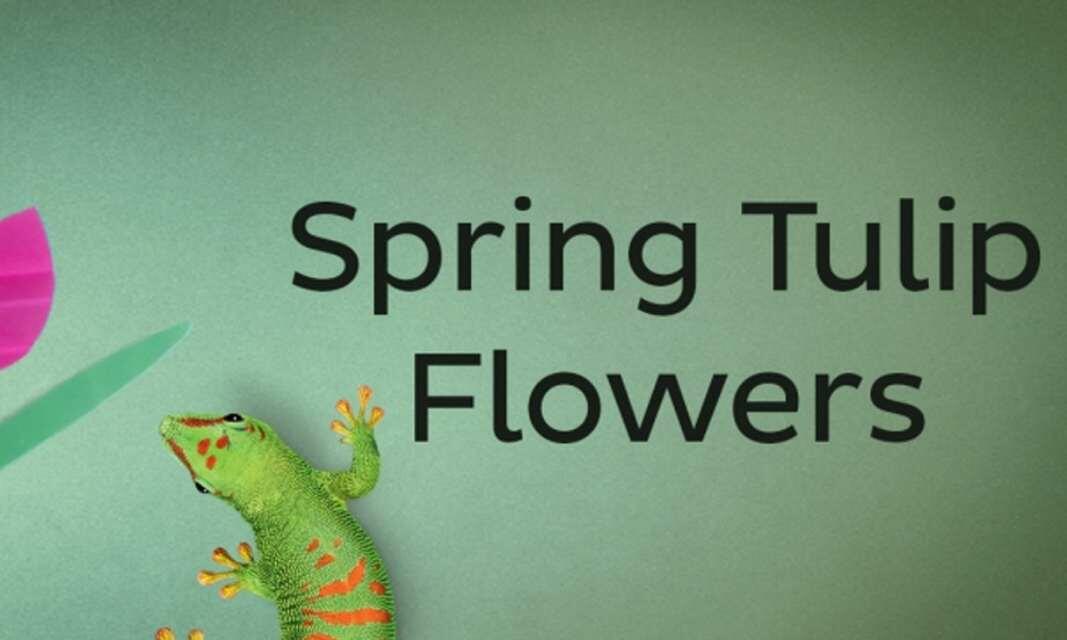
Spring Tulip
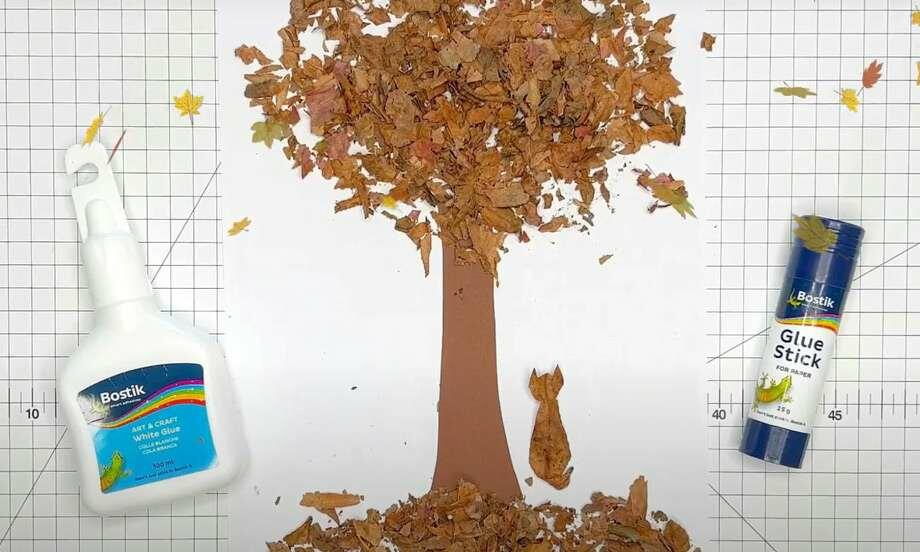
Crafting with leaves
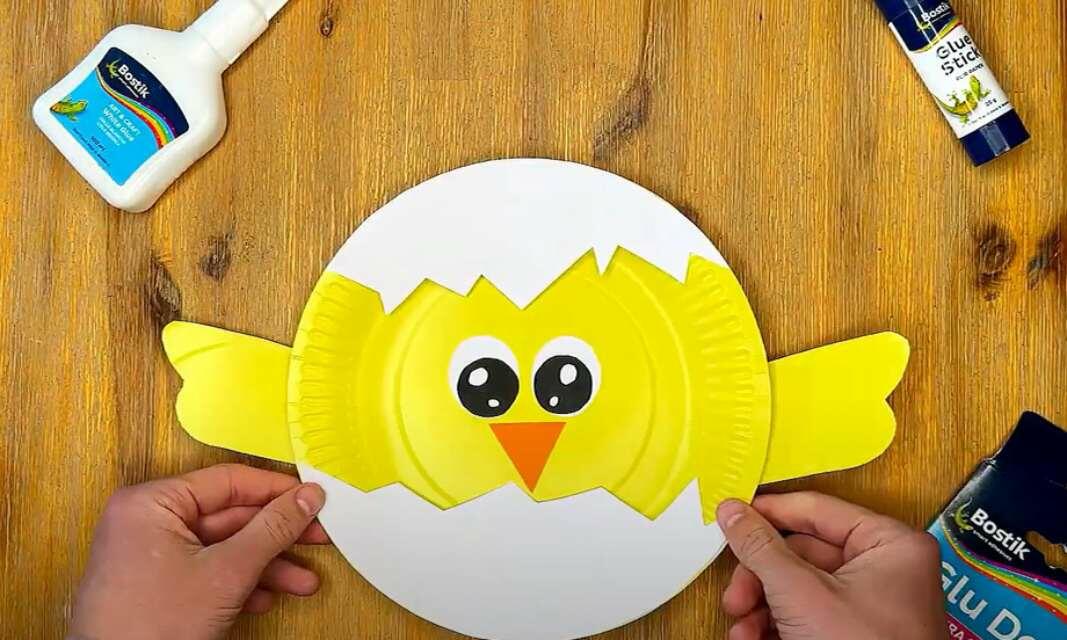
How to make a spring chicken
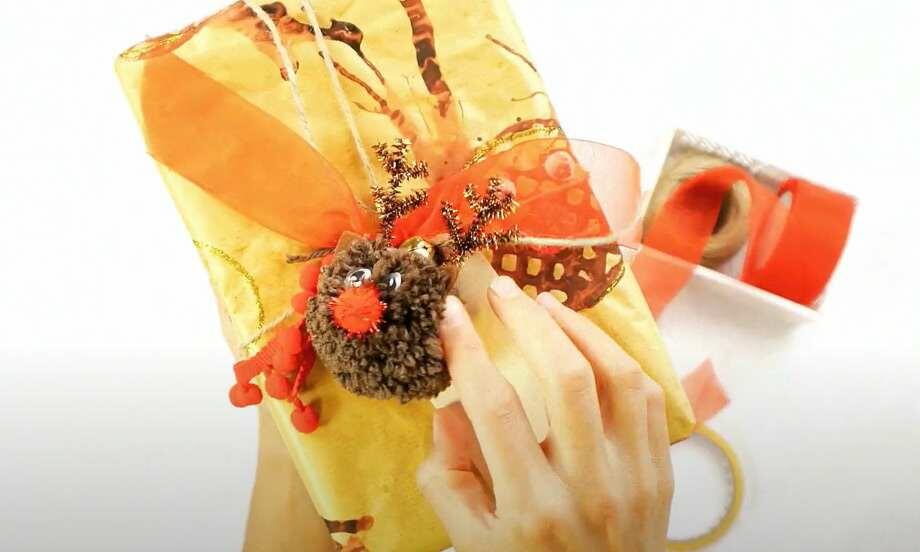
How to make gift wrapping paper
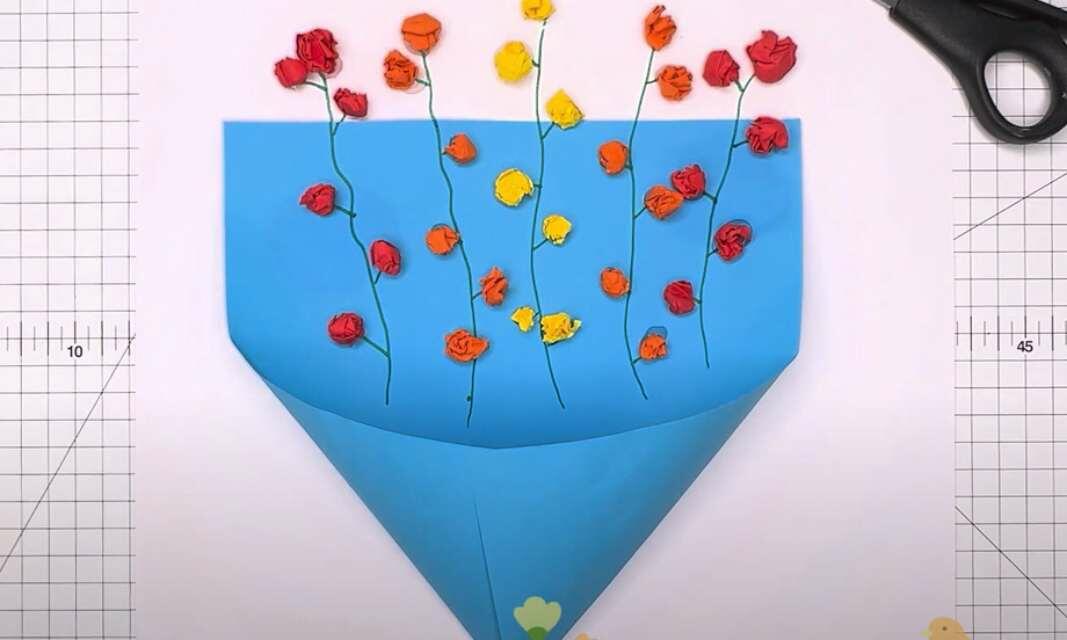
paper flower
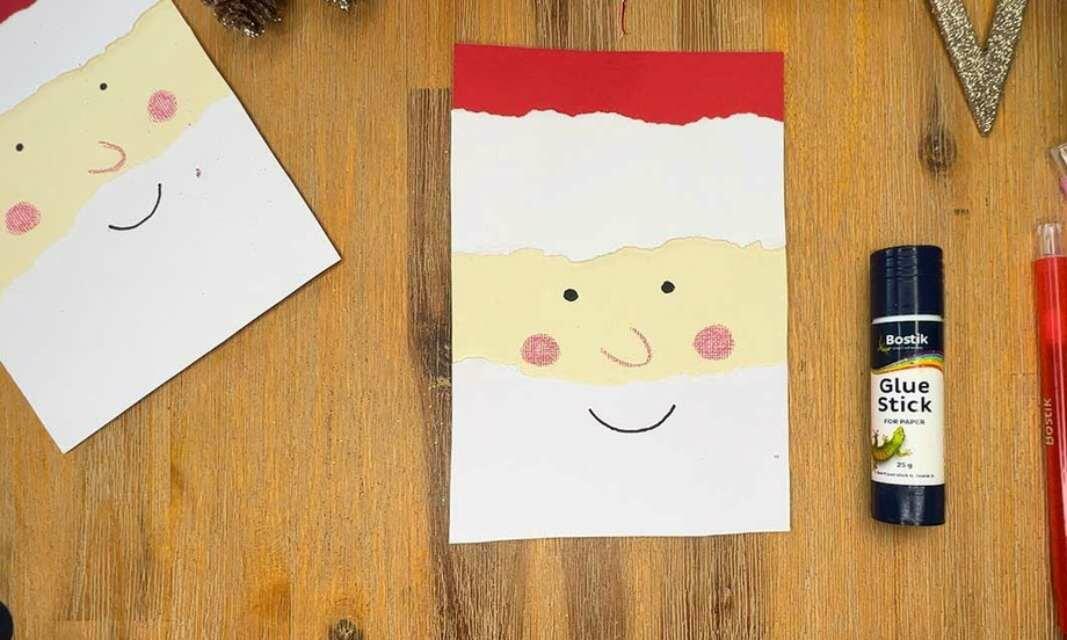
Santa Christmas card
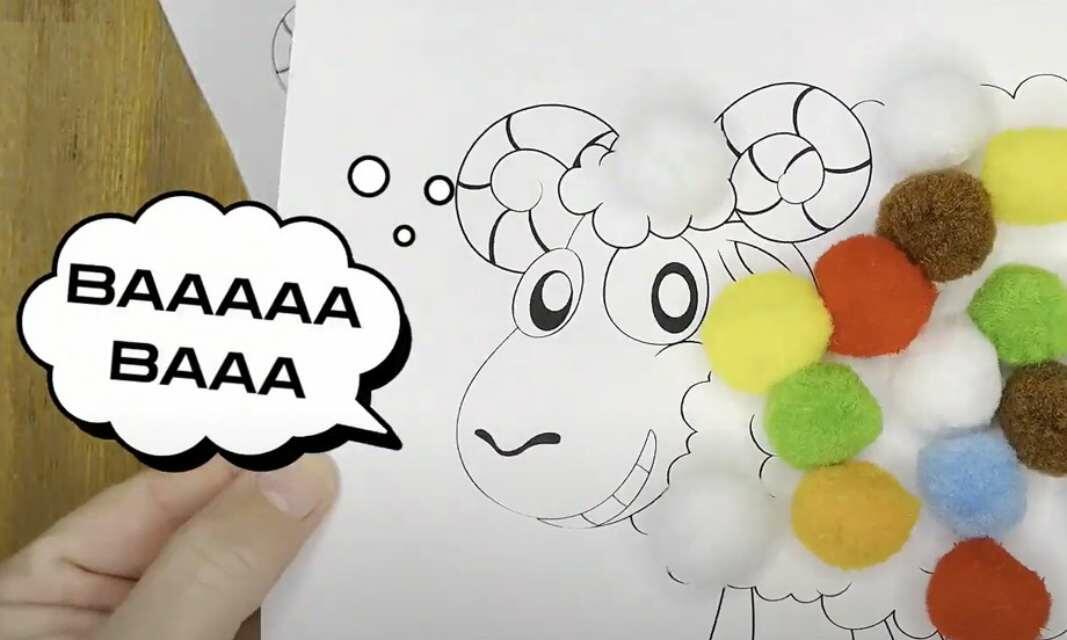
Sheepishly fun craft idea for small kids

Snowman
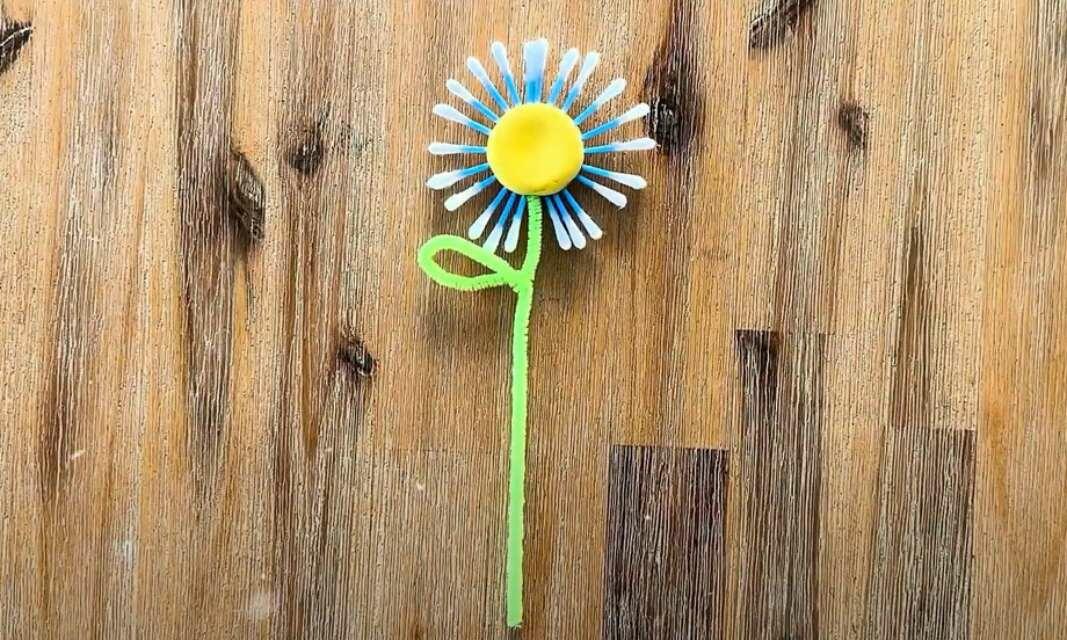
Spring flower craft
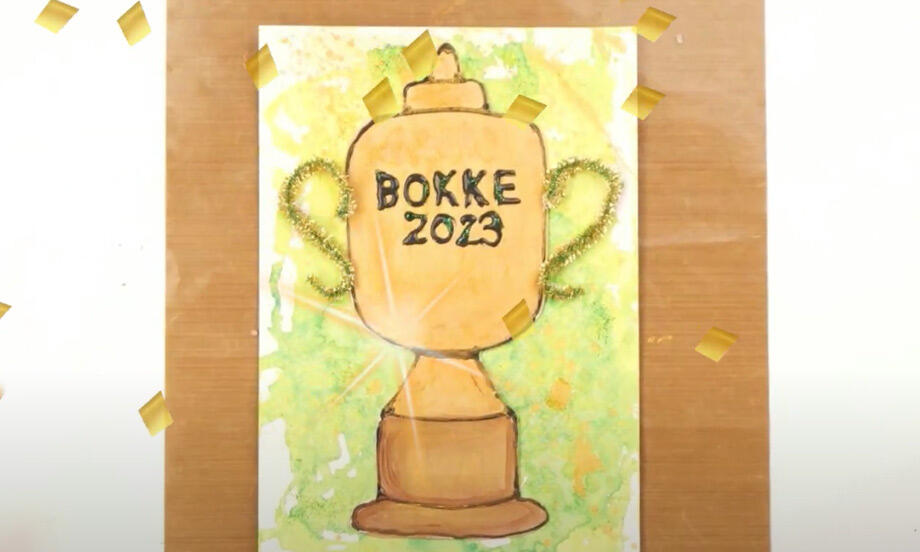
Springbok trophy card craft
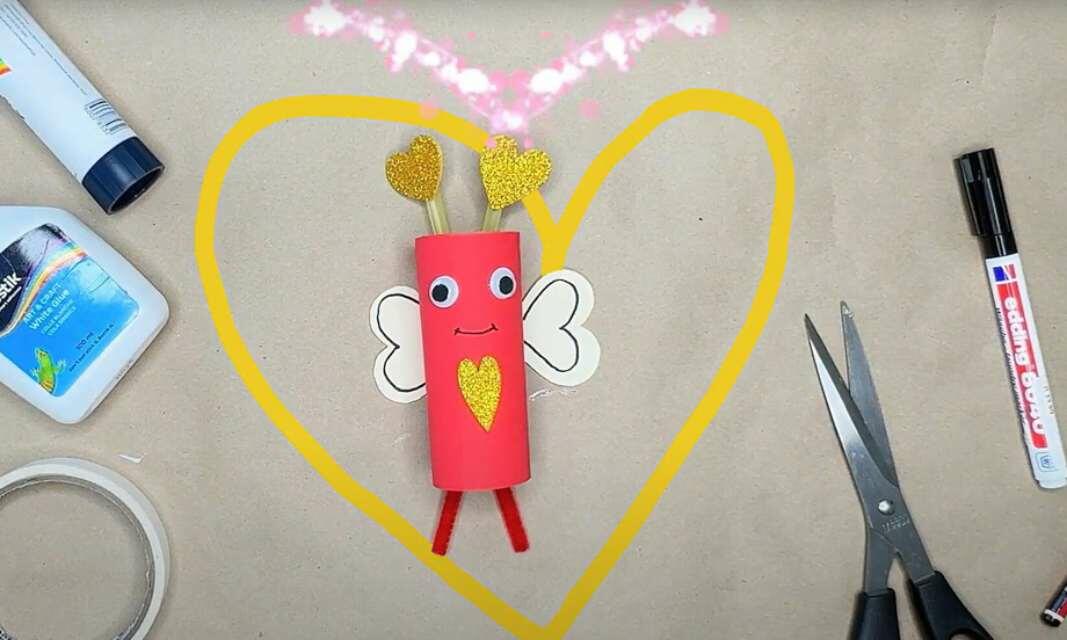
Valentine butterfly
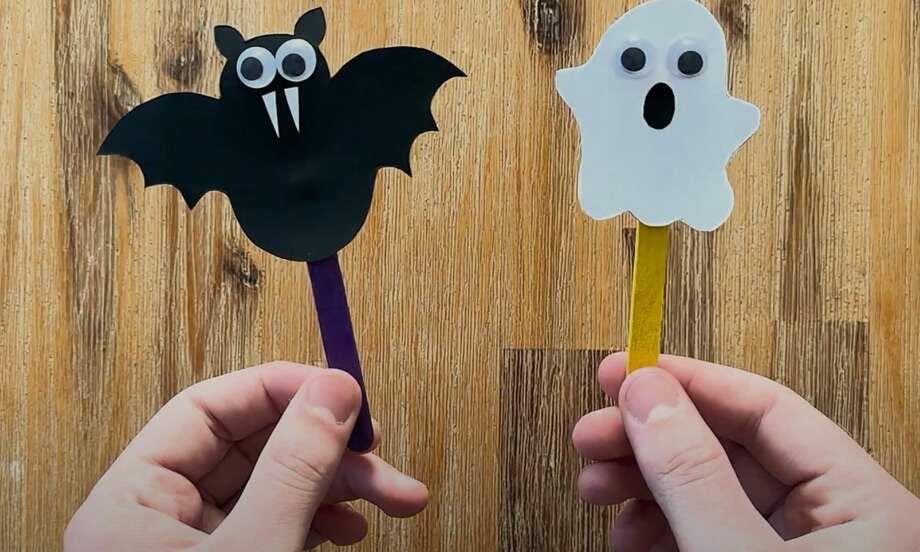
Halloween stick monster craft