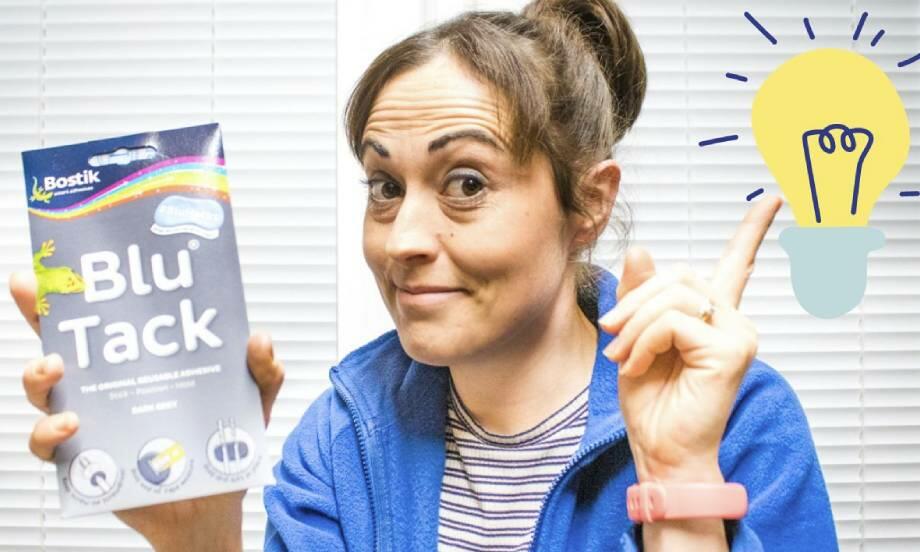
How to create reverse prints using Blu Tack®
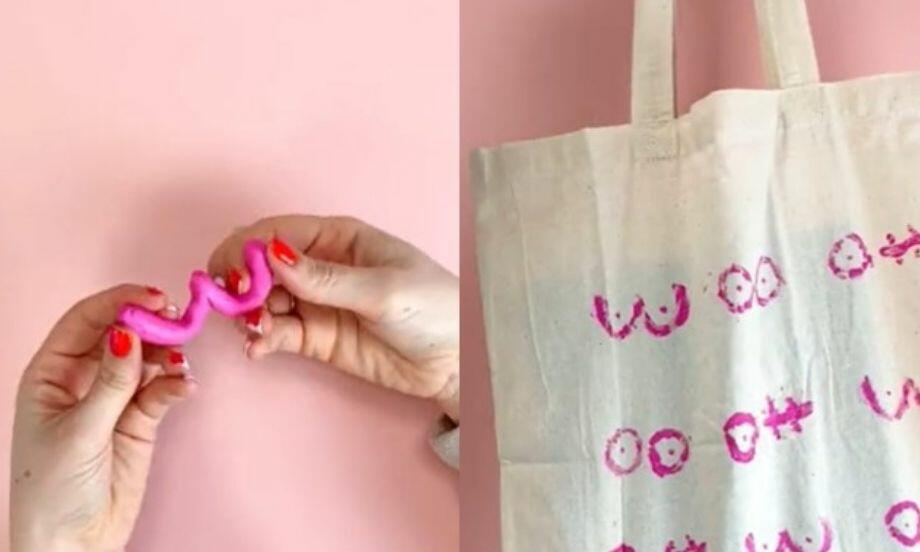
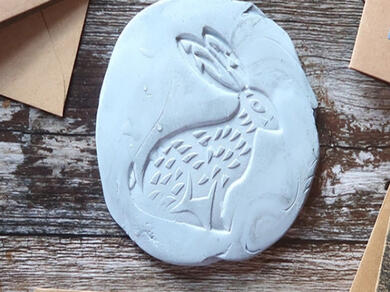
A reverse print, also known as an inverse print, is a popular printing technique where ink or paint is applied to the area surrounding your image, rather than the image itself. Once pressed onto your desired surface, often paper, the resulting print exposes the image whilst the background is inked out.
Reverse prints are perfect for use on greeting cards, envelopes and wrapping paper, creating a simple yet effective design. You can easily create DIY reverse prints with a little help from Blu Tack®.
Follow this step-by-step tutorial from our friends at Craft Invaders and discover how to create DIY art prints through inverse printing.
Instructions
BLU TACK®

BLU TACK® GREY
BLU TACK® PINK
BLU TACK® WHITE

How to create a DIY cake stand or homemade vase

How to create a DIY sun mirror
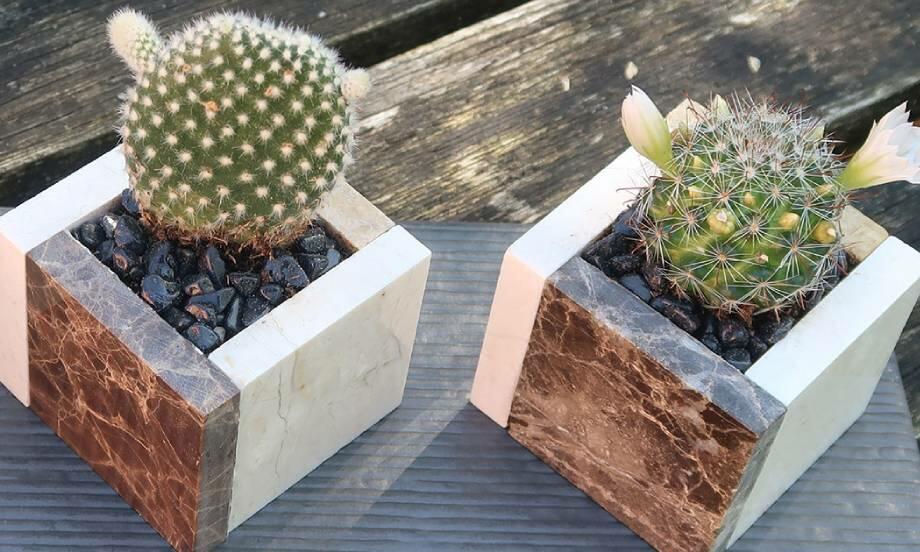
How to create your own DIY ceramic plant pots
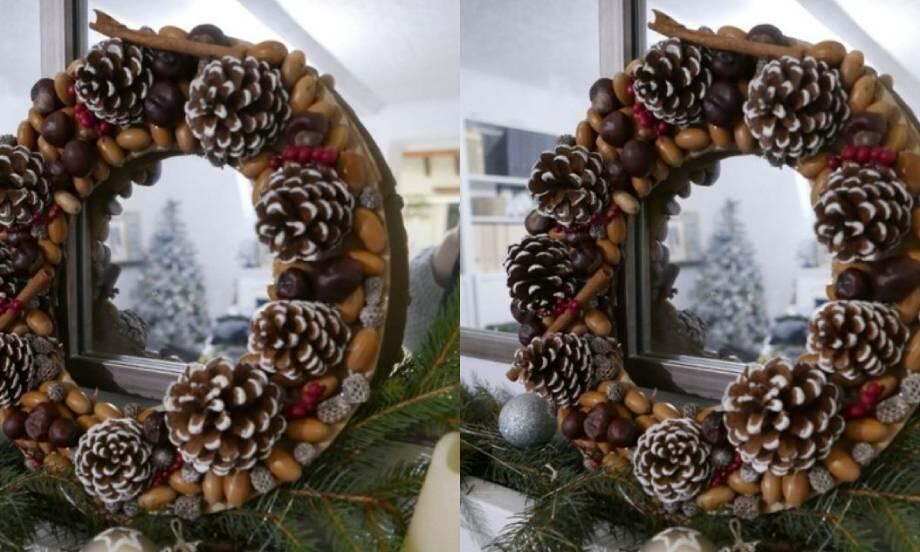
How to make a Christmas wreath at home
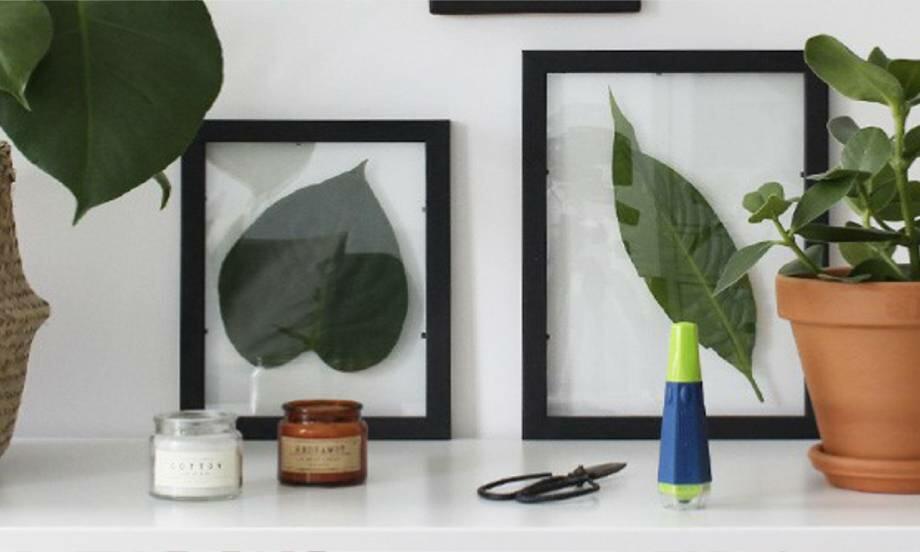
How to make a DIY plant frame
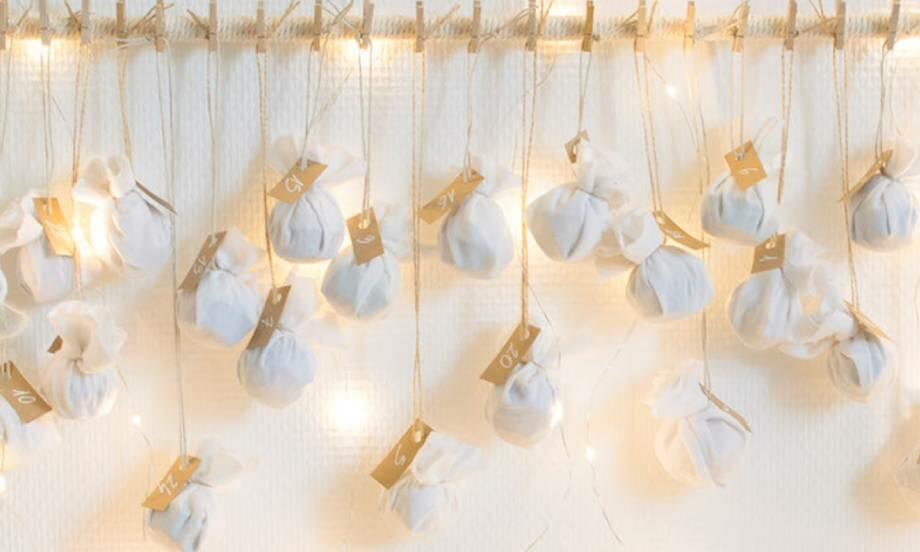
How to make your own advent calendar
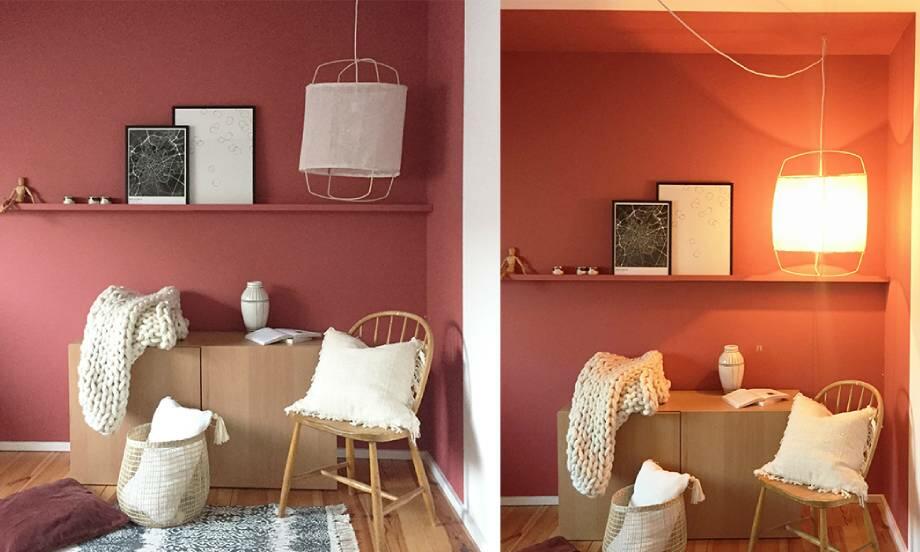
How to make your own pendant light
18 DIY #BluHacks using Blu Tack® Grey
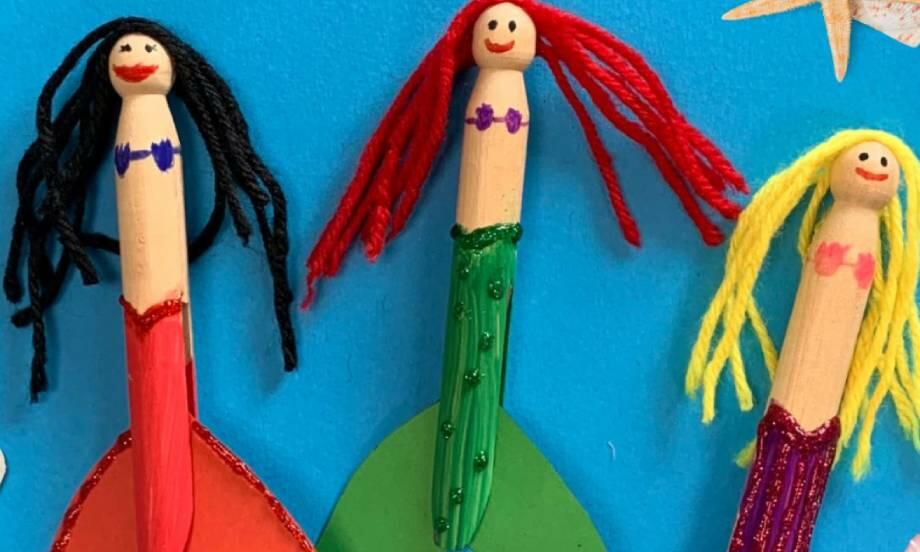
Easy mermaid craft using wooden clothes pegs
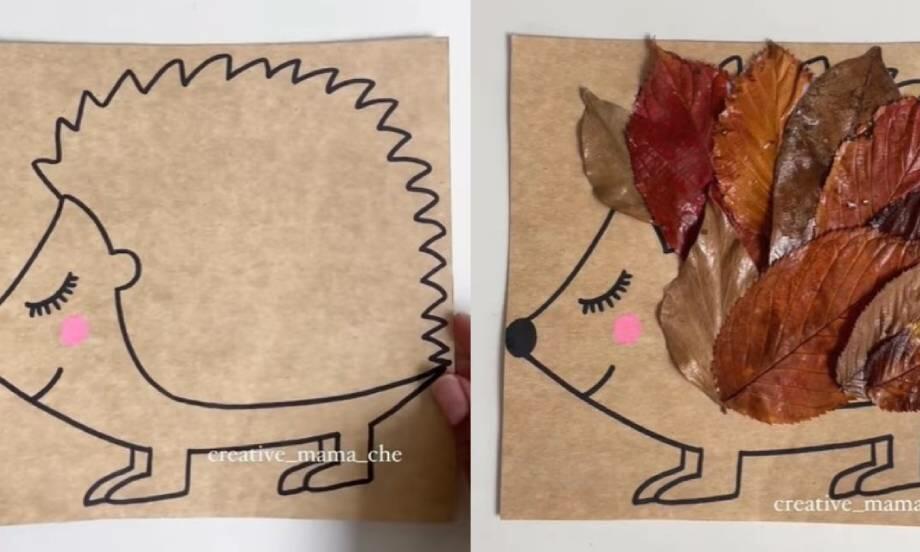
How to create a squirrel and hedgehog leaf craft
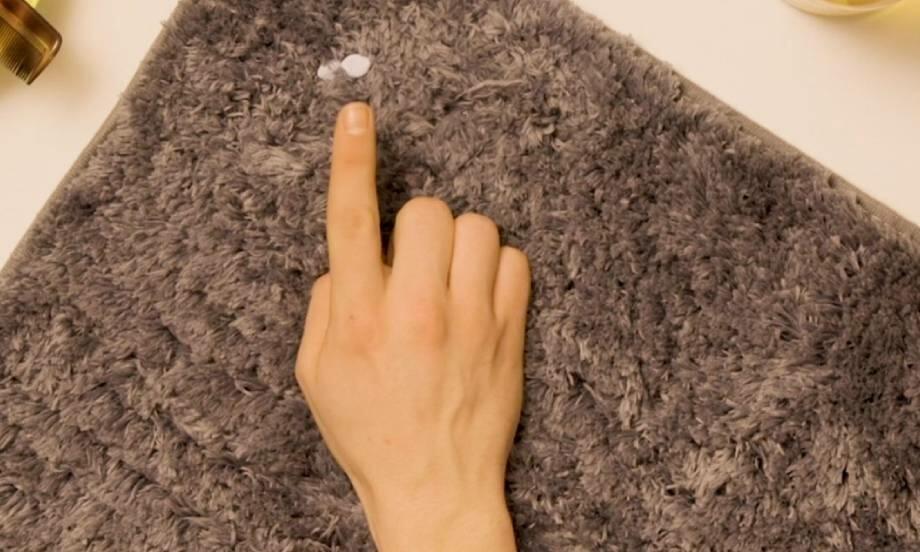
How to remove Blu Tack® from carpet
How to remove Blu Tack® stains from a wall