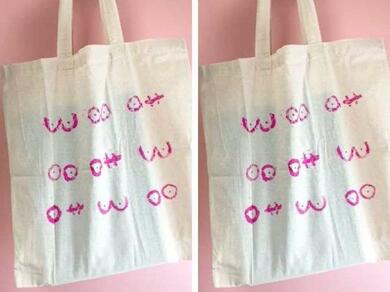
Make your own tote bag using DIY stamps
Grab your paints and Blu Tack® and discover how to make your own tote bag that's like no other! Using Blu Tack® to create a DIY stamp, you can print unique patterns onto a plain tote bag to jazz it up and create a personalised masterpiece - all from the comfort of your craft table.
A DIY canvas bag is super simple to create with our Blu Tack® homemade stamps, so invite friends and family of all ages together to have an arts and crafts night in that won't disappoint.
We've designed our diy tote bag using our promotional pack of Blu Tack® Pink in collaboration with the Pink Ribbon Foundation, which supports over 250 breast cancer charities in the UK. Discover more about the collaboration.
@bostikuk You're *totes* going to love this craft 🛍 DIY tote bags are super simple to make, using Blu Tack® to create a unique stencil! Until the end of June, we're donating 10p from every pack of Blu Tack® Pink sold to the Pink Ribbon Foundation, a charity dedicated to helping those affected by breast cancer. So of course, we had to get this perfect pink design off our chest 😉🎀 #TeamPRF #PinkRibbonFoundation #PRF #BluTack ♬ original sound - 💋
What you will need
- Blu Tack® Pink - or any colour of adhesive tack you desire!
- Fabric paint and paintbrushes
- Paint palette or plate
- Plain tote bag
- Old paper or newspaper
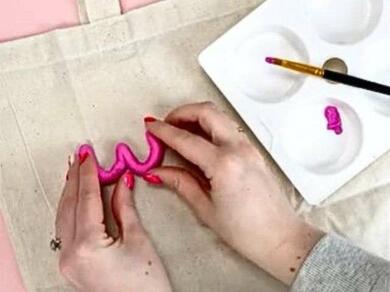
Step 1: Make your homemade stamp
Prep your surfaces with old paper or newspaper. Then, pull a piece of Blu Tack® from the slab and warm it in your hands by stretching, pulling and rolling it between your palms. Once warm and flexible, mould into your desired shape.

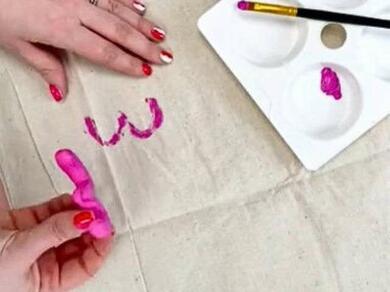
Step 2: Paint your DIY stamp
Before you paint your stamp, insert another piece of newspaper inside your tote bag to protect the paint from going through to the other side.
Next, paint your homemade stamp in your colours of choice. Of course, we went for a pink paint!

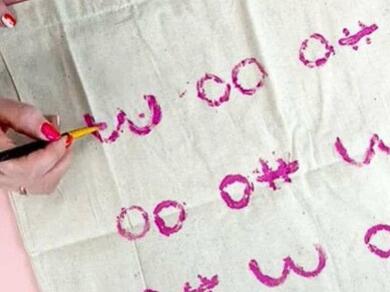
Step 3: Print onto your tote
Now you've painted your diy stamp, it's time to make your custom tote bag. Press the Blu Tack® onto the bag so that the paint transfers onto the fabric.
Tacky's tip: Take care when pressing your stamp into the fabric - you want to press firmly enough to transfer all the paint across, but do not want to alter the shape of your Blu Tack® stamp.
Step 4: Reveal and repeat
Carefully peel your Blu Tack® mould away from the bag to reveal your print. Repeat as many times as you require, using different DIY stamps to create different effects or patterns.
Step 5: Add your detail
Once your prints are in place, you can go in with extra detail using a fine paintbrush. Plus, you could go that one step further and add gems and other embellishments using All Purpose glue or Fabric Glue.
When you've mastered your masterpiece, leave your design to dry fully.
Step 6: Your DIY tote bag is ready
Ta-da! You've now discovered how to make your own tote bag using our super simple Blu Tack® DIY stamps.
It's time to fill it with your handbag must-haves and take it out for its first trip about town. Enjoy - there won't be another like it!
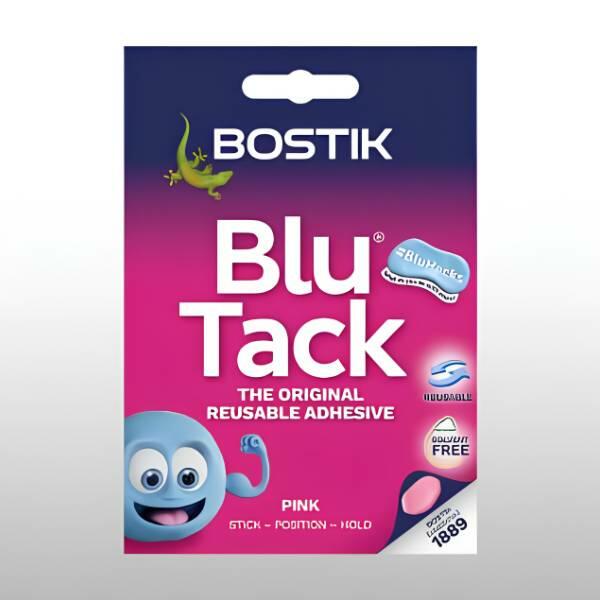
BLU TACK® PINK
BLU TACK®
BLU TACK® GREY
BLU TACK® WHITE

3 simple things to make with lolly sticks
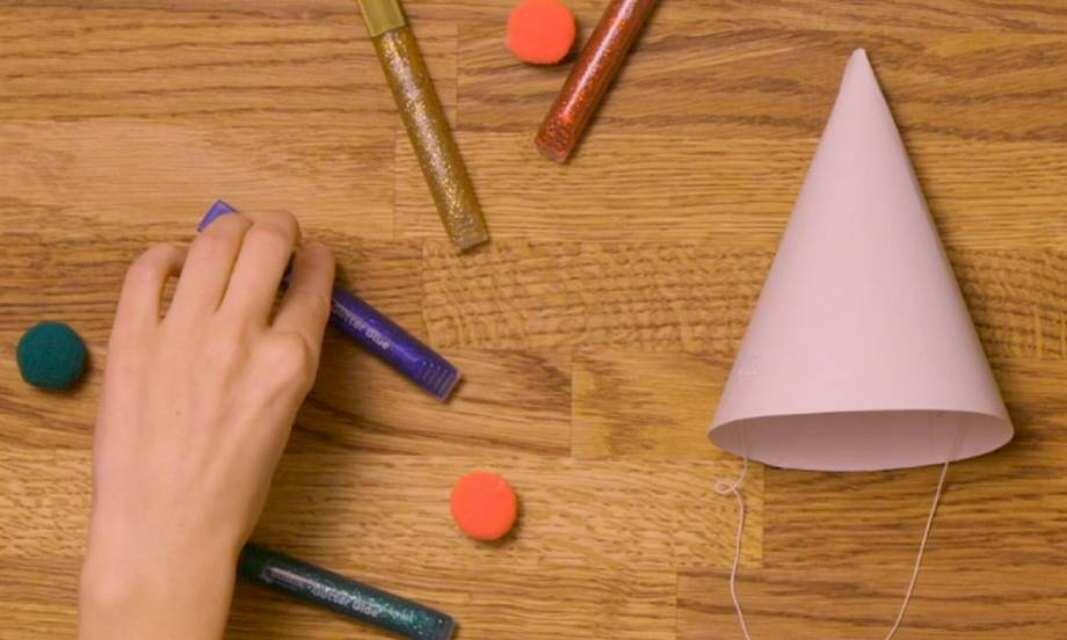
6 easy glitter glue craft ideas
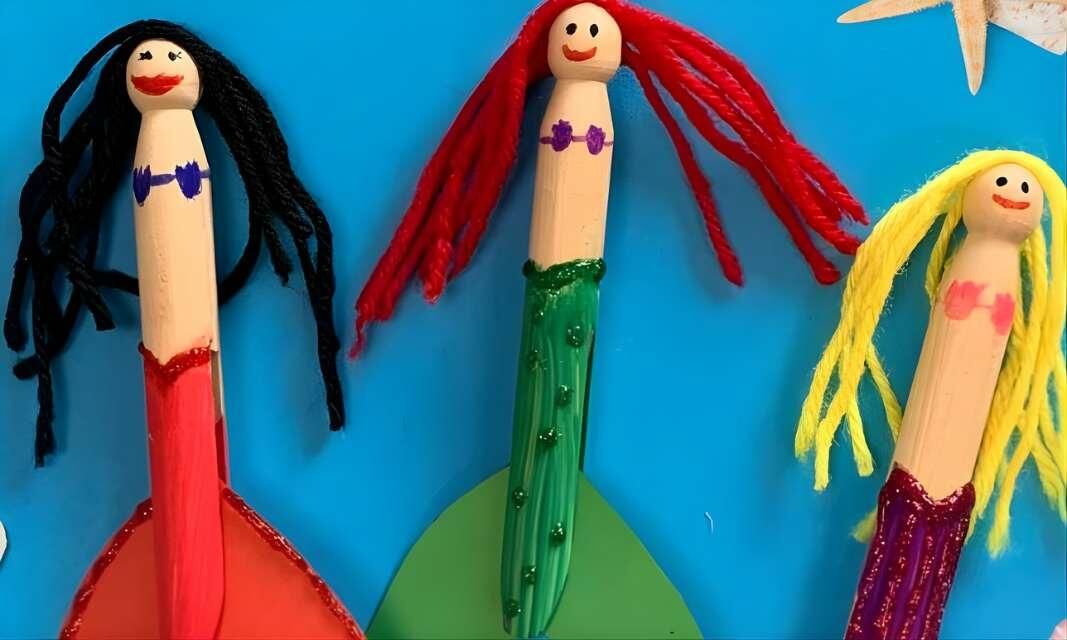
Easy mermaid craft using wooden clothes pegs
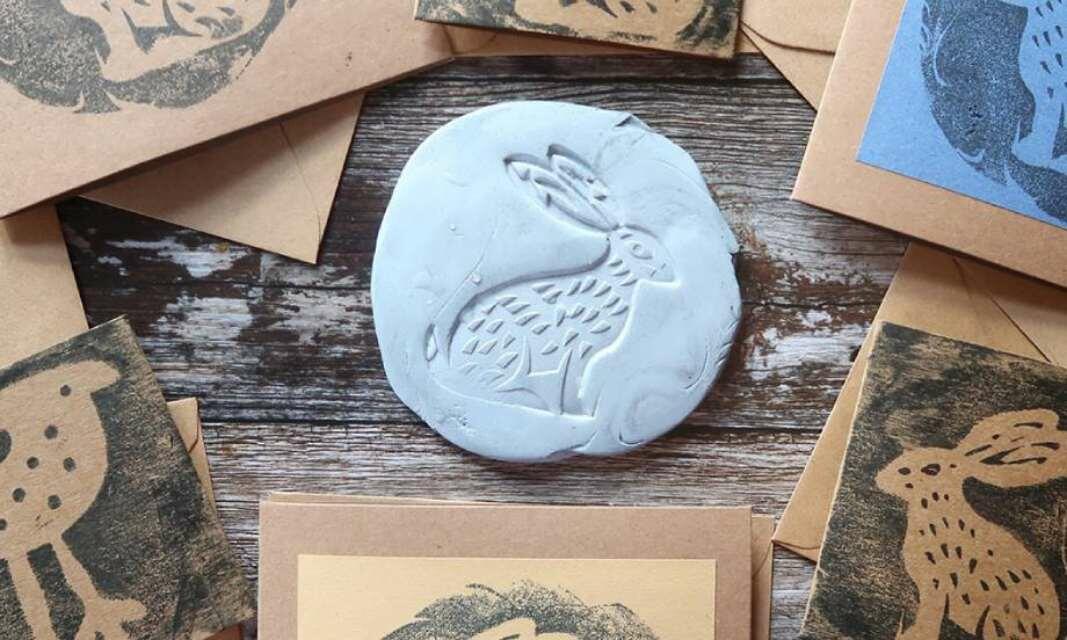
How to create reverse prints using Blu Tack®

18 DIY #BluHacks using Blu Tack® Grey
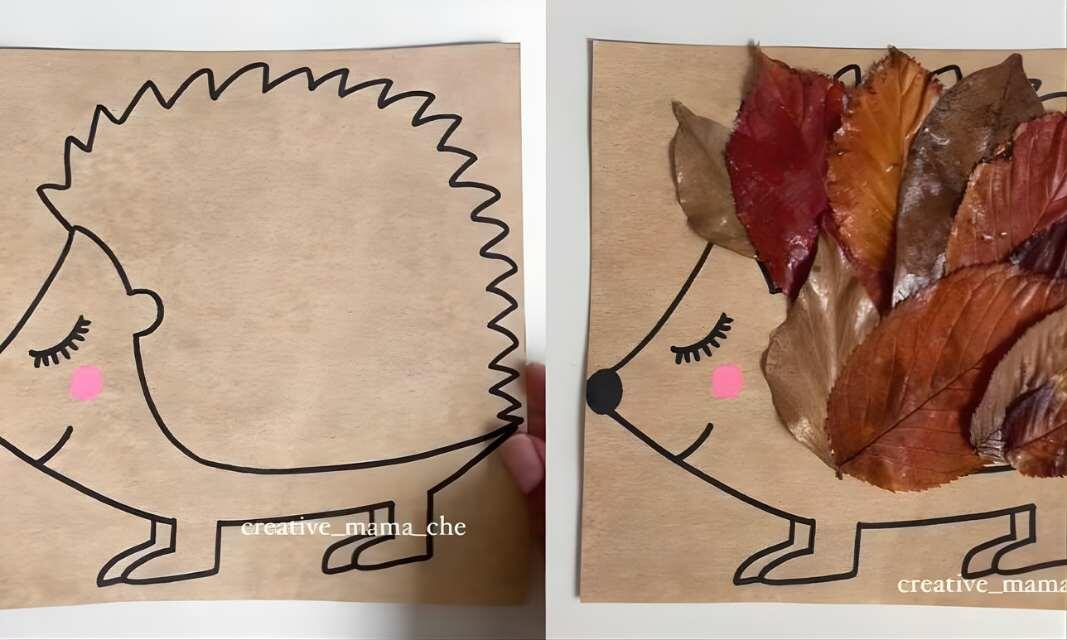
How to create a squirrel and hedgehog leaf craft
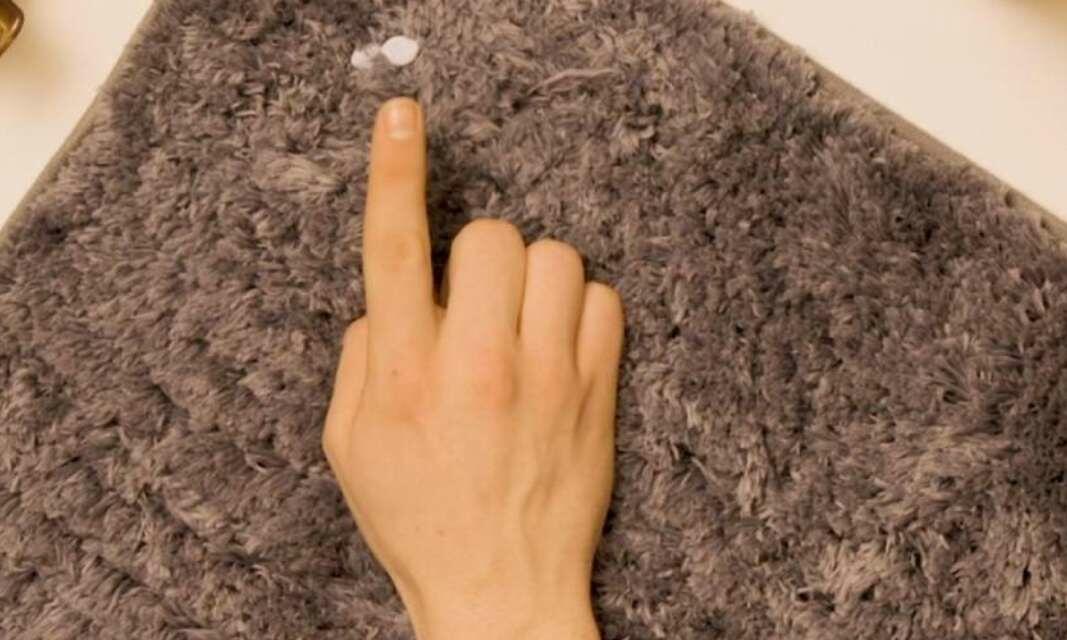
How to remove Blu Tack® from carpet